SHINPO SKRW Quick start guide
SHINPO
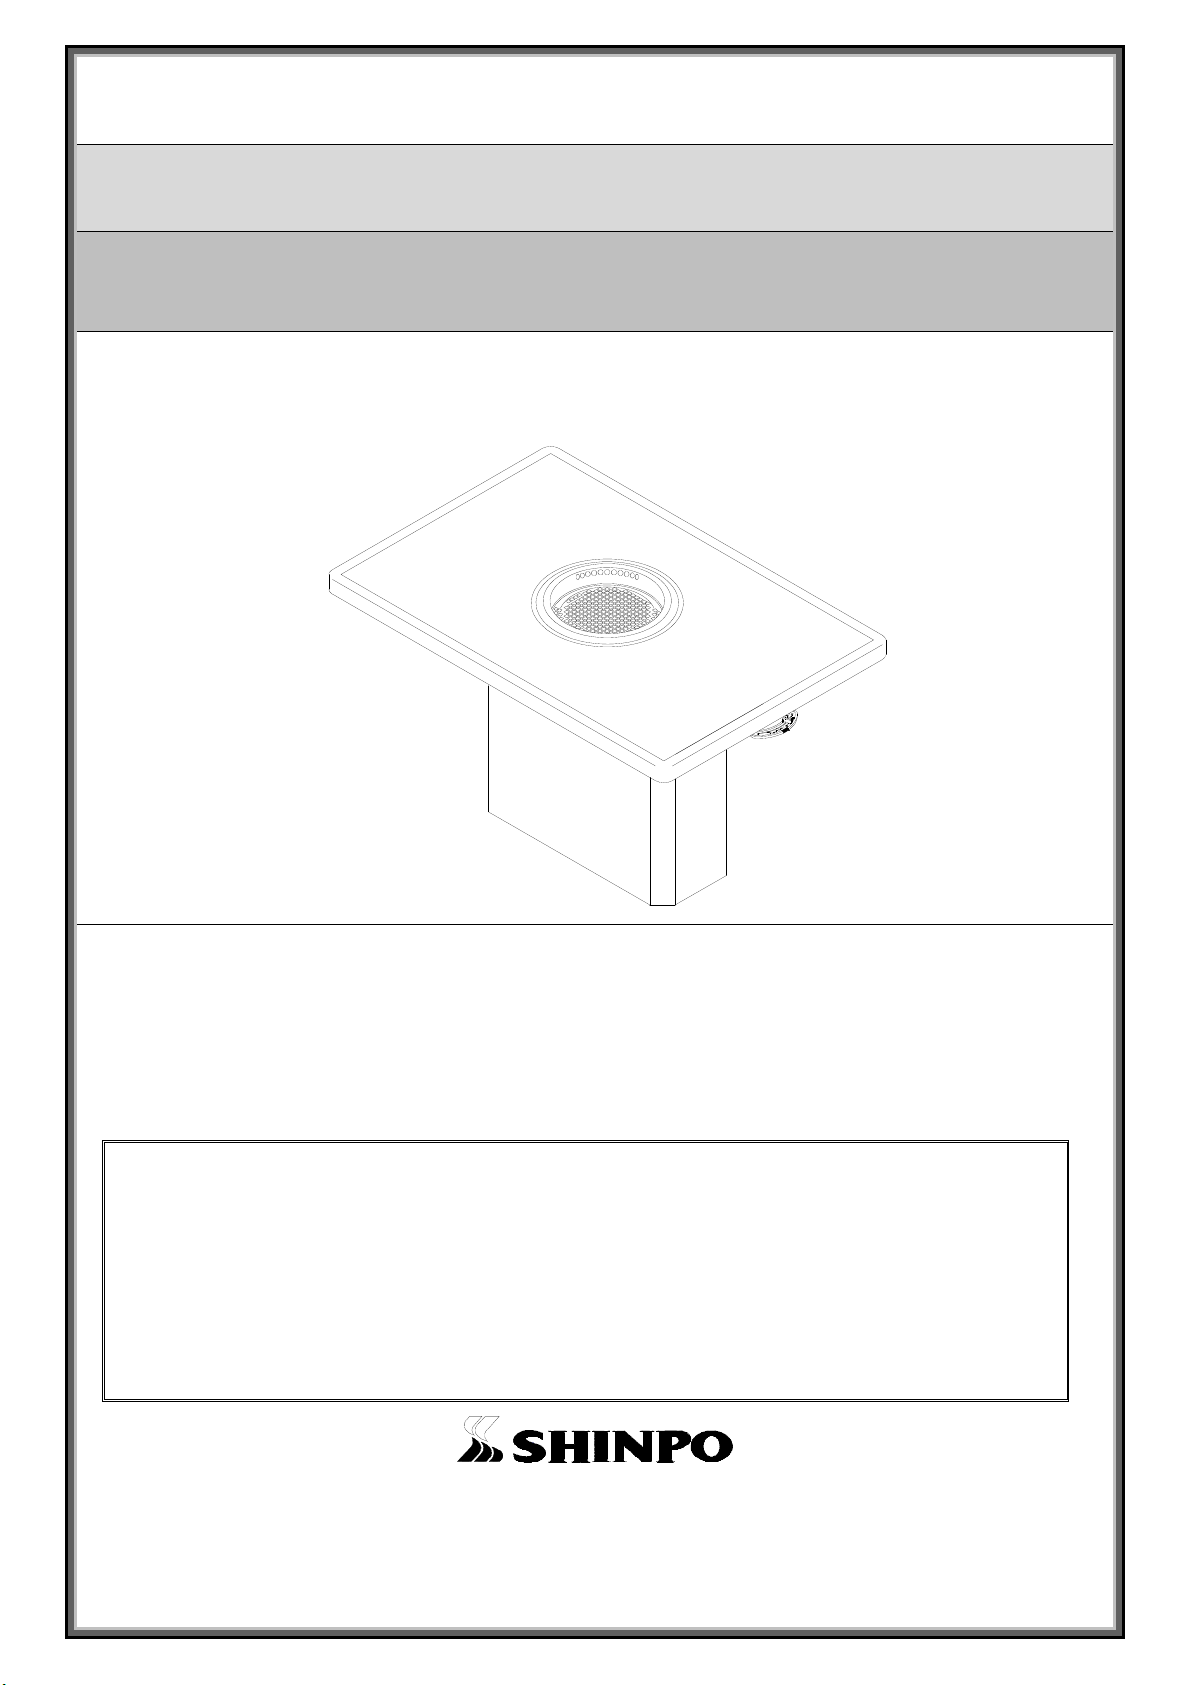
SMOKELESS ROASTER
SKRW
OPERATIONAL MANUAL
Thank you for purchasing SHINPO Smokeless Roaster.
●Before operating this product, please read and understand the instructions contained in this manual.
●Keep this manual in a place where it can be reached for immediate references.
●If necessary, please contact your distributor from whom you have purchased the product or us for clarification
and/or further instructions
CONTENT
◆ Parts Identification Main Unit 1 ◆ Operation Instructions 9
◆ Parts identification ◆ Daily Inspections & Maintenance 11
Parts & Accessories 2
◆ Trouble Shooting 14
◆ Safety Precautions 3
◆ Safety Features 15
◆ Preparation before Use 7
◆ Specifications 16

SKRW
1
Parts Identification-Main Unit
Burner Control Knob
Table Top
Cabinet
Slim Control
LPG Model
Label
Natural Gas Model
Model
Gas Type
Power
Source
ID No.
SKRW
○○
A
○○○
V
OOOOOO
SKRW
LP
G
○○○V
OOOOOO
Rating Label

SKRW-EN
2
Parts Identification-Parts & Accessories
3D Filter
Burner Body
Burner Head
Top Ring
Grill Plate Gripper
Drain Cover
Drain Pan
Inner Casing
Charcoal Pot Holder
Trivet (Option)
Trivet(Option)
Charcoal Pot
Grill Plate
Sana
Ceramic Charcoal

SKRW
3
Safety Precautions
We are providing these instructions with illustrations for clarity and easy understanding in order to avoid
any harm to the users or damage to the properties. Insure proper installation and servicing. Have the
product installed and grounded by a qualified technician. Please make sure to understand fully the
meaning of each illustration before you proceed further.
DANGER
Failure to observe this instruction may result in a situation where death or serious injury (Note 1)
is imminent.
WARNING
Failure to observe this instruction may result in a situation where death or serious injury (Note 1)
may occur
.
Caution
Failure to observe this instruction may result in a situation where injury (Note 2) to the user or
damage to the property (Note 3) may occur.
Note1: Serious injury means loss of eyesight, injury, burn (low/high temperature), electric shock, broken bone or poisoning
which require hospitalization or long term outpatient treatment.
Note2: Injury means injury, burn or electric shock which does not require hospitalization of long-term outpatient treatment.
Note3: Property damage means damage to buildings, livestock or pet animals.
The illustrations denote the following precautions:
General Prohibition
Fire Prohibited
Contact
prohibited
Disassembly
Prohibited
General Caution
Must Do
Unplug from Outlet
◆
This product is designed for commercial use only, not for household use.
WARNING
Ventilation
▽
Make sure to keep an exhaust fan(s) and of appropriate
capacity operating while using the smokeless roaster.
▼
Failure to observe this may cause incomplete combustion due to
reduce oxygen in the surrounding area.
▼
It may also lower the quality of the air within your establishment.
Gas Supply
▽
Do not use other than the type of gas specified on the Rating Plate (see P.1).
If you move to a new location, check the type of gas supplied to that location.
▼
Failure to observe this may result in a risk of fire or explosion.
Gas Supply
⇔
Rating Plate on the Main Unit.

SKRW-IS
4
WARNING
Power Source
▽
Do not use other than the power source specified for this product.
▼
Failure to observe this may result in a risk of fire or explosion.
Fire Prevention
▽
Do not place flammables, except food items to be cooked, near
the heating surface.
▽
Do not use any flammable substance such as gasoline, benzine
or spray.
▼
Failure to observe these may result in a risk of fire or burn.
▽
Never place any burning matter such as meat vegetable or
cigarette into the smoke intake holes.
▽
Do not use this roaster when it is not clean.
▽
Do not use this roaster without an appropriate amount of water
in the Drain Pan.
▼
Failure to observe these may result in a risk of fire.
Table of contents
Other SHINPO Kitchen Appliance manuals


