SI ZERO EDGE PRO User manual
1
Zero Edge Pro
Installation Instructions
INSTALLERS: PLEASE LEAVE THIS MANUAL WITH THE OWNER.

APPLY S/N
Limited 1 year warranty
on Screen Innovations products

TABLE OF CONTENTS
For more technical support questions - Call: 512.832.6939 or email: support@screeninnovations.com
Hours of Support: 7:30am – 5pm CST | screeninnovations.com
Please visit support.screeninnovations.
com to nd all the updated documents,
drivers and tutorial videos.
Use this QR code to see the video
tutorials for Black Diamond or Short
Throw snap attachment method
Use this QR code to see the
video tutorials for Slate material.
1
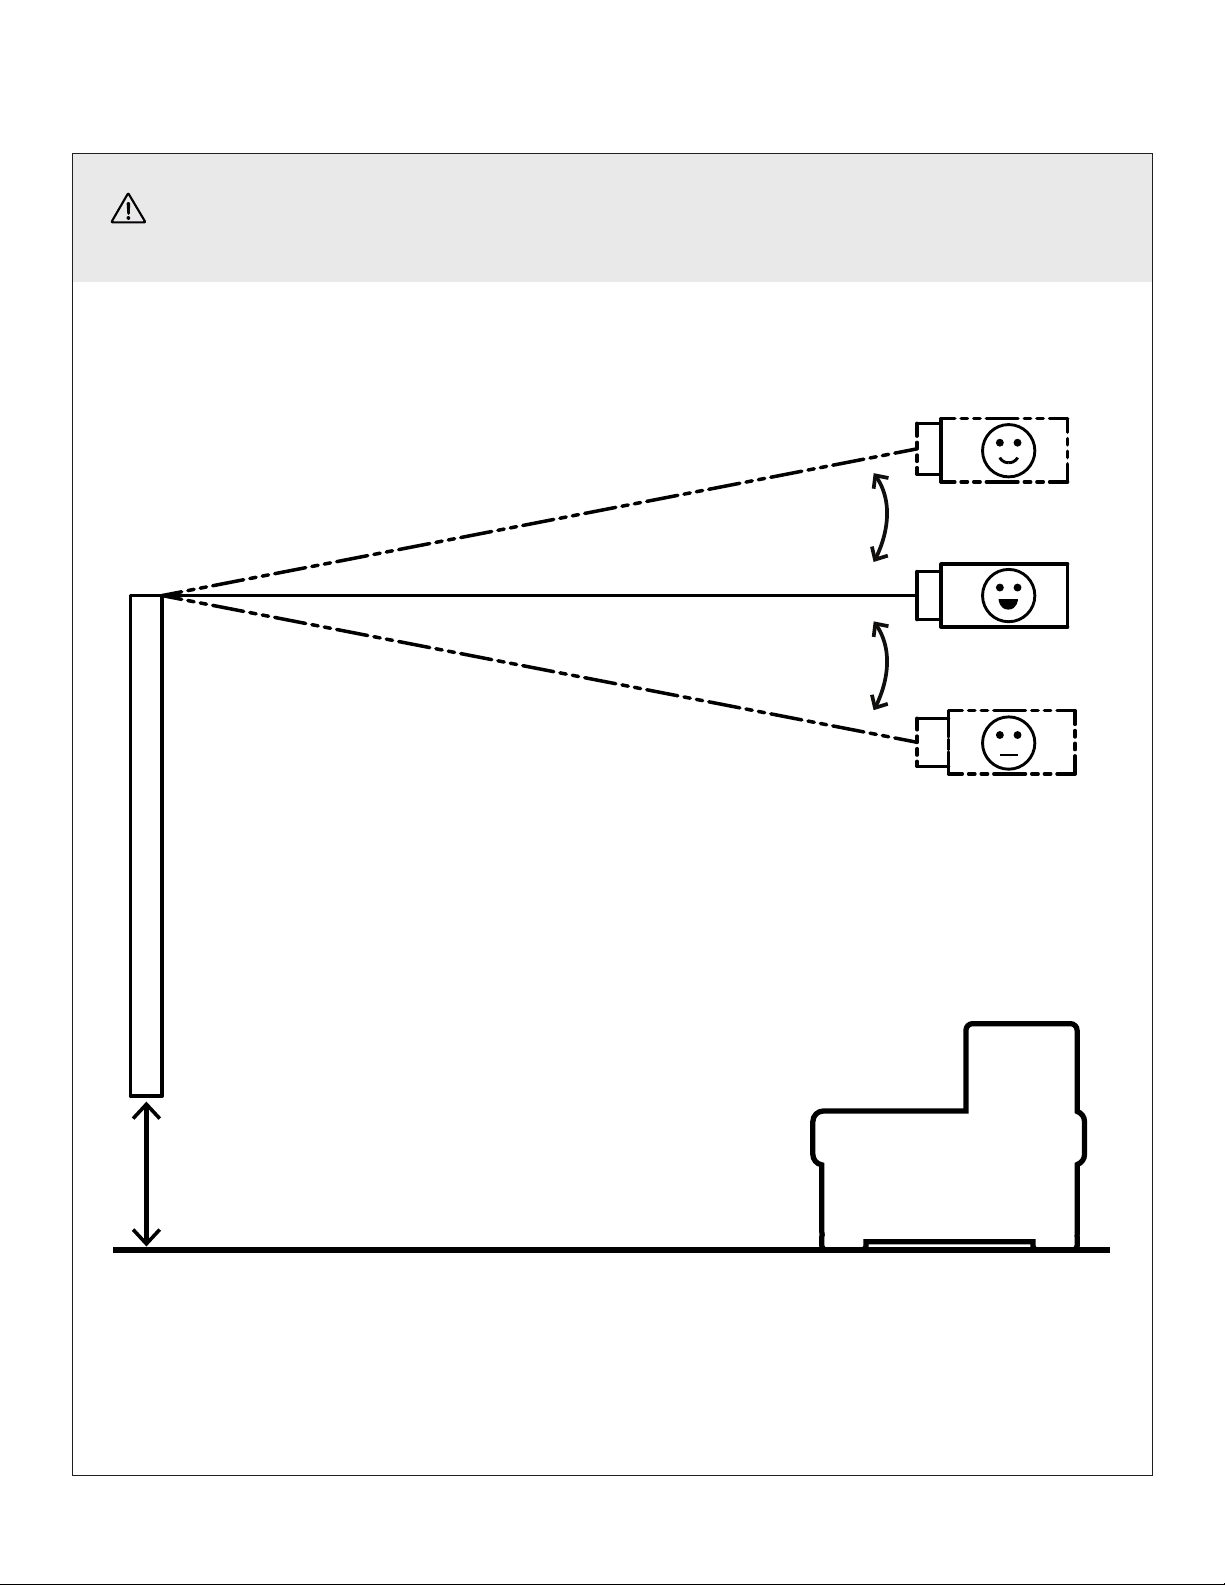
11°
11°
SCREEN
Better
Best
Good
36”-42”
(91cm - 106cm)
SUGGESTED PROJECTOR PLACEMENT

2
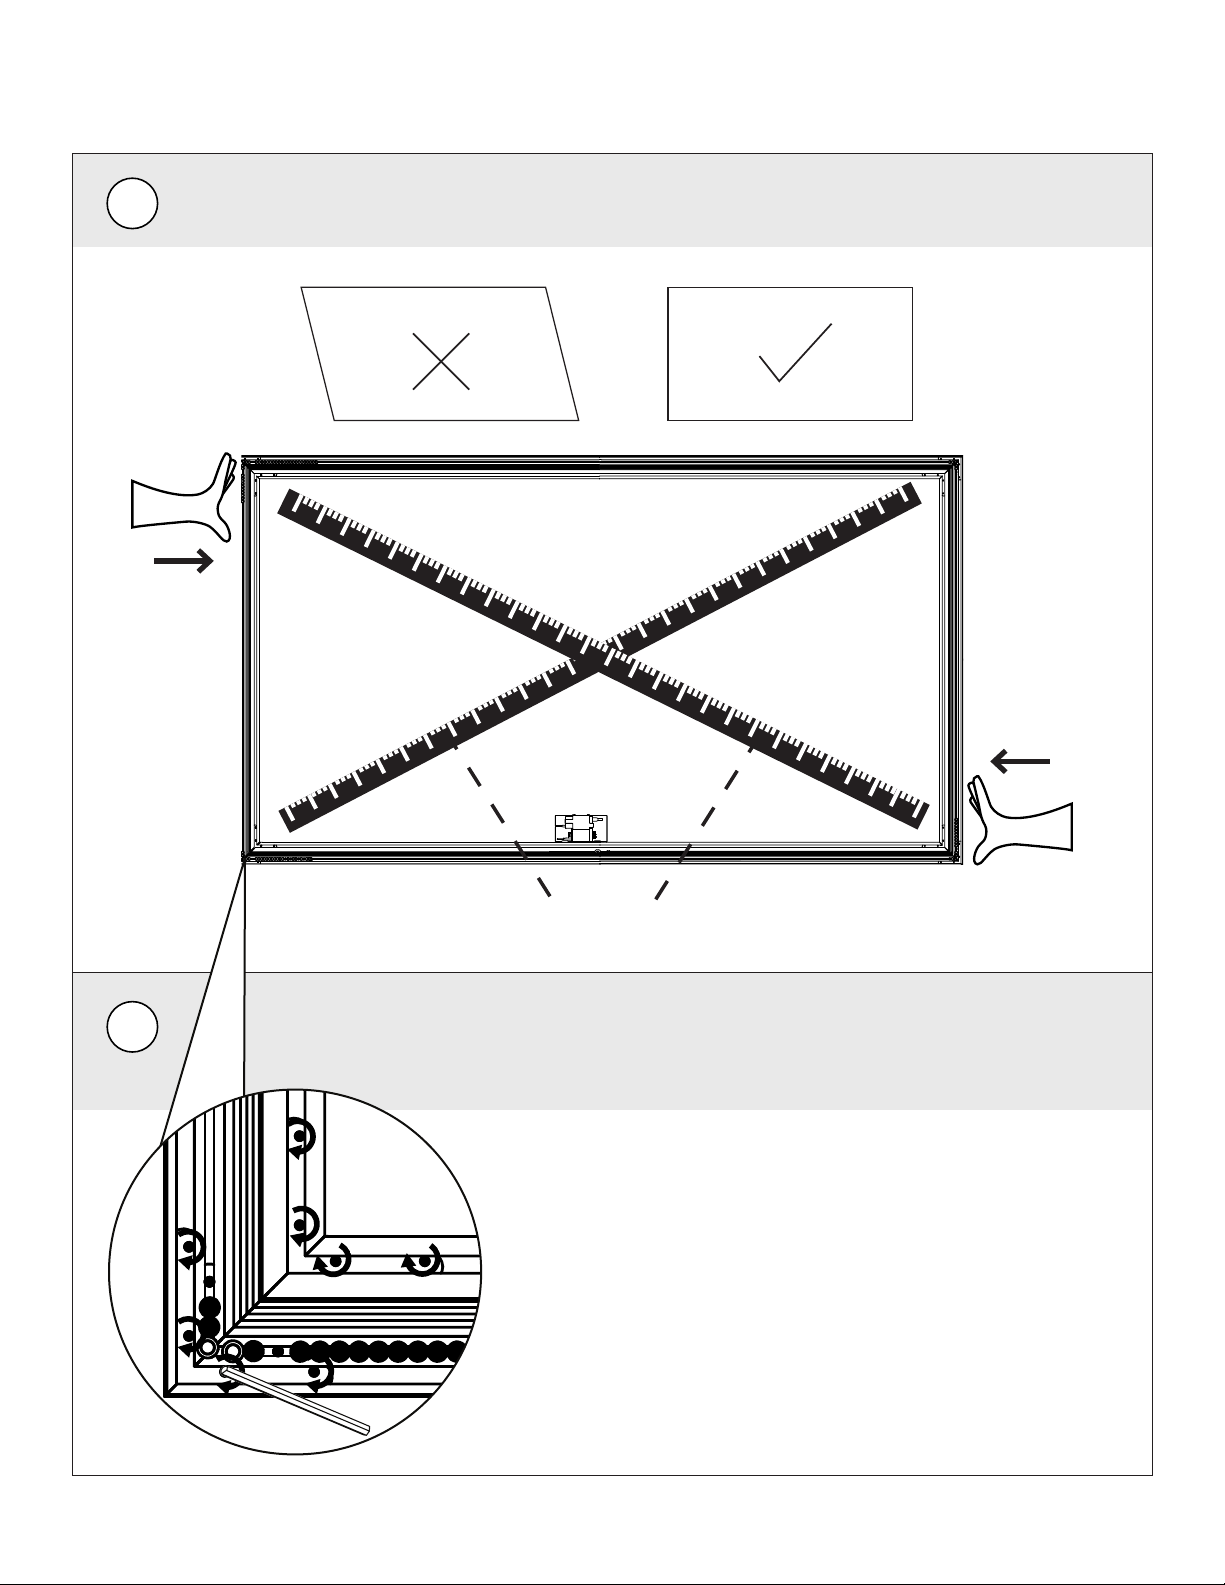
DETERMINE FRAME TYPE
Note: The vertical support bar is for certain models and sizes only.
Split Frame
Standard Frame

3
2
1
STANDARD FRAME ASSEMBLY
Thin Bracket
Thick
4
A
3
4
STANDARD FRAME ASSEMBLY

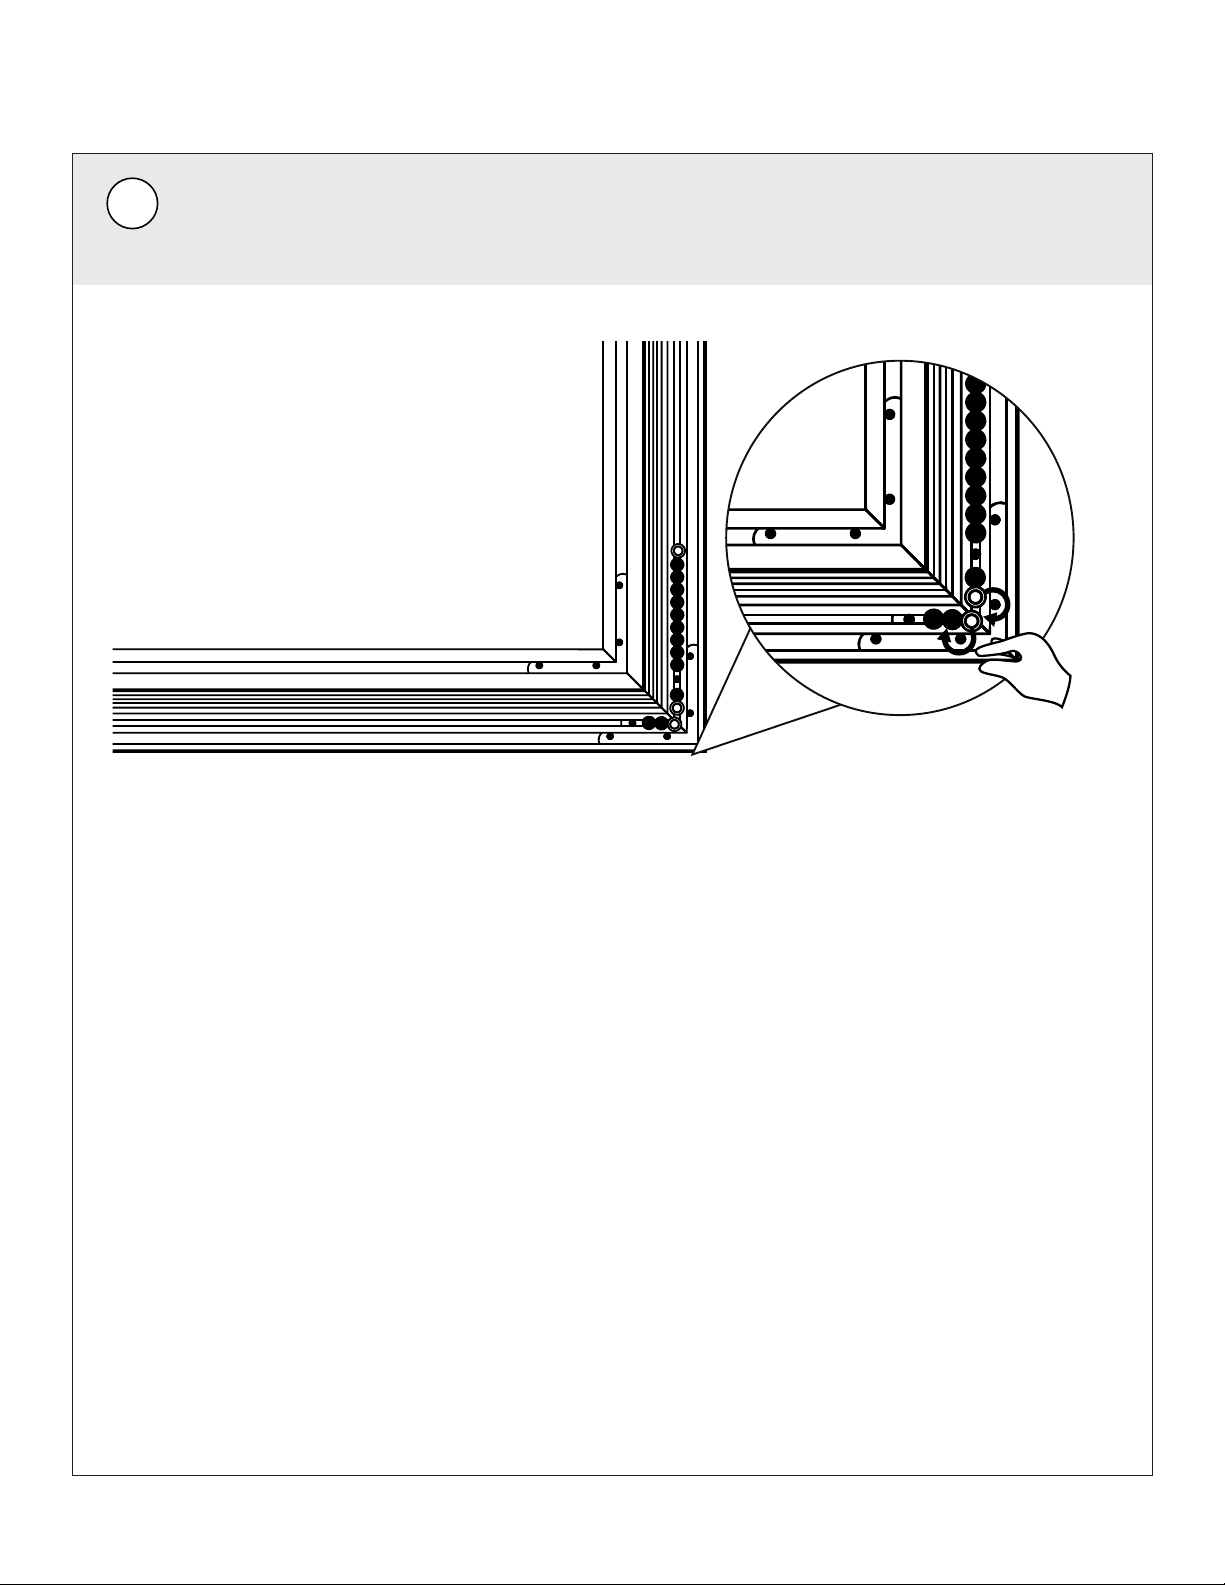
5
1
SPLIT FRAME ASSEMBLY
Thin
Bracket
Thick

6
2
SPLIT FRAME ASSEMBLY
7
3
SPLIT FRAME ASSEMBLY
Other manuals for ZERO EDGE PRO
3
Table of contents
Other SI Projector Accessories manuals


