7
Nach der Arbeit:
Gerät mit der Ein-/Aus-Taste
ausschalten.
Netzstecker ziehen.
Stopfer herausziehen.
Einfüllschale abnehmen.
Fleischwolf-Vorsatz abnehmen.
Dazu bei gedrückter Entriegelungstaste
den Vorsatz nach rechts drehen und
abnehmen.
Fleischwolf-Vorsatz demontieren.
Alle Teile reinigen, siehe „Reinigen und
Pflegen“.
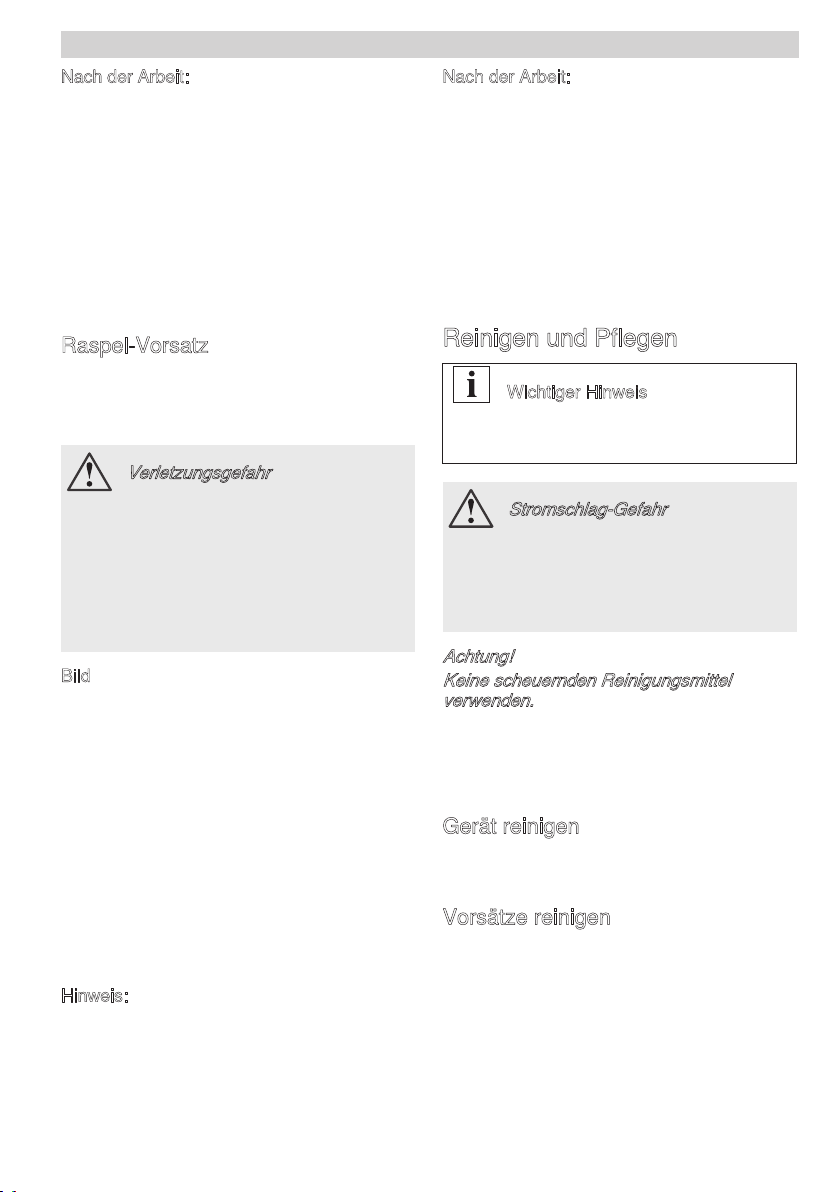
Raspel-Vorsatz
Zum Raspeln und Schneiden von Käse, Obst,
Gemüse, Nüssen, Mandeln, getrockneten
Brötchen und Brotstücken, Schokolade und
anderen harten Lebensmitteln.
Bild
Gewünschten Einsatz in das Gehäuse
des Raspel-Vorsatzes einsetzen.
Verriegelung des Einsatzes erfolgt
automatisch beim Einschalten des
Gerätes.
Den Raspel-Vorsatz leicht nach rechts
geneigt auf den Antrieb setzen.
Raspel-Vorsatz bis zum Einrasten nach
oben drehen.
Schüssel oder Teller unter die
Auslassöffnung stellen.
Netzstecker einstecken.
Zu verarbeitende Lebensmittel in die
Nachfüllöffnung geben.
Stopfer einsetzen und festhalten.
Hinweis:
Stopfer kann nur in einer Richtung eingesetzt
werden. Lage der Rundung beachten!
Gerät mit der Ein-/Aus-Taste einschalten.
Lebensmittel mit dem Stopfer nach unten
drücken. Nicht zu viel Druck ausüben!
Nach der Arbeit:
Gerät mit der Ein-/Aus-Taste
ausschalten.
Netzstecker ziehen.
Stopfer herausziehen.
Raspel-Vorsatz abnehmen.
Dazu bei gedrückter Entriegelungstaste
den Vorsatz nach rechts drehen und
abnehmen.
Raspel-Vorsatz demontieren.
Alle Teile reinigen, siehe „Reinigen und
Pflegen“.
Reinigen und Pflegen
Achtung!
Keine scheuernden Reinigungsmittel
verwenden.
Oberflächen können beschädigt werden.
Die Aluminium-Teile (Gehäuse, Schnecke
und Schraubring des Fleischwolf-Vorsatzes)
nicht im Geschirrspüler reinigen. Mit der Zeit
können harmlose Verfärbungen auftreten.
Gerät reinigen
Stecker ziehen.
Gerät feucht abwischen. Bei Bedarf
etwas Spülmittel benutzen.
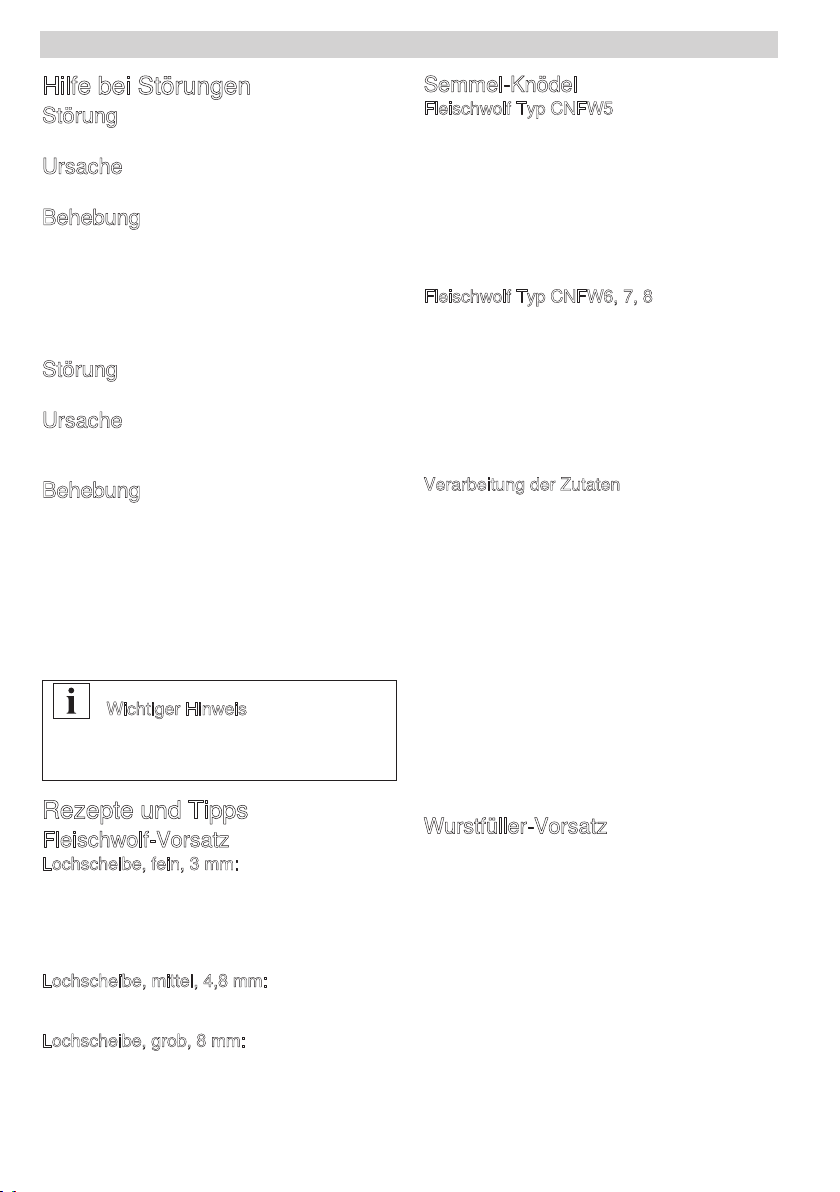
Vorsätze reinigen
Gehäuse, Schnecke und Schraubring
des Fleischwolf-Vorsatzes von Hand
spülen.
Metallteile gleich trockenreiben und mit
etwas Speiseöl vor Rost schützen.
Im Bild finden Sie eine Übersicht,
wie die Einzelteile zu reinigen sind.
Verletzungsgefahr
Vorsatz nur bei Stillstand des Antriebes
und bei gezogenem Netzstecker
aufsetzen/abnehmen.
Nicht in die scharfen Messer und Kanten
der Raspel- und Schneid-Einsätze greifen.
Nicht in den Einfüllschacht greifen. Zum
Nachschieben immer den Stopfer
verwenden.
Wichtiger Hinweis
Das Gerät ist wartungsfrei. Gründliche
Reinigung bewahrt das Gerät vor Schäden
und erhält die Funktionsfähigkeit.
Stromschlag-Gefahr
Das Grundgerät nie in Flüssigkeiten
tauchen und nicht in der Spülmaschine
reinigen.
Vor Beginn der Reinigungsarbeiten
Netzstecker ziehen!
MW67440EU-de.book Seite 7 Dienstag, 28. Januar 2014 12:12 12
7
de