Sight mark Triple Duty AT5R User manual

USER MANUALUSER MANUAL
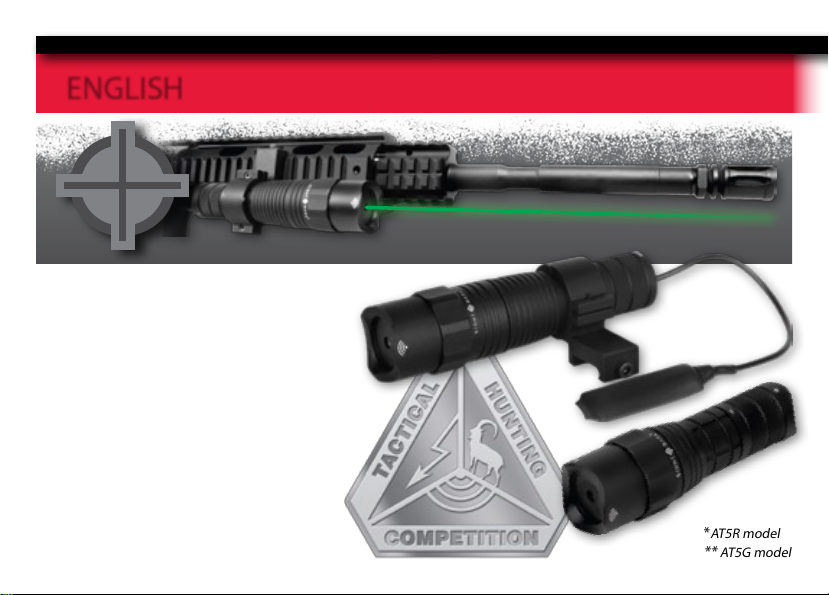
Triple Duty AT5R & Triple Duty AT5G
LASER DESIGNATORS

Sightmark oers a wide range of products that include red dot scopes, reex sights,
rangenders, riescopes, laser sights, night vision and award-winning ashlights and
boresights. Sightmark products are inspired by military and law enforcement applications.
All products are designed to be the most eective weapon accessories possible.
Sightmark - MAKE YOUR MARK
ABOUT SIGHTMARK®
www.sightmark.com

Triple Duty AT5R and AT5G laser designators ............... 1- 10 ENGLISH
1
ENGLISH
FEATURES:
• Quick target acquisition
• Has up to 2/3 mile visibility at night*
• Has up to 70yds visibility in daylight*
• Has up to 1 mile visibility at night**
• Has up to 100yds visibility in daylight**
• Windage and elevation adjustable
• Anti-tamper windage and elevation
• Aircraft grade aluminum construction
• Lightweight
• Compact
• Shockproof
*
AT5R model
** AT5G model
2
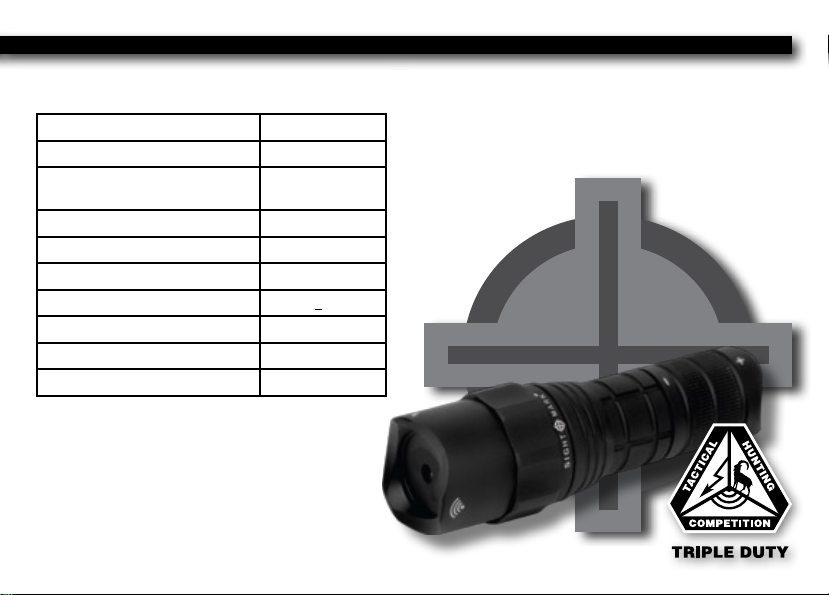
TECHNICAL SPECIFICATIONS - AT5R
INCLUDES:
• Tactical On/O pressure pad
• Oset mount
• Calibration tools
• (1) CR-123A battery
• Limited Lifetime Warranty
Material aluminum
Color matte black
Finish type II mil-spec
anodizing
Eective range (yd) 1000
Laser type visible red
Wavelength (nm) 635
Power (mW) <5
Battery type (1) CR-123A
Dimensions (in) 5.2x1.24
Weight (oz) 5.3
3
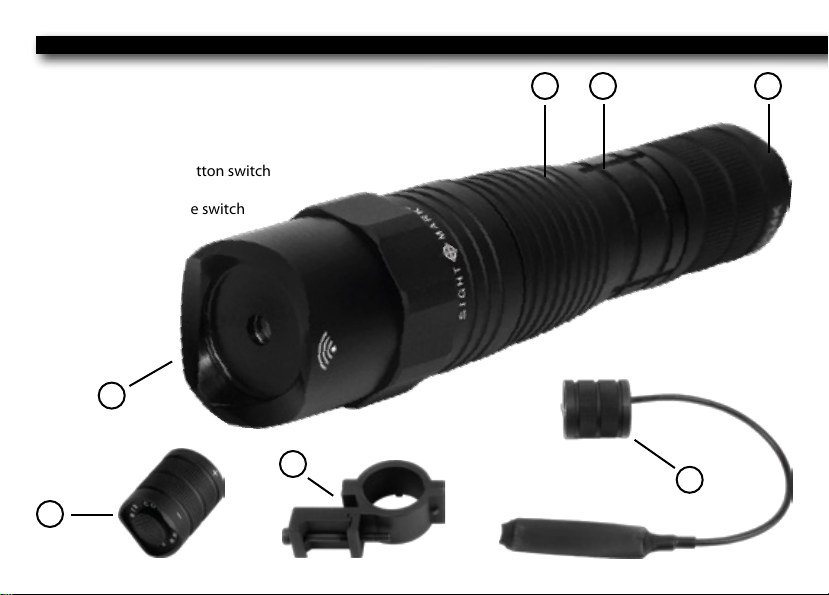
1. Bezel head cap
2. Laser body
3. Battery compartment
4. Battery cap / push button switch
5. Oset mount
6. Battery cap / pressure switch
DIAGRAM - AT5R
1
2 3 4
4
56
4
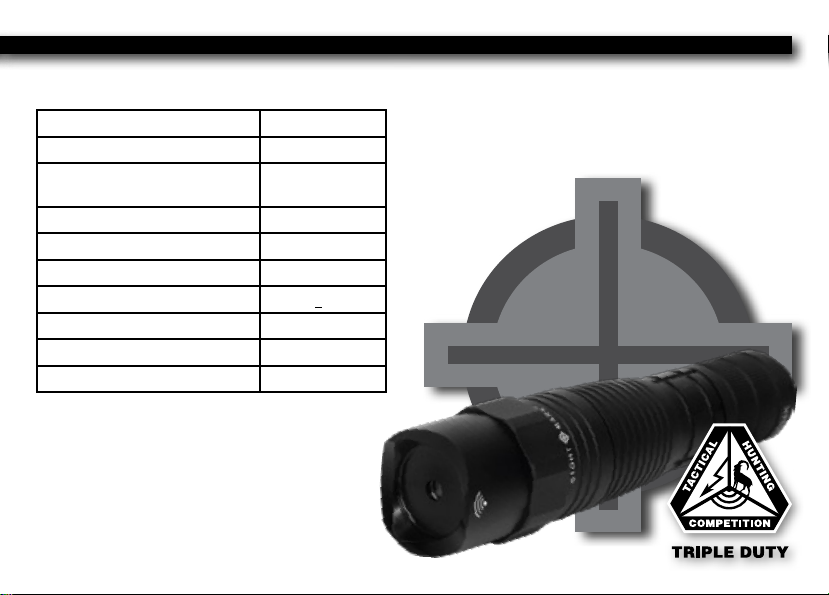
TECHNICAL SPECIFICATIONS - AT5G
INCLUDES:
• Tactical On/O pressure pad
• Oset mount
• Calibration tools
• (1) CR-123A battery
• Limited Lifetime Warranty
Material aluminum
Color matte black
Finish type II mil-spec
anodizing
Eective range (yd) 1600
Laser type visible red
Wavelength (nm) 532
Power (mW) <5
Battery type (1) CR-123A
Dimensions (in) 5.2x1.24
Weight (oz) 5.3
5
1. Bezel head cap
2. Laser body
3. Battery compartment
4. Battery cap / push button switch
5. Oset mount
6. Battery cap / pressure switch
DIAGRAM - AT5G
4
56
1
2 3 4

6
ABOUT THE SIGHTMARK AT5R & AT5G LASER DESIGNATORS
The Sightmark series of Triple Duty tactical red and green laser designators are multifunctional sights inspired by
military and law enforcement applications. They feature intense, accurate laser beams that are nearly awless in
their quickness of target acquisition.
As with every Sightmark Triple Duty product, the AT5R and AT5G laser designators are quality shooting accessories
for any tactical, hunting, or competition shooting function.
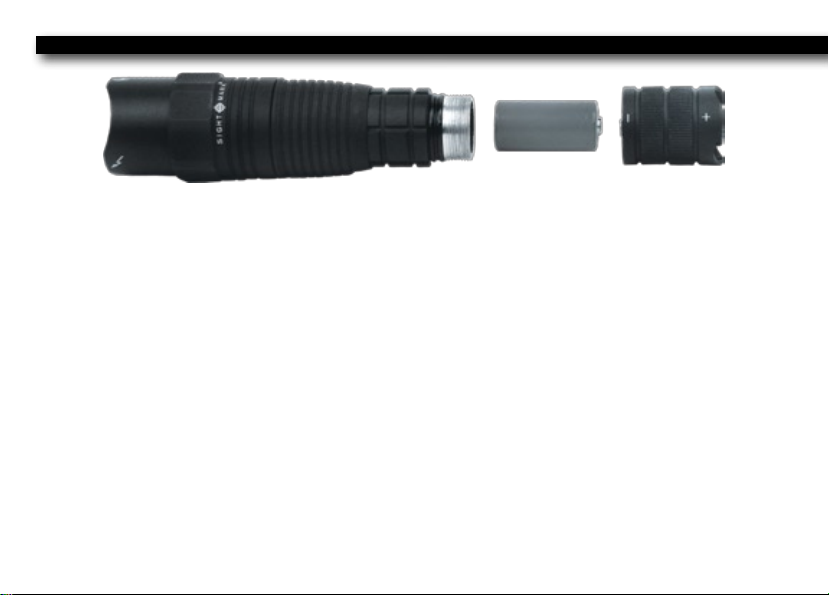
BATTERIES
Both the AT5R and AT5G laser designators are powered by (1) CR-123A battery.
To insert or remove the battery:
1) Rotate the battery cap / switch (4, 6) counterclockwise until it separates from the laser body (2).
2) Insert the CR-123A battery into the battery compartment (3), with the negative end rst, as shown on the bat-
tery cap.
3) Replace the battery cap / switch (4, 6) onto the laser body (2). To tighten, rotate the cap / switch clockwise until
xed rmly. Do not over tighten.
7
SWITCH OPERATION
After inserting the batteries, install the desired battery cap/switch.
Push button switch:
1) For momentary operation, press lightly on the rubber button on the back of the switch.
2) For permanent operation, press the rubber button until you hear or feel a “click”, then release.
3) To turn the laser o, press the rubber button a second time until you hear or feel a “click”, then release.
Pressure switch:
1) For momentary operation, press rmly on the pressure pad.
2) To turn the laser o, release the pressure on the pressure pad.
MOUNTING
The AT5R and AT5G include an oset mount. Before mounting the laser designator onto your rearm, be sure

8
it is unloaded and safe to handle.
To mount:
1) Loosen the mounting bolt on the oset mount (5) using the largest Allen
wrench provided.
2) Position the oset mount onto your rearm’s base. Align the oset
mount’s mounting bolt between the grooves of the rearm’s base.
3) Tighten the mounting bolt. Do not over tighten.
4) Using the second largest Allen wrench, loosen the two ring screws on the
oset mount’s scope ring.
5) Remove the battery cap / switch (4,6) from the laser designator by follow-
ing step 1 in the “BATTERIES” section.
6) Slide the laser designator battery cap end rst through the loosened scope ring. Be sure to align the notches on
the scope ring with the notches on the laser.
7) Tighten the ring screws. Do not over tighten.
8) Replace the battery cap / switch by following step 3 in the “BATTERIES” section.
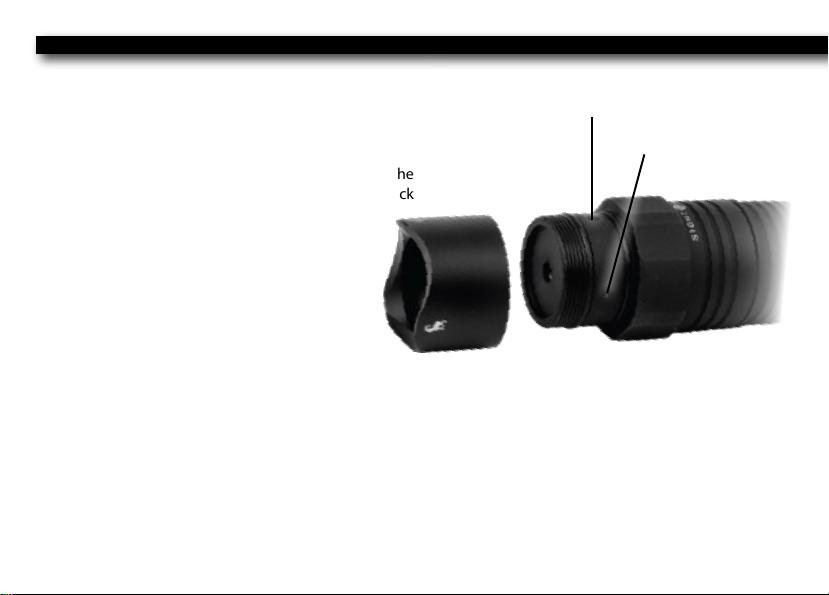
ZEROING
1) Unscrew the bezel head cap (1) by turning it counterclockwise, and separate it from the laser’s body. This will
expose three screws. The two smaller set screws are used for windage and elevation adjustment. The brass screw is
part of the internal assembly and is not used for zeroing the laser. DO NOT unscrew the brass screw.
2) The laser should be mounted with one set screw positioned vertically (elevation adjustment) and the other set
screw positioned perpendicular to it (windage adjustment). If the laser was mounted correctly, the notches on the
mount and laser will be aligned, and this step will be complete.
MAINTENANCE
This laser designator may be cleaned using a soft cloth and water, or a gun cleaning solvent, when exposed to dirt,
dust, or other residue. To clean residue from contacts, use a cotton swab dipped in alcohol. Maintain threads and
O-rings by applying silicon-based grease to those areas.
STORAGE
Make sure that your Sightmark laser designator is securely attached to your rearm before storing, and be sure the
unit is turned o. Remove the battery if the designator will be stored for an extended period of time.
3) While following necessary rearm safety and precau-
tions, re ve rounds at a target to determine point of
impact.
4) If necessary, adjust the laser to the point of impact by
using the windage and elevation adjustment screws.
5) After all adjustments have been made, re-install the
bezel head cap by turning it clockwise to fasten it back
onto the laser. Do not over tighten.
9
elevation
windage

WARNING
Before handling the laser designator, read and understand the contents of your rearm’s manual, and the Sight-
mark laser designator manual. Follow all standard safety precautions and procedures during rearm operation,
even when the laser designator is not in use.
• NEVER point the laser designator directly at, or into, an eye. This may cause damage to the eye, or blindness.
• Avoid looking directly into the laser.
• Avoid shining the laser into mirrors or other reective surfaces.
• Avoid hitting or dropping the unit.
• ALWAYS check that the chamber of your weapon is clear before mounting or dismounting the laser designator.
• ALWAYS remove the laser designator when cleaning, or performing other maintenance, on your rearm.
• The laser designator should be tested during periods of non-use to make sure it is still operating properly.
Failure to follow standard rearm safety precautions and procedures, as well as the above warnings, is dangerous
and may result in serious injury, damage to property, or death.
SIGHTMARK LIMITED WARRANTY
Please visit www.sightmark.com for warranty details and information.
10

www.sightmark.com
This manual suits for next models
1
Table of contents


