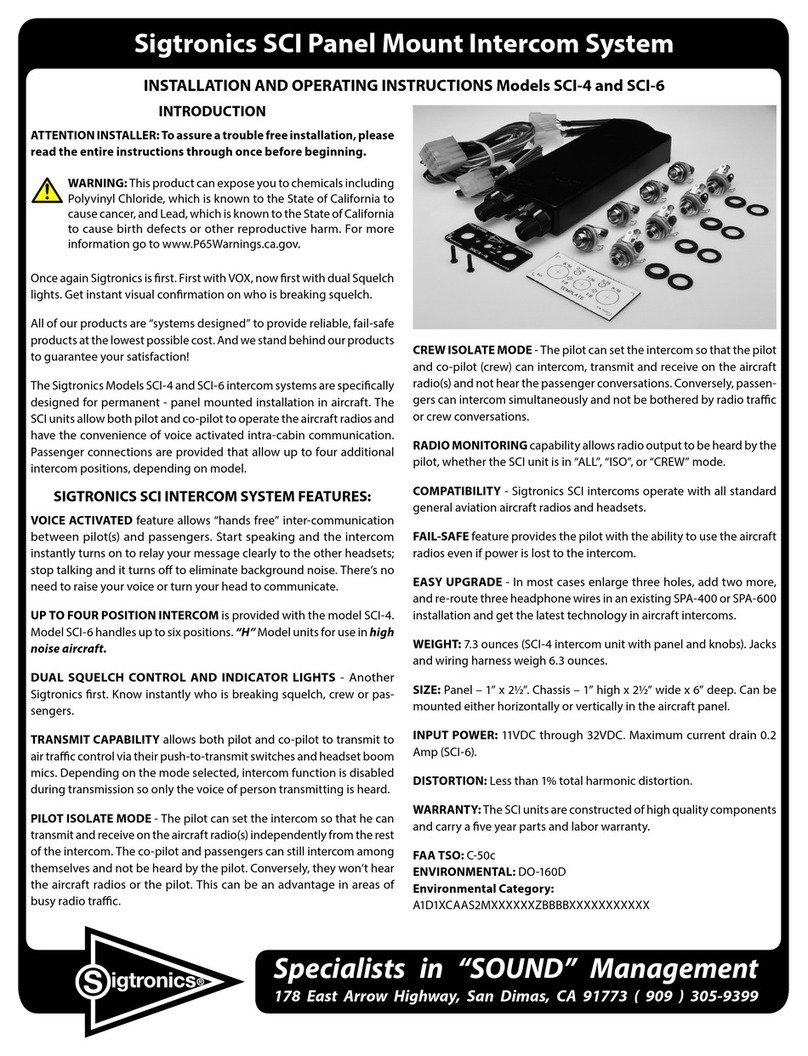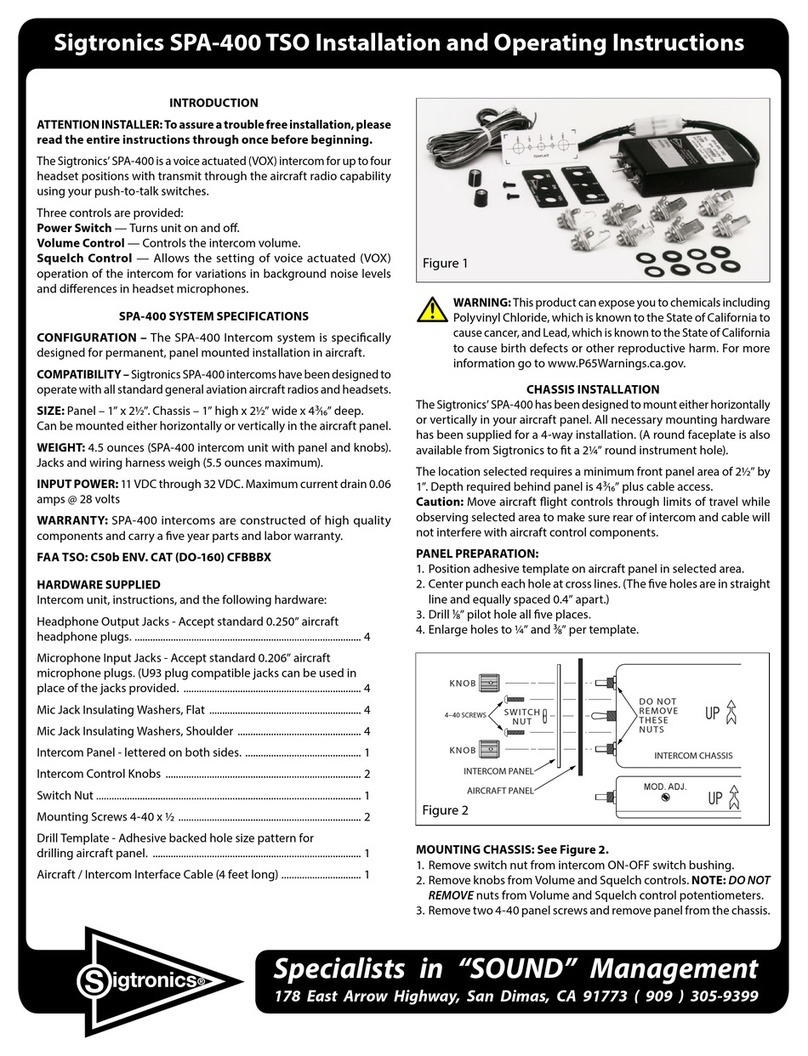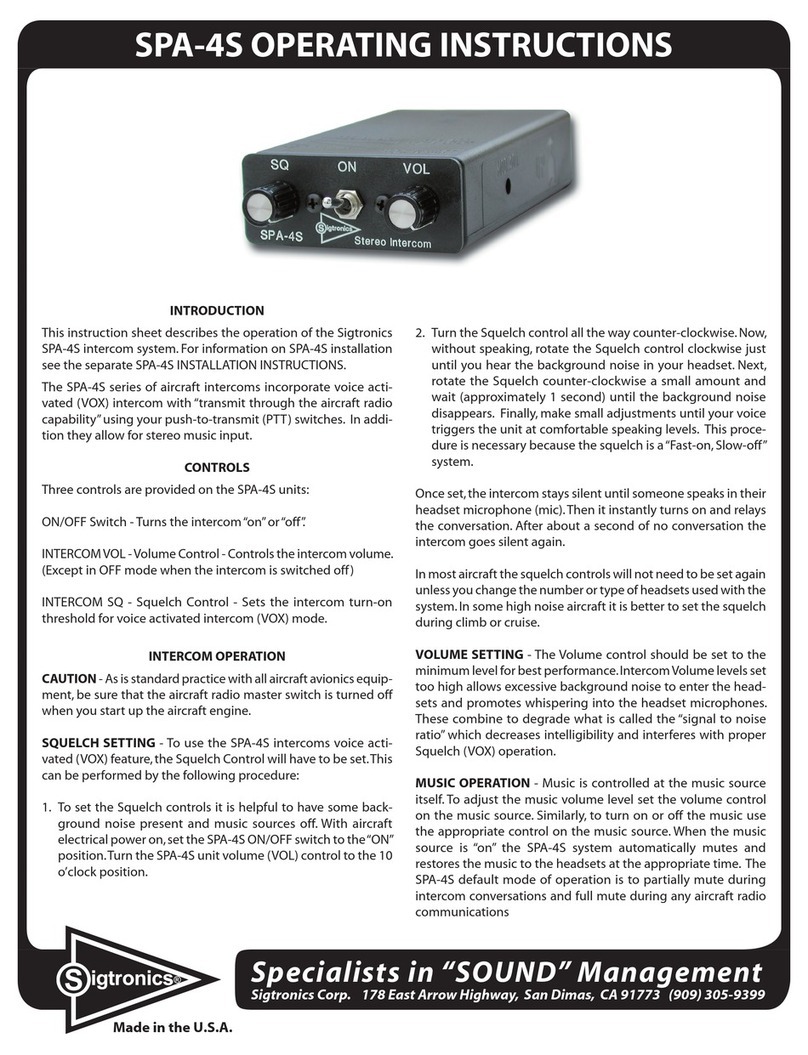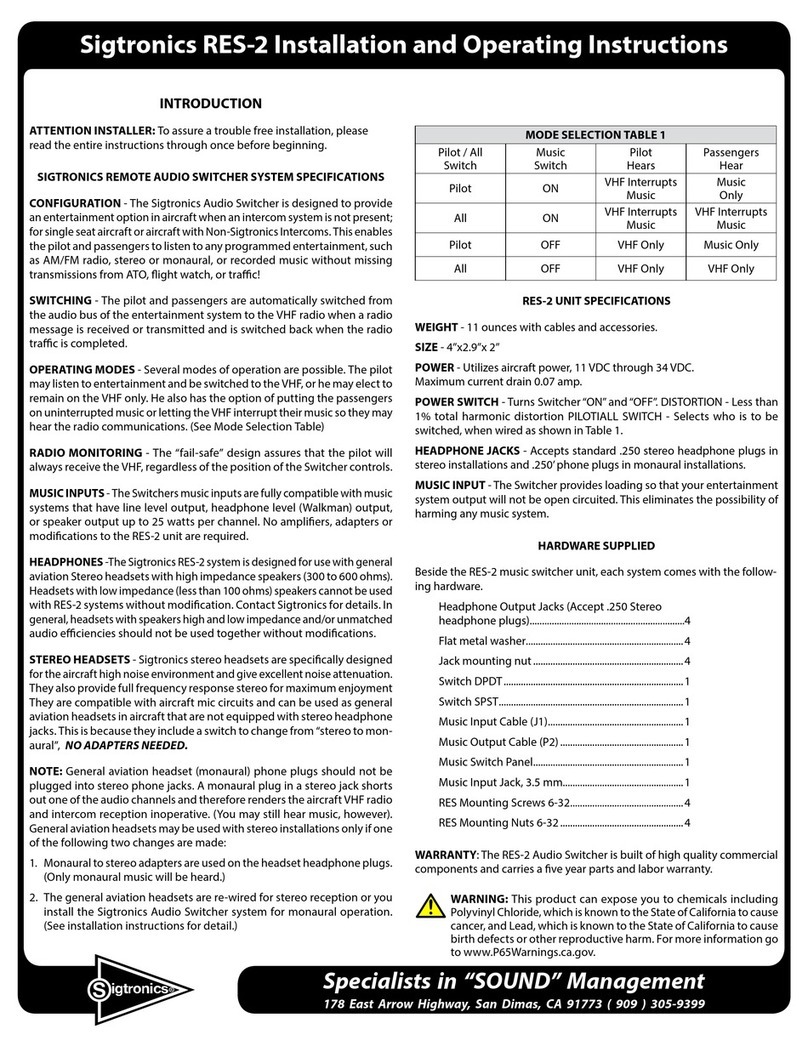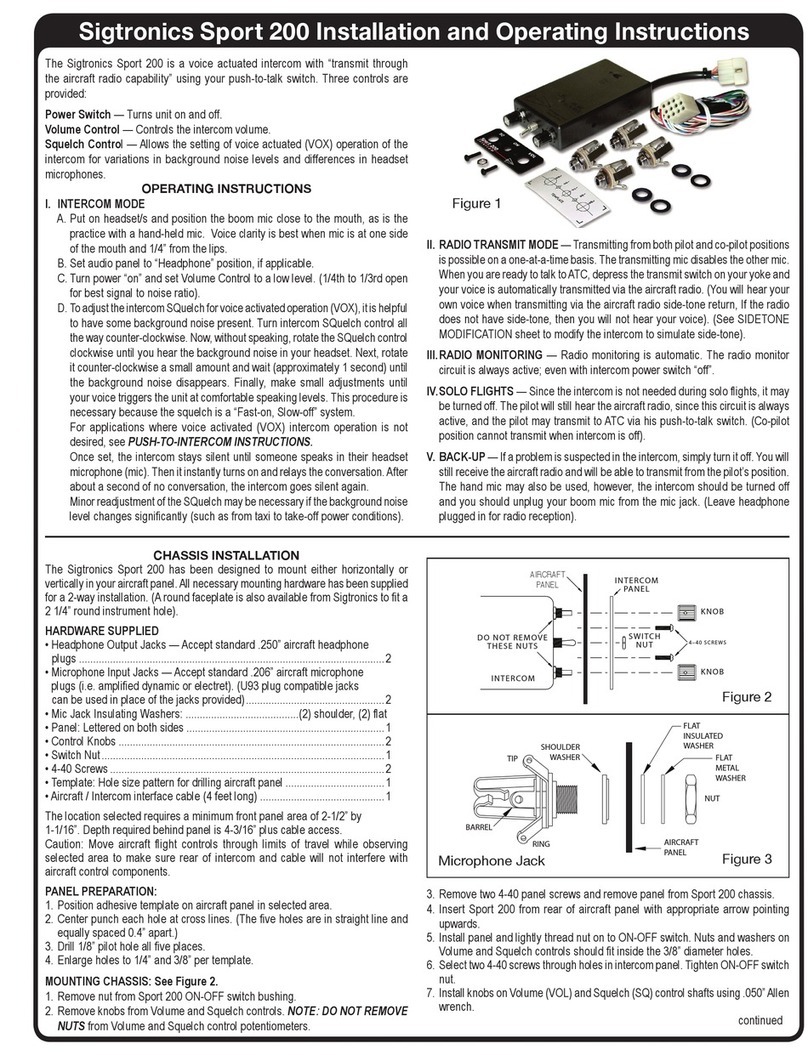
SHOULDER
WASHER
FLAT
INSULATED
WASHER
FLAT
METAL
WASHER
NUT
AIRCRAFT
PANEL
RING
BARREL
TIP
Figure 5
TIP
(RIGHT)
RING
(LEFT)
BARREL
(COMMON)
AIRCRAFT PANEL
NUT
Figure 3
Microphone Jack
RIGHT
LEFT
STEREO
+
-
+
-
+-
+-
RC
RC
C – 220 MFD, 25 VOLT CAPACITOR
R – 100 OHM, 5 WATT RESISTOR
NO CONNECTION
J2 (6) WHITE / VIOLET
J2 (4) WHITE / BROWN
J2 (5) BLACK
To Sport 200S
Figure 6
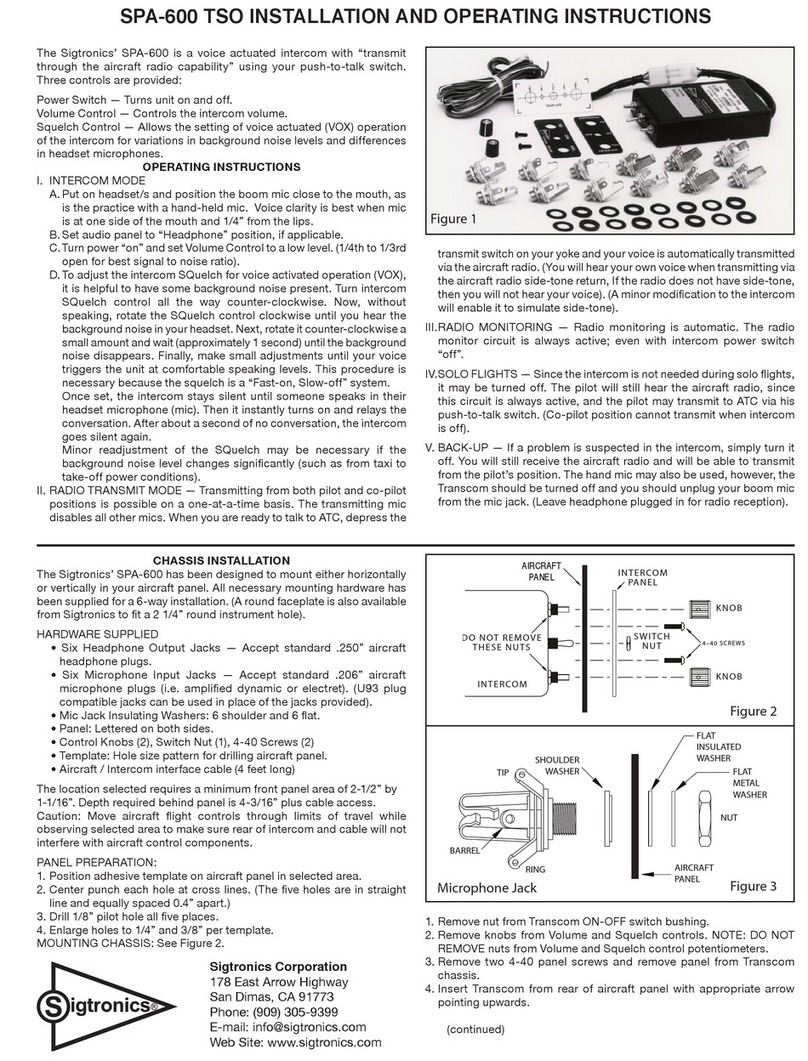
Figure 2
4–40 SCREWS SWITCH
NUT
KNOB
KNOB
AIRCRAFT PANEL
INTERCOM PANEL
DO NOT
REMOVE
THESE
NUTS
INTERCOM CHASSIS
MOD. ADJ.
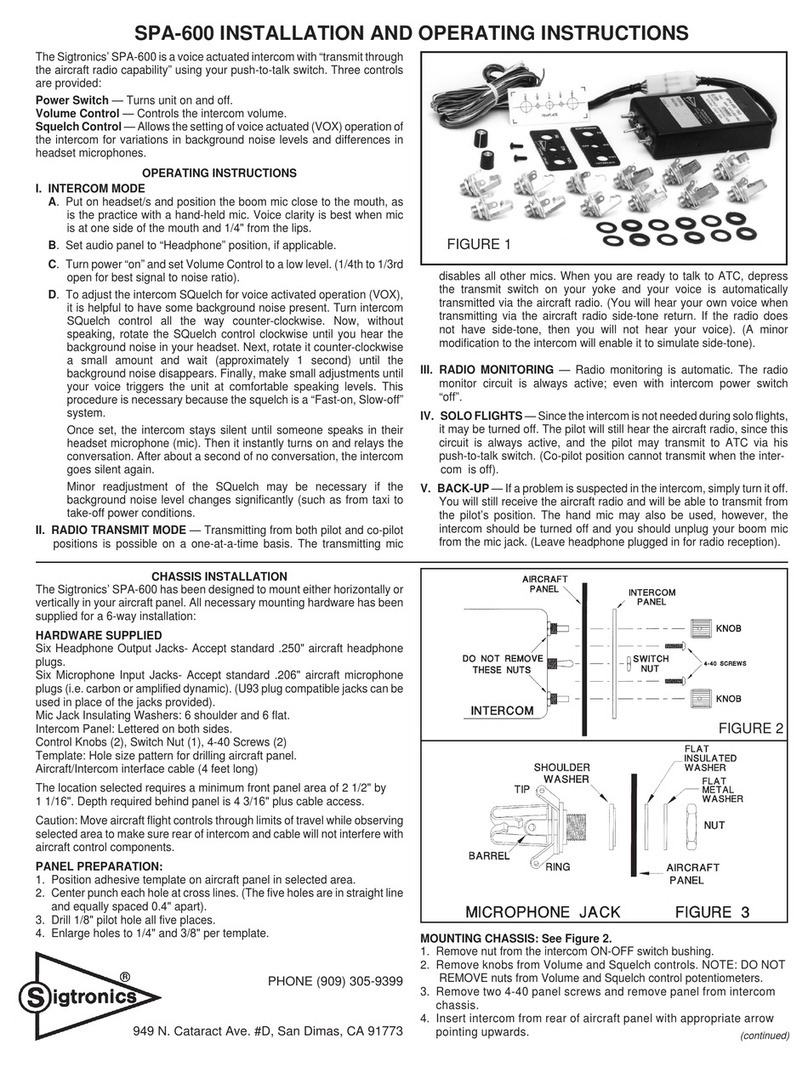
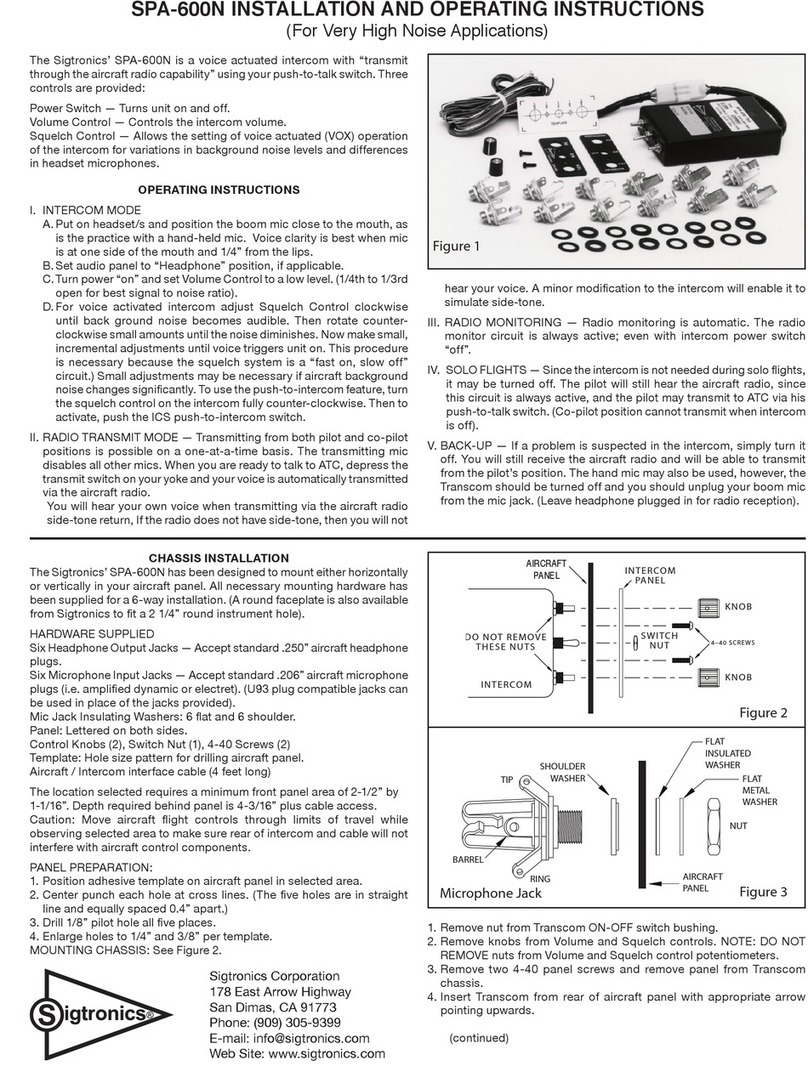
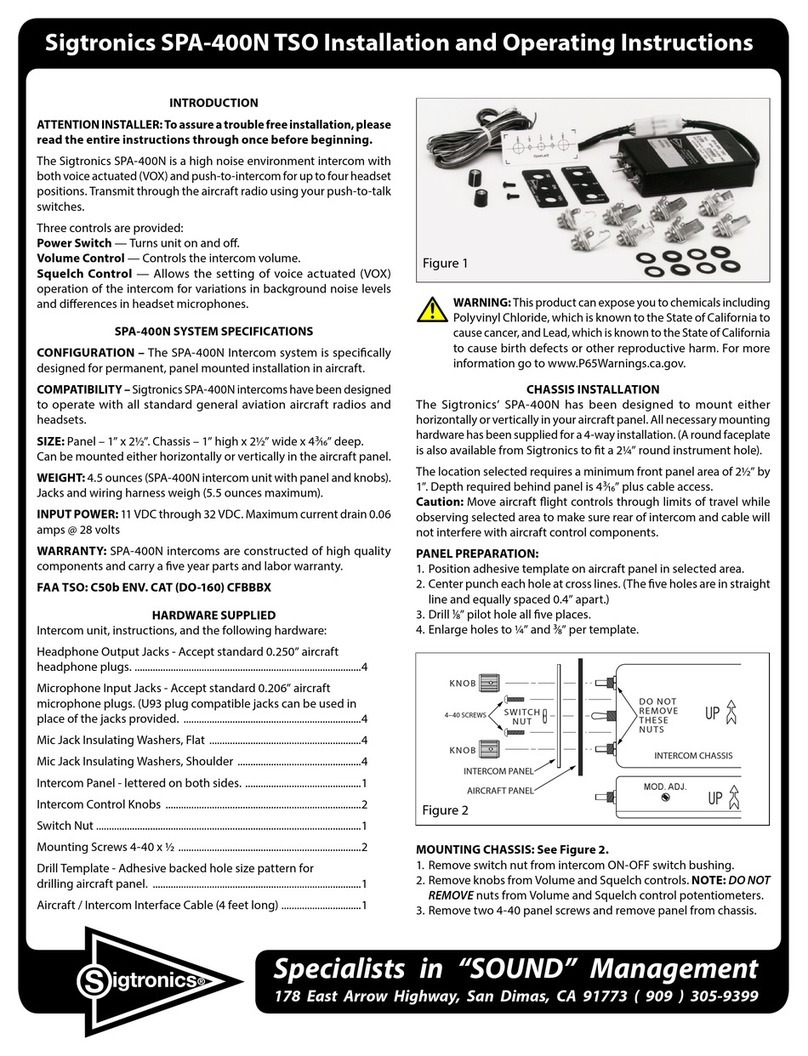
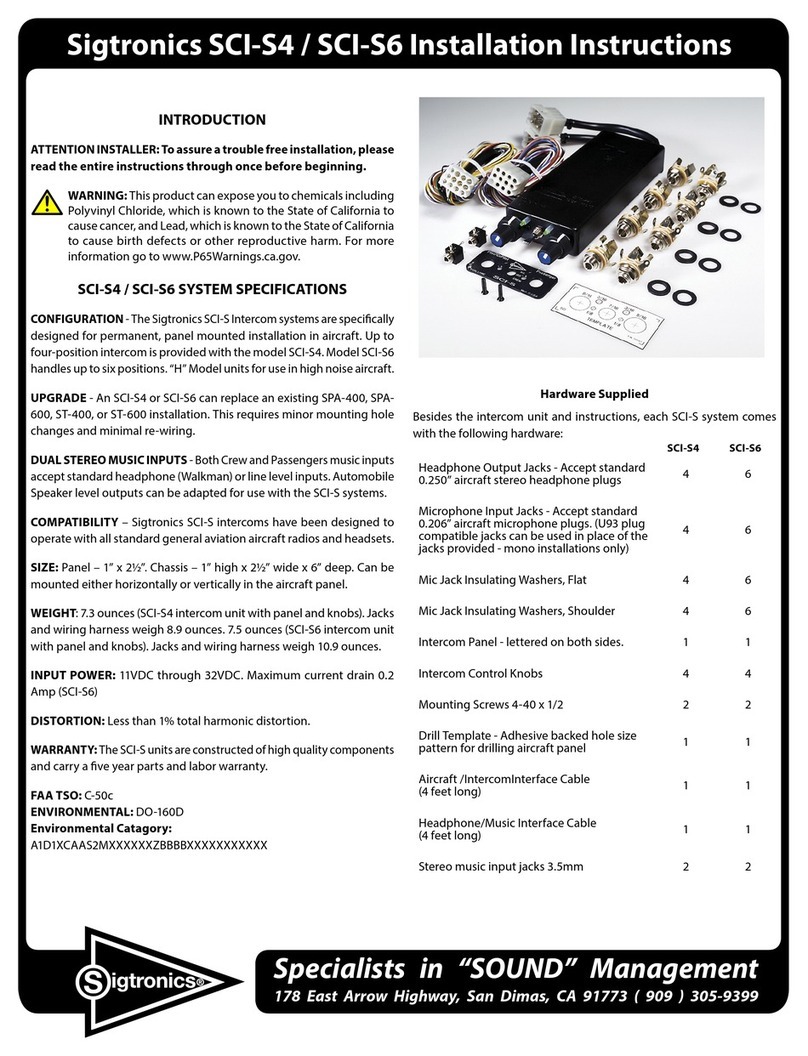
MOUNTING CHASSIS (See Figure 2)
1. Remove the knobs from the Volume and Squelch controls using a 0.050”
Allen wrench. Remove the nut from the ON/OFF switch. NOTE: DO NOT
REMOVE the nuts from the Volume and Squelch controls.
2. Insert the Sport 200S unit from the rear of the aircraft panel with the
appropriate UP arrow for horizontal or vertical installation.
3. Install the printed Sport 200S panel and lightly thread the two 4-40 screws
through the holes in intercom panel. The nuts on the Volume and Squelch
controls will t inside the ³⁄₈” diameter holes.
4. Tighten the two screws and switch nut.
5. Install the knobs on the Volume (VOL) and Squelch (SQ) control shafts
and tighten the Allen screws.
MOUNTING HEADPHONE AND MICROPHONE JACKS (See Figure 3)
1. Locate the mounting areas. (One mic and one headphone jack required
for each headset). Again, make sure that the jacks will not interfere with
any aircraft control components. (Note that the jack contacts will expand
when a plug is inserted into the jack and must have clearance to prevent
shorting.)
2. Drill ³⁄₈” diameter holes for headphone jacks and install.
3. Drill ½” diameter holes for the mic jacks and install with the insulating
washers supplied. (See Figure 3).
Note: If the aircraft already has pilot headset jacks, the location can be used
for intercom with the following changes. The mic jack must be re-wired as
follows:
1. Remove any existing wires from the tip, ring, and barrel connections.
2. Connect the intercom white/black wire to the ring terminal.
3. Connect one end of a ground wire to the barrel terminal of the mic jack
and connect the other end to Intercom Central ground Point “A”.
4. Install insulating washers as necessary if the barrel of the mic jack is
mounted in metal. For the headphone jack, replace the mono headphone
jack with the stereo headphone jack. Connect the green wire (P2 pin 1)
to the tip connection. Connect the white/green wire (P2 pin 2) to the
ring connection.
WIRING INSTRUCTIONS
Connections should be made as shown in Figure 4 and indicated in Tables
1 and 2. Read also the referenced notes below. If longer wire lengths are
required, use a good quality multi stranded hook-up wire - 22 gauge or
larger. Although not necessary, shielded audio wire can be used if desired.
1. The blue wire from Pin 3 must be connected to the aircraft radio headphone
output - NOT the speaker output. NOTE – If aircraft radio volume heard
in the headsets changes signicantly when switching the ON/OFF switch
a minor adjustment to the radio receive potentiometer will x this. See
“INSTALLATION CHECK-OUT AND ADJUSTMENTS” section on page 3.
2. Connect all intercom mic jack grounds to a single aircraft chassis ground
point - Intercom Central ground Point “A” - as shown in Figure 4. (Use the
black washers supplied to insulate the intercom mic jacks from aircraft
chassis ground). Note this intercom central grounding point is used to
eliminate any unwanted electrical noises, such as alternator whine or
strobe noise, from being induced into the intercom system through the
grounds. All intercom mic jack barrels must be insulated from ground
where they are mounted and connected back to Intercom Central Ground
Point “A” on their own individual ground wire. Similarly, both intercom
ground wires (J1 pin 4) and the push-to-transmit switch grounds must
also be connected back to Intercom Central Ground Point “A”. It is not
necessary, however, to connect the headphone jack barrels to Intercom
Central Ground Point “A”. They can either be grounded where they are
mounted or some place nearby.
3. The red wire may be connected to either 12V (14V) or 24V (28V) power
source. No switching or adjustments are required to operate from either
source.
4. The Sport 200S system provides
a stereo music input. This music
input accepts portable music
Headphone or Line level music
sources. The wiring diagram shows
how to wire the Sport 200S for
use with a portable stereo music
source. A small stereo input jack is
supplied for this purpose. Connect
the White/Brown, White/Violet, and
Black wires to one jack as shown in Figure 4. Identify the jack terminals
using Figure 5. Drill a ¼” hole for the jack and mount on the aircraft panel.
To use, connect an adapter cable between the music input jack and the
output of the portable stereo. Suitable cables are available at your local
Stereo or electronics store as well as from Sigtronics. Speaker level output
car stereo music sources can also be used with the Sport 200S system. A
Floating Ground Adapter or a four wire to three wire converter will have
to be used between the Stereo and the Sport 200S music input. Figure 6
shows such an adapter and how it is wired into the Sport 200S.
5. The Sigtronics Sport 200S system can be installed as shown for use with
Stereo headsets. Alternatively, monaural general aviation type headsets
can be used. To use monaural headsets follow the installation instructions
as normal except for the wiring of the stereo headphone jacks. Use the
Page 2 SigtronicS Sport 200S Panel Mount intercoMS www.SigtronicS.coM


