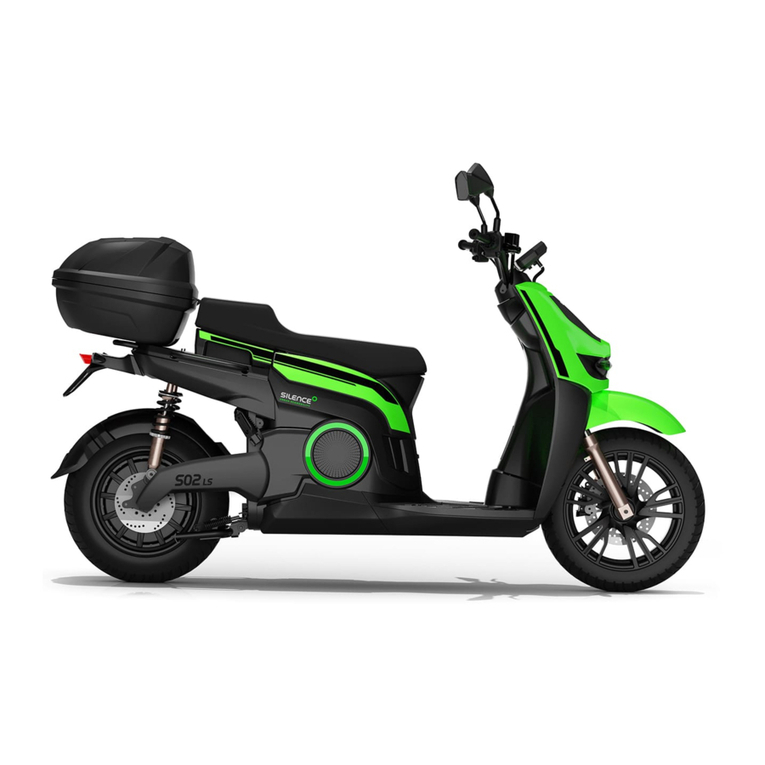
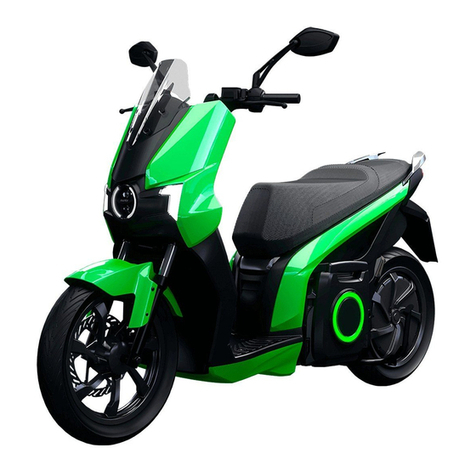
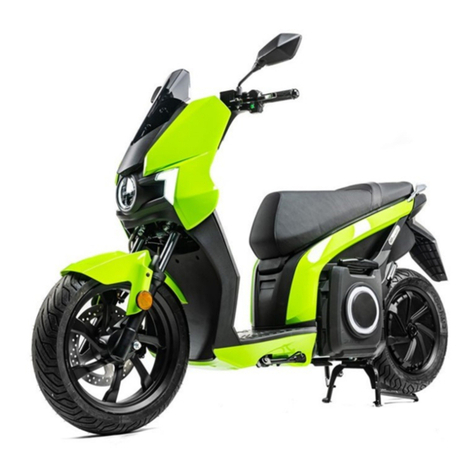
SILENCE SCUTUM S02 User manual

1
USER MANUAL
SCUTUM S02

2
GENERAL CONTENTS
1.- General characteristics of the vehicle
2.- Technical specifications of the battery and charger
3.- Maintenance program
4.- Warranty of the Vehicle and the battery

3
GENERAL CHARACTERISTICS OF THE VEHICLE
0. GENERAL SPECIFICATIONS
1. VEHICLE IDENTIFICATION
1.1 VIN - FRAME MARKING
1.2 INFORMATIVE LABEL - PRODUCTION PLATE
1.3 MAXIMUM PERMITTED LOAD
2. GENERAL COMPONENTS
2.1 MAINSTAND AND SIDESTAND
2.2 MIRRORS
2.3 FUSE BOX
2.4 REAR WHEEL (MOTOR)
2.5 LIGHTS
2.6 UNDER SEAT STORAGE COMPARTMENT
2.7 TAIL BOX
3. CONTROLS
3.1 LEFT SWITCH CONTROLS
3.2 COMBINED BRAKE AND REGENERATIVE BRAKE
3.3 RIGHT SWITCH CONTROLS
3.4 IGNITION SWITCH
3.5 KEY GUARD
4. INSTRUMENT PANEL
4.1 SPEEDOMETER
4.2 PANEL
5. DISPLAY
5.1 MAPING OF THE ELECTRIC MOTOR
5.2 SERVICE
5.3 READY AND BATTERY, MOTOR AND CONTROLLER TEMPERATURES
5.4 VEHICLE CHARGE INDICATOR
5.5 SPEEDOMETER ERRORS

4
GENERAL SPECIFICATIONS
Motor
Type
Specifications
Motor (maximum torque / maximum power)
Type
Maximum speed
Position
161.4 Nm / 4 KW
BRUSHLESS HUB MOTOR 13”
80 Km/h
On wheel
Regenerative brake
Motor brake
Reverse speed
0 Emissions
LED lighting
Battery specifications
2 kWh (Pack 1)
4 kWh (Pack 2)
6 kWh (Pack 3)
Capacity
Cell chemistry
Weight
Battery nominal voltage
2200 kWh 44 Ah
Lithium-ion cells
19.5 Kg
48 V
4200 kWh 82.5 Ah
Lithium-ion cells
30.2 Kg
48 V
5500 kWh 107.3 Ah
Lithium-ion cells
35.8 Kg
48 V
Charger Type
Standard charging time
On-board 600 W
3 hours 100%
On-board 600 W
6 hours 100%
On-board 600 W
8 hours 100%
Riding modes & maximums
2 kWh (Pack 1)
4 kWh (Pack 2)
6 kWh (Pack 3)
Maximum speed
Maximum range
E 25 km/h
E 65 km
C 40 km/h
C 45 km
S 45 km/h
E 40 km
E 45 km/h
E 120 km
C 60 km/h
C 90 km
S 75 km/h
E 80 km
E 45 km/h
E 180 km
C 60 km/h
C 130 km
S 75 km/h
E 110 km

5
Frame
Specifications
Material
Wheel base
Height from ground
Seat height
Weight without battery
Maximum carrying capacity
Steel
1910x710x1260 mm
1482 mm
137 mm
85 Kg
175 Kg
General specifications
Specifications
Wheels
Tyres
Front tyre pressure
Rear tyre pressure
Brakes
Front / rear suspension
Suspension
13”X3.5
130/60-13
1.8 bar
2.5 bar
220 mm disc
Hydraulic with 232 oil
Front telescopic fork
Accessories (optional)
Tail boxes
Document holder on leg guard
Windshield
Smartphone support and charger
Factory remote connection
Electronic data registers
Safety
Protection against short circuits.
Protection against voltage dips and surges.
Protection for low and high voltage.
Protection against high temperatures of the engine, battery and controller.

6
1. VEHICLE IDENTIFICATION
1.1 VIN - FRAME MARKING
The VIN is an alphanumeric 17-digit code which is used to identify your scooter. The VIN standard is established by the ISO
laws. The VIN is required when ordering spare parts.
The VIN is stamped on the steering pipe, below the plastic cover. It is engraved directly on the frame.
To access the VIN, remove the plastic cover by applying pressure to the upper part of the cover.

7
1.2 INFORMATIVE LABEL - PRODUCTION PLATE
This scooter has a label which displays the frame number, the maximum permitted noise level and the rpm.
The label is at the rear of the scooter, towards the right side, very close to the wheel.
1.3 MAXIMUM PERMITTED LOAD
The maximum weight of this scooter is 315 kg, including the rider and the maximum carrying capacity. This weight limit
is shown in all the specifications tables.

8
Maximum Total Weight 315 kg.
Maximum Total Load 170 kg.
Maximum Load in Central Zone Not Specified
Maximum Capacity in Under Seat Storage Compartment 3.7 Litres
Maximum Capacity in Tail Box 75 kg.
Center of the
scooter
Underseat luggage
compartment
Space for a
rear box

9
2 GENERAL COMPONENTS
The general components of this scooter are:
Front fender
Speedometer
Rear
Mirrors
Seat
Front wheel
Battery
Sidestand
Mainstand
Rear wheel
(Motor)
Break light,
Blinkers

10
2.1 MAIN STAND AND SIDE STAND
SIDE STAND
The side stand is on the left side of the scooter.
To use the side stand, push the bar downwards with your
foot from the side support.
The side stand is used when the ground is too uneven, or
sloped to use the main stand.
MAIN STAND
The main stand is underneath the scooter centre line.
This stand is used to keep the scooter in a vertical position.
To lower the stand, push the arm down with one foot while
slowly pushing the scooter forwards and upwards.
The main stand is used when the ground is even and flat
and when the scooter is going to be parked for a long
period of time.
Both stands are reinforced at the fastening point in order to
withstand intensive pressure throughout use.

11
2.2 MIRRORS
Before driving, make sure that the mirrors are
correctly adjusted.
It is possible to adjust them just by moving the
plastic part.
2.3 FUSE BOX
The fuse box is below a protective cover inside the
under seat storage compartment.
If any electronic anomalies are detected, please
contact your official dealer.

12
2.6 UNDER SEAT STORAGE COMPARTMENT
To open this compartment, insert the key in the lock and
turn it clockwise, then pull the seat upwards.
To lock the seat, lower the seat and press down until it locks
into the fitting.
The maximum carrying capacity in this compartment is 3.7
litres.
The power cable for charging the vehicle is also stored in
this compartment.
2.4 REAR WHEEL (MOTOR)
This scooter has a 100% electric motor on the rear
wheel, with Brushless (HUB) technology with direct
transmission and cooled by air.
It has a power of 4000 W and reaches a maximum
speed of 80 km/h.
2.5 LIGHTS
All the lighting on the scooter is LED-based, including
the dipped and main beam headlamps.

13
2.7 TAIL BOX (optional)
This scooter has a platform suitable for fitting a tail box with a maximum carrying capacity of 75 kg, designed for the safe
assembly of boxes with different specifications. Scutum has a 200l Box that can be installed in the scooter.

14
3. CONTROLS
Left Switch Controls
Right Switch Controls
Rear brake / Parking brake
Front brake /
regenerative brake
Throttle
Ignition /
Key guard
The brake fluid may damage the motorcycle
paintwork and the plastic parts in the event of
accidental spillage.
The brake fluid may cause damage and injury
if handled incorrectly.
If the brake fluid comes into contact with the
skin, wash immediately with water. If brake
fluid splashes into your eyes, rinse your eyes
with water and seek medical attention
immediately.
Never mix used oil with new oil.
USE DOT4 OIL.

15
3.1 LEFT SWITCH CONTROLS
Light switch positions
oPosition 1 DIPPED BEAM HEADLAMP
When the vehicle is switched on, the dipped lights come on by default (with the selector switch in position
1). The blue light on the speedometer does not light up when the selector switch is in position 1.
oPosition 2 MAIN BEAM HEADLAMP
To switch on the main beam headlamp, press the upper part of the switch.
The blue light on the speedometer lights up when the selector switch is set to position 2.
Position 1
Position 2

16
Turn signal selector switch
To switch on the turn signal, move the switch to the right to indicate a turn to the right or move the
switch to the left to indicate a turn to the left. Press the white central button to reset the position of
the turn signal switch.
Horn
Press the red button to sound the horn.
Reverse speed selector switch
This scooter has a reverse speed. To operate reverse speed, press and hold the button behind the
left brake lever, and gently accelerate.
Proceed with caution, especially the first time. This operation helps to manoeuvre the scooter when
parking or when reversing out of a parking space.

17
Run Button
Rear
Selector Switch
Lights
Selector Switch
Turn Signals
Horn

18
3.2 COMBINED BRAKE AND REGENERATIVE BRAKE
This scooter is fitted with a combined brake system that
operates as follows:
The right brake (mechanically) brakes the front wheel and
activates the regenerative brake (electronically) of the
rear wheel, while the left brake brakes (mechanically)
both the front and back wheels.
The regenerative brake has its own control on the right
brake lever, allowing it to be used without activating the
mechanical brake.
How to brake using the regenerative brake:
1.- Press the first part of the front brake lever (right) to
activate the regenerative brake.
This system electronically brakes the rear wheel and
regenerates energy to the battery.
2.- If you continue pressing the brake lever, the front
wheel brake is activated; the greater the pressure the
greater the force of the mechanical braking.
Braking with the regenerative brake helps the braking
and it also helps to keep the battery charged.
Regenerative Brake
Mechanical Brake
The force of the regenerative brake depends on the
mode selected (Eco (without regenerative), City
(with regenerative), Sport (with much regenerative)).

19
3.3 RIGHT SWITCH CONTROLS
Throttle
Turn the accelerator downwards to accelerate.
Release the throttle to return to a neutral position.
Warning switch
Right position - All lights off, default setting.
Left position - Warning signal
4 turn signals operating
Riding mode selector switch. “MODE”
This Scooter has three different riding modes:
Press once to change between the ECO, CITY or SPORT modes.
CITY “C”: The vehicle is designed to operate normally in CITY “C” mode, giving the vehicle a good performance level and a
more balanced consumption.
SPORT “S”: This riding mode offers greater power and speed in specific cases. Frequent use of the SPORT mode reduces the
scooter’s range (total range in Km with load), due to the increased power consumption, and may also result in overheating of the
engine/battery, leading to reduced performance or the disconnection of the scooter.
ECO “E”: this mode offers a more relaxed style of riding, with limited speed and acceleration. The speed is limited to 45km/h.
This modes extends the vehicle’s operating range.
The MODE button is also used as the start button. To start the vehicle the MODE button should be held pressed down for 1
second after switching on the scooter. To confirm that the vehicle is started, the word READY is displayed on the screen,an
acoustic signal is heard and the green LED on the speedometer lights up.
MODE selector
Warning switch

20
3.4 IGNITION SWITCH
Selector switch positions
STEERING LOCKED
Turn the handlebar to the left as far as possible.
Insert the key and turn anti-clockwise.
All the functions are deactivated.
The Scooter has very limited movement.
OFF / STEERING UNLOCKED
All the functions are deactivated.
The steering lock is not activated.
The Scooter can be moved.
It is possible to work on the motorcycle in safety.
IGNITION
All functions are ready for use.
The Scooter is ready to be ridden if the MODE button is
held down for one second, READY is displayed on the
speedometer and a green LED lights up.
In this position, the key cannot be removed.
3.5 KEY GUARD
CLOSED
Place the interior side section of the key in the groove.
Turn anticlockwise to protect the switch.
OPEN
Turn clockwise to open and then it is possible to
access the ignition key.
Ignition Switch
Key Guard
Table of contents
Other SILENCE Scooter manuals
