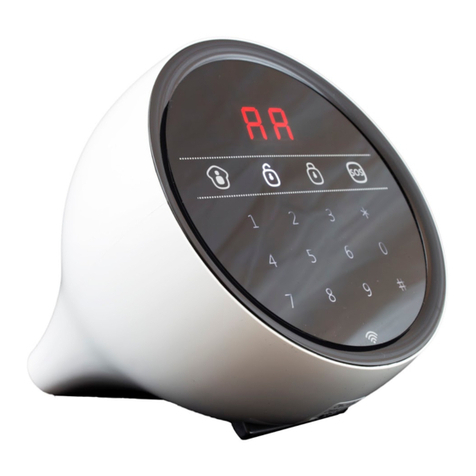
Silent Alert SW3A-2208-EU User manual

SignWave Receiver
SW3A-2208-EU
Silent
AlertTM
Move the On /Off key to the left
using the edge of the front cover.
Replace the front cover, the
SignWave will flash the battery
light green once every 8
seconds to indicate the unit is
switched on.
Place the base on a smooth surface
such as a bedside or coffee table.
Dock the SignWave onto the base.
The battery symbol will light solid
green to show the SignWave is
correctly docked and charging.
For overnight cover use the optional
pillow pad.
TM
Silent
Alert
A
B
54
3
2
1
ON /OFF
ON
Switch on Cancel a signal Charge up
Simple to use and ergonomically designed for both Deaf and
Hard of Hearing people, the portable SignWave receiver uses
strobe, variable sound frequencies and the incoming alert
symbol to notify the user to an event occurring.
SignWave
Base Unit
(shown with optional
pillow pad fitted)
SignWave contacts
Pillow pad socket
Power supply socket
A
B
54
3
2
1
ON /OFF
ON
Cancel button
Event display
Volume control
Strobe light
Front cover
ON / OFF
1 2 3 4 5 B A
Telephone: 0800 387 397 Web: www.silent-alert.co.ukCall us: 8:00 - 16:30 Monday to Friday
A
Beep
A
B
54
3
2
1
ON/OFF
ON
When a signal is received the
strobe will flash, a sound will be
emitted and one of the event
lights will illuminate. This
sequence can be cancelled by
pressing the cancel button at the
top of the unit.

Silent Alert troubleshooting
Silent
AlertTM
Telephone: 0800 387 397 Web: www.silent-alert.co.ukCall us: 8:00 - 16:30 Monday to Friday
SignWave
Cause: SignWave battery may be flat
Place SignWave onto its base and allow
to recharge.
Battery key lights and SignWave Beeps
Cause: Monitor battery flat
Monitor Battery is flat. Change the
Battery in the corresponding monitor
and send a signal to test.
Event + Battery key light and SignWave Alarms
Cause: SignWave may not be switched on
Move the ON/OFF switch to the on position
(to the left, away from off).
The battery symbol will light solid green for 5 seconds
then flash green every 7 seconds.
The SignWave is now ready to use.
SignWave does not function
ON / OFF
1 2 3 4 5 B A
ON/OFF
A
B
5
4
3
2
1
Solution: Switch Signwave into long range mode
With the SignWave switched on, move switch 5 to the right.
System range insufficient
ON/OFF
A
B
5
4
3
2
1
Cause: Incorrect system channel
Check that the system channel keys labelled
1-4 match on both the receiver and
the transmitter.
NOTE: the pager and signwave have an
ON/OFF key. Transmitters do not.
SignWave doesn't function and is switched on
ON/OFF
A
B
5
4
3
2
1
Correct settings
PUSH
1 2 3 4 5 6 7 8
Cause: SignWave in Fire Safe mode
If the SignWave is in a Fire Safe environment
this is normal, do not change.
If Fire Safe cover is not required make sure
key A is switched off (to the right) and
wait 5 minutes.
Smoke Key flashes every 7 seconds

Silent Alert troubleshooting
Silent
AlertTM
Telephone: 0800 387 397 Web: www.silent-alert.co.ukCall us: 8:00 - 16:30 Monday to Friday
SignWave Page 2
Cause 1: SignWave battery may be flat
Place SignWave onto its base and allow
to recharge.
If the battery is too flat to light the battery key
switch the unit off and charge for 15 minutes, then,
whilst still on the base switch the SignWave on.
The battery light should now shine solid green.
Battery key flashes amber whilst the SignWave is on the base.
Cause: Unit has been reprogrammed
Move the ON/OFF switch to the off position
(to the right towards off).
Wait 5 Seconds.
Move the ON/OFF switch to the ON position.
The battery symbol will light solid green for 5 seconds
then flash green every 7 seconds.
The SignWave is now reset and ready to use.
SignWave wont flash &/or make noise
ON / OFF
1 2 3 4 5 B A
Cause 3: Pilllow Pad possibly damaged
Check the vibrating pillow pad is firmly plugged into
the base. If it is check the contact springs in the
base are all present and at the same height.
Re-dock the SignWave and check for a solid green
charging light.
If no pillow pad is fitted move to solution 4
Cause 2: Base power supply is not
plugged in
Check the Mains adapter is plugged into the wall
and firmly into the base. Also Check the mains
socket is switched on.
If this is all ok and you still have an orange
flashing battery light move to solution 3
Cause 4: Pilllow Pad not fitted
If the Pillow Pad is not fitted switch key B on the
signwave to the left. This will stop the error being
reported and give you a solid green charging light.
ON/OFF
A
B
5
4
3
2
1

Vibrating Pager
PG3A-2204-EU
Silent
AlertTM
OFF
A
B
5
4
3
2
1
Move the ON/OFF switch to
the on position (to the right,
away from off).
The pager will illuminate
each key then vibrate. The
pager is now ready to use.
Switch on
The pager will flash and
vibrate when it receives
a signal.
To re-set the Pager and
stop the vibration, press
and hold the key that is lit.
Silent Alert
TM
Fire Safe
Compatible
Silent
Alert
TM
Cancel a signal
TM
Silent
Alert
TM
Silent
Alert
OFF
A
B
5
4
3
2
1
Event Keys
Belt clip
Configuration keys
Charging Socket
Silent Alert
TM
Fire Safe
Compatible
Silent
Alert
TM
Lightweight & discreet, this portable, vibrating Pager unit is
worn by the user on the belt, in a pocket or around
the neck using the cord.
Telephone: 0800 387 397 Web: www.silent-alert.co.ukCall us: 8:00 - 16:30 Monday to Friday
Actual size
SilentAlert
TM
Fire Safe
Compatible
Silent
Alert
TM
12:14
SNZ
PM
Z
Z
Place the Pager in the Alarm
Clock or Trickle Charger
placed on a bedside table.
A vibrating Pillow Pad will
activate when a signal is
received to wake the user.
Charge up
Move the ON/OFF switch
to the on position ( to the
left away from off).
The Pager will illuminate
each key then vibrate. The
Pager is now ready to use.
OFF
A
B
5
4
3
2
1

Silent Alert troubleshooting
Silent
AlertTM
Telephone: 0800 387 397 Web: www.silent-alert.co.ukCall us: 8:00 - 16:30 Monday to Friday
Pager
Cause: Pager battery may be flat
Place Pager into an Alarm Clock or Trickle Charger and
allow to recharge.
Battery key lights and Pager vibrates
Cause: Monitor battery flat
Monitor Battery is flat. Change the
Battery in the corresponding monitor
and send a signal to test.
Event + Battery key light and Pager vibrates
OFF
A
B
5
4
3
2
1
Cause: Pager may not be switched on
Move the ON/OFF switch to the on position
(to the left, away from off).
The Pager will illuminate each key then vibrate. The
Pager is now ready to use.
Pager does not function
OFF
A
B
5
4
3
2
1
1 2 3 4 5 6 7 8
CORRECT Cause: Incorrect coding
Coding switches incorrect. Check that
the keys labelled 1-4 match on both the
receiver and the transmitter.
NOTE: the pager and signwave have
an ON/OFF key. Transmitters do not.
Pager does not function and is switched on
OFF
A
B
5
4
3
2
1
Solution: Switch Pager into long range mode
With the Pager switched on, move switch 5 to
the left (away from the belt clip).
System range insufficient
OFF
A
B
5
4
3
2
1
Cause: Pager in Fire Safe mode
If the Pager is in a Fire Safe environment this is
normal do not change.
If Fire Safe cover is not required make sure key A
is switched off (to the right).
Smoke Key flashes every 7 seconds

Alarm Clock charger
Ch3A-2205-IN
Silent
AlertTM
Switch on Charge the Pager Vibrating Pad
Telephone: 0800 387 397 Web: www.silent-alert.co.ukCall us: 8:00 - 16:30 Monday to Friday
With backlit keys and a powerful backup battery, the Alarm Clock
charger allows users to charge their Pager over night with the
benefit of alarm clock cover.
When used with the optional vibrating pillow pad, the user has 24H
notification from their range of Silent Alert transmitters.
Z
Z
Pillow pad Socket
Power socket
Charging jack
Clock display
Clock keys
Strain relief
CH3A-2205-IN Alarm Clock Charger
Use with Mains Adaptor (PS3A-2207-UK),
or National Equivalent ONLY
BATCH NUMBER 18/03/14
www.silent-alert.co.ukClofield Ltd.,
19The Bridge Business Centre,
DunstonRoad, Chesterfield, S41 9FG
Tel:+44(0)1246-260045
9V DC 300mA2.7VA
Connect the power supply
to the unit and the plug
adaptor into a 13 Amp
mains socket.
The display will switch on
and the charger will
power up.
Use the strain relief in the
charger base to secure.
Dock the pager in to the charger.
The battery key on the Pager & the
snooze key on the charger will light green
briefly upon docking confirming the pager
is docked correctly.
If a pillow pad is fitted it will vibrate three
times when the pager is docked.
Silent Alert
TM
Fire Safe
Compatible
Silent
Alert
TM
Z
Z
12:14
SNZ
PM 16:48
TM
Silent
Alert
Overnight cover can
be achieved using a
Vibrating Pillow Pad.
When a signal is
received at night, or
when the alarm
activates, the pillow
pad will vibrate to alert
the user.
12:14
SNZ
PM 16:48

Silent Alert troubleshooting
Silent
AlertTM
Telephone: 0800 387 397 Web: www.silent-alert.co.ukCall us: 8:00 - 16:30 Monday to Friday
Alarm Clock Charger
Cause: Mains not connected
Connect power supply to mains, Ensure socket is
switched on & plug is fitted to socket at back of the
Alarm Clock Charger.
Clock display blank Alarm does not activate
Cause: Alarm not set
Set the alarm using the far left key and
hold it until the pillow pad vibrates
(if fitted) and the alarm and snooze LED's
light in the display.
Refer to the Charger's quick start guide
for detailed instructions on setting
the clock.
Cause: No mains power / faulty
pillow pad
Check the power supply is plugged into a
13amp mains socket that is switched on.
Also, check the 2.1mm power supply plug is
firmly connected to the charger.
If a pillow pad is present unplug it. If the light
stops flashing replace the pillow pad.
Snooze key flashes amber
Z
Z
12:14
SNZ
16:48
Cause: Battery flat / Pillow pad
worn out
The Charger battery will take up to 48H to
fully charge. If it is a new installation leave the
charger plugged in for a few minutes and re-
test.
The Pillow Pad can be tested using a
standard 9V PP3. Unplug the pad and place
the jack plug across the terminals of the
battery. The pad should vibrate vigorously.If it
doesn't vibrate, replace the pad.
Pillow Pad vibration weak/ No VP
TM
Silent
Alert
Warning
Do not connect
the VP as shown
for longer than
2 seconds
12:14
SNZ
PM 16:48

Mini Monitor
MM4A-2212-EU
Silent
AlertTM
Switch on Send a signal Use Outdoors
Telephone: 0800 387 397 Web: www.silent-alert.co.ukCall us: 8:00 - 16:30 Monday to Friday
The Mini Monitor can be used as a wireless stand alone bell push
or can replace a bell push on an existing wired door chime. Simply
install a 9V PP3 alkaline battery and the unit is ready to go.
PUSH
TM
Silent
Alert
Status light
Test button
Configuration
switch Cover
PP3 battery
contacts
Screw cap
Screw cap
MM4A
MONITOR
USE ALKALINE PP3
9 V BATTERY ONLY
Batch 06/01/14
www.silent-alert.co.uk
Clofield Ltd. UK
Tel: 01246-260045
Keys 1-4 System
Channel
Key 5=10 Sec Delay
Key 6=20 Sec Delay
Keys 5+6=30 Sec Delay
Key 7 Leave ON
Key 8 Not Used
USE WITH MAGNET SUPPLIED
PUSH
1 2 3 4 5 6 7 8
Input
terminals
Internal
Sounder
CCD4A-2220-EU
CARE CALL
MINI MAGNETIC
DOOR MONITOR
USE ALKALINE PP3
9 V BATTERY ONLY
Batch 06/01/14
www.silent-alert.co.uk
Clofield Ltd. UK
Tel: 01246-260045
Keys 1-4 System
Channel
Key 5=10 Sec Delay
Key 6=20 Sec Delay
Keys 5+6=30 Sec Delay
Key 7 Leave ON
Key 8 Not Used
USEWITH MAGNET SUPPLIED
PP3 Battery
PUSH
PUSH
Install a 9 volt PP3 alkaline or
lithium battery making sure to
observe the correct polarity.
The Mini Monitor has no "ON"
switch so no keys need to be
moved across.
PUSH
TM
Silent
Alert
Press the test button and check
the Pager and/or SignWave
receive the signal.
The Mini Monitor will
make a sound when the
button is pressed to provide
feedback to visitors.
If the mini monitor is to be used
outside a StormGuard cover
is available.
This clear cover simply fits
around the monitor and protects it
from moisture.

Mini Monitor
MM4A-2212-EU wiring diagram
Silent
AlertTM
Telephone: 0800 387 397 Web: www.silent-alert.co.uk
A voltage applied across terminals 1 & 2
will also trigger the unit. Both AC and
DC voltages from 5 - 30 Volts will
activate the unit.
NOTE: If a DC voltage is applied the
positive needs to be connected to terminal
2 and negative to terminal 1.
When wiring across a coil or similar, use the
voltage input.
Common (negative)
to terminal one
A standard bell push button can be
used with a Mini Monitor
1
3
1 2 3 4 5 6 7 8
Call us: 8:00 - 16:30 Monday to Friday
If a bell push is connected to a chime this may be
replaced using the mini monitor.
Replace a bell push with
a Mini Monitor
PUSH
TM
Silent
Alert
1
3
1 2 3 4 5 6 7 8
Move control key 8 to the right.
Insert the wires from the door
chime into terminals 1 & 3 on
the monitor securing with the
locking screws.
Make sure the common (negative)
wire on the bell push is connected to
terminal 1 to avoid false triggering.
12 (5 - 30V AC/DC)
Move control key 7 to the right.
Insert the wires from the door
chime into terminals 1 & 3 on
the monitor securing with the
locking screws.
Mini Monitor with
external bell push Use a Mini Monitor with
an existing doorbell
PUSH
TM
Silent
Alert

Silent Alert troubleshooting
Silent
AlertTM
Telephone: 0800 387 397 Web: www.silent-alert.co.ukCall us: 8:00 - 16:30 Monday to Friday
Mini Monitor
Cause: Flat battery in monitor
Replace the PP3 battery in the Mini Monitor with a
brand new Alkaline or Lithium battery.
Check the date on the battery before installation to
ensure it has at least 5 years shelf life before fitting.
Monitor does not function
Cause: Incorrect system channel
Check that the system channel keys labelled
1-4 match on both the receiver and the
transmitter.
NOTE: the pager and signwave have an
ON/OFF key. Transmitters do not.
Monitor does not activate Pager or SignWave
ON/OFF
A
B
5
4
3
2
1
Correct settings
PUSH
TM
Silent
Alert
PUSH
1 2 3 4 5 6 7 8
Cause: Incorrect configuration
The unit by default will send a doorbell signal.
If key 5 is set it will send a
Person to Person signal.
Key 6 will send a Burglar/ Car alert.
Keys 5 & 6 will send a Fire alert.
NOTE: the pager and signwave have an
ON/OFF key. Transmitters do not.
Monitor lights up wrong symbol
on Pager or SignWave
ON/OFF
A
B
5
4
3
2
1
Correct settings
PUSH
1 2 3 4 5 6 7 8
External bellpush doesn't trigger mini monitor
Common (negative)
to terminal one
Cause: Wiring incorrect.
Ensure the wires connected to the
monitor clamp onto the wire, not the
insulation.
Check the Negative (common) wire is
connected to terminal 1.
Pager/
SignWave Mini Monitor
Pager/
SignWave Mini Monitor

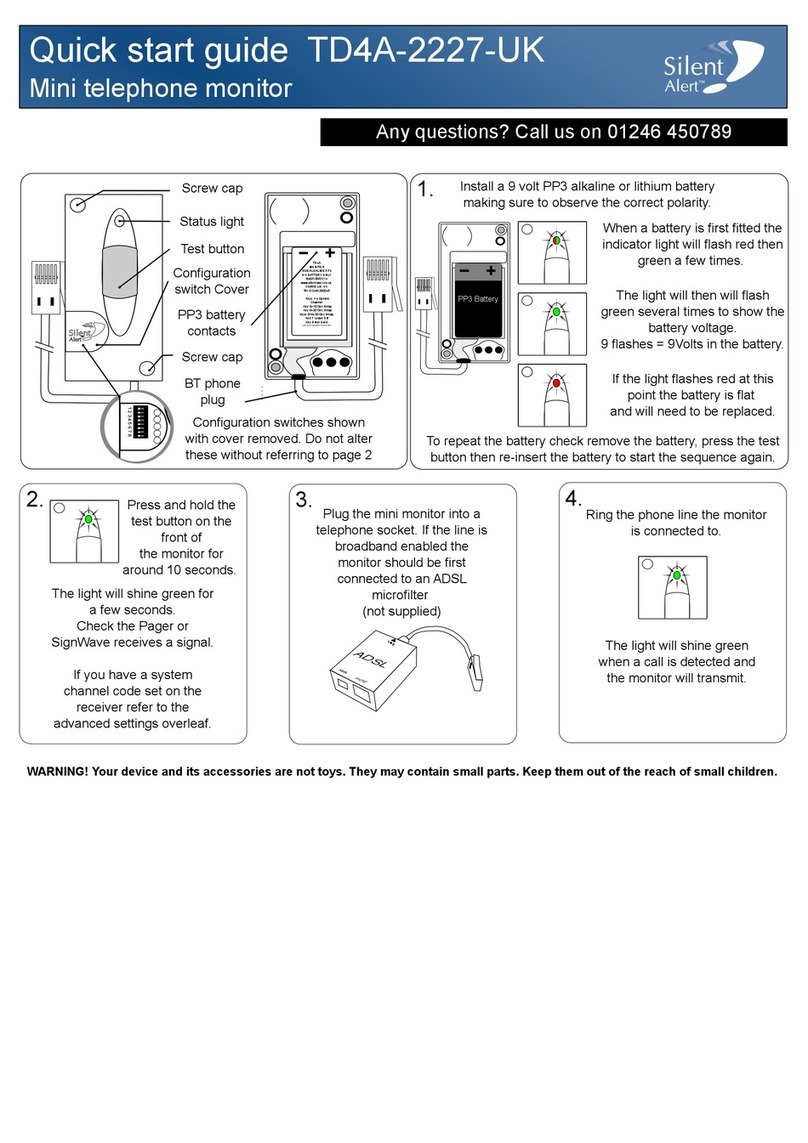
Telephone Monitor
TD4A-2227-UK
Silent
AlertTM
Switch on Connect the unit Auto Cancel
Telephone: 0800 387 397 Web: www.silent-alert.co.ukCall us: 8:00 - 16:30 Monday to Friday
The Mini Telephone monitor is easy to fit and enables the user to
be alerted to incoming calls to their phone, textphone or fax.
CCD4A-2220-EU
CARE CALL
MINI MAGNETIC
DOOR MONITOR
USE ALKALINE PP3
9 V BATTERY ONLY
Batch 06/01/14
www.silent-alert.co.uk
Clofield Ltd. UK
Tel: 01246-260045
Keys 1-4 System
Channel
Key 5=10 Sec Delay
Key 6=20 Sec Delay
Keys 5+6=30 Sec Delay
Key 7 Leave ON
Key 8 Not Used
USEWITH MAGNET SUPPLIED
PP3 Battery
PUSH
PUSH
Install a 9 volt PP3 alkaline or
lithium battery making sure to
observe the correct polarity.
The Mini Monitor has no "ON"
switch so no keys need to be
moved across.
Connect the Telephone monitor
through to a BT socket.
Now each time the phone line
rings the monitor will transmit.
A Microfilter will be required if
the line is broadband enabled.
When the telephone handset is
picked up the monitor will send an
automatic cancel signal to
the receiver.
The user will not have the
distraction of an alarm sounding
while taking the call.
PUSH
Status light
Test button
Configuration
switch Cover
PP3 battery
contacts
Screw cap
Screw cap
TD4A
MONITOR
USE ALKALINE PP3
9 V BATTERY ONLY
Batch 06/01/14
www.silent-alert.co.uk
Clofield Ltd. UK
Tel: 01246-260045
Keys 1-4 System
Channel
Key 5=10 Sec Delay
Key 6=20 Sec Delay
Keys 5+6=30 Sec Delay
Key 7 Leave ON
Key 8 Not Used
USE WITH MAGNET SUPPLIED
BT phone
plug
PUSH
1 2 3 4 5 6 7 8
PUSH
PUSH
Microfilter
(If required)

Silent Alert troubleshooting
Silent
AlertTM
Telephone: 0800 387 397 Web: www.silent-alert.co.ukCall us: 8:00 - 16:30 Monday to Friday
Telephone
Cause: Flat battery in monitor
Replace the PP3 battery in the Telephone Monitor with
a brand new Alkaline or Lithium battery.
Check the date on the battery before installation to
ensure it has at least 5 years shelf life before fitting.
Monitor does not function
Cause: Incorrect system channel
Check that the system channel keys labelled
1-4 match on both the receiver and the
transmitter.
NOTE: the Pager and SignWave have an
ON/OFF key. Transmitters do not.
Monitor does not activate Pager or SignWave
ON/OFF
A
B
5
4
3
2
1
Correct settings
PUSH
1 2 3 4 5 6 7 8
Cause: Line overloaded
There are too many devices connected to the
phone line. Reduce the number of devices
and try again.
Green light does not come on
when line rings.
Pager/
SignWave Telephone
Monitor
PUSH
PUSH
Green light does not come on
when line rings.
Cause: Monitor not connected
properly
Check connection to the BT Socket.
If the line is broadband enabled you will
need to fit an ADSL microfilter between
the wall and the monitor
PUSH
PUSH

Universal Monitor
UM3A-2212-EU
Silent
AlertTM
Switch on Short Circuit Trigger Voltage trigger
Telephone: 0800 387 397 Web: www.silent-alert.co.ukCall us: 8:00 - 16:30 Monday to Friday
The Universal Monitor is a versatile addition to the Silent Alert
system allowing the flexibility to use both audio and external wired
connections to trigger the unit.
1
2
3
4
5
6
7
8
9
10
11
12
13
14
15
16
UM3A-2212-EU-PIR-MKX
Universal Monitor 11/12/13
USE MAINS POWER SUPPLY
PS3A-2207-UK ONLY
SILENT ALERT SA3000 SYSTEM
WWW.SILENT-ALERT.CO.UK CLOFIELD LTD. UK
TEL 01246 260045
1 = System Code 1
2 = System Code 2
3 = System Code 3
4 = System Code 4
5 = Audio Monitoring
6 = System Code Override
7 = Short Audio Delay
8 = Medium Audio Delay
7 & 8 = Long Audio Delay
9 = Poling signals
10 = Sound Level Display
11 = Smoke / Fire
12 = Burglar/ Car
13 = Baby Alarm
14 = Person to Person
15 = Door Bell
16 = Telephone
MOVE KEY DOWN
TO SWITCH ON
Configuration switches
Audio spindle
Test button
PP3 battery clip
Power Supply socket
Input terminals
1
2
3
4
5
6
7
8
9
10
11
12
13
14
15
16
1 = System Code 1
2= System Code 2
3 = System Code 3
4 = System Code 4
5 = Audio Monitoring
6 = Zone Multiplier (7-12)
7 = Short Audio Delay
8 = Medium Audio Delay
7 & 8 = Long Audio Delay
9 = PIR Delay 5 Mins
10 = PIR Delay 10 Mins
9 & 10 = PIR Delay 15 mins
11 = Zone 6
12 = Zone 5
13 = Zone 4
14 = Zone 3
15 = Zone 2
16 = Zone 1
MOVE KEY DOWN
TO SWITCH ON
Move Key 15 to the right. Connect a
9V Alkaline PP3 to the battery clip.
Press and briefly hold the test button
The light will shine green and the
monitor will send a signal.
A short applied across the
top and bottom terminal
will trigger the unit.
A voltage applied
across terminals 1 & 2
will also trigger the
unit. Both AC and DC
voltages from 5 - 30
Volts will activate
the unit.

Universal Monitor
UM3A-2212-EU Configuration
Silent
AlertTM
Telephone: 0800 387 397 Web: www.silent-alert.co.ukCall us: 8:00 - 16:30 Monday to Friday
Universal Monitor
baby alarm sound detection
Universal Monitor interconnected
Smoke alarm configuration Use a Universal Monitor with
an door entry system
UM3A with
battery backup
Inline
power supply
Fused Spur
Interconnected
smoke alarms
A voltage applied
across terminals 1 & 2
will also trigger the
unit. Both AC and DC
voltages from 5 - 30
Volts will activate
the unit.
1
2
3
4
5
6
7
8
9
10
11
12
13
14
15
16
1 = System Code 1
2= System Code 2
3 = System Code 3
4 = System Code 4
5 = Audio Monitoring
6 = Zone Multiplier (7-12)
7 = Short Audio Delay
8 = Medium Audio Delay
7 & 8 = Long Audio Delay
9 = PIR Delay 5 Mins
10 = PIR Delay 10 Mins
9 & 10 = PIR Delay 15 mins
11 = Zone 6
12 = Zone 5
13 = Zone 4
14 = Zone 3
15 = Zone 2
16 = Zone 1
MOVE KEY DOWN
TO SWITCH ON
More sensitive
Less sensitive
1
2
3
4
5
6
7
8
1
2
3
4
5
6
7
8
1
2
3
4
5
6
7
8
short medium long
Set keys 5,8 &13 to on.
This will configure the
Universal Monitor to
send a baby alarm with
a medium sound
trigger delay.
Adjust the sensitivity by moving the spindle
clockwise to increase and anti clockwise
to decrease.
Change the keys shown to alter the duration of
sound required to trigger the unit.
This is a very basic guide to sound detection setup.
Please refer to the full product guide for more
detailed instructions.
If the door entry system has a voltage output
between 5 - 30V use the bottom two terminals
ensuring the negative is connected to the
bottom terminal.
WARNING
DO NOT apply mains power or any voltage in
excess of 30 Volts as damage will result.
Only suitably qualified persons should attempt to
link this unit into systems or equipment other
than a low voltage door chime
Relay
Alternatively, use a relay with volt free contacts to
apply a short across the top and bottom terminal

Silent Alert troubleshooting
Silent
AlertTM
Telephone: 0800 387 397 Web: www.silent-alert.co.ukCall us: 8:00 - 16:30 Monday to Friday
Universal Monitor
Cause: Universal Monitor not coded
Check the Universal Monitor has one of keys
11 - 16 switched to the right.
Example shown would code monitor to doorbell.
(refer to quick start guide for settings)
Monitor does not function
1
2
3
4
5
6
7
8
9
10
11
12
13
14
15
16
1 = System Code 1
2= System Code 2
3 = System Code 3
4 = System Code 4
5 = Audio Monitoring
6 = Zone Multiplier (7-12)
7 = Short Audio Delay
8 = Medium Audio Delay
7 & 8 = Long Audio Delay
9 = PIR Delay 5 Mins
10 = PIR Delay 10 Mins
9 & 10 = PIR Delay 15 mins
11 = Zone 6
12 = Zone 5
13 = Zone 4
14 = Zone 3
15 = Zone 2
16 = Zone 1
MOVE KEY DOWN
TO SWITCH ON
Cause: Incorrect system channel
Check that the system channel keys labeled 1-4
match on both the receiver and the transmitter.
NOTE: the Pager and Signwave have an ON/
OFF key. Transmitters do not.
Monitor does not activate Pager or SignWave
ON/OFF
A
B
5
4
3
2
1
1
2
3
4
5
6
7
8
9
10
11
12
13
14
15
16
Correct
Correct settings
Correct settings
Cause: Flat battery in monitor
Replace the PP3 battery in the Universal monitor
with a brand new Alkaline or Lithium battery.
Check the date on the battery before intallation to
ensure it has at least 5 years shelf
life before fitting.
Monitor sends low battery signal &/or
test key lights orange
Pager/
Signwave

Keyfob
KF3A-2219-EU
Silent
AlertTM
Switch on Send a signal Battery Life
Telephone: 0800 387 397 Web: www.silent-alert.co.ukCall us: 8:00 - 16:30 Monday to Friday
The Mini Person to Person Key Fob can be used to page a carer in
another part of the home or workplace. Ideal when caring for
someone who is either ill, has mobility problems or is prone
to falling.
Low battery signals will be
sent to your Pager or
SignWave when the battery
needs changing.
A
B
54
3
2
1
ON /OFF
ON
Silent Alert
TM
Fire Safe
Compatible
Silent
Alert
TM
1 2 3 4 5 6 7 8
Status light
Send button
Configuration
switches
Battery
Security screw
Battery cover
Neck cord
1 2 3 4 5 6 7 8
Remove and
Discard
To activate the unit
simply remove the paper
tab by pulling it gently
away from the unit.
The keyfob is now ready
to go and is set to
illuminate person to
person by default.
Press the send button.
The status light will shine green
and the Pager or SignWave should
receive a person to
person signal.

Silent Alert troubleshooting
Silent
AlertTM
Telephone: 0800 387 397 Web: www.silent-alert.co.ukCall us: 8:00 - 16:30 Monday to Friday
Keyfob Monitor
Cause:flat battery
Press the keyfob button. If the LED lights
green the battery is good.
Keyfob does not function
Cause: Incorrect system channel
Check that the system channel keys labelled
1-4 match on both the receiver and the
transmitter.
NOTE: the pager and signwave have an
ON/OFF key. Transmitters do not.
Keyfob does not activate Pager or SignWave
1 2 3 4 5 6 7 8
ON/OFF
A
B
5
4
3
2
1
Correct settings
1 2 3 4 5 6 7 8
Unscrew here
CCF3A-2219-EU-GFOB ALARM
05/02/2014 BATTERY TYPE
6 VOLT LITHIUM
2CR1/3N or PX28L
Silent Alert Care Call System
www.silent-alert.co.uk Clofield Ltd. UK
Tel: 01246-260045
Replace the battery with a brand new Alkaline
or Lithium battery.
GP476A, PX28L or equivalent.
However, if the battery lights orange the
battery is flat and needs replacing.
Check the date on the battery before
installation to ensure it has at least 3 years
shelf life before fitting.

Smoke Alarm
UM3A-2212-ION/OPTO
Silent
AlertTM
Switch on Send a signal Battery Life
Telephone: 0800 387 397 Web: www.silent-alert.co.ukCall us: 8:00 - 16:30 Monday to Friday
Powered by a single 9V PP3 alkaline battery, these alarms, with
integral radio transmitters are suitable for all situations where Deaf
and Hard of Hearing people require early warning of an outbreak of
fire, whilst providing a powerful audible alarm for those with
good hearing.
ION
TM
Care
Call
Test button
Control Switches
Screw mounting holes
Battery
Install a 9V PP3 battery into
the unit.
NOTE: Only use alkaline or
lithium batteries.
Care
Call
Press the smoke alarm test button whilst
holding the alarm in the
desired location.
Refer to the separate EI instructions for the
smoke alarm to determine the best position
for the unit.
Check the Pager or SignWave has
received the signal before fixing in place.
An Alkaline battery should
last 2 years or more, a lithium
battery can last 5 - 10.
Low battery signals will be
sent to your Pager or
SignWave when the battery
needs changing.
A
B
54
3
2
1
ON /OFF
ON
Silent Alert
TM
Fire Safe
Compatible
Silent
Alert
TM

Silent Alert troubleshooting
Silent
AlertTM
Telephone: 0800 387 397 Web: www.silent-alert.co.uk
Call us: 8:00 - 16:30 Monday to Friday
Smoke Monitor
Cause: Flat battery
Replace the PP3 battery with a brand new
Alkaline or Lithium battery.
Check the date on the battery before
installation to ensure it has at least 5 years
shelf life before fitting.
Smoke monitor does not function
Cause: Incorrect system channel
Check that the system channel keys labelled
1-4 match on both the receiver and the
transmitter.
NOTE: the pager and signwave have an
ON/OFF key. Transmitters do not.
Smoke monitor does not activate
Pager or SignWave
Cause: Key 7 on
The unit by default will send a smoke signal
(red light) however, if key 7 is switched on the
unit will send a CO signal (blue light).
If it is not required simply switch key 7 off.
Smoke Monitor lights fire key blue
Battery
1 2 3 4 5 6 7 8
ON/OFF
A
B
5
4
3
2
1
Correct settings
1 2 3 4 5 6 7 8

Carbon Monoxide detector
CO4A-2230-EU
Silent
AlertTM
Switch on Send a signal Battery Life
Telephone: 0800 387 397 Web: www.silent-alert.co.ukCall us: 8:00 - 16:30 Monday to Friday
The Carbon Monoxide detector will sound a horn and the red
indicator will flash at different speeds to indicate the presence of
different levels of CO gas, (Slow flashes indicate low levels & rapid
flashes indicate high levels). Suitable for all situations where Deaf
and Hard of Hearing people require early warning of exposure to
Carbon Monoxide.
CARBON
MONOXIDE
ALARM
BATTERY
POWERED
ALARM
FAULT
MODEL: Ei204EN
BS EN 50291:2001 TEST & HUSH
Ei
Press the smoke alarm test button whilst
holding the alarm in the
desired location.
Refer to the separate EI instructions for the
Carbon Monoxide detector to determine the
best position for the unit.
Check the Pager or SignWave has
received the signal before fixing in place.
An Alkaline battery should
last 2 years or more, a lithium
battery can last 5 - 10.
Low battery signals will be
sent to your Pager or
SignWave when the battery
needs changing.
A
B
54
3
2
1
ON /OFF
ON
Silent Alert
TM
Fire Safe
Compatible
Silent
Alert
TM
CARBON
MONOXIDE
ALARM
BATTERY
POWERED
ALARM
FAULT
MODEL: Ei204EN
BS EN 50291:2001 TEST & HUSH
Ei
Remove the battery tab by
pulling out and away from
the unit.
The status lights on the
front of the unit will light in
sequence to indicate the
unit is starting up.
When receiving a Carbon monoxide alarm, the Pager or SignWave
will light the fire key blue. This will help the user to differentiate a
Carbon monoxide from a smoke alarm.
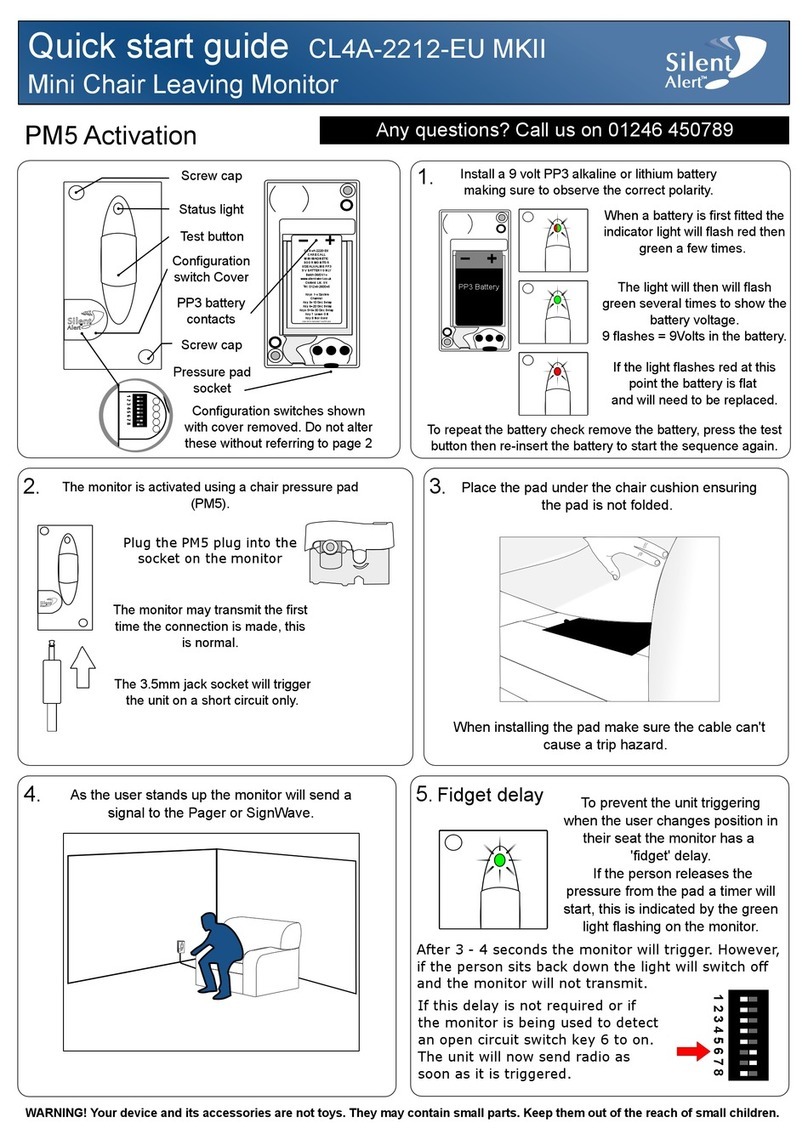
Other manuals for SW3A-2208-EU
2
Other Silent Alert Security System manuals
Silent Alert
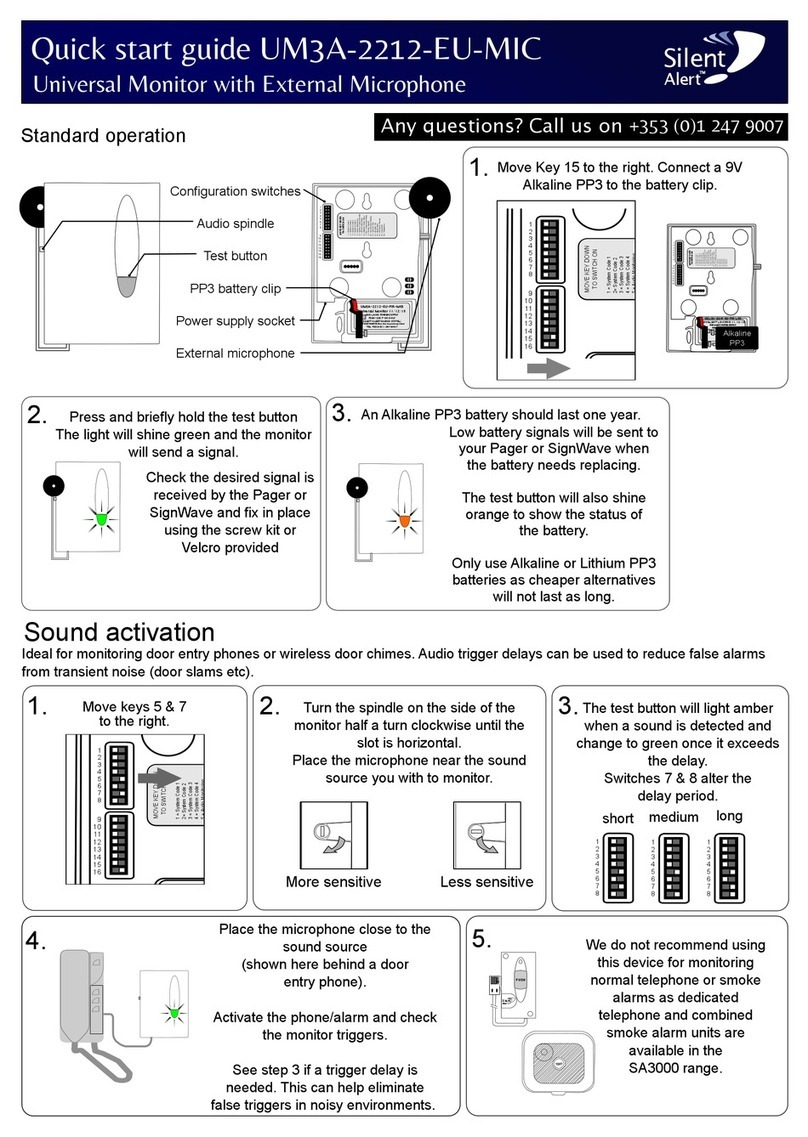
Silent Alert UM3A-2212-EU-MIC User manual
Silent Alert
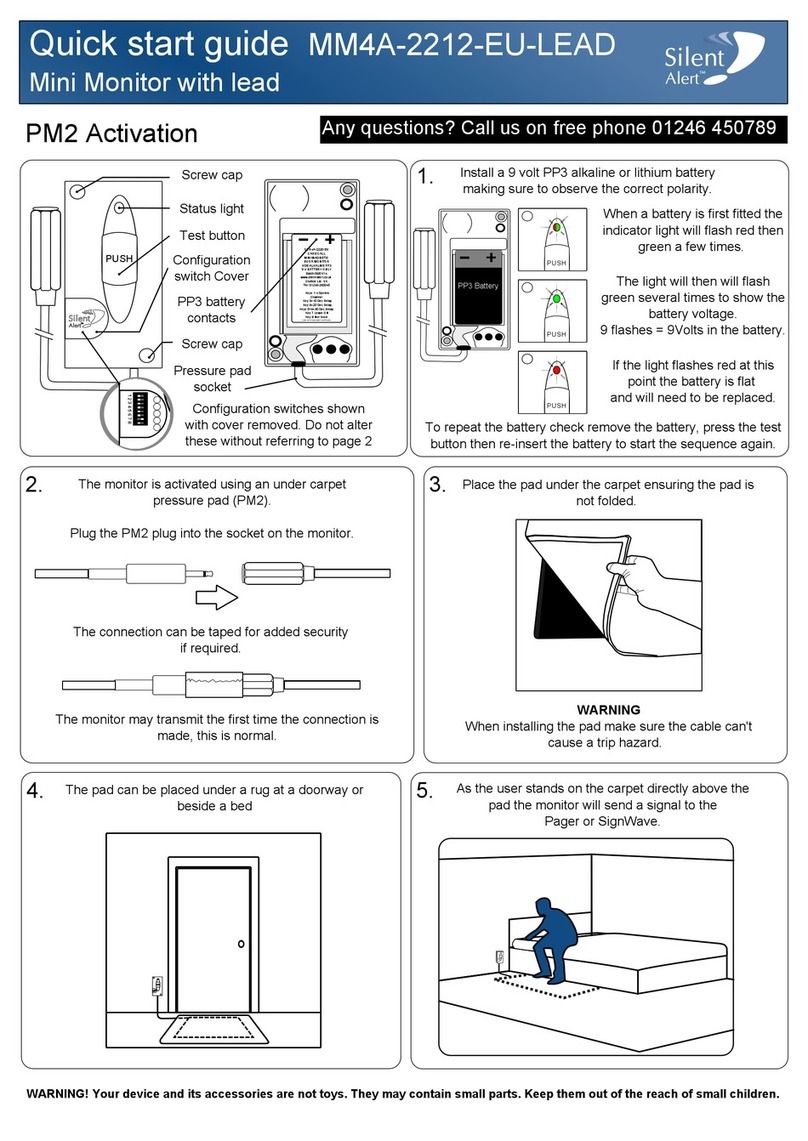
Silent Alert MM4A-2212-EU-LEAD User manual
Silent Alert
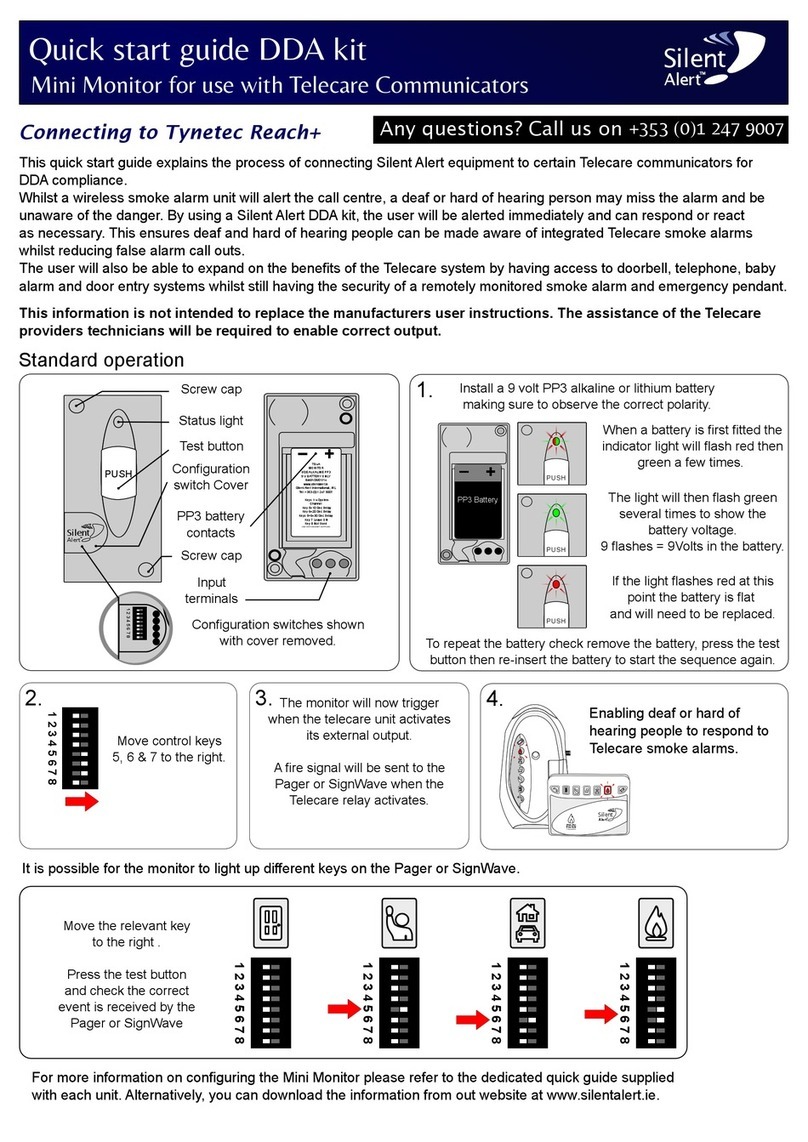
Silent Alert DDA User manual
Silent Alert
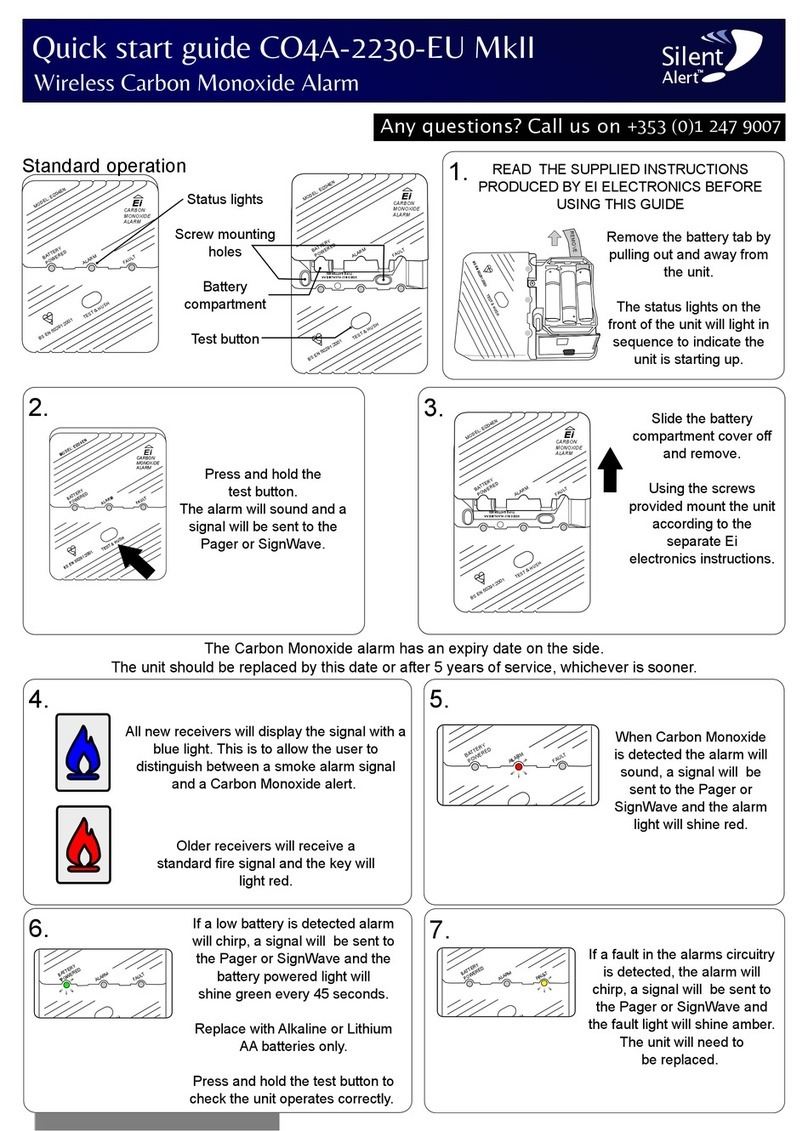
Silent Alert CO4A-2230-EU MkII User manual

Silent Alert
Silent Alert MM4A-2212-EU-LEAD User manual
Silent Alert
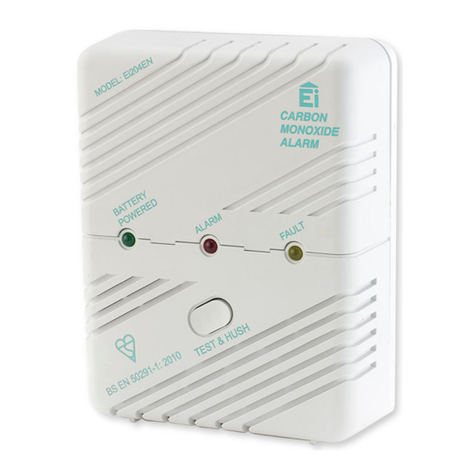
Silent Alert CO4A-2230-EU MkII User manual
Silent Alert
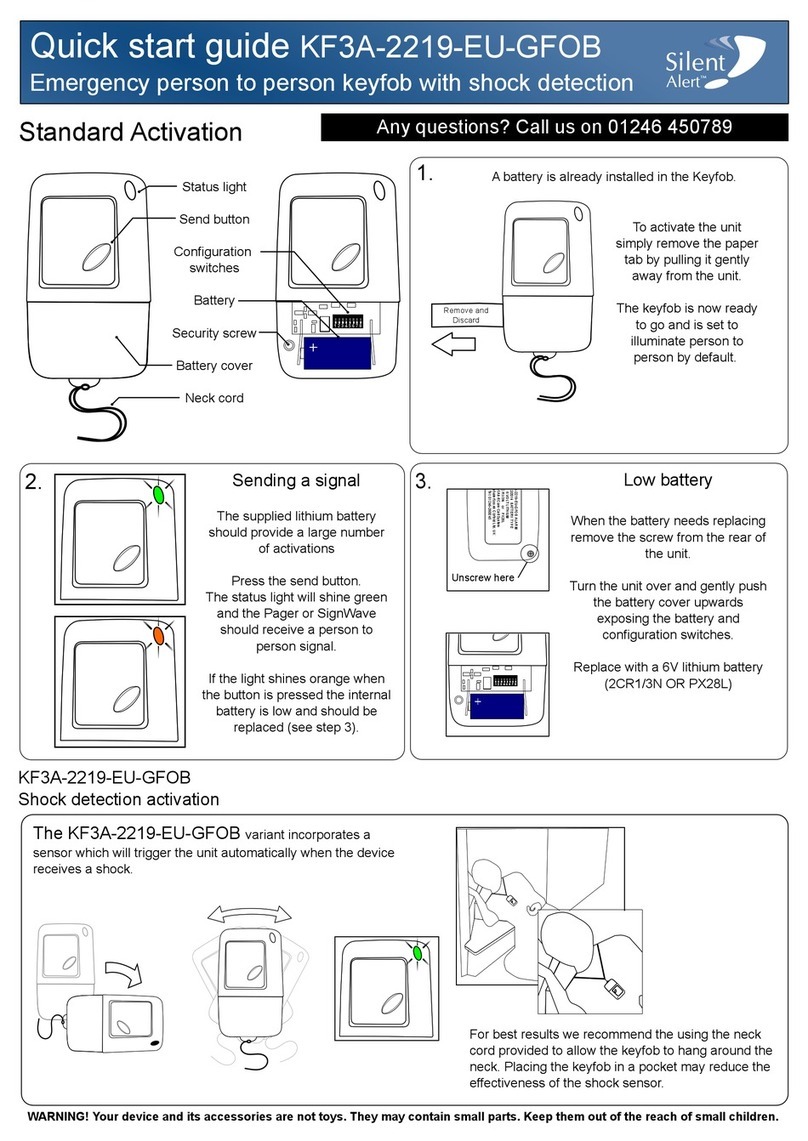
Silent Alert KF3A-2219-EU-GFOB User manual
Silent Alert
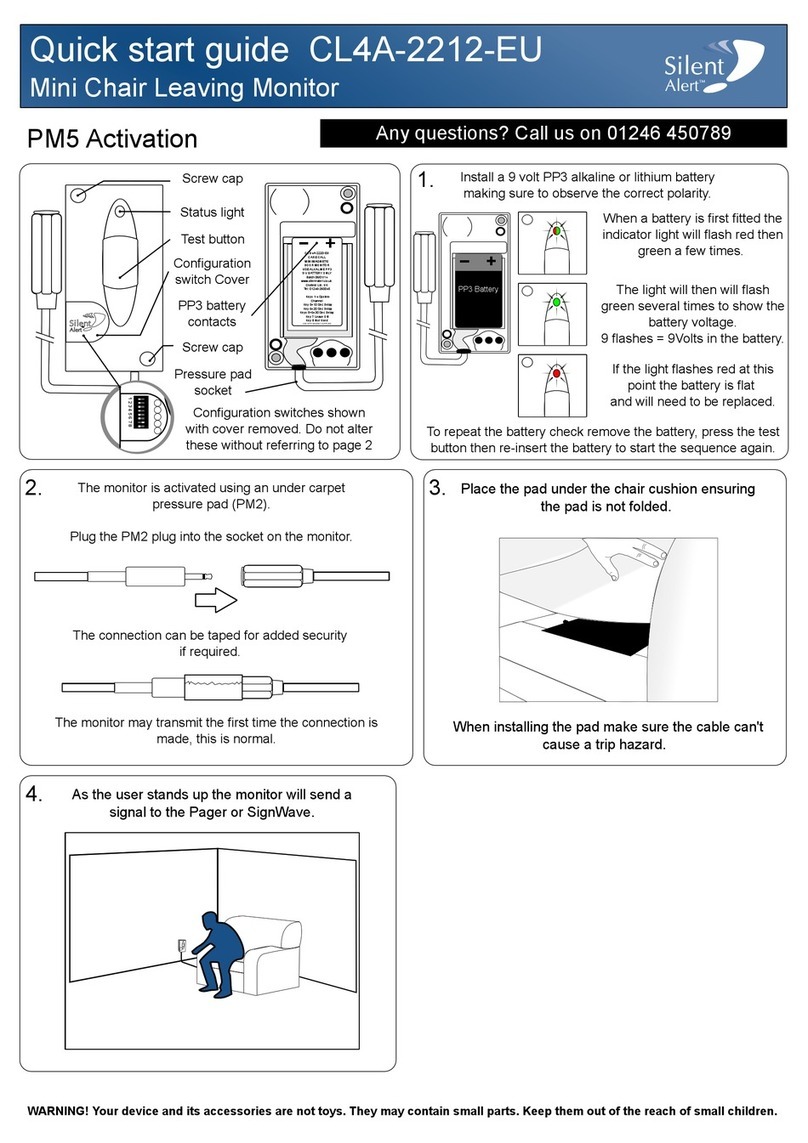
Silent Alert CL4A-2212-EU User manual
Silent Alert
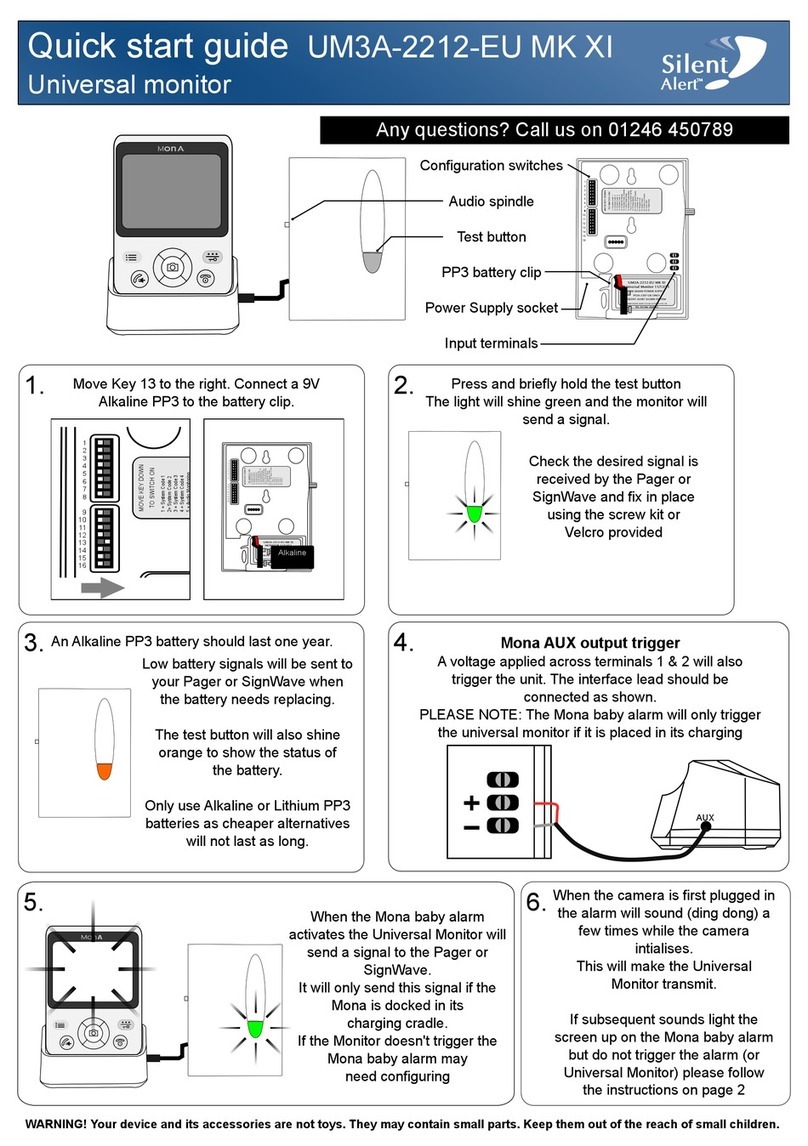
Silent Alert UM3A-2212-EU MK XI User manual
Silent Alert
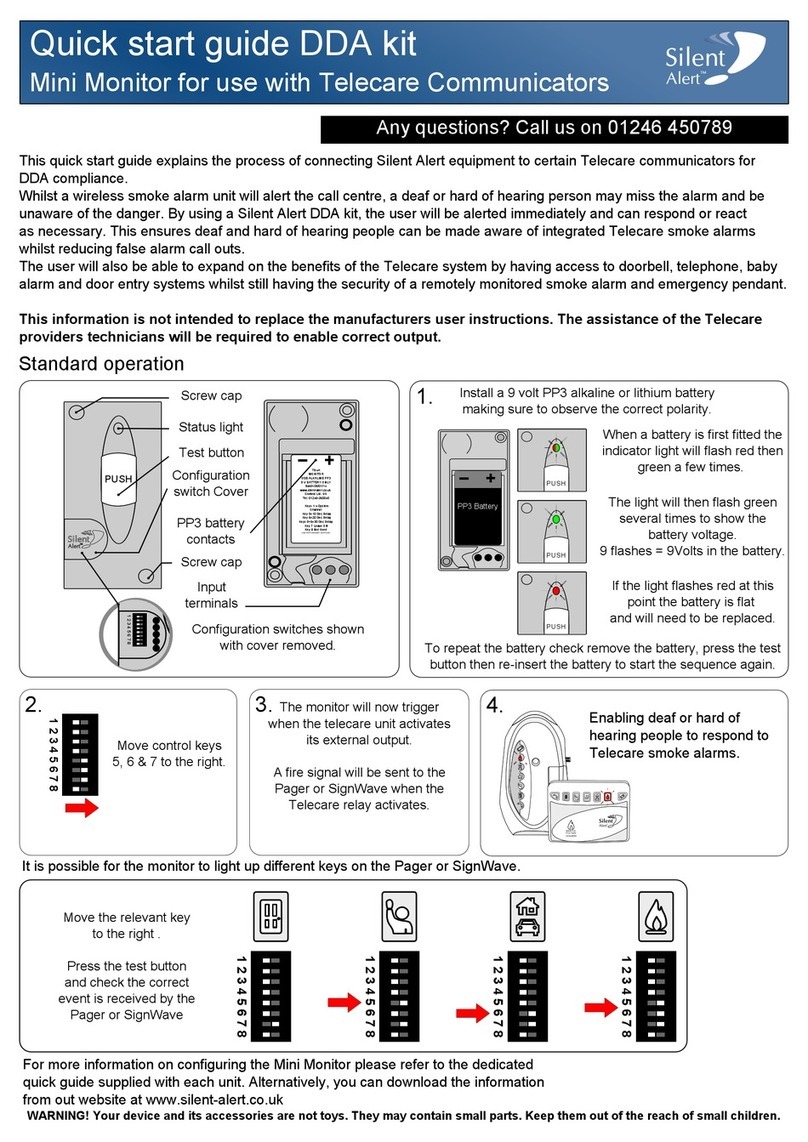
Silent Alert DDA kit User manual

