Sioux Tools 199281-FN User manual

ASSEMBLY INSTRUCTIONS
5-25HP CENTRIFUGAL FAN/12”-28” AXIAL FAN
TRANSITION FOR AERATION FLOOR
FARM/COMMERCIAL
Sioux Steel Company
Sioux Falls, South Dakota 57101
800-557-4689
Manual No. 199288
04-17-18/KAG/18-061 /REVF
199281-FN 5-10HP CENT- FARM 199281-CS 5-10HP CENT- COMMERCIAL
199281-15FN 15HP CENT- FARM 199281-15CS 15HP CENT- COMMERCIAL
199280-FN 20-25HP CENT- FARM 199280-CS 20-25HP CENT- COMMERCIAL
199281-575FN 10-15HP CENT/575V- FARM 199281-575CS 10-15HP CENT/575V- COMMERCAIL
208817 10/15HP CENT (SCF Series
Fan) ADAPTER 208822 20HP CENT (SCF Series Fan)
ADAPTER
199283 28” AXIAL (203 Series Fan) 199284 24” AXIAL (203 Series Fan)
208830 28” AXIAL (SDF Series Fan) 208827 24” AXIAL (SDF Series Fan)
199285 18” AXIAL- SPREADALL 199286 14” AXIAL- SPREADALL
199287 12” AXIAL- SPREADALL

2

3
CONTENTS
Contents…………………………………………..………………. 3
Safety………………………………………………........................ 4-7
Fan Transition Assembly………....……………………………… 8
Transition Package Pack List …………………............................ 9-11
Transition Assembly Instructions……………….……………….. 12
5-10HP Centrifugal Fan/Transition Configuration……………... 13
15-25HP Centrifugal Fan/Transition Configuration …................ 13
10-15HP 575V Centrifugal Fan/Transition Configuration ……. 14
10-20HP SCF Series Cent Fan/Transition Configuration…….. 15
Axial Fan/Transition Configuration …………………………….. 16
Axial Fan/Heater/Transition Configuration …………………… 16
Warranty………………………………………….……………… 17

4
READ AND SAVE THESE INSTRUCTIONS
GENERAL SAFETY STATEMENTS
Thank you for choosing a Sioux Steel Company product. It is designed to perform and serve you for many years.
It is the goal of Sioux Steel Company to improve our products whenever it is possible and practical to do so. Sioux
Steel Company reserves the right to change, improve, and modify products at any time without obligation to make
changes, improvements, and modifications on previously sold equipment.
Safety is Sioux Steel Company’s main concern for you and those who are associated with the grain handling
equipment. This manual is written to help you understand safe operating procedures, and some of the problems that
may be encountered by operator or other personnel.
It is your responsibility as owner/operator to know what requirements, hazards, and precautions exist, and to inform
all personnel associated with the equipment. Any alterations to equipment are strictly forbidden. Such alterations
may result in serious injury or death and will void any warranty on product.
This equipment shall be installed in accordance with the current installation codes and applicable regulations which
should be carefully followed in all cases. Authorities having jurisdiction should be consulted before installation is
made.
Carefully review this manual and its safety instructions before installing or operating this unit. Failure to read this
manual and its safety instructions may lead to serious injury or death. If you do not understand any part of this
manual or need assistance, contact your dealer.
Save the manual for future reference by personnel operating or maintaining the unit.

5
SAFETY
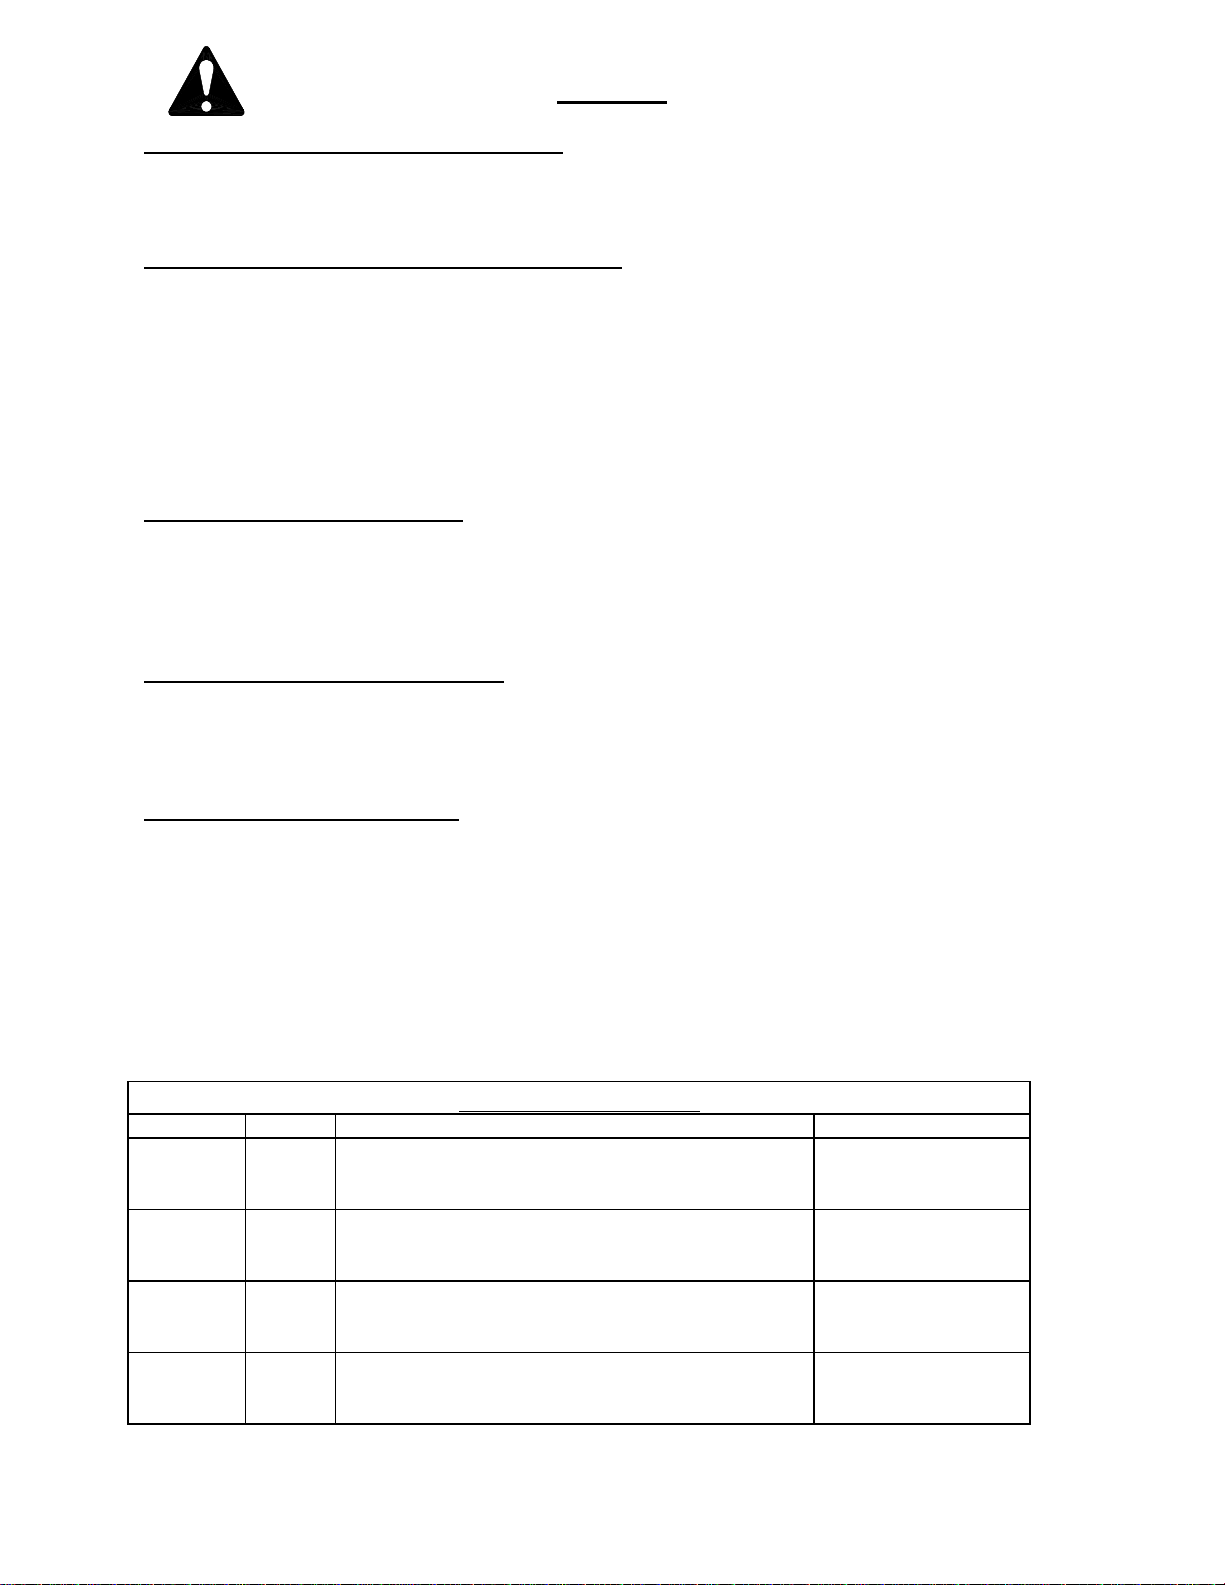
RECOGNIZE THE SAFETY ALERT SYMBOL
The above symbol means “ATTENTION! BE ALERT! YOUR PERSONAL SAFETY IS INVOLVED!” Note this
symbol in instructions for important issues concerning your personal safety. Read each message carefully to avoid
personal injury or death.
FOLLOW MACHINE SAFETY SIGNS & MESSAGES
Observe safe operating practices. Carefully read this manual and all safety signs on your equipment. Safety signs
must be kept in good condition. Replace missing or damaged safety decals or shields. Safety decals and shields are
available free of charge from Sioux Steel Company; 196 ½ E. 6
th
St., Sioux Falls, SD 57101-1265.
Learn how to use controls and operate equipment. Do not let anyone operate the unit (especially youth) without
thorough training of operating and safety procedures.
Make no unauthorized modifications to equipment. Modifications may endanger function and/or safety of the unit.
Periodically check all mechanical and electrical components. Keep unit in good working condition.
PRACTICE SAFE MAINTENANCE
Read and understand correct service procedures before operating. Keep area clean and dry to prevent accidents.
Machine should never be lubricated, serviced, or adjusted while it is in operation. Hands, feet and clothing must be
kept away from all moving parts. Keep all parts in good condition and properly installed. Fix any damage
immediately. Qualified service personnel should replace worn or broken parts. Any built-up grease, oil, and debris
around machine should be removed.
EMERGENCIES-KNOW WHAT TO DO
A first aid kit should be made readily available.
In the event of fire, a fire extinguisher should be at hand.
Have emergency numbers near your telephone for doctors, emergency medical squad, ambulance service, hospital,
and fire department and also have written directions to your location.
WEAR PROTECTIVE CLOTHING
CLOTHING- Avoid baggy clothes to avoid catching on moving parts.
HEARING PROTECTION- When high noise levels are encountered, ear plugs or muffs should be used.
EYE PROTECTION- Safety glasses should be worn at all times to protect eyes from debris.
GLOVES- Always wear gloves to protect hands from sharp edges.
STEEL TOE SHOES- Appropriate shoes should be worn to protect toes from falling debris.
RESPIRATOR- In order to prevent breathing toxic fumes or dust, a respirator may be needed.
HARD HAT- Appropriate headwear should be worn to protect head from falling debris.
FALL PROTECTION- Appropriate fall protection should be worn when working at elevations greater than six (6)
feet.
Signal Word Color Potential Injury or Damage Likelihood of Occurrence
DANGER Red
Severe
Indicates an imminently hazardous situation which if not
avoided will result in death or serious injury.
WILL Occur
if Warning is ignored
WARNING Orange
Severe
Indicates a hazardous situation which if not avoided will
result in death or serious injury.
COULD Occur
if Warning is ignored
CAUTION Yellow
Minor
Indicates a hazardous situation which if not avoided will
result in minor or moderate injury.
WILL or COULD Occur
if Warning is ignored
NOTICE
Blue
or
Yellow
None
Indicates an important message or instruction not related
to personal injury.
N/A
SAFETY ALERT SIGNAL WORDS

6
WARNING: To reduce the risk of fire, electric shock, or injury to persons, observe the following:
1. Use this unit only in the manner intended by the manufacturer. If you have any questions, contact the
manufacturer.
2. Before servicing or cleaning unit, switch power off at service panel and lock the service disconnecting
means to prevent power from being switched on accidentally. When the service disconnecting means
cannot be locked, securely fasten a prominent warning device, such as a tag, to the service panel.
3. Installation work and electrical wiring must be done by a qualified person(s) in accordance with all
applicable codes and standards, including fire-rated construction.
WARNING: To prevent explosion or fire:
1. Carefully review the operator’s manual.
2. Clean under floor, as fines may cause a bin fire.
3. Do not use to exhaust hazardous or explosive material and vapors.
4. Disconnect and lock out all power sources before servicing equipment.
WARNING: Keep clear of all moving parts
1. Keep people (ESPECIALLY YOUTH) away from equipment, particularly during operation.
2. Keep away from all moving parts. Entanglement can cause serious injury or death.
3. Keep inlet guard in place and in good working condition.
4. If fan is wired for suction, outlet must be shielded to protect an individual from moving parts.
Failure to follow the above precautions may cause serious injury or death.
CAUTION: To avoid electrocution, all equipment must be properly wired and grounded according to electrical
codes. Have unit wired by a qualified electrician.
Have your electrician install a main power disconnect switch capable of being locked only in the OFF position.
Mark disconnect clearly as to the equipment it operates. Always LOCK OFF main power disconnect switch
whenever equipment is not in use or when servicing the unit.

7
DANGER: Never enter bin, unless all power is locked off and another person is present. Rotating augers
can kill or dismember!
DANGER: Flowing grain may trap and suffocate. If you enter a bin of flowing grain you can be completely
submerged in grain in seconds. Failure to heed may cause serious injury or death.
WARNING: Heater must be electrically interlocked with fan. Never operate heater without airflow.
Failure to do so may cause serious injury or death.
CAUTION: To avoid personal injury, frequently inspect all mechanical and electrical components. LOCK
OFF all power whenever servicing equipment. Replace and/or repair worn parts. Be sure all electrical wires
are in good condition.
DANGER: Disconnect electricity before inspecting or servicing. Lock out all power and have another
person present. Always lock off all power and check with voltage meter before servicing. Failure to do so may
cause serious injury or death.

8
FAN TRANSITION ASSEMBLY
PLUG HOLES IN
SIDE IF SHUTTER
OPTION IS NOT
UTILIZED.
REFERENCE NO.
1. TOP
2. BOTTOM
3. RIGHT SIDE
4. LEFT SIDE
5. WALL BRACKETS
6. FLASHING
7. SUPPORT
8. 5/16” X ¾” BIN BOLT
9. 5/16 FLANGE NUT
10. FAN PANEL
11. FOAM STRIP
12. SEALANT
13. ¼” X ¾” BOLT (AXIAL FAN ONLY)
14. ¼” WASHERS (AXIAL FAN ONLY)
SEE PACK LISTS ON PAGES 9 - 11 FOR PART NUMBERS

9
TRANSITION PACKAGES PACK LIST
All Transition packages include:
Ref. No
Part No. Description Qty
5A 195626 Wall Bracket/Farm-LH 1
5A 195629 Wall Bracket/Commercial-LH 1
5B 195627 Wall Bracket/Farm-RH 1
5B 195630 Wall Bracket/Commercial-RH 1
6 198031 Flashing/Farm 1
6 198032 Flashing/Commercial 1
7 163899 Support 7
8 177732 5/16-18 x ¾” Bin Bolt 109
9 158372 5/16-18 Flange Nut 109
11 11484 Foam Strip 1
12 163665 Roll of Sealant 1
13 154003 1/4” x ¾” Bolt (Axial fan only) 13
14 13368 ¼” Washer (Axial fan only) 13

10
TRANSITION PACKAGES PACK LIST (cont.)
Parts included with specific models (Centrifugal Fans):
199281 For 5-10HP Centrifugal Fan
Farm/Commercial
Ref No. Part No. Description Qty
1 173330 Top 1
2 173329 Bottom 1
3 190439 Right Side 1
4 190440 Left Side 1
10 203680 Fan Panel 1
Optional Blank Panel 173451 Available
199281-15 For 15HP Centrifugal Fan
Farm/Commercial
Ref No. Part No. Description Qty
1 173330 Top 1
2 173329 Bottom 1
3 190439 Right Side 1
4 190440 Left Side 1
Optional Blank Panel 173451 Available
208822 20HP Alternate Fan Adapter
(used on SCF Series Fans)
Ref No. Part No. Description Qty
1 208823 Top 1
2 208825 Side LH 1
3 208826 Side RH 1
4 208824 Bottom 1
8 177732 5/16-18 x ¾” Bin Bolt 18
9 158372 5/16-18 Flange Nut 18
199281-575 For 575V 10/15HP
Centrifugal Fan Farm/Commercial
Ref No. Part No. Description Qty
1 173330 Top 1
2 173329 Bottom 1
3 190439 Right Side 1
4 190440 Left Side 1
10 203784 Fan Panel 1
199280 For 20/25HP Centrifugal Fan
Farm/Commercial
Ref No. Part No. Description Qty
1 163893 Top 1
2 163894 Bottom 1
3 190489 Right Side 1
4 190490 Left Side 1
Optional Blank Panel 167177 Available
208817 10/15HP Alternate Fan Adapter
(used on SCF Series Fans)
Ref No.
Part No.
Description Qty
1 208818 Top 1
2 208820 Side LH 1
3 208821 Side RH 1
4 208822 Bottom 1
8 177732 5/16-18 x ¾” Bin Bolt
18
9 158372 5/16-18 Flange Nut 18

11
TRANSITION PACKAGES PACK LIST (cont.)
Parts included with specific models (Axial Fans):
199283 for 28” Axial Fan
(used on 203 Series Fans) 199284 for 24” Axial Fan
(used on 203 Series Fans)
Ref.
No. Part
No. Description
Qty Ref.
No. Part
No. Description
Qty
1 167147
Top 1 1 167147
Top 1
2 167148
Bottom 1 2 167148
Bottom 1
3 190443
Right Side 1 3 190443
Right Side 1
4 190444
Left Side 1 4 190444
Left Side 1
10 188073
Fan Panel 1 10 188071
Fan Panel 1
Optional Blank Panel 167178 Available Optional Blank Panel 167178 Available
S208830 for 28” Axial Fan
(used on SDF Series Fans)
S208827 for 24” Axial Fan
(used on SDF Series Fans)
Ref.
No. Part
No. Description
Qty Ref.
No. Part
No. Description
Qty
1 167147
Top 1 1 167147
Top 1
2 167148
Bottom 1 2 167148
Bottom 1
3 190443
Right Side 1 3 190443
Right Side 1
4 190444
Left Side 1 4 190444
Left Side 1
10 208832
Fan Panel 1 10 208829
Fan Panel 1
Optional Blank Panel 167178 Available Optional Blank Panel 167178 Available
199285 for 18” Axial Fan - Spreadall 199286 for 14” Axial Fan - Spreadall
Ref.
No. Part
No. Description
Qty Ref.
No. Part
No. Description
Qty
1 171217
Top 1 1 171217
Top 1
2 171214
Bottom 1 2 171214
Bottom 1
3 171215
Right Side 1 3 171215
Right Side 1
4 171216
Left Side 1 4 171216
Left Side 1
10 188101
Fan Panel 1 10 188103
Fan Panel 1
199287 for 12” Axial Fan - Spreadall
Ref
No. Part
No. Description
Qty
1 171217
Top 1
2 171214
Bottom 1
3 171215
Right Side 1
4 171216
Left Side 1
10 188105
Fan Panel 1

12
TRANSITION ASSEMBLY INSTRUCTIONS
1. Assemble sides (item 3 & 4), bottom (item 2), and top (item 1) panels, caulking (item 12) all overlapping
bolted seams, bolting together with 5/16” x ¾” bin bolts (item 8) and 5/16” flange nuts (item 9) provided.
Tighten securely. All supports (item 7) should be assembled and tightened at this time also. (Note: Support
on one end must be reversed to maintain spacing. Also, supports on both ends may be adjusted to divert
airflow as desired, utilizing adjustment slots provided.) Depending on application, assemble appropriate
fan panel to front of transition.
2. If not provided, field cut an entrance opening in the sidewall sheet (As shown in Detail 1). The opening size
is 12 ½” high x 50 ¼” wide.
3. Slide entrance collar of transition into opening far enough to secure wall brackets (item 5A & 5B) to
transition on the outside of bin. Cut 2 pieces of foam (item 11) to 16” lengths and attach to the outside of
bin. Slide wall brackets against the bin side wall sheet over foam (see detail 2). (Note: Supports (item 7)
must be aligned so that the bin sheet lies in the center of the supports/transition. (See detail 3). Remainder
of foam (item 11) needs to be installed under entrance collar before final attachment. Drill (6) 11/32” holes
into hills of wall sheet and bolt for final attachment.
4. Install flashing (item 6) on outside of bin on top entrance collar of transition using plenum bolt holes in
wall sheet. Caulk around the entire entrance collar to seal all gaps and prevent leaks.
TRANSITION ASSEMBLY INSTRUCTIONS
CENTER OF CUTOUT
MUST BE INLINE WITH
7
TH
PLENUM HOLE
ADJUST WALL BRACKETS
SO THAT THE BIN SHEET
IS CENTERED BETWEEN HOLES
DETAIL 1
DETAIL 3
WALL
BRACKET
BIN WALL
SHEET
TRANSITION
ENTRANCE
COLLAR BIN WALL
DETAIL 2

13
5 TO 10 HP CENTRIFUGAL FAN/TRANSITION CONFIGURATION
15-25 HP CENTRIFUGAL FAN/TRANSITION CONFIGURATION
REF.
CENTRIFUGAL
FAN
REF.
CENTRIFUGAL
FAN
REF
CENTRIFUGAL
TRANSITION
REF
CENTRIFUGAL
TRANSITION
NOTE: FOR 575V 20HP CENT FAN/TRANSITION
SECURE FAN TO TRANSITION BY LINING UP
FAN TO TRANSITION AS SHOWN. TRANSFER AND
DRILL HOLES FROM FAN INTO TRANSITION.
CAULK AND BOLT WITH HARDWARE PROVIDED.

14
10-15 HP 575V CENTRIFUGAL FAN/TRANSITION CONFIGURATION
REF.
CENTRIFUGAL
FAN
REF
CENTRIFUGAL
TRANSITION
SECURE FAN TO TRANSITION, BY LINING UP
FAN TO TRANSITION AS SHOWN. UTILIZE FAN
PANEL 203784 (ITEM 10) TO MOUNT UPPER
PORTION OF TRANSITION TO FAN. TRANSFER AND
DRILL HOLES FROM FAN INTO TRANSITION.
CAULK AND BOLT WITH 5/16” BIN BOLT (ITEM 8)
AND 5/16” NUT (ITEM 9).

15
ADAPTER FRAME CENT FAN/TRANSITION CONFIGURATION
10HP, 15HP, AND 20HP (for SCF Series Fans)
Note: Please discard Fan Panel 203680 found in the 10HP Fan Transition package 199281 if using Adapter Frame
208817.
Adapter Frame
208817 or 208822
REF
CENTRIFUGAL
TRANSITION
REF.
CENTRIFUGAL
FAN
ASSEMBLE
ADAPTER
FRAME AS
SHOWN
FAN SIDE
VERIFY LOCATION OF ANGLE
CUTOUTS TOWARD TOP OF
ASSEMBLY
TRANSITION/HEATER
SIDE
VERIFY LOCATION OF
BOTTOM FORM

16
AXIAL FAN/TRANSITION CONFIGURATION
AXIAL FAN/HEATER/TRANSITION CONFIGURATION
REF.
AXIAL
FAN
REF.
AXIAL
FAN
REF.
AXIAL
HEATER
10
10
REF.
AXIAL
TRANSITION
NOTE: FOR 575V AXAIL FAN/TRANSITION
SECURE FAN TO TRANSITION BY
LINING UP FAN AND FAN PANEL (ITEM 10)
TO TRANSITION AS SHOWN. TRANSFER
AND DRILL HOLES FROM FAN INTO
TRANSITION AND FAN PANEL. CAULK
AND BOLT
WITH HARDWARE PROVIDED.
ATTACH FAN PANEL TO FAN
WITH ¼” X ¾” BOLT (ITEM 13)
& ¼” WASHER (ITEM 14)
REF.
AXIAL
TRANSITION
ATTACH FAN PANEL TO FAN
WITH ¼” X ¾” BOLT (ITEM 13)
& ¼” WASHER (ITEM 14)
ATTACH FAN PANEL TO TRANSITION
WITH 5/16” BIN BOLT (ITEM 8) AND
5/16” NUT (ITEM 9)
ATTACH FAN PANEL TO TRANSITION
WITH 5/16” BIN BOLT (ITEM 8) AND
5/16” NUT (ITEM 9)

17
N
EW
P
RODUCT
W
ARRANTY
G
RAIN
B
INS
LIMITED
WARRANTY
FOR
NEW
SIOUX
STEEL
COMPANY
PRODUCTS
A. GENERAL PROVISIONS
. “Sioux Steel” means Sioux Steel Company, 196 1/2 East Sixt
h Street, Sioux Falls, South Dakota 57104. The
warranties described below are provided by Sioux Steel to the original purchasers of new products purchased from Sioux Steel or from an
authorized Sioux Steel Dealer (the “Products”). Under these warranties, Sioux Steel will, at its option, repair or replace at its factory any
Product covered under these warranties which is found to be defective in material and workmanship during the applicable warranty term or
refund the purchase price paid for the defective Product. Customer will be responsible for labor charges for removing the defective Product
and reinstalling the repaired or replacement Product, any premium charge for overtime labor requested of Sioux Steel and shipping charges
to and from Sioux Steel’s factory. These warranties are not transferrable.
B. WARRANTY PERIOD
. Subject to exclusions and limitations set forth herein, each new Product is warranted for the number of years
specified below. Each warranty term begins from the date of purchase regardless of delay in receipt of the Product by Customer due to the
time required to process, handle, ship, assemble, construct and install the Product. Customer must retain proof of the date of purchase.
Replacement parts for and repairs to the Product will be warranted only for the remainder of the original warranty term. The replacement
parts for or repairs to the Product will not extend the warranty term beyond the original warranty term. Products described below include all
parts, components and accessories.
GRAIN BINS
Farm Use Grain Bins 10 Years
Commercial Use Grain Bins 5 Years
Centrifugal Fans, Axial Fans and Axial Heaters 2 Years
Bin Accessories, including Bucket Elevators, Conveyors, Cage and Ladder Systems, Catwalks and Towers, Grain
Dryers and Peak Walk-Arounds.
1 Year
New Daay Paddle Bin Sweep 1 Year
Daay Power Sweep 1 Year
Exclusions specific to Grain Bins: Damage or loss of any kind from (1) excessive vacuum or internal pressure from the operation of fans in
an empty grain bin and from the blockage of air passages for any reason including, but not limited to, the blockage of roof vents and
discharge louvers by ice and snow; (2) a failure to properly compact and engineer soils; (3) a failure to properly construct footings and
foundations; and (4) exposure to conditions in excess of, or not meeting, as the case may be, the wind and snow load requirements of each
grain bin model.
C. ITEMS COVERED SEPARATELY
. The Sioux Steel warranties do not cover any parts, components or materia
ls that are part of the
Product, or used in conjunction with the Product, that are not manufactured by Sioux Steel. Such parts, components and materials will be
subject to the warranties provided by the manufacturer, if any. Manufacturers of electric motors provide warranty service only through
authorized service centers. Service center locations are identified on the World Wide Web at www.baldor.com. Sioux Steel will not be
responsible for motor repair or replacement.
D. WHAT IS NOT WARRANTED
. Sioux Steel does not warrant and is not responsible for the following: (1) used products; (2) modification
or alteration of the Products; (3) Products that have not been properly installed or not installed in accordance with the instruction manual,
improper assembly, or improper construction by any persons other than Sioux Steel employees; (4) depreciation, damage or loss caused by
the use of parts, components or accessories not provided by Sioux Steel, unauthorized repairs, normal wear, lack of necessary and proper
maintenance, a failure to follow operating instructions/recommendations, misuse, lack of proper protection during storage, vandalism or theft,
exposure to the elements or corrosive materials, accidents or acts of nature including lightning, flooding, hail, straight winds and tornadoes;
and (5) cosmetic damage or damage that does not hinder the functionality of the Products.
E. LIMITATIONS OF WARRANTIES AND CUSTOMER’S REMEDIES
. To the extent permitted by law, n
either Sioux Steel, the Dealer nor
any person or company affiliated with either of them makes any warranties, representations, conditions or promises express or implied as to
the quality, performance or freedom from defects of the Products covered by these warranties other than those set forth herein. THERE
ARE NO IMPLIED WARRANTIES OF MERCHANTABILITY OR FITNESS FOR A PARTICULAR PURPOSE. NEITHER SIOUX STEEL, THE
DEALER, NOR ANY PERSON OR COMPANY AFFILIATED WITH EITHER OF THEM WILL BE LIABLE FOR ANY DAMAGES,
INCLUDING, BUT NOT LIMITED TO, INCIDENTAL, SPECIAL, EXEMPLARY, CONSEQUENTIAL, LOST PROFITS AND REVENUES,
LOST USE OF THE PRODUCTS OR ANY OTHER PROPERTY, BODILY INJURY OR PROPERTY DAMAGE CLAIMS OF ANY PERSON,
LOST COMMODITIES, REMOVAL OR STORAGE COSTS FOR THE PRODUCTS, OTHER EQUIPMENT AND COMMODITIES, DAMAGE
TO THE ENVIRONMENT ARISING FROM OR IN ANY MANNER RELATED TO ANY RELEASE OF HAZARDOUS MATERIALS, AND
REMEDIATION EXPENSES THEREFORE, WHETHER BASED ON CONTRACT, TORT, STRICT LIABILITY OR ANY OTHER LEGAL
BASIS, EVEN IF ADVISED OF THE POSSIBILITY OF SUCH DAMAGES. IN NO INSTANCE WILL SIOUX STEEL, THE DEALER OR ANY
PERSON OR COMPANY AFFILIATED WITH EITHER OF THEM BE LIABLE TO CUSTOMER OR ANY PERSON IN AN AMOUNT IN
EXCESS OF THE PURCHASE PRICE PAID BY CUSTOMER FOR THE PRODUCT.
F. NO DEALER WARRANTY
. THE DEALER HAS NO AUTHORITY TO MAKE ANY WARRANTY, REPRESENTATION, CONDITION OR
PROMISE ON BEHALF OF SIOUX STEEL, OR TO MODIFY THE TERMS OR LIMITATIONS OF THIS WARRANTY IN ANY WAY.
G. GOVERNING LAW/VENUE
. The
se warranties, and all terms set forth herein, are governed by the laws of the State of South Dakota
and, where applicable, the laws of the United States of America. Any and all disputes arising from these warranties, the purchase and use of
the Products, bodily injury and property damage claims or otherwise must be venued in the South Dakota Circuit Court sitting in Minnehaha
County, South Dakota. Customer agrees to such venue and waives any challenge to such court’s jurisdiction based upon lack of personal
jurisdiction or inconvenience.
H. SECURING WARRANTY SERVICE
. In order to receive warranty services, customer must give Sioux Steel written notice of a warranty
claim within 30 days of the date of discovery of the defective materials or workmanship, and Customer must complete the following steps:
(1) Obtain from Sioux Steel a Return Goods Authorization Number (“RGA Number”) by calling the Customer Service
Department at 1-800-557-4689, and providing the following information:
An explanation as to why the Product is being returned.
The name of the territory representative, Dealer or Sioux Steel salesperson from whom the Product was
purchased.
The Dealer’s identification number.
The invoice number and date of purchase.
Customer’s name, phone number, fax number, mailing address and email address.
The date that the Product will be returned.
(2) Pay the shipping charges to ship the Product to Sioux Steel’s factory, and the return shipping charges.
(3) Ship the Product to Sioux Steel at 196 1/2 East Sixth Street, Sioux Falls, South Dakota 57104.

18
This manual suits for next models
16
Table of contents
Other Sioux Tools Fan manuals
Popular Fan manuals by other brands

Bionaire
Bionaire BT14 instruction manual

Flex-a-Lite
Flex-a-Lite Trimline Electric Fans installation instructions

Kichler Lighting
Kichler Lighting Szeplo II instruction manual

Clarke
Clarke air CHV18WF Operation & maintenance instructions

Goldair
Goldair GCDF145 operating instructions

Greenheck
Greenheck SP-L Installation, operation and maintenance manual