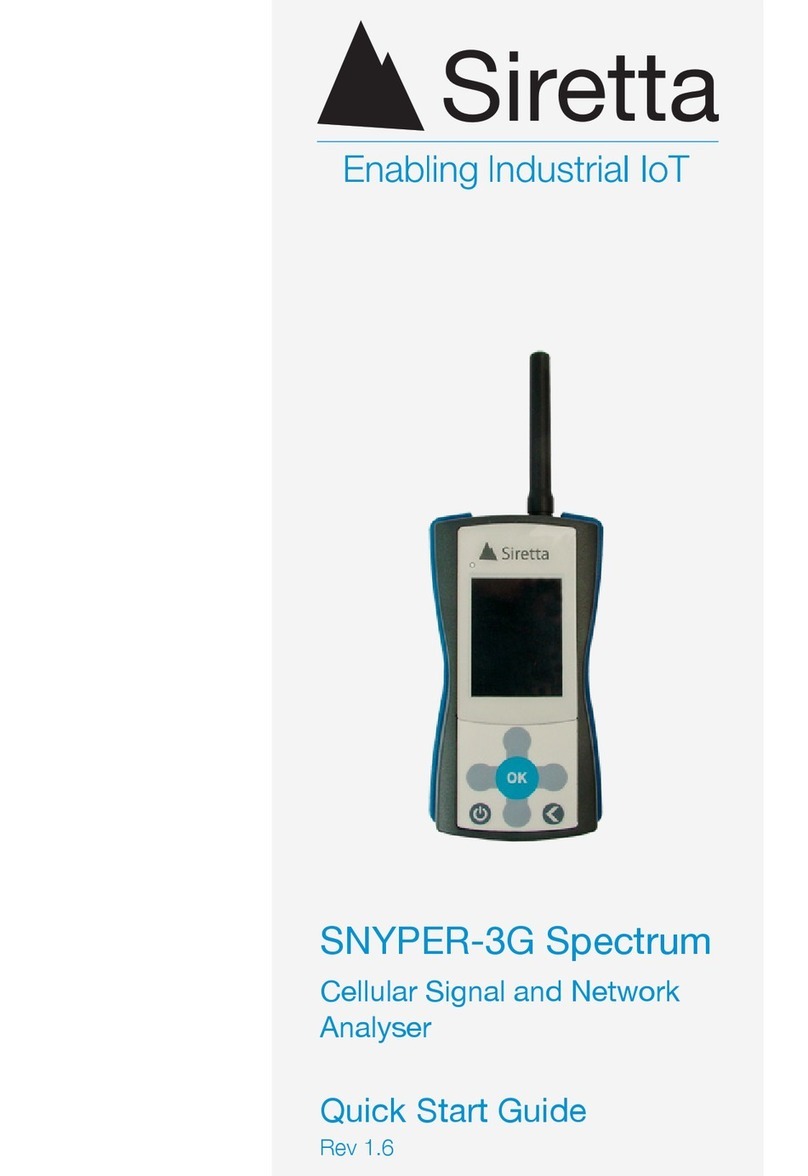
SIRETTA SNYPER-3G Spectrum User manual

SNYPER-3G Spectrum
Cellular Signal and Network
Analyser
Quick Start Guide
Rev 1.5


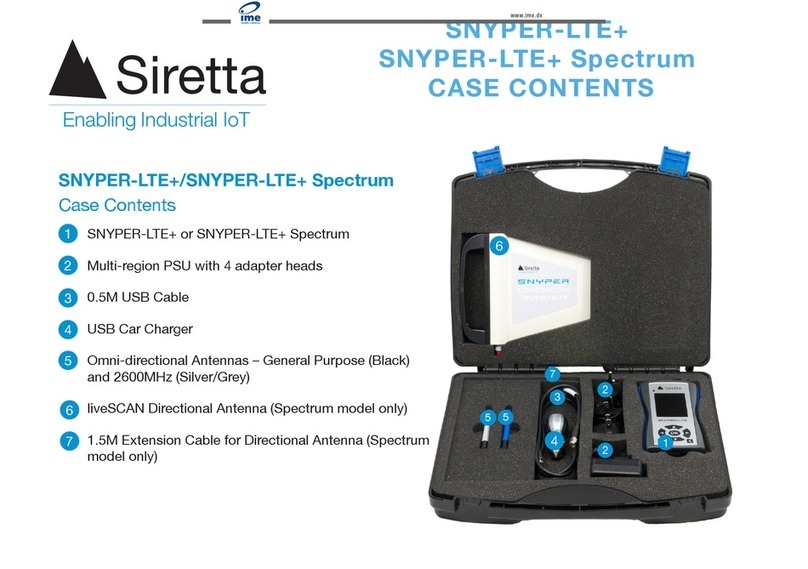
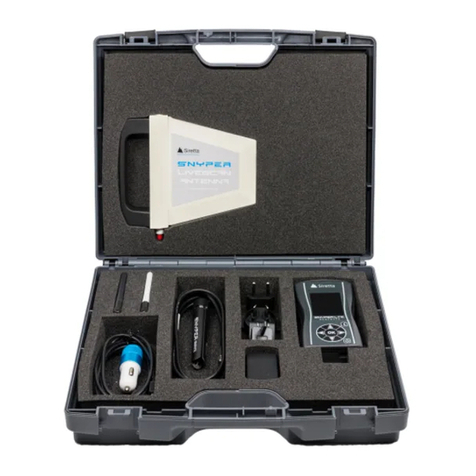
As standard, the SNYPER-3G Spectrum comes with the following:*
»SNYPER-3G Spectrum signal and network analyser
»Multi region power supply
»Antenna
»USB cable
»Hard carrying case
»Quick start guide
What’s in the Box?
*For replacement parts, please contact your Siretta representative or call us on
+44 (0)118 976 9014
SNYPER-3G Spectrum Overview
»liveSCAN directional antenna kit
Optional Accessories

The SNYPER-3G Spectrum is a high performance cellular signal and network analyser
for all 2G and 3G networks, with a host of important features for the busy engineer
and installer.
The SNYPER-3G Spectrum can perform a number of different functions to determine
optimum antenna placement and direction, performance of existing installations of
network operator. As an example, the SNYPER-3G Spectrum can determine the
strength of a particular network and the optimum direction of the antenna using the
liveSCAN feature.
The SNYPER-3G Spectrum has been designed to be as logical as possible, with a
simple to use menu and operation system. Provided with a large high contrast LCD
display, the SNYPER-3G Spectrum enures all the information is clearly visible, and
allows the presentation of considerable data at the same time.
The liveSCAN high performance directional antenna kits (sold seperately) has been
specically designed to complement the SNYPER-3G Spectrum when performing live
scans.
General Description
The SNYPER-3G Spectrum has the following features:
»Measures and displays received network signal strength
»Lock onto a single provider to perform real time liveSCAN
»liveSCAN data provided as real time graphical display
»Typically last 50 surveys stored on SNYPER-3G Spectrum
»USB download of last 50 surveys to a PC
»Large easy to read LCD display
»Robust enclosure for rugged and continuous use
»Long life rechargeable battery gives up to 48hours on one charge
»Up to 15 hours continuous liveSCAN use
»Battery can last up to 4 months in standby mode
»Supplied in a convenient hard carrying case with mains charger, USB cable,
antenna and quick start guide
»liveSCAN high performance directional antenna kits (sold seperately)
Features

SNYPER-3G Spectrum
Diagram
Figure 1. Front view of the SNYPER-3G Spectrum
Supplied Antenna
ON/OFF Button
OK Button
LEFT Button
Charge Status LED
320 x 240
LCD Display
UP Button
RIGHT Button
BACK Button
DOWN Button
*The SNYPER-3G Spectrum SIM slot located in the enclosure base is used for enhanced network
services. A SIM is only required when performing a liveSCAN on a specic network operator. The SIM
has to be active, but it will not use any data during the liveSCAN survey as it is only required for network
functionality.
SIM Slot*

Powering the SNYPER-3G Spectrum
»The SNYPER-3G Spectrum needs to be charged using the mains adaptor for 6 -
8 hours before initial use. The SNYPER-3G Spectrum does not need a SIM card
to perform network and signal tests.
»Ensure the antenna is screwed rmly into place on the SNYPER-3G Spectrum
and isn’t loose.
»To power up the SNYPER-3G Spectrum press the ON/OFF button. A welcome
screen will be displayed briey (as shown below in gure 3) before the main
menu is displayed (as shown over page in gure 7 ‘Main Menu screen’.)
Power On
ON/OFF Button
Figure 2. ON/OFF button Figure 3. Power on message

Figure 3. Power on message
Charging and Battery Status
Figure 4. Charging and battery status
Charging and battery status bar:
During charging, the number of bars will increase and turn from red, to yellow, to
green. The charge status LED will be red.
A full line of green bars indicates that the unit is fully charged.
During use, the number of bars will decrease and turn from green, to yellow, to red.
Recharging is recommended once red bars are displayed on the SNYPER-3G
Spectrum battery status bar.
If the SNYPER-3G Spectrum drops below allowable low battery usage the unit will
switch off and charging will be required. At power on, if the battery is below allowable
low battery usage a low battery indicator will be displayed as shown below in gure 5.
NOTE - During low power charge the SNYPER-3G Spectrum will display the battery
screen (as shown below in gure 6) until the SNYPER-3G Spectrum has enough
power to be used.
Approximately 4 - 6 hours are needed to fully charge the unit using the default
fast charging mode. The SNYPER-3G Spectrum battery provides up to 15 hours
continuous liveSCAN use and up to 4 months standby mode.
Figure 5. Low battery screen Figure 6. Low power charge screen

Main Menu
The SNYPER-3G Spectrum main menu has 7 menus (as shown below in gure
7), these can be selected using the UP/DOWN buttons. Once the chosen menu is
highlighted, click OK. Press the BACK button to return to the main menu.
Figure 7. ‘Main Menu’ screen
Saved Results: Reviews previously saved survey.
Survey: Used to perform a new survey.
Setup: Basic setups of the SNYPER-3G Spectrum.
Options: User options for the SNYPER-3G Spectrum.
About: Displays information about the SNYPER-3G Spectrum.
PC Connect: Download of data to PC.
Power Off: Powers off the SNYPER-3G Spectrum.

Options: User options for the SNYPER-3G Spectrum.
Power Off
After use, remember to power off the SNYPER-3G Spectrum. The SNYPER-3G
Spectrum can be powered off in the following 2 ways:
»Selecting the ‘Power Off’ option from the main menu. The SNYPER-3G Spectrum
will display a power off message as shown below in gure 9.
»Press and hold the ON/OFF button on the SNYPER-3G Spectrum for >2
seconds. The SNYPER-3G Spectrum will display a power off message as shown
below in gure 11.
ON/OFF Button
Figure 8. Select ‘Power Off’ Figure 9. Power off message
Figure 10. ON/OFF button Figure 11. Power off message

Survey Menu
Step 1. Select ‘Perform Survey’ from the ‘Survey’ menu, this will automatically begin
a new survey. Whilst the survey is being performed, the SNYPER-3G Spectrum will
display a sequence of messages as shown below in gures 12 - 14.
Figure 12. Initialising survey
Performing a Survey
Figure 13. Performing survey Figure 14. Finalising survey
Step 2. Once the survey is complete, the screen will display a ‘Current Survey’ menu
as shown below in gure 15. The ‘Current Survey’ menu has 5 menus, these are
selected using the UP/DOWN buttons. Once the chosen sub menu is highlighted,
click OK.
Figure 15. ‘Current Survey’ screen
GSM & UMTS: Displays GSM & UMTS survey results.
UMTS Only: DIsplays UMTS survey results.
GSM Only: Displays GSM survey results.

Figure 14. Finalising survey
GSM & UMTS: Displays GSM & UMTS survey results.
Summary: Displays a summary of signal strengths
from the survey.
Save: Saves the results of the performed survey.
Viewing Survey Results
Figure 16. Strongest signal found in the
survey
Figure 17. Next strongest signal found
in the survey
Step 1. From the ‘Current Survey’ menu, select the results that you require to be
displayed (GSM & UMTS / GSM Only / UMTS Only).
NOTE - To switch between all signals found in the survey, use the LEFT/RIGHT buttons (LEFT
displays stronger signal, RIGHT displays weaker signal).*
Press the back button to return to the ‘Current Survey’ menu.
*See the ‘SNYPER-3G Spectrum User Manual’ for more information on survey results.

By selecting ‘Summary’ from the ‘Current Survey’ menu, a summary of all network
signals detected in the survey will be displayed. Results are displayed in order of
strength within signal strength bands across different screens.
To display higher or lower signal strengths received on the SNYPER-3G Spectrum,
click the LEFT/ RIGHT buttons (LEFT displays higher signal strengths, RIGHT displays
lower signal strength). The signal strengths are displayed in 15% steps, decreasing in
signal strength from 85% to 10%.
NOTE - To display a summary of GSM or UMTS results, click the UP/DOWN buttons to scroll
between GSM and UMTS network list.
Summary Menu
85% Signal Strength
The SNYPER-3G Spectrum is displaying all 2G
networks being received at 85%.
At this level, none of the networks have cells with this
signal strength.
Table 1. Summary of network signals
The example in table 1 below shows the following:
»A Vodafone cell had the strongest signal sensed in the area
»O2, T-Mobile and Orange cells were sensed at a weaker strength

70% Signal Strength
The SNYPER-3G Spectrum is displaying all 2G
networks being received at 70%.
At this level, Vodafone shows 1 cell being received.
55% Signal Strength
The SNYPER-3G Spectrum is displaying all 2G
networks being received at 55%.
At this level, O2 now shows 1 cell being received.
40% Signal Strength
The SNYPER-3G Spectrum is displaying all 2G
networks being received at 40%.
At this level, there is 1 additional Vodafone cell being
received at a weaker strength than the previous cell
received.
There is also 1 T-Mobile cell and 1 Orange cell being
received at this signal strength.

25% Signal Strength
The SNYPER-3G Spectrum is displaying all 2G
networks being received at 25%.
At this level, there is 1 additional Vodafone cell and
4 additional O2 cells being received at a weaker
strength than the previous cells received.
10% Signal Strength
The SNYPER-3G Spectrum is displaying all 2G
networks being received at 10%.
At this level, there are no further cells being received
by the SNYPER-3G Spectrum.
Press the back button to return to the ‘Current Survey’ menu.

Performing a liveSCAN*
*See the ‘liveSCAN Antenna - Quick Start Guide’ for a more detailed guide on using
and performing a liveSCAN.
NOTE: This operation requires an active SIM card to be inserted in the SNYPER-3G
Spectrum. Insert SIM as shown below in gure 18. The SIM needs to be fully pushed
inside the case using a screwdriver until a click is heard.
Any SIM card can be used as the liveSCAN will be performed for all networks,
regardless of the SIM card inserted.
SIM
Figure 18. Inserting SIM into SNYPER-3G Spectrum

Step 1. From the ‘Options’ menu, set the SNYPER-3G Spectrum to ‘ADV: Advanced’
and ‘Save Settings’. This option enables liveSCAN.
Step 2. Perform a new survey. Once survey has been performed (as shown below in
gure 19), remove the omni-directional antenna and replace with the optional liveSCAN
antenna and cable. Ensure the cable is screwed rmly into place on both the SNYPER-
3G Spectrum and liveSCAN antenna.
Step 3: Using the UP/DOWN buttons, select GSM or UMTS results. Select desired
network to scan using the LEFT/RIGHT buttons. Press ‘OK’ to perform liveSCAN.
Figure 20. Performing a liveSCAN
To stop liveSCAN press and hold the BACK button to return to the previous menu.
Figure 19. Survey completed
To perform a liveSCAN, follow the steps below:

Step 1. Once you have performed a survey, you can save the results by selecting
‘Save’ from the ‘Current Survey’ menu.*
Step 2. Once the ‘Save’ option is highlighted, you will be prompted to select ‘YES’ to
conrm the save, or ‘NO’ to cancel the save. Whilst results are being saved, a message
will be displayed as shown below in gure 21.
Figure 21. Saving survey results to the SNYPER-3G Spectrum
Saving a Survey
*The SNYPER-3G Spectrum doesn’t automatically save survey results, if you wish to save results
from a survey follow steps 1 and 2 above. If you do not wish to save results from a survey, return
to the main menu. Results which aren’t saved will be immediately lost.
**See the ‘SNYPER-3G Spectrum User Manual’ for more information on reviewing saved survey
results.
Once the survey has been stored, the SNYPER-3G Spectrum will return to the main
menu.**
NOTE -The SNYPER-3G Spectrum can store up to 50 surveys.

Step 1. To download data from the SNYPER-3G Spectrum, connect the USB cable
supplied to the SNYPER-3G Spectrum and PC.
Step 2. From the SNYPER-3G Spectrum ‘Main Menu’ select ‘PC Connect’ and
‘Enable’. From the PC select ‘Open Folder to View Files’ and open saved les as
required.
Figure 22. SNYPER-3G Spectrum data download set up
Downloading Data
Figure 23. Downloading SNYPER-3G Spectrum data to PC

Further Information
Full user guide for the SNYPER-3G Spectrum can be downloaded from the
Siretta website.
www.siretta.co.uk
Accessories
Directional liveSCAN Antenna Kit
Figure 24. liveSCAN Antenna

Basingstoke Road
Spencers Wood
Reading
Berkshire
RG7 1PW
United Kingdom
Rev 1.5
sales
fax
accounts
email
Company No. 08405712
VAT Registration No. GB163 04 0349
A member of the Olancha Group Ltd
+44 (0)118 976 9014
+44 (0)118 976 9020
+44 (0)118 976 9069
www.siretta.co.uk
Other manuals for SNYPER-3G Spectrum
2
Table of contents
Other SIRETTA Measuring Instrument manuals

SIRETTA
SIRETTA SNYPER-LTE+ User manual

SIRETTA
SIRETTA SNYPER-LTE graphyte User manual

SIRETTA
SIRETTA SNYPER-LTE Graphyte User manual

SIRETTA
SIRETTA SNYPER-LTEM User manual

SIRETTA
SIRETTA SNYPER-LTE+ User manual

SIRETTA
SIRETTA SNYPER-LTE+ Series User manual

SIRETTA
SIRETTA SNYPER-LTE Spectrum User manual

SIRETTA
SIRETTA SNYPER-3G Spectrum User manual

SIRETTA
SIRETTA SNYPER-LTE Series User manual
SIRETTA
SIRETTA SNYPER-3G Spectrum User manual