重要安全聲明 SAFETY INSTRUCTIONS
•感謝客戶您購買本公司產品
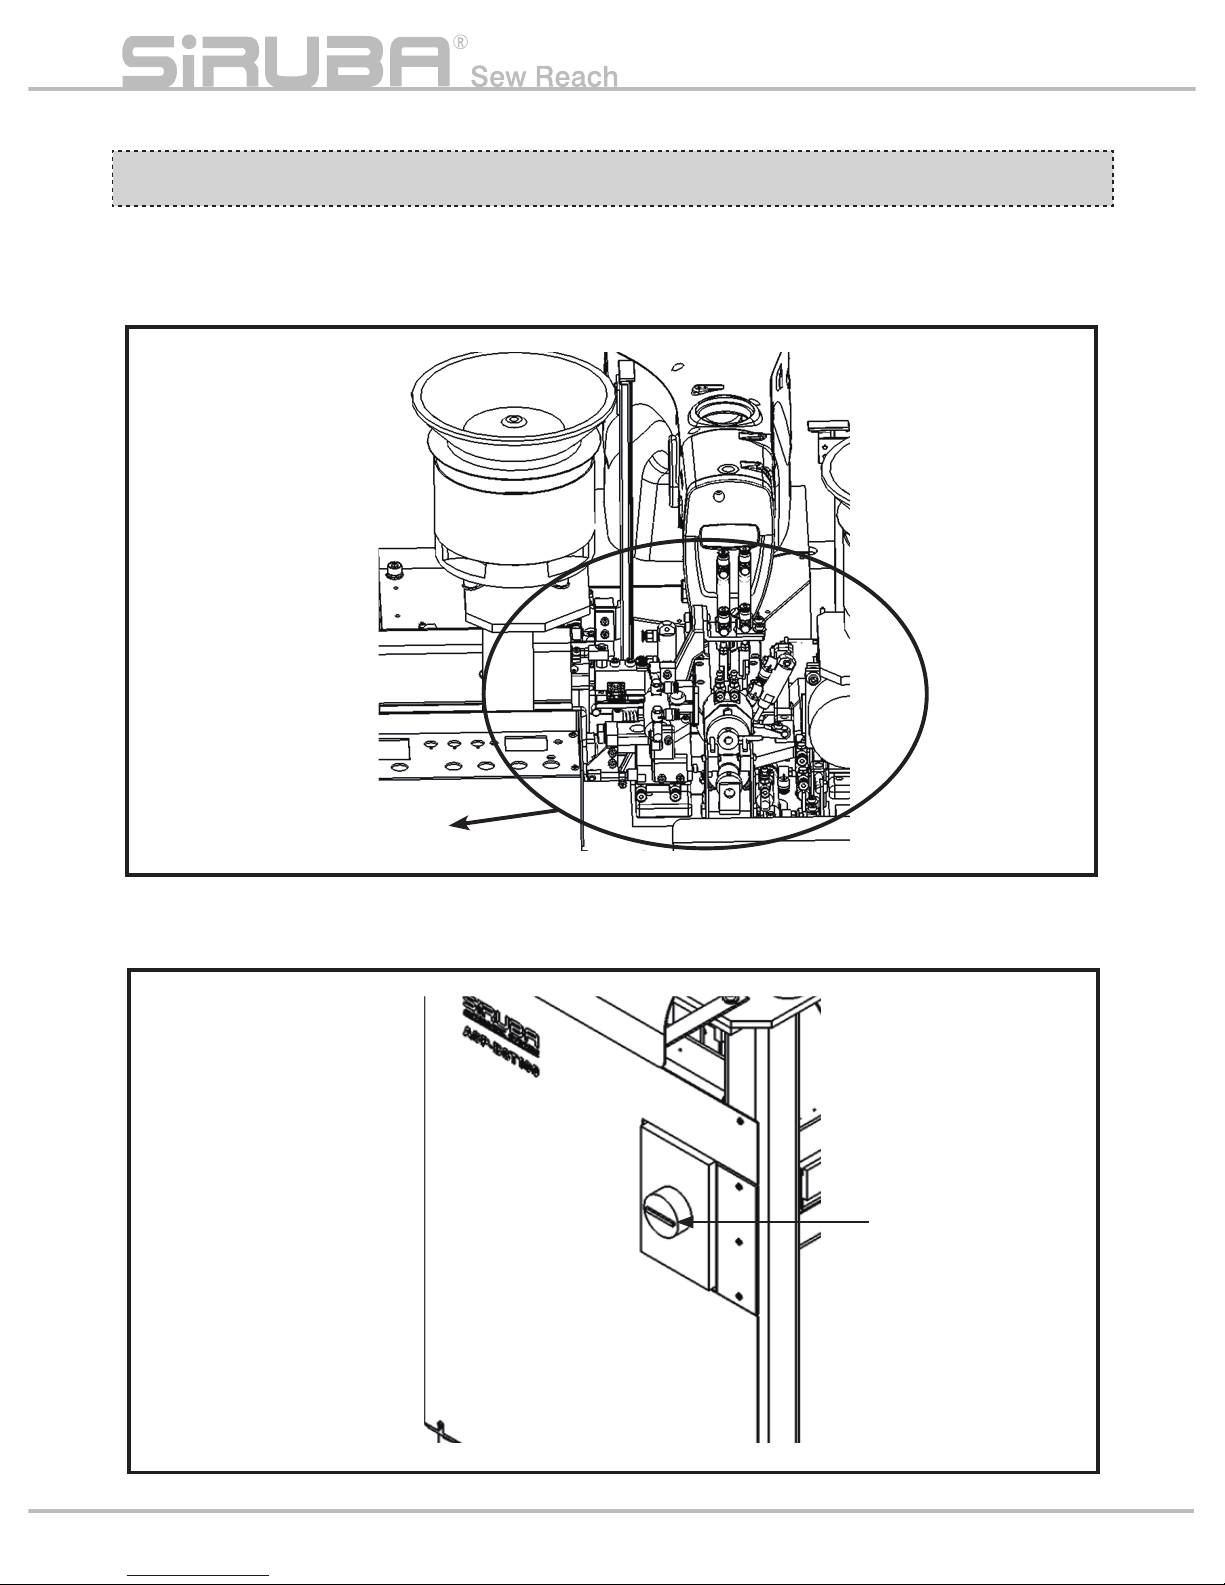
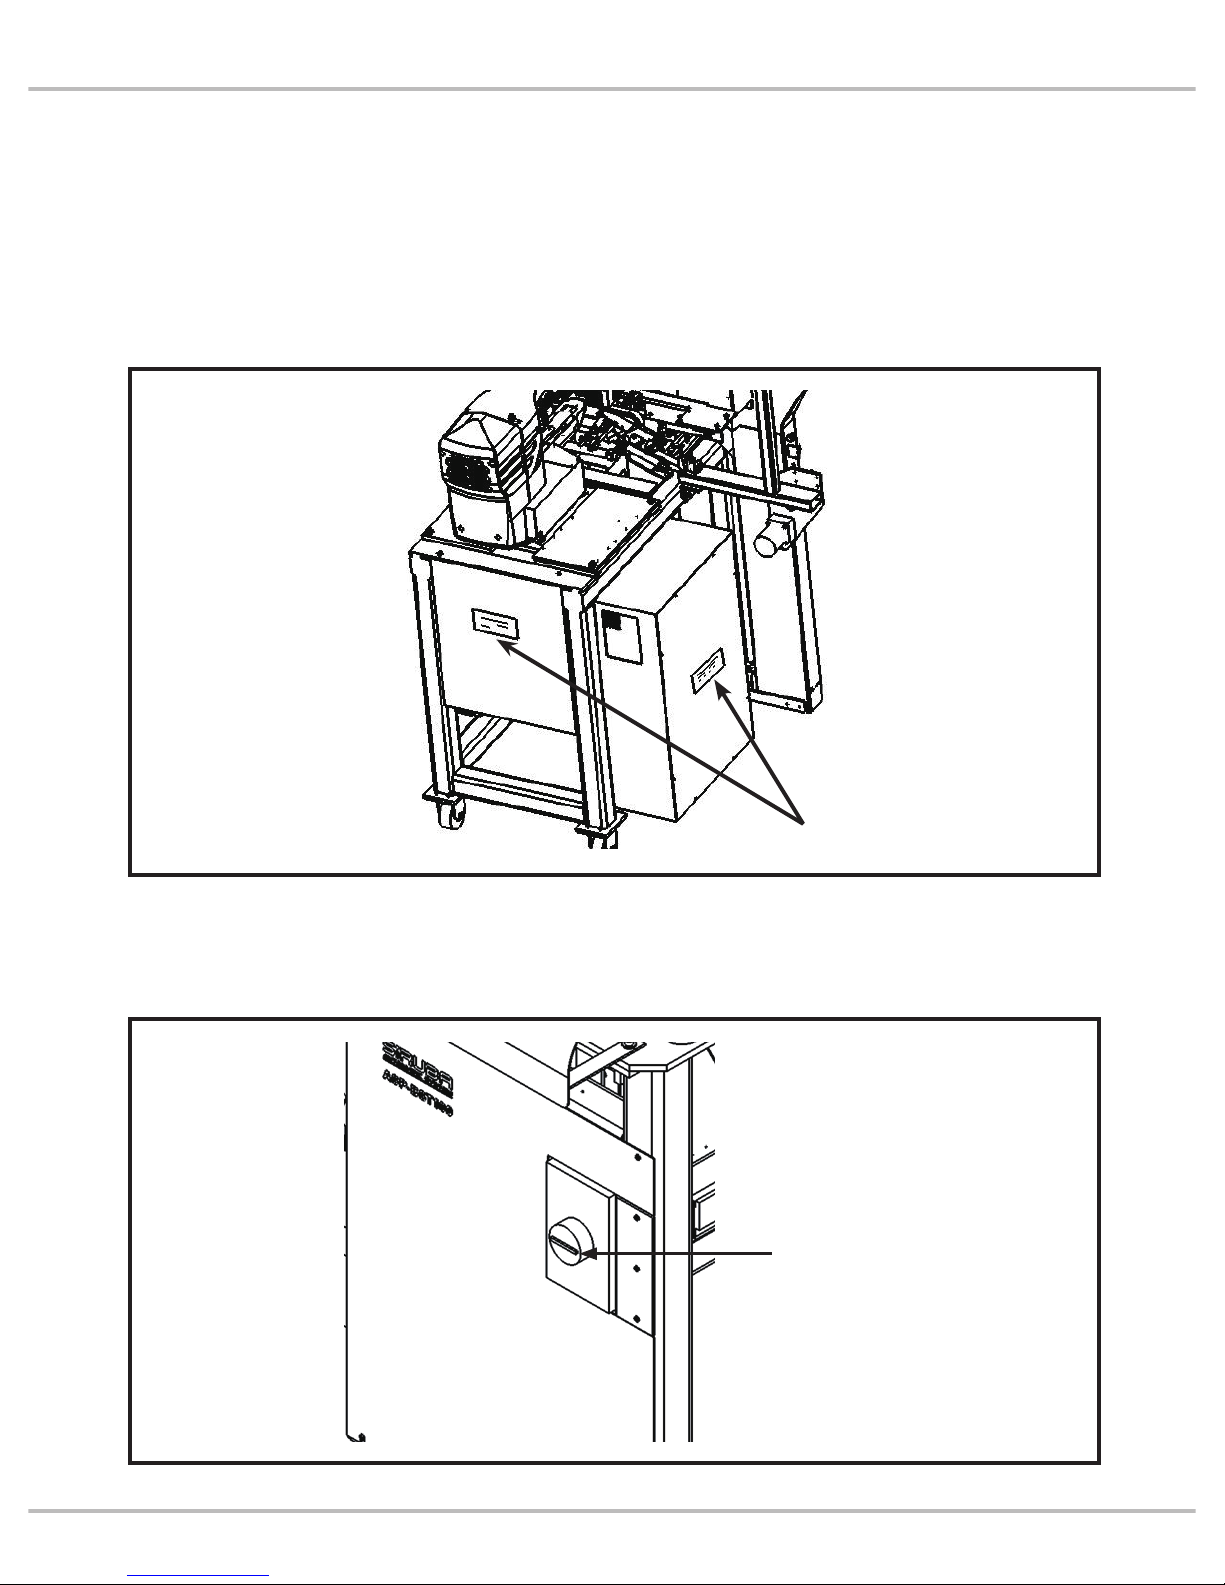
為安全且正確地使用本產品 ASP-BST100,請
詳細閱讀以下注意事項後再實施操作。
1. 在使用本機器前,請先詳讀說明書內容,必
須遵守說明書的指示與規定。
2. 此設備的使用,由經過適當訓練的操作人員
實行。
3. 在使用本機器時,若發現異常或故障,應立
即停止使用,並切除電源,以進行妥善修理。
4. 嚴格禁止對本機器進行改造和變更。本公司
對改造或變更過的機器不予保固,若因此造
成危害,本公司將不負任何賠償責任。
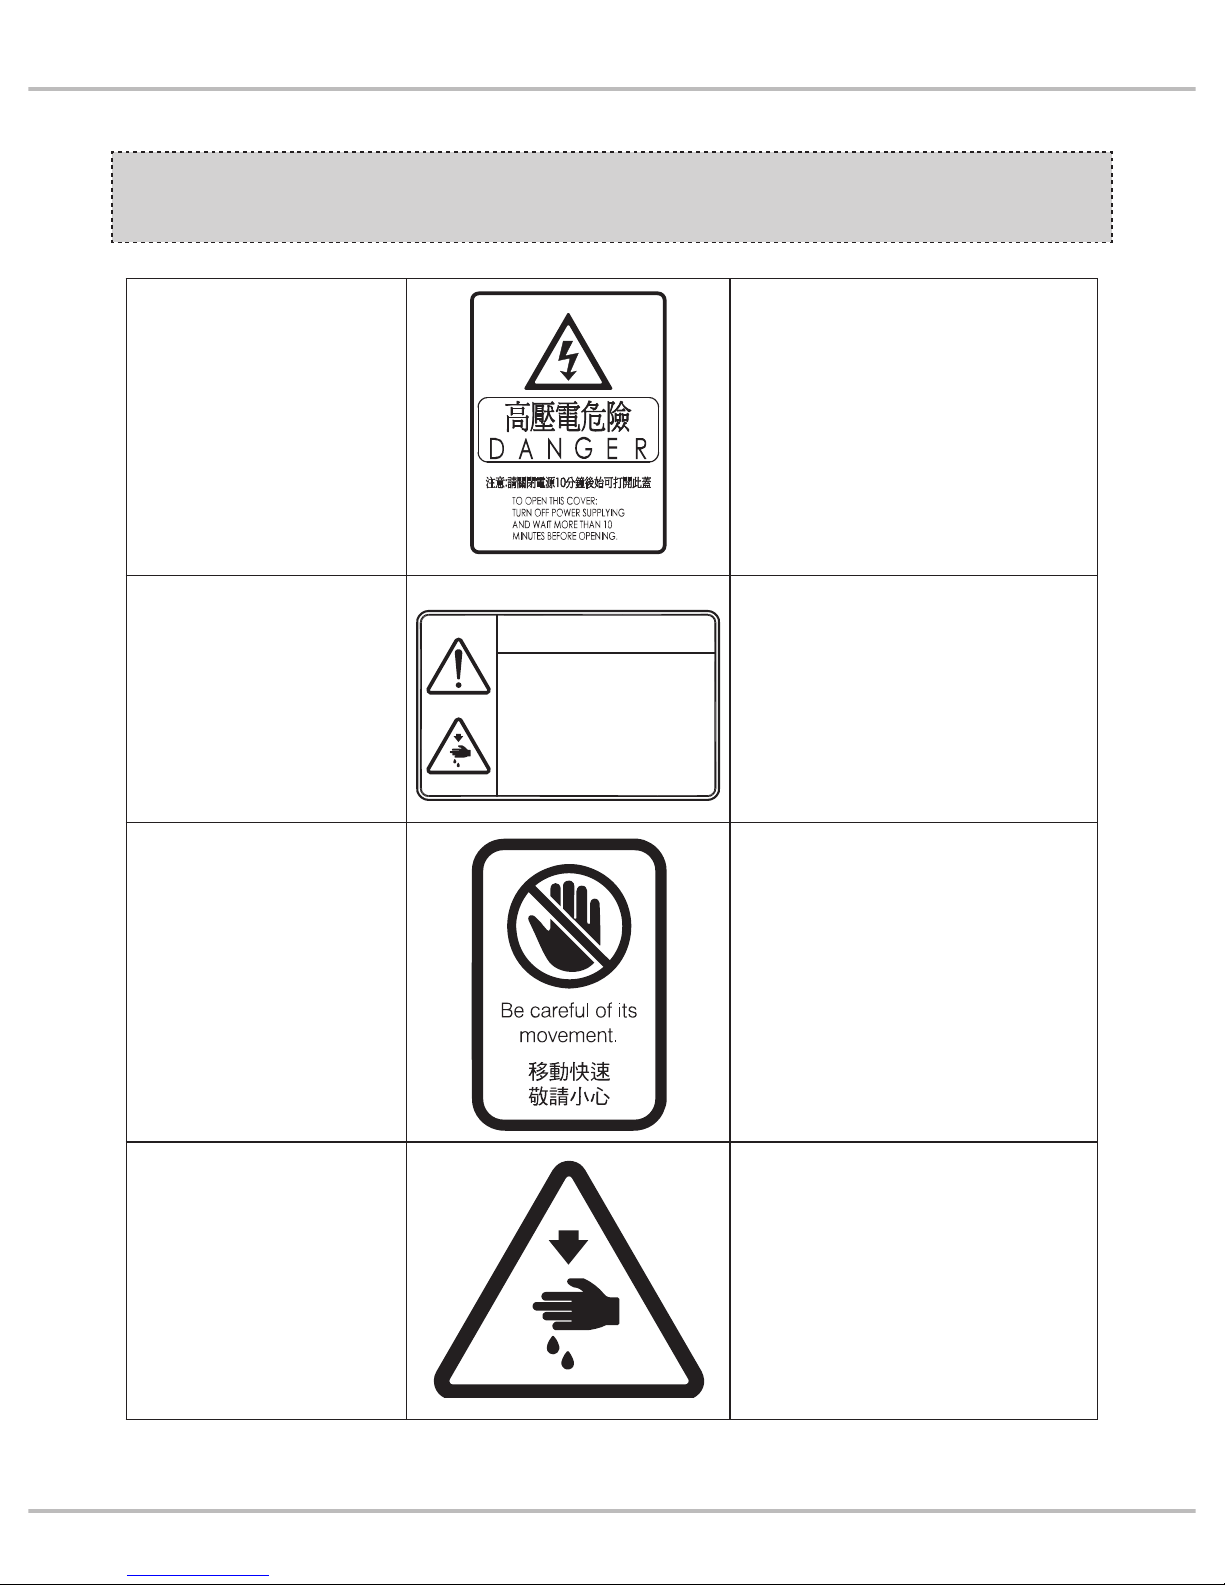
•危險
為杜絕觸電事故必須遵守以下安全措施。
1. 安裝本機器時,必須確實做好接地動作。
2. 對本機器的電氣做定檢與維修,都必須由具
有資格的電氣技術人員執行,或專家的監督
指導下進行。
•警告
為了杜絕觸電、火災、燒損或對人的傷害,必
須遵守以下安全措施。
1. 本機器在有電壓的狀態下,絕對禁止人員接
觸通電之機件。
2. 本機器若需要做零件更換或進行維修時,應
將電源切換至 OFF 狀態。
•Thank you for purchasing our company’s
products.
For your safety and using our product ASP-
BST100 properly, please read the instructions
below deliberately, then start operating the
machine.
1.Before using the machine, you must follow
the instructions and rules.
2.The operators must been well trained.
3.If you found some abnormal phenomena
or the machine malfunction, you should
stop using the machine at the moment and
cut the power off, in order to do the proper
repair.
4.Strictly forbid to do the extra transformation
or alteration. We do not have the warranty
to the machine which had been transformed
or altered. Therefore, our company will be
irresponsible for any compensation if the
machine has caused any danger.
•Hazards
In order to prevent from the electric shock, you
must to obey the safety measure below.
1.While install the machine, make sure you
have do the grounding.
2.The electric routine inspection and
maintenance of the machine have to be
done by the electric technical personnel who
qualied or under the expert’s supervision.
•Alert
You must to obey the safety measure below,
in order to prevent from the electric shock, fire
accident, burning loss, or human body injured.
1.Absolute forbid workers to touch the
machine’s parts while the machine is in a
voltage state.
2.If the machine’s parts need to be changed
or do the maintenance, you should switch
the power off.
i