manuals.online logo
Brands
  1. Home
  2. •
  3. Brands
  4. •
  5. SLC
  6. •
  7. Lighting Equipment
  8. •
  9. SLC SBML Series User manual

SLC SBML Series User manual

Source Lighting by CAST
1120-A Goe Road
Hawthorne, NJ 07506
Ph: (973) 423-2303 Fax: (973) 423-2304
Email: info@cast-lighting.com
IMPORTANT SAFETY INSTRUCTIONS:
• Please read carefully before installing. Save these
instructions.
• Consult with a qualied electrical contractor and local
electrical codes before installing any electrical product.
• Clean xture with mild soap. Do not use acid or any other
solvent-based cleaner.
• Do not submerse xture in water.
• All xtures must be installed 10 feet (3.05m) away from a
pool, spa, or fountain.
• Use xture with low-voltage outdoor lighting system only.
DO NOT OVERLOAD LOW VOLTAGE CABLE or
TRANSFORMER.
ASSEMBLY INSTRUCTIONS: Your xture is ready to be
connected using your preferred wiring method right out of
the box.
LUMEN ADJUSTMENT: The SBML Series has four lumen
setting options numbered 1, 2, 3, 4, which are the equivalent
of legacy halogen 10W, 20W, 30W, and 35W xtures. Simply
loosen the thumb set screw of the light engine/shroud, using
a small 3/16” at head screwdriver, and select the lumen
output level by turning the arrow dial. Fixture is factory set at
the highest level (#4). See chart on page two for information
on xture performance.
INSTALLATION/MOUNTING INSTRUCTIONS:
Note: We recommend, when installing any low-voltage xture,
that you have the following: Voltage Meter, Wire Nuts, Amp
Probe, Basic Hand Tools for Adjustment.
INSTALLATION/MOUNTING & WIRING STEPS:
1. To prevent electrical shock, disconnect
transformer from electrical supply before
service.
2. Fixture is provided with Set-N-Stake® quick link
composite with brass insert stake mount and
allen key.
3. Place/set xture in desired location. Place
stake in pre-dug hole, compact/backll soil leaving
approximately 1” exposed above grade.
4. Run wire lead to the desired connection point with the
main wire lead running to the transformer, keeping most of
the excess wire at the xture. Bury excess wire directly at
the base of the xture.
5. Cut wire lead as needed, while leaving enough extra wire to
move xture.
6. Connect xture wire lead to main wire lead from the
transformer using desired wire connection suitable for
underground burial or wet location. Use underground low-
energy cable.
7. Use allen key to adjust the knuckle of the xture aiming at
the center of the object you are illuminating.
WARNING: INSTRUCTIONS PERTAINING
TO A RISK OF FIRE, OR INJURY TO PERSONS:
• Lighted lamp is HOT. Lamp is hot when illuminated; do not
touch when lamp is on.
• Turn off/unplug electrical power before modifying the
lighting system.
• Allow xture to cool before touching or replacing optics.
• Lamps get HOT quickly! Contact only switch/plug when
turning on.
• Do not touch hot lens, guard, or enclosure.
• Keep away from potential ammable materials, structures,
and/or landscapes.
• Do not operate xture if cover, tting, and/or shield is
damaged or missing.
SERVICE INSTRUCTIONS:
To prevent electrical shock, disconnect transformer from
electrical supply before service, allow luminaires to cool.
For Questions on how to obtain the proper cable or connectors, call (973) 423-2303 | www.cast-lighting.com
SBML SERIES: Multi Lumen Spotlight with Field Changeable Optics
Lumen Adjustment
Knob
OPTIC REPLACEMENT:
Replacing optics requires the use of the plastic optic removal
tool (part# SBMLTOOL) which can be purchased seperately
and is provided free (one per case of six xtures). For best
results, use a 9/16 or 14mm socket or a 5/16 allen key to
provide the handle/leverage required to remove the lock
ring holding the convex lens to the xture body. It is best to
perform this on a clean will-lit surface free of moisture and
dirt.
Step #1–Seperate the light engine/shroud from xture body
by loosening thumb screw.
Step #2–Grabbing the top and base of the white quick
connect, located in the top knuckle and attached to the
light engine/shroud wire, gently work the connection apart.
Do NOT yank wires as this might damage the connection.
Using a at head screwdriver or your nger to hold the base
wire quick connect, gently wiggle the connection apart; use
needle nose pliers if required.
Step #3–Clean dirt, water, and/or leaves debris from convex
glass lens. Use compressed air or a brush to remove ne
particulate from lens.
Step #4–Place light engine/shroud on a at surface. Hold
light engine/shroud with one hand, place two male optic
removal tool tabs in mating female tabs of lock ring and turn
counter clockwise loosening lock ring.
Step #5–Remove lock ring and remove convex glass lens and
white combination o-ring gasket seal.
Step #6–Remove optic and replace with new optic, making
sure the writing on the optic indicating beam angle is pointing
forward and visible. If dirt or debris fall into optic chamber,
use compressed canned moisture free gas to clear dirt from
chamber. Do not damage LED.
Step #7–Replace o-ring gasket seal making sure o-ring
side of gasket nests in groove of xture body, replace
glass convex lens, replace lock ring. Using lock ring tool
and socket, turn clockwise to compress assembly making
watertight seal.
Step #8–Reattach light engine shroud to xture body.
Source SBML Series: Multi Lumen Spotlight with Field Changeable Optics
Voltage Range 12V - 15V AC/DC Actual Results May Vary + or - 5% LIGHT OUTPUT LUMENS / BEAM SPREAD
Finished Good Model # SBML15 SBML24 SBML36 SBML60 SBML80
Halgen
Equiva-
lent
Power
Seting
Voltage
Input
Current
/Amps
Input
Consumed
Wattage
Power
Factor
15°24°36°60°80°
WASH
CCT CRI
35W #4, 4.2W 12.0 VAC 0.452 A 3.02 0.784 260 Lm 255 Lm 250 Lm 215 Lm 210 Lm 2800°K 85
30W #3, 3.0W 12.0 VAC 0.329 A 2.25 0.767 200 Lm 195 Lm 190 Lm 163 Lm 160 Lm 2800°K 85
20W #2, 2.0W 12.0 VAC 0.216 A 1.5 0.748 138 Lm 135 Lm 130 Lm 130 Lm 128 Lm 2800°K 85
10W #1, 1.0W 12.0 VAC 0.120 A 0.77 0.722 86 Lm 85 Lm 80 Lm 70 Lm 68 Lm 2800°K 85
Replaceable Optic Part #
(Requires #SBMLTOOL, 1 piece included per 6 case.)
SMLO15 SMLO24 SMLO36 SMLO60 SMLO80
For Questions on how to obtain the proper cable or connectors, call (973) 423-2303 | www.cast-lighting.com
OPTIC REPLACEMENT
Optic Removal Tool 5/16 Allen Key or 9/16,
14mm Socket
Lock Ring
Replaceable Optic
15°, 24°, 36°, 60°, 80° Beam Angles
Lens
Gasket

Other SLC Lighting Equipment manuals

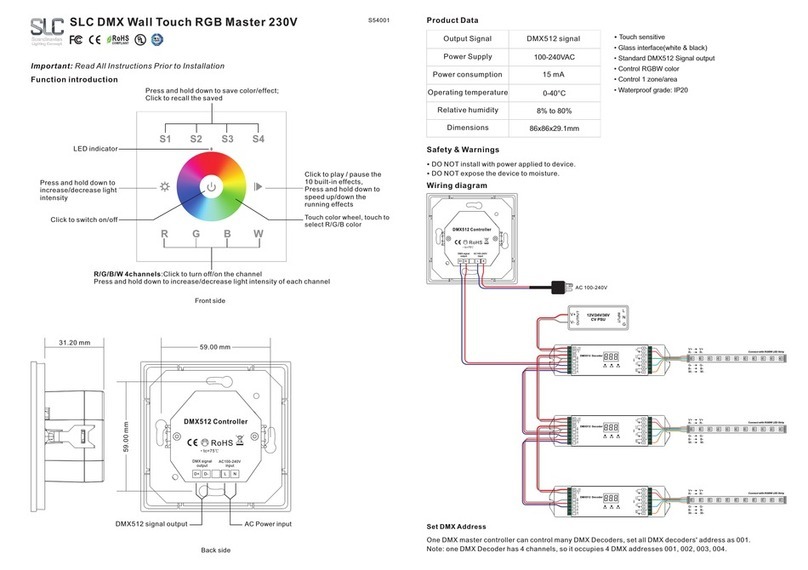
SLC S54001 User manual

SLC

SLC S54001 User manual

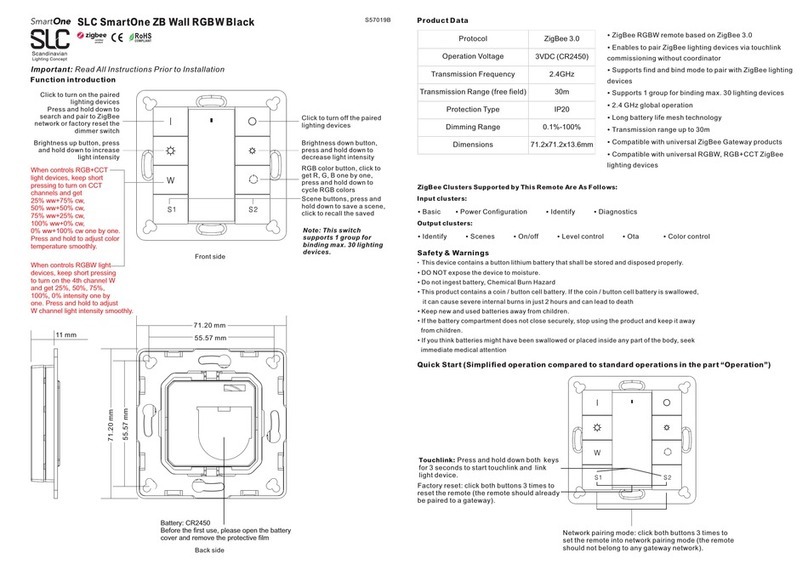
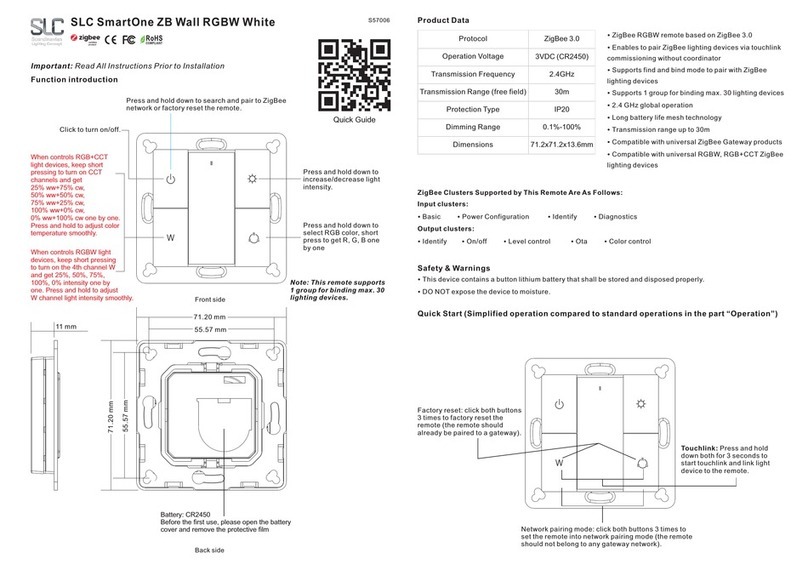
SLC SmartOne S57019B Instruction Manual

SLC

SLC SmartOne S57019B Instruction Manual

SLC PRO PAR Quad 5 User manual

SLC

SLC PRO PAR Quad 5 User manual

SLC LogiQ S37020 User manual

SLC

SLC LogiQ S37020 User manual

SLC PIX BAR PRO Quad 12 User manual

SLC

SLC PIX BAR PRO Quad 12 User manual

SLC SmartOne ZB User manual

SLC

SLC SmartOne ZB User manual

Popular Lighting Equipment manuals by other brands

Aqua SPOT LED instruction manual

Aqua

Aqua SPOT LED instruction manual

Vision & Control LDLF30x540-R633/24V/-a Instructions for use

Vision & Control

Vision & Control LDLF30x540-R633/24V/-a Instructions for use

Cameo AURO SPOT 300 user manual

Cameo

Cameo AURO SPOT 300 user manual

Arlec LVS210 Installation

Arlec

Arlec LVS210 Installation

thomann STARIRVILLE MH-110 user manual

thomann

thomann STARIRVILLE MH-110 user manual

Vision & Control LDLF60x600-R633/UDC Instructions for use

Vision & Control

Vision & Control LDLF60x600-R633/UDC Instructions for use

ADJ Mega Bar 50 RGB RC Manuel d'utilisation

ADJ

ADJ Mega Bar 50 RGB RC Manuel d'utilisation

Conrad 57 65 81 operating instructions

Conrad

Conrad 57 65 81 operating instructions

American DJ Micro Burst User instructions

American DJ

American DJ Micro Burst User instructions

CCS LN-60/200SW2-HK-STK Instruction guide

CCS

CCS LN-60/200SW2-HK-STK Instruction guide

Aquadistri SuperFish Retro LED T8 Multi user manual

Aquadistri

Aquadistri SuperFish Retro LED T8 Multi user manual

GLP Creative Light 1 user manual

GLP

GLP Creative Light 1 user manual

Gewa PL-78 instruction manual

Gewa

Gewa PL-78 instruction manual

LRX Mantis manual

LRX

LRX Mantis manual

H2flow levelsmart quick start guide

H2flow

H2flow levelsmart quick start guide

Chauvet Professional REM-RB100CMIP Quick reference guide

Chauvet Professional

Chauvet Professional REM-RB100CMIP Quick reference guide

TEC 02407-4 manual

TEC

TEC 02407-4 manual

Quintezz Floodlight user manual

Quintezz

Quintezz Floodlight user manual

manuals.online logo
manuals.online logoBrands
  • About & Mission
  • Contact us
  • Privacy Policy
  • Terms and Conditions

Copyright 2025 Manuals.Online. All Rights Reserved.