manuals.online logo
Brands
  1. Home
  2. •
  3. Brands
  4. •
  5. Sloan
  6. •
  7. Bathroom Fixture
  8. •
  9. Sloan EBF-825 User manual

Sloan EBF-825 User manual

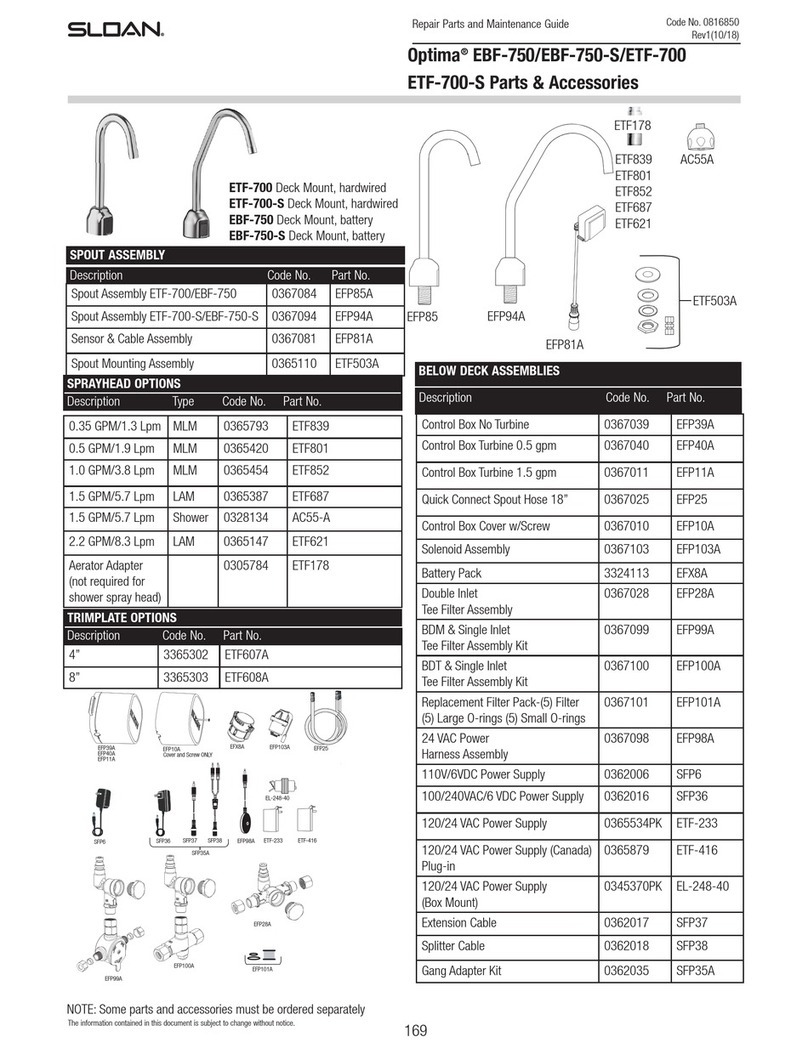
SPOUT ASSEMBLY
0.35 GPM/1.3 Lpm MLM 3362005 EFP119
0.5 GPM/1.9 Lpm MLM 3362001 EFP120
SPRAYHEAD OPTIONS
Spout Assembly EBF-825 /ETF-820 03150015 EFP-121A
Sprayhead Carrier Assembly CP 0315265 EFP-1032A
Wall Mounting Kit 825/820 33620005 EFP-123A
Sensor and Cable Assembly 3315382 EFP-116A
EFP39A
EFP40A
EFP11A
EFP103A
EFP10A EFX8A
EFP28A
SFP6 SFP36 SFP37 SFP38
SFP35A
Cover and Screw ONLY
EFP101A
EL-248-40
ETF-233 ETF-416
EFP98A
EFP1018
EFP100A
EFP99A
Description Type Code No. Part No.
Description Code No. Part No.
BELOW DECK ASSEMBLIES
Description Code No. Part No.
NOTE: Some parts and accessories must be ordered separately * Not shown
EBF-825 Wall Mount, battery
ETF-820 Wall Mount, hardwired
Control Box No Turbine 0367039 EFP39A
Control Box Turbine 0.5 gpm 0367040 EFP40A
Control Box Turbine 1.5 gpm 0367011 EFP11A
Braided Flexible Hose 36” 0315322 EFP1018
Control Box Cover w/Screw 0367010 EFP10A
Solenoid Assembly 0367103 EFP103A
Battery Pack 3324113 EFX8A
Double Inlet
Tee Filter Assembly
0367028 EFP28A
BDM & Single Inlet
Tee Filter Assembly Kit
0367099 EFP99A
BDT & Single Inlet
Tee Filter Assembly Kit
0367100 EFP100A
Replacement Filter Pack-(5) Filter
(5) Large O-rings (5) Small O-rings
0367101 EFP101A
24 VAC Power
Harness Assembly
0367098 EFP98A
110V/6 VDC Power Supply 0362006 SFP6
100-240 VAC/6 VDC Power Supply 0362016 SFP36
120/24 VAC Power Supply 0365534PK ETF-233
120/24 VAC Power Supply (Canada)
Plug-in
0365879 ETF-416
120/24 VAC Power Supply
(Box Mount)
0345370PK EL-248-40
Extension Cable 0362017 SFP37
Splitter Cable 0362018 SFP38
Gang Adapter Kit 0362035 SFP35A
Faucet to Module Ext. Cable* 0367113 EFP-113-A
Code No. 08160031
Rev1 (02/21)
EBF-825 / ETF-820
Parts & Accessories
Wall Mounting
Kit 820/825
EFP-123A
Spout Assembly
EFP-121-A EFP-116A
Spray Head
Carrier
EFP-1032A
NOTE: To automatically check battery strength, troubleshoot, diagnose and report faucet issues with a
wireless device, use the Sloan SmartPhone APP. The APP is available free-of-charge at the Apple iPhone APP store for iOS devices or
the Google Play APP store for Android devices. For more information about the APP and its capabilities please visit www.Sloan.com.
LED indicator light in the IR (infrared) sensor is red.
A. Battery power is low.
Install four (4) new AA sized alkaline batteries. Check that the orientation of each battery matches
the positive (+) and negative (–) symbols shown in the bottom of the battery compartment.
Re-attach battery compartment to control module. Green LED will illuminate. If the Green LED does
not illuminate, remove battery compartment for 10 seconds and return into place.
Faucet DOES NOT function.
A. Batteries not installed or are exhausted.
Install four (4) AA sized alkaline batteries. Check that the orientation of each battery matches the positive (+) and negative (–) symbols
shown in the bottom of the battery compartment. Reattach battery compartment to control module. Green LED will illuminate. If the Green
LED does not illuminate, remove battery compartment for 10 seconds and return into place.
B. Power Cable not installed (Hardwire models).
IInstall power cable and check connection.
C. Sensor Cable not installed.
Install sensor cable and check connection. Confirm connection guide markings are aligned.
D. Sensor range is set too short and is not detecting the target.
Increase sensor detection range.
Sensor is activated but faucet DOES NOT deliver water.
A. Faucet has initiated its adaptive sensing calibration program.
Wait 60 seconds before activating faucet.
B. Solenoid Cable not connected.
Check solenoid cable connection. Confirm connection guide markings are aligned.
Sensor Range Requires Manual Adjustment.
Sensor Range is measured in units from 1 to 5, with 1 being closest to the faucet and 5 being farthest from the faucet. The factory default
Sensor Range is 3.
A. To determine what the current Sensor Range setting is, press the red “Sensor” button on the upper right hand corner of the Optima Control
Box for 1 second. Five seconds after pressing the button, the green LED beside it will blink to indicate the Sensor Range setting. For
example, if it is set at 2, the green LED will blink 2 times.
B. To adjust the Sensor Range, press and hold the red “Sensor” button for three seconds and release once the green LED comes on to indicate
that you are in Sensor Range adjustment mode. Then press the “Sensor” button one second at a time for however many times you wish to
increase the range. For example, if the Sensor Range is set at 2 and you wish to increase it to 4, press the “Sensor” button two times for one
second each time..
C. If you wish to decrease the Sensor Range, follow the same procedure to enter into Sensor Range adjustment mode, and then press
the “Sensor” button one second at a time. The button is designed to go up to 5 units and then back down to 1 unit. For example, if the
Sensor Range is set at 4 and you wish to decrease it to 2, press the “Sensor” button three times for one second each time.
D. To conform your changes, wait 5 seconds and then press the red “Sensor” button on the upper right hand corner of the Optima Control Box
for 1 second. Five seconds after pressing the button, the green LED beside it will blink to indicate the Sensor Range setting. For example, if it
is now set at 2, the green LED will blink 2 times.
Solenoid produces an audible “CLICK” when an object is placed in the detection zone of the sensor but
NO water flows.
A. Water supply to faucet is not open.
Open supply stop(s).
B. Inlet fitting filter is clogged.
Remove, clean, and reinsert. Replace with EFP101A solenoid filter kit if necessary.
C. Aerator or spray head is clogged.
Remove, clean, and reinsert.
TROUBLESHOOTING INSTRUCTIONS FOR OPTIMA SENSOR ACTIVATED LAVATORY FAUCETS
WITH THE NEW OPTIMA CONTROL BOXES AND THE SLOAN CONNECT SMARTPHONE APP.
FAUCET TROUBLESHOOTING GUIDE
EBF-825 / ETF-820
Parts & Accessories

This manual suits for next models

1

Other Sloan Bathroom Fixture manuals

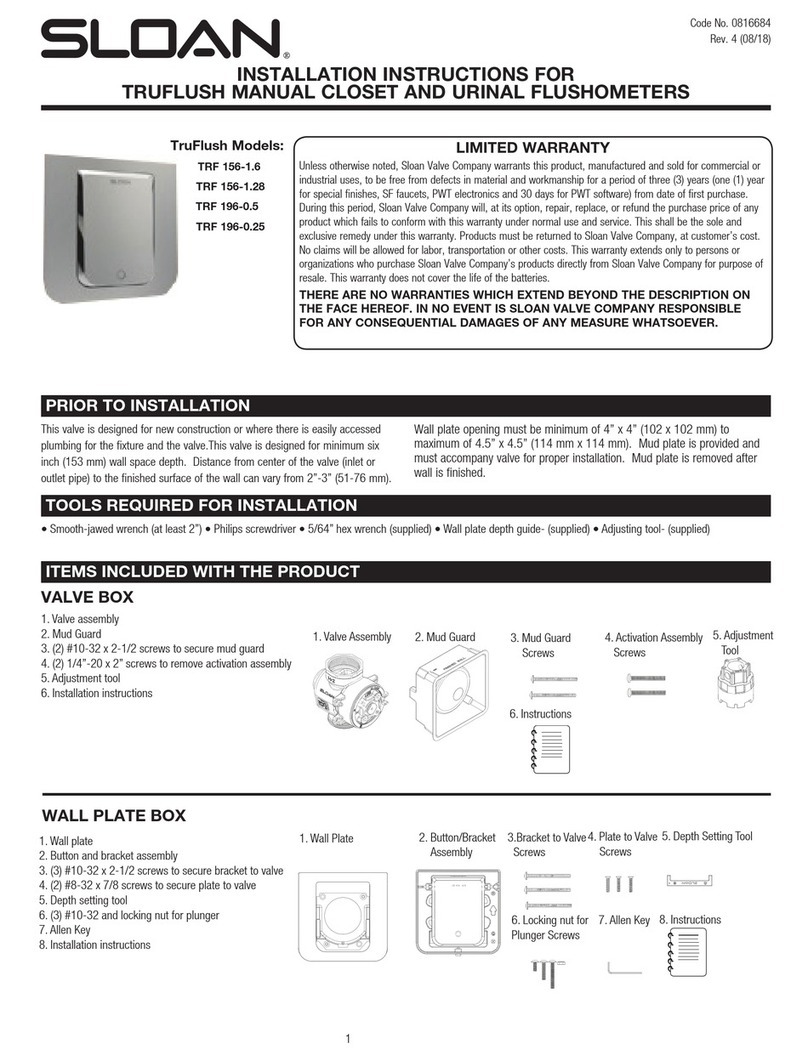
Sloan TRUFLUSH Series User manual

Sloan

Sloan TRUFLUSH Series User manual

Sloan Optima EBF-750-S Use and care manual

Sloan

Sloan Optima EBF-750-S Use and care manual

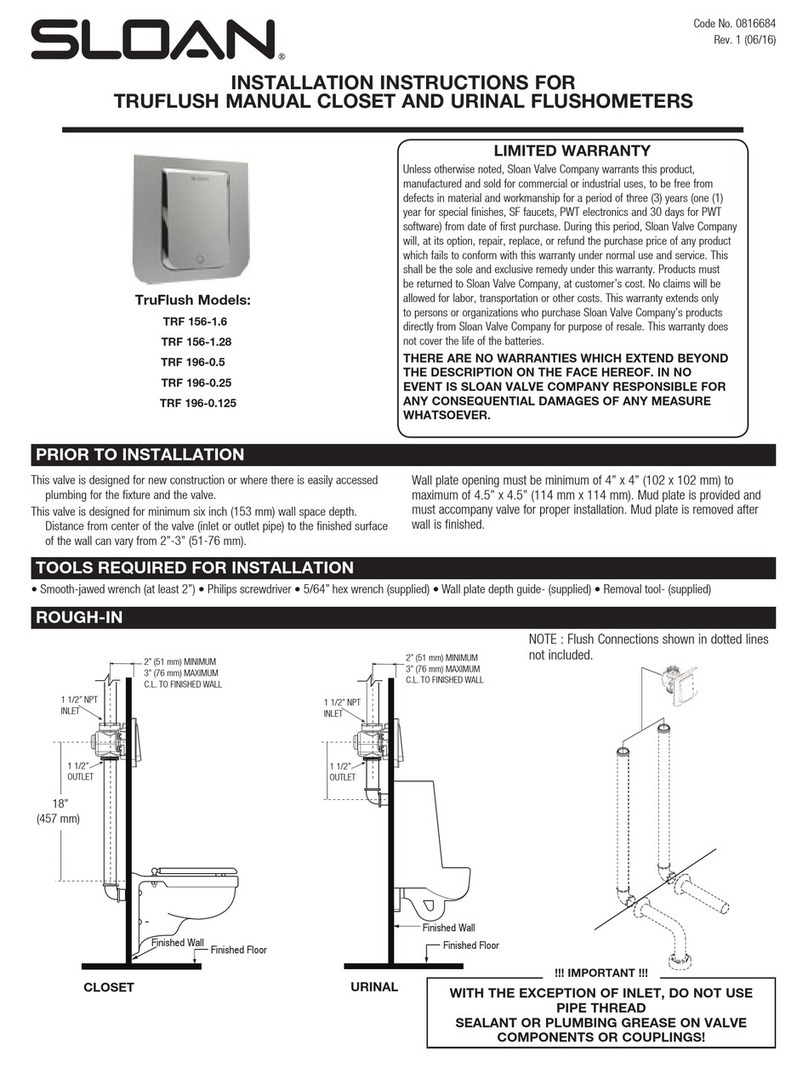
Sloan TruFlush TRF 156-1.6 User manual

Sloan

Sloan TruFlush TRF 156-1.6 User manual

Sloan OPTIMA I.Q. EAF-150 Series User manual

Sloan

Sloan OPTIMA I.Q. EAF-150 Series User manual

Sloan MH-3050 Owner's manual

Sloan

Sloan MH-3050 Owner's manual

Sloan Optima EBF-415 User manual

Sloan

Sloan Optima EBF-415 User manual

Sloan Optima EBF-85 Use and care manual

Sloan

Sloan Optima EBF-85 Use and care manual

Sloan Solis EAF-275 Series User manual

Sloan

Sloan Solis EAF-275 Series User manual

Sloan TruFlush TRF 156-1.28 User manual

Sloan

Sloan TruFlush TRF 156-1.28 User manual

Sloan MH-1000 User manual

Sloan

Sloan MH-1000 User manual

Sloan OPTIMA plus EAF 350 Series User manual

Sloan

Sloan OPTIMA plus EAF 350 Series User manual

Sloan OPTIMA I.Q. EAF-100-ISM Use and care manual

Sloan

Sloan OPTIMA I.Q. EAF-100-ISM Use and care manual

Sloan Optima EBF-650 Use and care manual

Sloan

Sloan Optima EBF-650 Use and care manual

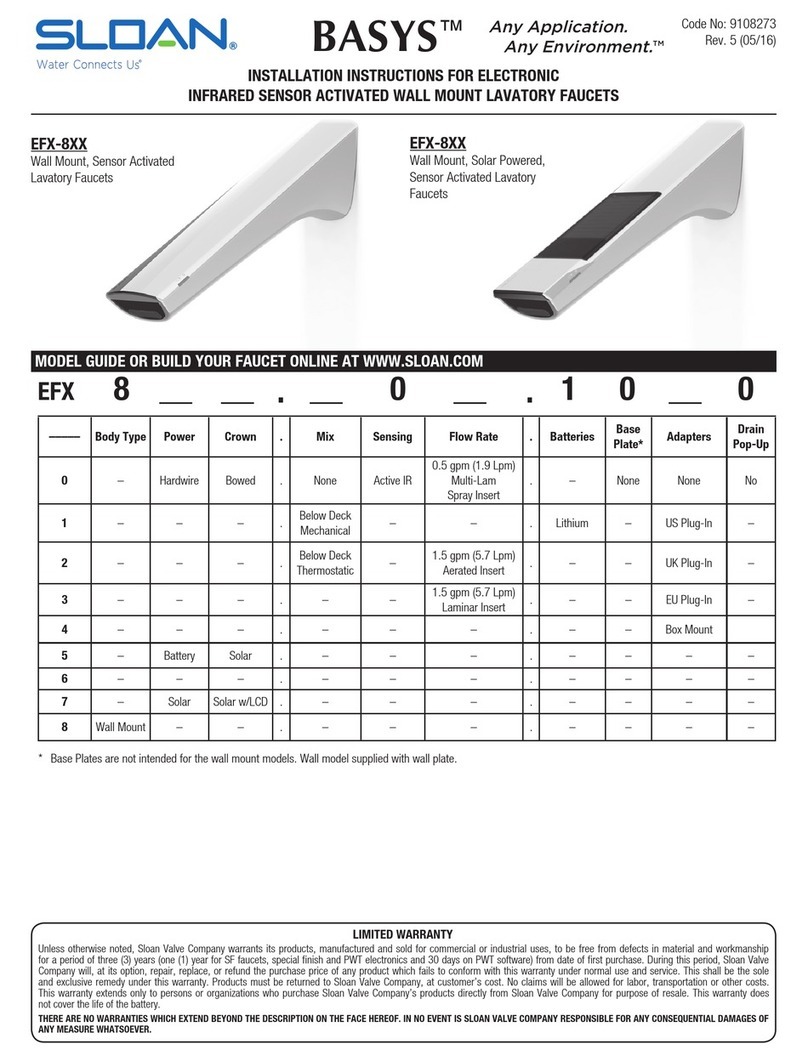
Sloan BASYS EFX-8 User manual

Sloan

Sloan BASYS EFX-8 User manual

Popular Bathroom Fixture manuals by other brands

Arblu 5.ZERO Assembly instructions

Arblu

Arblu 5.ZERO Assembly instructions

KAWAJUN SH-026-3 quick start guide

KAWAJUN

KAWAJUN SH-026-3 quick start guide

Kinedo Kineprime installation instructions

Kinedo

Kinedo Kineprime installation instructions

Hans Grohe 31453 Cleaning instructions

Hans Grohe

Hans Grohe 31453 Cleaning instructions

Hughes DEC-DS-6-M Installation, operation and maintenance instructions

Hughes

Hughes DEC-DS-6-M Installation, operation and maintenance instructions

Dolphin Blue DB3100 Installation and maintenance guide

Dolphin

Dolphin Blue DB3100 Installation and maintenance guide

Anzzi CS-CTRTP00M Install & Operation Manual

Anzzi

Anzzi CS-CTRTP00M Install & Operation Manual

Aquatec 492044048 Mounting instructions

Aquatec

Aquatec 492044048 Mounting instructions

DURAVIT Brioso BR 7022 Mounting instructions

DURAVIT

DURAVIT Brioso BR 7022 Mounting instructions

Franke F5ST2032 Installation and operating instructions

Franke

Franke F5ST2032 Installation and operating instructions

Sanela SLP 35S 11351 Instructions for use

Sanela

Sanela SLP 35S 11351 Instructions for use

Spectrum Brands Pfister Saxton LG89-XGL1 Maintenance & Care Guide

Spectrum Brands

Spectrum Brands Pfister Saxton LG89-XGL1 Maintenance & Care Guide

Mirolin BA604TL/R Installation instructions and owner's manual

Mirolin

Mirolin BA604TL/R Installation instructions and owner's manual

Graff PESARO 1500-LM10 installation instructions

Graff

Graff PESARO 1500-LM10 installation instructions

April identiti installation instructions

April

April identiti installation instructions

Kohler K-701799T-FMSW installation instructions

Kohler

Kohler K-701799T-FMSW installation instructions

Excellent RIKO DOEX.1601CR Use and care instruction

Excellent

Excellent RIKO DOEX.1601CR Use and care instruction

antoniolupi RAINDROP installation manual

antoniolupi

antoniolupi RAINDROP installation manual

manuals.online logo
manuals.online logoBrands
  • About & Mission
  • Contact us
  • Privacy Policy
  • Terms and Conditions

Copyright 2025 Manuals.Online. All Rights Reserved.