manuals.online logo
Brands
  1. Home
  2. •
  3. Brands
  4. •
  5. Sloan
  6. •
  7. Control Unit
  8. •
  9. Sloan G2 Optima Plus Operating manual

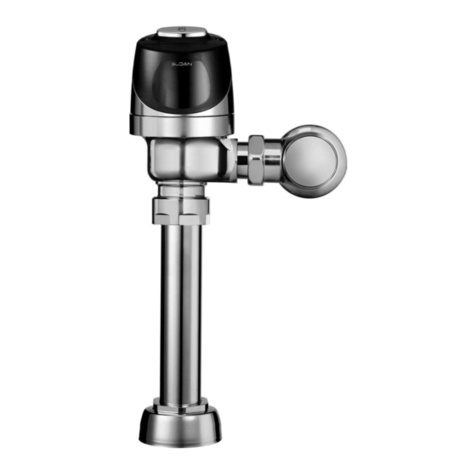
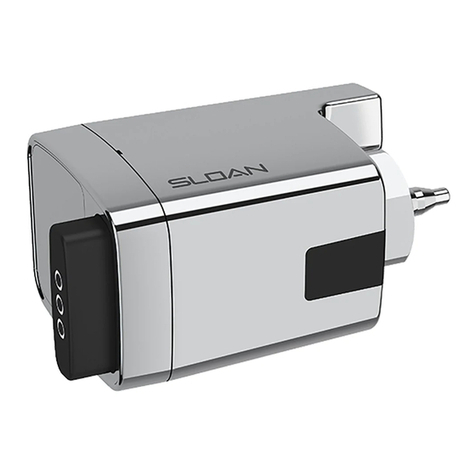
Sloan G2 Optima Plus Operating manual

LIMITED WARRANTY
Sloan Valve Company warrants its Flushometer Products to be made of first
class materials, free from defects of material or workmanship under normal
use and to perform the service for which they are intended in a thoroughly
reliable and efficient manner when properly installed and serviced, for a period
of three years (one year for special finishes) from date of purchase. During
this period, Sloan Valve Company will, at its option, repair or replace any part
or parts which prove to be thus defective if returned to Sloan Valve Company,
at customer’s cost, and this shall be the sole remedy available under this
warranty. No claims will be allowed for labor, transportation or other incidental
costs. This warranty extends only to persons or organizations who purchase
Sloan Valve Company’s products directly from Sloan Valve Company for
purpose of resale.
THERE ARE NO WARRANTIES WHICH EXTEND BEYOND THE DESCRIPTION
ON THE FACE HEREOF. IN NO EVENT IS SLOAN VALVE COMPANY
RESPONSIBLE FOR ANY CONSEQUENTIAL DAMAGES OF ANY MEASURE
WHATSOEVER.
G2 OPTIMA Plus M.G. – Rev. 1 (09/06) Code No. 0816456
The Sloan Valve Company introduced its OPTIMA Plus Battery Operated
Sensor Flushometer in 1992 revolutionizing the flushing of water closets
and urinals. In both new construction and retrofit applications the use of the
OPTIMA Plus has become the standard method for many facilities to
improve restroom hygiene and ensure handicap accessibility compliance.
In May, 2003 Sloan introduced the G2 OPTIMA Plus®.
The G2 OPTIMA Plus builds on the success of the original product and
offers many technological advancements to further improve on
performance and reliability expected of sensor operated plumbing. In
addition to a new aesthetic design, the G2 OPTIMA Plus features a new
state-of-the-art electronic and optical package and a unique Solenoid
Operator.
The G2 OPTIMA Plus replaces the original OPTIMA Plus product, which
was phased out of production in mid 2003.
Use this Maintenance & Repair Guide for G2 OPTIMA Plus Valves
only.
For older OPTIMA Plus Valves (produced from 1992 - 2003) and
Regal Pro OPTIMA Plus Valves use Maintenance and Repair Guide
#0816193.
If further assistance is required, please contact the Sloan Valve
Company Installation Engineering Department at:
Phone: 1-888-SLOAN-14 (1-888-756-2614)
Email: [email protected]
The Sloan G2 OPTIMA Plus Automatic Battery Powered Flushometer relies
on an Infrared Sensor to detect a user and activate a flushing cycle. No
physical contact with the Flushometer surface is necessary, assuring
sanitary protection. G2 OPTIMA Plus Flushometers are ADA compliant
devices.
The Flushometer is triggered by means of an active Infrared Sensor. The
OPTIMA Plus Sensor emits a continuous invisible Light Beam. When a user
enters the Beam’s effective range, the Beam is reflected into the OPTIMA
Plus Scanner Window. The user is now detected. After the user moves out
of the effective range of the Sensor, a signal is sent to the Flushometer
Solenoid and, after appropriate arming and/or flush delays, the flush cycle
is initiated.
FOR USE WITH SLOAN’S G2 OPTIMA Plus®
FLUSHOMETER INTRODUCED MAY, 2003
Maintenance Guide •SENSOR OPERATED VALVES
G2®OPTIMA Plus
Flushometer
Original
OPTIMA Plus
Flushometer and
Regal Pro®OPTIMA
Plus
2
SENSOR MODULE COMPONENT PARTS
Item Code Part
No. No. No. Description
1. 0325160 EBV-138-A G2 Cover/Ring/Sensor Assembly — Water Closet
0325161 EBV-139-A G2 Cover/Ring/Sensor Assembly — Urinal
0325166 EBV-149-A G2 Cover/Ring/Sensor Assembly —
Water Closet w/ Zurn Ring
0325167 EBV-150-A G2 Cover/Ring/Sensor Assembly —
Urinal w/ Zurn Ring
2. 0325168 EBV-142-A Cover Assembly
3. 0325172 EBV-130-A Override Button Assembly (includes screws &
hex wrench)
0325170 EBV-132-A Screws (2) and Hex Wrench Only
4. 0325169 EBV-131 Lens Window Cover
5. 0325804 EBV-14 Locking Ring
3325524 EBV-31-A Locking Ring — for Zurn Valves
6.3325450 EBV-129-A-C G2 Electronic Module — Water Closet
3325451 EBV-129-A-U G2 Electronic Module — Urinal
7. 0325171 EBV-134 Cover Rest Plate
8. 3325456 EBV-145-A G2 Inside Cover Assembly (includes solenoid)
9. 3325453 EBV-136-A Solenoid (For G2 Modules only)
10. SEE CHART Flex Tube Diaphragm Kit
Accessories
11. 0325107 EBV-91 Trimpot Adjustment Screwdriver
12. 0325823 EBV-22 Strap Wrench
13. 0325159 EBV-137 7/64” Hex Wrench
FLEX TUBE DIAPHRAGM INSIDE PARTS KITS
5325056 EBV-83 O-ring — 6 per package
REGULATORS
The flush volume of the Flex Tube
Diaphragm Kit is control by the
Regulator. Regulators are identified by
color. Some Flex Tube Diaphragm Kits
are supplied with multiple Regulators.
The installer must make sure the
proper Regulator is used when
installing the Flex Tube Diaphragm Kit.
SENSOR OPERATED FLUSHOMETERS
2
3
4
5
1
7
8
9
12
11
13
6
10
0-RING
REGULATOR
(MUST BE INSTALLED
PAST 0-RING)
FLEX TUBE
DIAPHRAGM
† The EBV-1020-A and EBV-1022-A Kits are supplied with multiple Regulators.
‡ A 0.5 gpf (1.9 Lpf) Urinal kit can be converted to a 1.0 gpf (3.8 Lpf) by cutting and removing
the smooth A-164 Flow Ring from the Guide.
§ For a 4.5 gpf (17 Lpf) Water Closet flush use the EBV-1020-A Kit with the White Regulator,
and cut and remove the A-164 Flow Ring from the Guide.
Color of Regulator to be used with Flex Tube Diaphragm to obtain the listed flush volume.
FLEX TUBE
DIAPHRAGM KIT † APPLICATION REGULATOR
KIT NO. CODE NO. COLOR 
EBV-1023-A 3325003 URINAL-0.5 gpf/1.9 Lpf GREEN
EBV-1022-A 3325000 URINAL-1.0 gpf/3.8 Lpf ‡ GREEN
EBV-1022-A 3325000 URINAL-1.5 gpf/5.7 Lpf BLACK
EBV-1020-A 3325001 URINAL-3.5 gpf/13.2 Lpf WHITE
EBV-1020-A 3325001 CLOSET-1.6 gpf/6.0 Lpf GREEN
EBV-1021-A 3325014 CLOSET-2.4 gpf/9.0 Lpf BLUE
EBV-1020-A 3325001 CLOSET-3.5 gpf/13.2 Lpf WHITE
EBV-1020-A 3325001 CLOSET-4.5 gpf/17.0 Lpf § WHITE
REGULATOR (Sold 6 per package)
The EBV-1020-A and EBV-1022-A Kits are supplied with multiple Flush Volume Regulators.
The Installer must use the correct Regulator when installing the kit.
FLUSH VOLUME REGULATOR PART CODE
AND FIXTURE COLOR NO. NO
URINAL-0.5 gpf/1.9 Lpf GREEN EBV-95 5325122
URINAL-1.0 gpf/3.8 Lpf GREEN EBV-95 5325122
URINAL-1.5 gpf/5.7 Lpf BLACK EBV-102-2 5325129
URINAL-3.5 gpf/13.2 Lpf WHITE EBV-102-1 5325130
CLOSET-1.6 gpf/6.0 Lpf GREEN EBV-95 5325122
CLOSET-3.5 gpf/13.2 Lpf WHITE EBV-102-1 5325130
CLOSET-2.4 gpf/9.0 Lpf BLUE EBV-101 5325128
FLEX TUBE
DIAPHRAGM
KIT
REGULATOR
FLEX TUBE DIAPHRAGM
O-RING (Part # EBV-83)
3
VALVE COMPONENT PARTS
Item Code Part
No. No. No. Description
14. 3323182 V-651-A Vacuum Breaker Repair Kit
15. 0393046 V-600-AA ¾'' x 9'' CP Vacuum Breaker
0393006 V-600-AA 1¼'' x 9'' CP Vacuum Breaker
0393007 V-600-AA 1½'' x 9'' CP Vacuum Breaker
16. 0306125 F-5-AW ¾'' CP Spud Coupling
0306140 F-5-AU 1¼'' CP Spud Coupling
0306146 F-5-AT 1½'' CP Spud Coupling
17. 0308676 H-550 CP Stop Coupling
18. 0308801 H-551-A CP Adjustable Tailpiece 2-1/16'' long
19. 5308696 H-553 O-ring — 24 per package
20. 3308386 H-700-A 1'' Screwdriver Bak-Chek®Stop CP — complete
3308384 H-700-A ¾'' Screwdriver Bak-Chek®Stop CP — complete
21. 3308853 H-541-A Control Stop Repair Kit †
3308856 H-543-A Control Stop Repair Kit ‡
22. 0308612 H-622 CP Bonnet †
0308843 H-577 CP Bonnet ‡
23. 3308791 H-1010-A Vandal Resistant Control Stop Cap Assembly †
3308790 H-1009-A Vandal Resistant Control Stop Cap Assembly ‡
24. 3325816 EBV-1019-A ¾'' Decorative Stop Cap
3308866 H-574 1'' Decorative Stop Cap
25. 3325815 EBV-1018-A Handle Cap — Decorative
26. 3325814 EBV-1017-A Handle Cap — Metal
† For use w/H-700-A 1'' & ¾'' and H-600-A 1'' Screwdriver Bak-Chek®Control Stops.
‡ For use w/H-600-A ¾'' Screwdriver Bak-Chek®Control Stops.
24 23
22
20
21
19
18
17
15
14
16
25
26
SENSOR OPERATED FLUSHOMETERS
Battery Replacement
When G2 OPTIMA Plus has approximately 4,000 flushes left, the same Red
Light that appears at start-up will flash four (4) times quickly whenever an
object is detected. When this occurs, we recommend changing the
batteries as follows:
When required, replace Batteries with four
(4) Alkaline Type AA Batteries.
Note: Water does not have to be turned off
to replace Batteries.
Loosen the two (2) Screws on top of unit.
Remove the complete Cover Assembly. Lift
the Sensor Module from its Plate. Unplug the
Electrical Connector from Battery
Compartment Cover. Loosen the Retaining
Screw on Battery Compartment Cover and
remove Battery Compartment Cover. Install
four (4) Alkaline Type AA Batteries exactly as
illustrated at right.
Install Battery Compartment Cover and secure with Retaining Screw. Make
certain that Battery Compartment Cover is fully compressed against
Gasket to provide a seal; Do Not overtighten. Plug the Electrical Connector
into the Battery Compartment Cover. Reinstall the Sensor Module onto the
Plate. Reinstall the complete Cover Assembly onto the Plate. Tighten the
two (2) Screws on top of the unit.
7/64” HEX
WRENCH
BATTERY
COMPARTMENT
COVER
ELECTRICAL CONNECTOR RECEPTACLE
SENSOR
MODULE
RETAINING
SCREW
COVER
ASSEMBLY
SENSOR
MODULE
PLATE
Care and Cleaning Instructions
DO NOT use abrasive or chemical cleaners to clean the G2 OPTIMA Plus,
they may dull the luster and attack the Plastic Cover and the chrome finish
of the Flushometer. Use ONLY soap and water, then wipe dry with clean
cloth or towel. While cleaning the bathroom tile, the OPTIMA Plus should
be protected from any splattering of cleaner. Acids and cleaning fluids can
discolor or remove chrome plating.
Maintenance Guide •SENSOR OPERATED VALVES
C. Wrong OPTIMA Plus model installed; i.e., 3 gpf model installed on 1.0
or 1.5 gpf urinal fixture. Replace with proper OPTIMA Plus model, or refer
to the G2 OPTIMA Plus Conversion Guide (0816453) to convert existing
unit to the proper model.
D. Dirt in Diaphragm Bypass. Clean under running water or replace Flex
Tube Diaphragm.
Note: The EBV-46-A Beam Deflector is no longer required or
available for the G2 OPTIMA Plus.
For information and instructions on field converting G2 OPTIMA Plus
Module settings or to activate the Stadium Flush™ Feature in urinal
models, refer to the Sloan G2 OPTIMA Plus Conversion Guide
(0816453).
This manual and the OPTIMA Plus Repair and Maintenance Guide
are available at www.sloanvalve.com.
RANGE ADJUSTMENT (Adjust only If Necessary)
The G2 OPTIMA Plus has a factory set sensing range:
Water Closet Models — 22" to 42" (559 mm to 1067 mm)
Urinal Models — 15" to 30" (381 mm to 762 mm)
The Factory setting should be satisfactory for most installations.
If the range is too short (i.e., not
picking up users) or too long
(i.e., picking up opposite wall or
stall door) the range can be
adjusted.
Note: Water does not have to be
turned off to adjust range.
Loosen the two Screws on top
of the unit. Remove the Override
Button. Remove the Rubber Plug
from top of Electronic Sensor
Module to uncover the
Potentiometer.
RANGE ADJUSTMENT PROCEDURE
For the first ten (10) minutes of operation, a Visible Red Light flashes in the
Sensing Window of the G2 OPTIMA Plus Flushometer when a user is
detected. This Visible Red Light feature can be reactivated after ten (10)
minutes by opening and closing the Battery Compartment Door.
Check the range by stepping toward the unit until the Red Light flashes,
indicating the Sensor's maximum detection limit. Adjust the Range
Potentiometer Screw located on top of the Sensor Module a few degrees
CLOCKWISE to increase the range or a few degrees COUNTERCLOCKWISE
to decrease the range. Repeat this adjustment until the desired range is
achieved.
Always Determine the Sensing Range with Metal Cover and Lens
Window On Top of the Unit.
Important: Adjust in small increments only! Range Potentiometer
adjustment screw rotates only ¾ of a turn; DO NOT over-rotate.
When range adjustment is satisfactory, replace the Rubber Plug. Reinstall
Override Button and tighten the two Screws on top of the unit.
Troubleshooting and Maintaining the Sloan G2 OPTIMA Plus®Flushometer
I. Sensor Flashes Continuously Only When User Steps Within Range.
A. Unit in Start-Up mode; no problem. This feature is active for the first ten
(10) minutes of operation.
II. Valve Does Not Flush; Sensor Not Picking UpUser.
A. Range too short; increase the range.
III. Valve Does Not Flush; Sensor Picking UpOpposite Wall or Surface, or
Only Flushes When Someone Walks By. Red Light Flashes
Continuously for First 10 Minutes Even with NoOne in Front of the
Sensor.
A. Range too long; shorten range.
IV. Valve Does Not Flush Even After Adjustment.
A. Range Adjustment Potentiometer set at full "max" or full "min" setting.
Readjust Potentiometer away from full "max" or "min" setting.
B. Batteries completely used up; replace Batteries.
C. Problem with Electronic Sensor Module; replace Electronic Sensor
Module.
V.Unit Flashes 4 Quick Times When User Steps Within Range.
A. Batteries low; replace Batteries.
VI. Valve Does Not Shut Off.
A. Bypass Orifice in Diaphragm is clogged with dirt or debris, or Bypass is
clogged by an invisible gelatinous film due to "over-treated" water.
Remove Flex Tube Diaphragm and wash under running water.
Note: Size of Orifice in the Bypass is of utmost importance for the proper
metering of water by the valve. DO NOT ENLARGE OR DAMAGE THIS
ORIFICE. Replace Flex Tube Diaphragm if cleaning does not correct the
problem.
B. Dirt or debris fouling Stem or Flex Tube Diaphragm. Remove Flex Tube
Diaphragm and wash under running water.
C. O-ring on Stem of Flex Tube Diaphragm is damaged or worn. Replace
O-ring if necessary.
D. Problem with Solenoid. If cleaning does not correct problem, replace
with new Isolated Solenoid Operator.
VII. Not Enough Water to Fixture.
A. Wrong Flush Volume Regulator installed in Flex Tube Diaphragm Kit.
Install the correct Regulator (see Step 6 of Installation Instructions
0816452).
B. Wrong OPTIMA Plus model installed; i.e., 1 gpf. urinal installed on 3.5
gal. closet fixture. Replace with proper OPTIMA Plus model, or refer to
the G2 OPTIMA Plus Conversion Guide (0816453) to convert existing
unit to the proper model.
C. Enlarged Bypass in Diaphragm. Replace Flex Tube Diaphragm.
D. Control Stop not adjusted properly. Readjust Control Stop.
E. Inadequate volume or pressure at supply. Increase water pressure or
supply (flow) to Valve. Consult factory for assistance.
VIII.Too Much Water to Fixture.
A. Wrong Flush Volume Regulator installed in Flex Tube Diaphragm Kit.
Install the correct Regulator (see Step 6 of Installation Instructions
0816452).
B. Control Stop not adjusted properly. Readjust Control Stop.
SLOAN VALVE COMPANY • 10500 SEYMOUR AVENUE • FRANKLIN PARK, IL 60131
Phone: 1-800-9-VALVE-9 or 1-847-671-4300 • Fax: 1-800-447-8329 or 1-847-671-4380 • www.sloanvalve.com
Copyright © 2006 Sloan Valve Company Printed in the U.S.A. Made in the U.S.A. G2 OPTIMA Plus M.G. — Rev. 1 (09/06) Code No. 0816456
COUNTER-
CLOCKWISE CLOCKWISE
Decreases
Range
Increases
Range

Other manuals for G2 Optima Plus

6

This manual suits for next models

2

Other Sloan Control Unit manuals

Sloan G2 Optima Plus Operating manual

Sloan

Sloan G2 Optima Plus Operating manual

Sloan Optima ETF-80 User manual

Sloan

Sloan Optima ETF-80 User manual

Sloan Optima Plus EBV-500-A User manual

Sloan

Sloan Optima Plus EBV-500-A User manual

Sloan SOLIS 8100 Series User manual

Sloan

Sloan SOLIS 8100 Series User manual

Sloan 152 ES-S TMO SWB User manual

Sloan

Sloan 152 ES-S TMO SWB User manual

Sloan NAVAL 110 User manual

Sloan

Sloan NAVAL 110 User manual

Sloan TRUFLUSH TRF 8900-CP User manual

Sloan

Sloan TRUFLUSH TRF 8900-CP User manual

Sloan 152 ES-S TMO SWB User manual

Sloan

Sloan 152 ES-S TMO SWB User manual

Popular Control Unit manuals by other brands

VIGOUR individual Assembly instructions and operation manual

VIGOUR

VIGOUR individual Assembly instructions and operation manual

BENDIX MV-1 MODUTROL Reference

BENDIX

BENDIX MV-1 MODUTROL Reference

Honeywell Elster Jeavons S300 manual

Honeywell

Honeywell Elster Jeavons S300 manual

P.LEMMENS CB2 TAC5 SC installation manual

P.LEMMENS

P.LEMMENS CB2 TAC5 SC installation manual

Vertiv eSure R48-1000e3 user manual

Vertiv

Vertiv eSure R48-1000e3 user manual

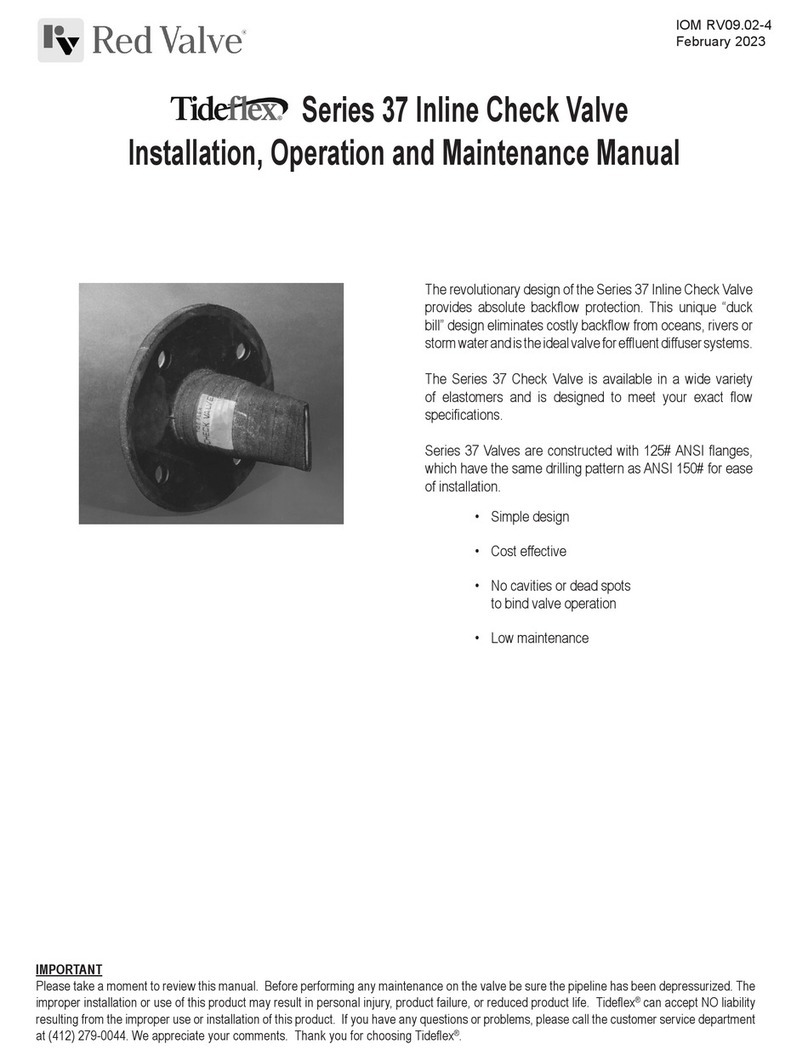
Red Valve TIdeFlex 37 Series Installation, operation and maintenance manual

Red Valve

Red Valve TIdeFlex 37 Series Installation, operation and maintenance manual

Texas Instruments ADS1x15V2EVM-PDK user guide

Texas Instruments

Texas Instruments ADS1x15V2EVM-PDK user guide

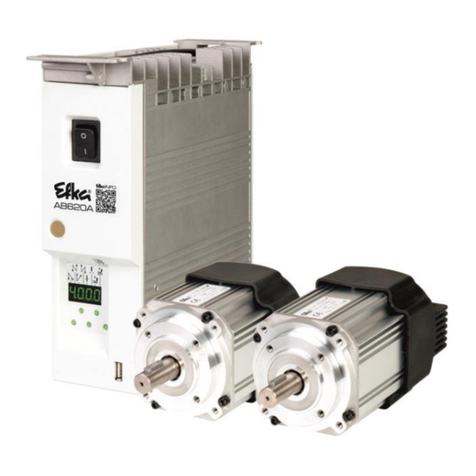
Efka AB620A5030 operating manual

Efka

Efka AB620A5030 operating manual

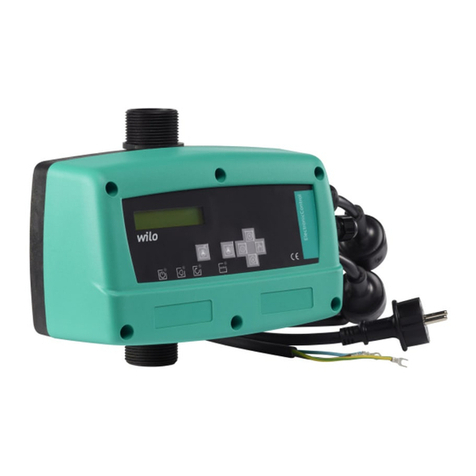
Wilo Electronic Control MT6 Installation and operating instructions

Wilo

Wilo Electronic Control MT6 Installation and operating instructions

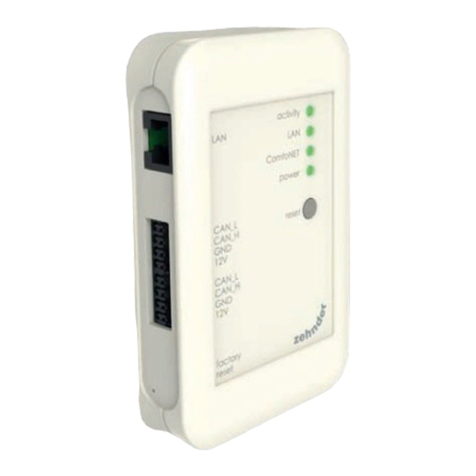
Zehnder Rittling ComfoConnect LAN C manual

Zehnder Rittling

Zehnder Rittling ComfoConnect LAN C manual

WEEBEE Z-0001 ZigBee manual

WEEBEE

WEEBEE Z-0001 ZigBee manual

Panasonic UJ20 Series user manual

Panasonic

Panasonic UJ20 Series user manual

Velleman VMA436 user manual

Velleman

Velleman VMA436 user manual

HP 16600A Series installation guide

HP

HP 16600A Series installation guide

Campbell SDM-SIO1A instruction manual

Campbell

Campbell SDM-SIO1A instruction manual

HHC MottoSleep CH11 instructions

HHC

HHC MottoSleep CH11 instructions

Horizon Hobby X1TXN user manual

Horizon Hobby

Horizon Hobby X1TXN user manual

manvia TVS Installation, operation & maintenance manual

manvia

manvia TVS Installation, operation & maintenance manual

manuals.online logo
manuals.online logoBrands
  • About & Mission
  • Contact us
  • Privacy Policy
  • Terms and Conditions

Copyright 2025 Manuals.Online. All Rights Reserved.