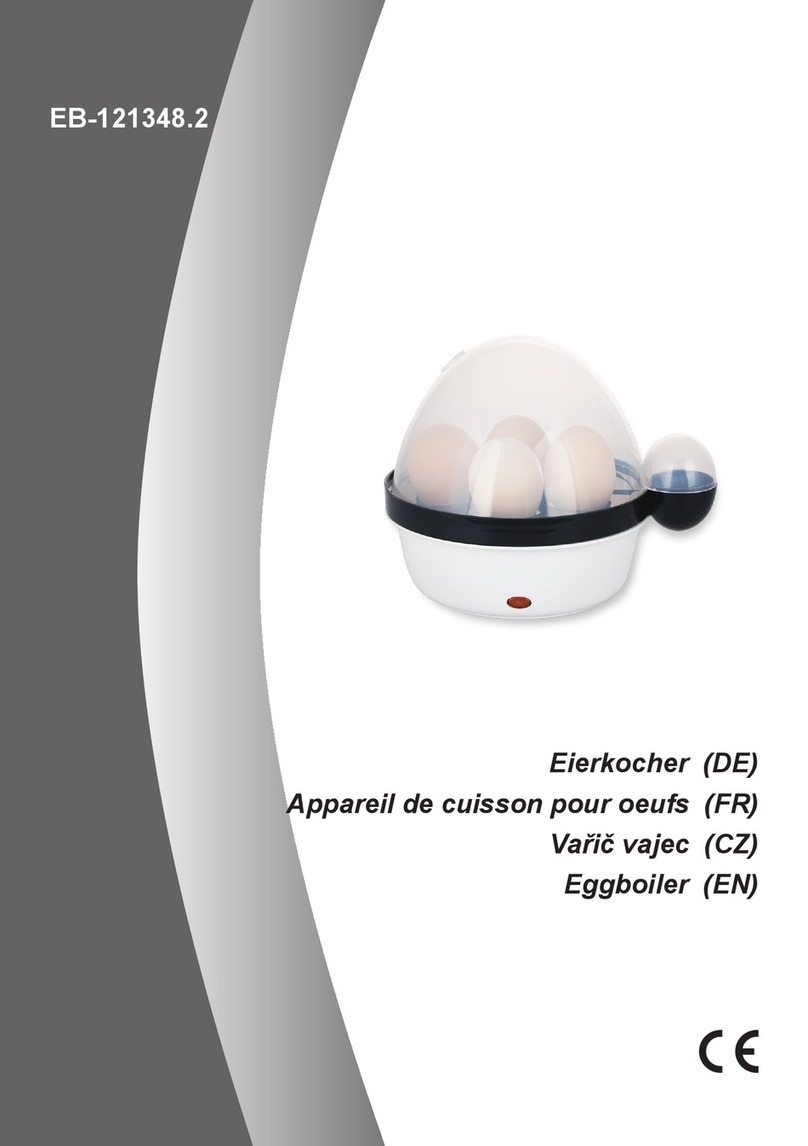
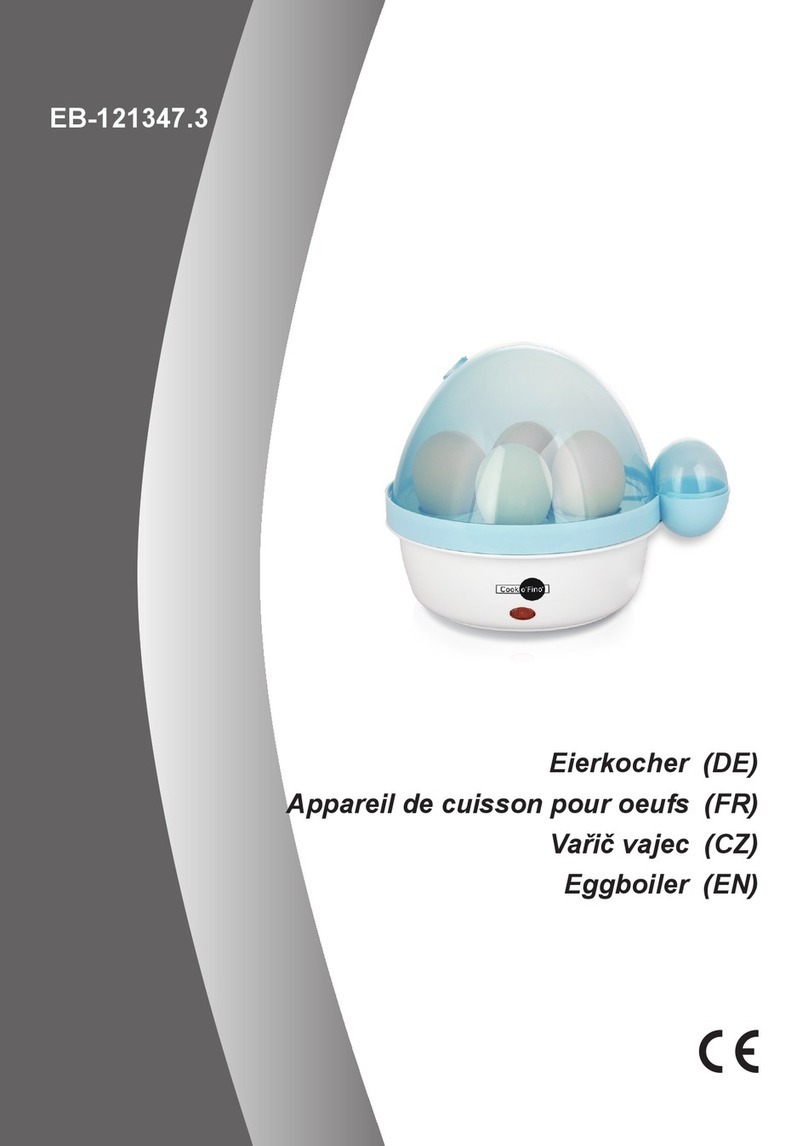
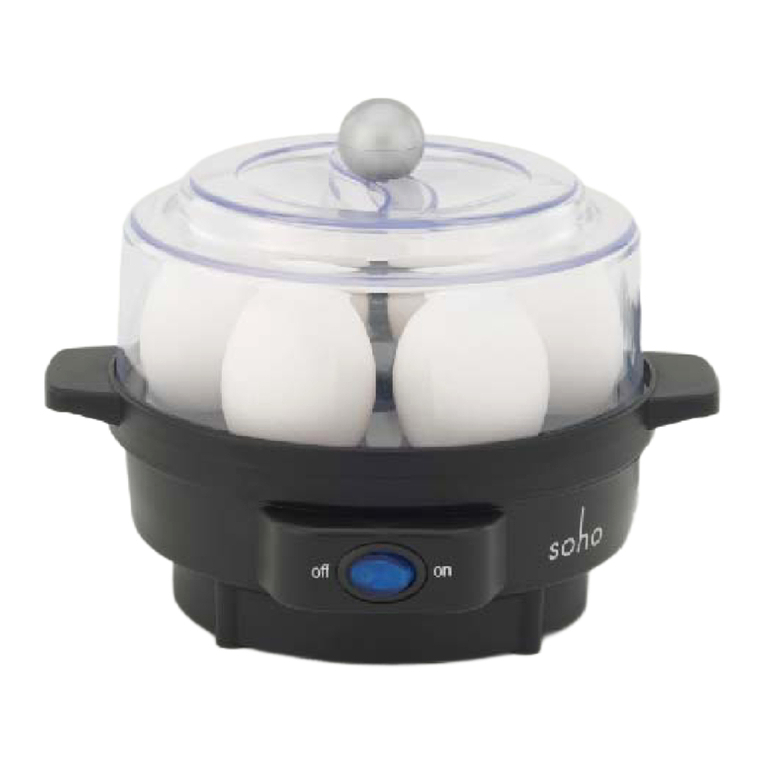
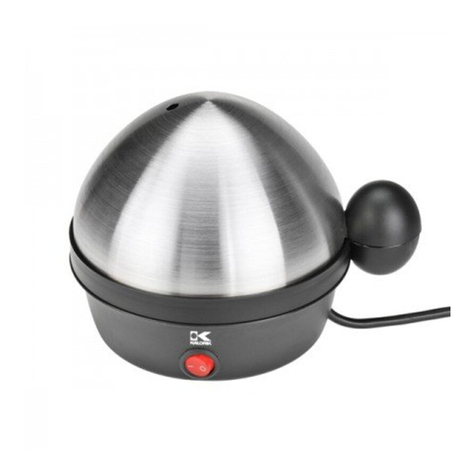
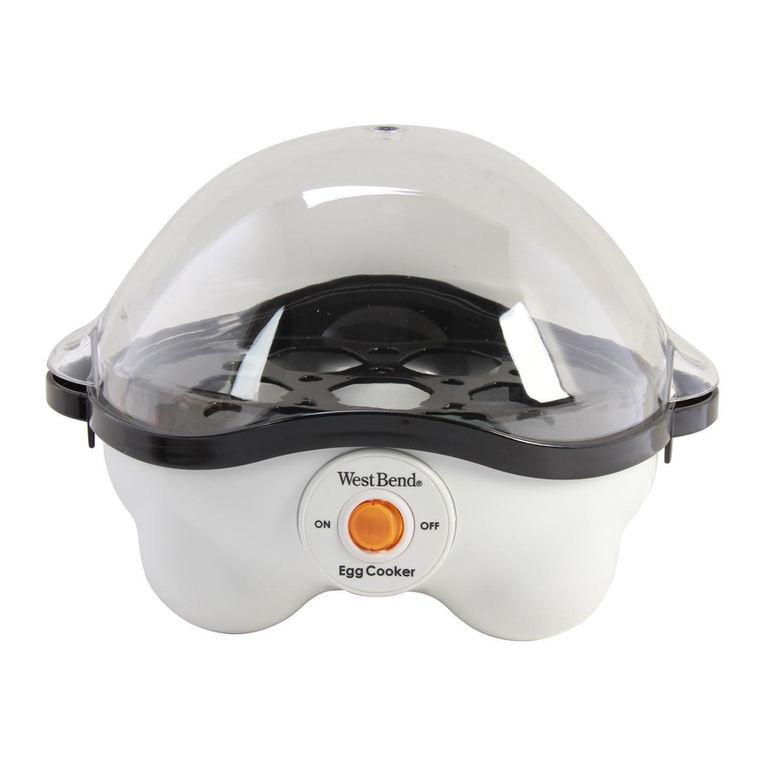
smart home 6504U User manual

EggCooker
-.-
Use and Care Guide
~’
I
j
‘~
Model
6504U
~
-IMPORTANT
$AFEGlJARIk.
--.
-.
When using electrical appliances, basic safety precautions should always be followed
to reduce the risk of fire, electric shock and injury to
persons;includinq
the
followlnq:
.
.
.
.
.
l
.
.
.
.
.
.
.
.
.
,
Read all instructions before using egg cooker,
.
-
Do not touch hot surfaces. Use handles and knobs.
This egg cooker is not for use by children:
:
-’
.-
.:
1
Close supervision is necessary
when,any
appliance is used near children.
_
Do not operate unattended.
Unplug from outlet when not in use, before putting on or taking off parts and
before cleaning.
To.d&onnect, switch
off,.then
remove plug-from power supply.
Do-not place any cord, plug or body of
this
egg
cooker undei water or other
liquid. See instructions for cleaning.
Do not operate any damaged appliance. Do not operate with a-damaged cord or
plug or after the egg cooker malfunctions, or has been
~dropped
or damaged in
any manner. Return egg cooker to the nearest authorized service facility for
examination, repair or mechanical adjustment.
Use attachments only if recommended by Toastmaster Inc.
Do not use outdoors or when standing in damp area.
Do not use egg cooker for other than intended use.
Do not let cord hang over edge of table or counter or touch hot surfaces.
Do not place on or near a hot gas or electric burner, or in a heated oven.
Extreme care must be taken when moving an egg cooker containing hot water.
THIS
PRODUCi IS FOR HOUSEHOLD USE ONLY
.
CAUTION:
A short power supply cord is provided to reduce the
r’sk
of personal
injury resulting from becoming entangled in or tripping over a longer cord. If a
longer cord
.is
required, extension cords’are available from local hardware stores
and may be used if care is exercised in their use. if an extension cord is used, (1)
the marked electrical
rating
of the extension cord should be at least 10 A., 125 V.,
SMARTHOME™ 1-800-SMART-HOME 949-221-9200 http://www.smarthome.com
Order #9160

1250 W., and
(2)‘the
longer cord should be arranged so that it will not drape over
the counter top or
tabletop
where it can be pulled on by children or tripped over
accidentally.
POLARIZED PLUG:
This
appliance has a polarized plug, (one blade is wider than
the other), as a safety feature to reduce the risk of electric shock. This plug is
intended to fit in a polarized outlet only one way. If the plug does not fit fully in the
outlet, reverse the plug. If it still
doesnot
fit, contact a qualified electrician to replace
the
obsolete.out!et.
Do not attempt to defeat this safety feature.
lIian&?/ou
for
purchasing
this Toastmaster appliance.
:
Fe&ring
superior
technology
andcraftsmanship,
the
GCo6aC@esign
CoC!ktion
is an
exceptional fine of
etchen
appliances.
llie
eg$
coo&r’s state-of-the art
design
is
matched-on6
6y
its
qcelikt
performance.
En$y!
e’
,I
I
1
c
d
L
,
Figure 2
-
GETTING
TO;KNOW
YOUR EGG COOKER
Figure’1
.Egg
Cooker
:
_
_:
.Fig&
2
C&d
s&p
.’
-
’
Cover
Egg holder
.-
.Figure
3 Power selector switch
Cord storage
.-
Base with stainless steel bowl
-,
Indicator light
Power selector switch
Measuring cup with egg piercer
2
.
SMARTHOME™ 1-800-SMART-HOME 949-221-9200 http://www.smarthome.com Order #9160

USING YOUR EGG COOKER
Cooking time will vary with egg size. The average cooking times are as follows:
Soft 6-8 minutes
Medium 9-11 minutes
Hard 16-20 minutes
CAUTION: Egg cooker will become hot with use ‘and produce steam. Caution
should
be.used
to avoid coming in contact with hot steam.
NOTE: Keep eggs refrigerated until ready to use.
1.
Turn power selector switch to 0 (Off) position, see figure 3.
2.
Remove the cover by grasping small end and lifting up. Remove the egg
holder using the handle.
3.
Unwrap cord to the required length.
NOTE: The measuring cup has three main divisions: soft, medium, and hard. Each
division has markings for a specific number of eggs to be cooked. These amounts
are approximate. They may be varied according to personal taste and preference.
The basic rule is: fewer
eggs,~
more water.
4.
.Use
the measuring cup to measure the proper amount of cold water for
boiling eggs and pour water into the stainless steel bowl of the base.
‘-NOTE: If your water is hard, add
l/2
teaspoon white vinegar to the water in order
to
helo
avoid mineral
detiosits.
5.
6.
::
9.
10.
11.
12.
13.
14.
’
Pierce eggs to
heip
avoid cracking while cooking. Place egg(s) in egg holder
on the base, large end up. Put the bottom of the measuring cup on top of
each egg and press until the egg has been pierced. Make sure the pierced
end of the egg is at the top to cook.
Place the cover on the base.
Plug into a
12OV
_
50-60 Hz outlet. Do not allow anything to rest on the cover.
Turn the power selector switch to I (Boil). The indicator light will come on and
the water will begin to heat. Do not remove cover from the base while eggs
are cooking.
:
When the buzzer sounds, the cooking cycle is complete. Turn the switch to
0 (Off).
Unplug from outlet.
Carefully remove cover slowly by grasping small end and rifting up.
Remove the egg holder with the cooked eggs using the handle. Hold the
eggs in the egg holder under. cold water for about 30 seconds to prevent
them from further cooking.
Allow egg cooker to cool before discarding any remaining water from the base:
Clean after each use. Refer to CLEANING INSTRUCTIONS.
USING THE KEEP WARM FEATURE
NOTE: The Keep Warm feature should only be used for short periods of time and
only for eggs that have previously been cooked. To prevent the eggs from being
overcooked, use the eggs as soon as possible.
’
1.
After the eggs have completed their cooking cycle, turn to 0 (Off) and unplug
from outlet.
2.
Remove cover by grasping small end and lift up.
3.
Remove egg holder with eggs using handle and carefully pour out any water
‘,
left in the bowl of the base.
4.
Place the egg holder with the eggs back onto the base and put the cover on.
3
SMARTHOME™ 1-800-SMART-HOME 949-221-9200 http://www.smarthome.com Order #9160

zm
Plug into’
12OV
_
59-60
Hz outlet.
Turn
power_selector
switch to
@
(Keep Warm).
‘:
7:
Z
‘When finished,
turnthe
power
sele‘ctor
switch to 0 (Off).
Unplug from outlet.
‘lo:
Carefully remove cover slowly by grasping small end and-lifting up.
Remove egg holder with cooked eggs using the handle.
11.
Allow egg cooker to cool before cleaning.
12.
Clean thoroughly after each use. Refer to
C.LEANINC_lNSTRUCTIONS.
CLEANlNG
INSTRUCiTlONS
--.
1.
Turn power selector switch to 0 (Off) and unplug from outlet: Allow to cool
completely before cleaning.
-2.
Mineral deposits may form on the
inSide_.of
&bowl
of the base. The bowl is
-made of stainless steel and therefore levels of deposits
can_
usually be
easily removed by
u&g
a soft cloth..
3..
If necessary, pour 2 tablespoons of vinegar into the bowl and
al&v
to stand
for 5 minutes,
‘:
NOTi:
Don
not
boif
the-vjnegar
in
the egg cooker
as-it
may damage the appliance.
A.
Discard the vinegar and rinse.
5. To rinse, pour
I/4
cup water into bowl and discard.
‘-
‘*
6.
The exterior of the egg cooker base may be cleaned with a damp cloth. Dry
thoroughly.
7.
_I
The cover and the egg holder may be placed on the top rack of your dish-
‘washer
for cleaning or may be washed and dried thoroughly
byhand.
8.
Do not use abrasive cleaners thatcan scratch the surface.
CORD. STORAGE
1. Follow
cleaning‘instrubtions.
-
:
2.
Wrap cord around base for
storing
(see figure 2).
3. Store with measuring cup inside for future use.
_
.
4
SMARTHOME™ 1-800-SMART-HOME 949-221-9200
http://www.smarthome.com Order #9160
Table of contents
