SMART S20A User manual

User manual for Smart Physiotherapy System
Model No.: Smart S20A

User Manual
- 1 -
Contents
1. Turn on the system ...................................................................................................................... - 3 -
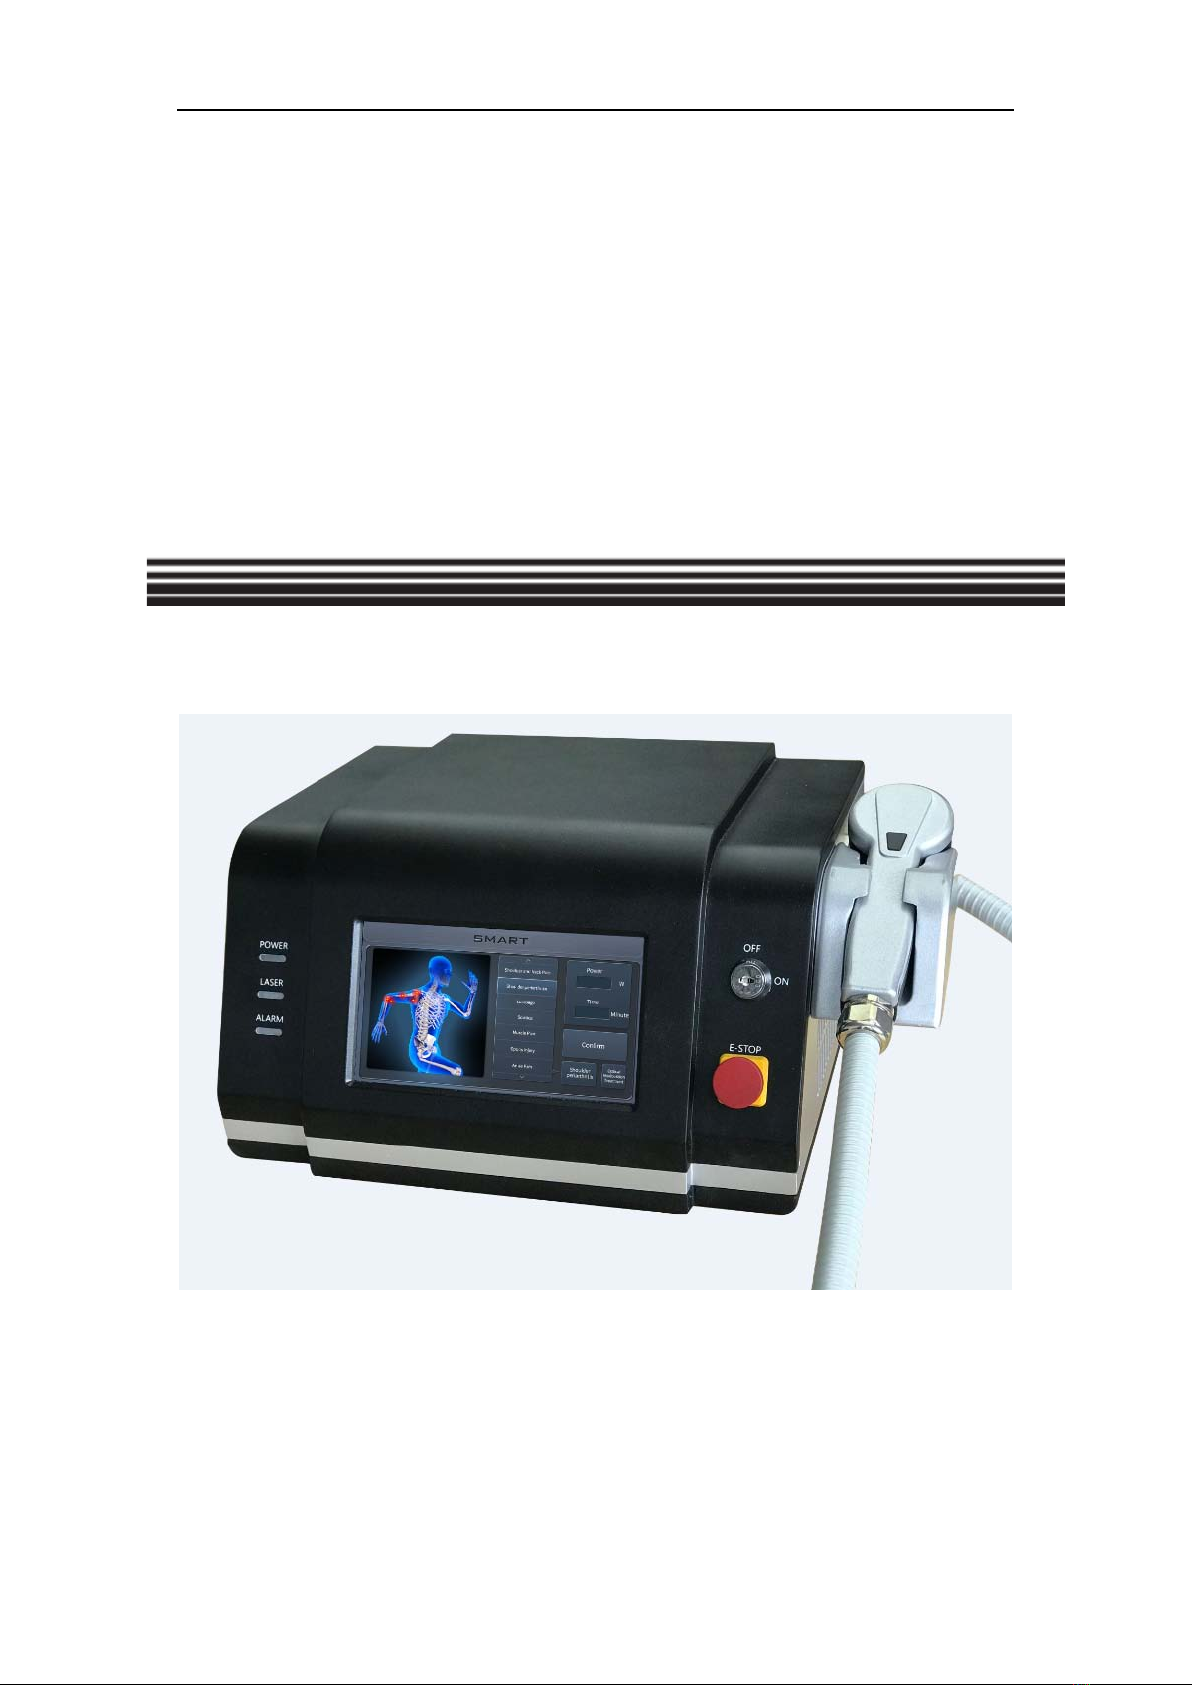
2.Main interface for SMART S20A system .................................................................................... - 4 -
3. Items for Smart American photo therapy ....................................................................................... -4-
3.1 Items for Smart S20A ........................................................................................................-4-
3.2 Choose the target treatment area ........................................................................................ - 5 -
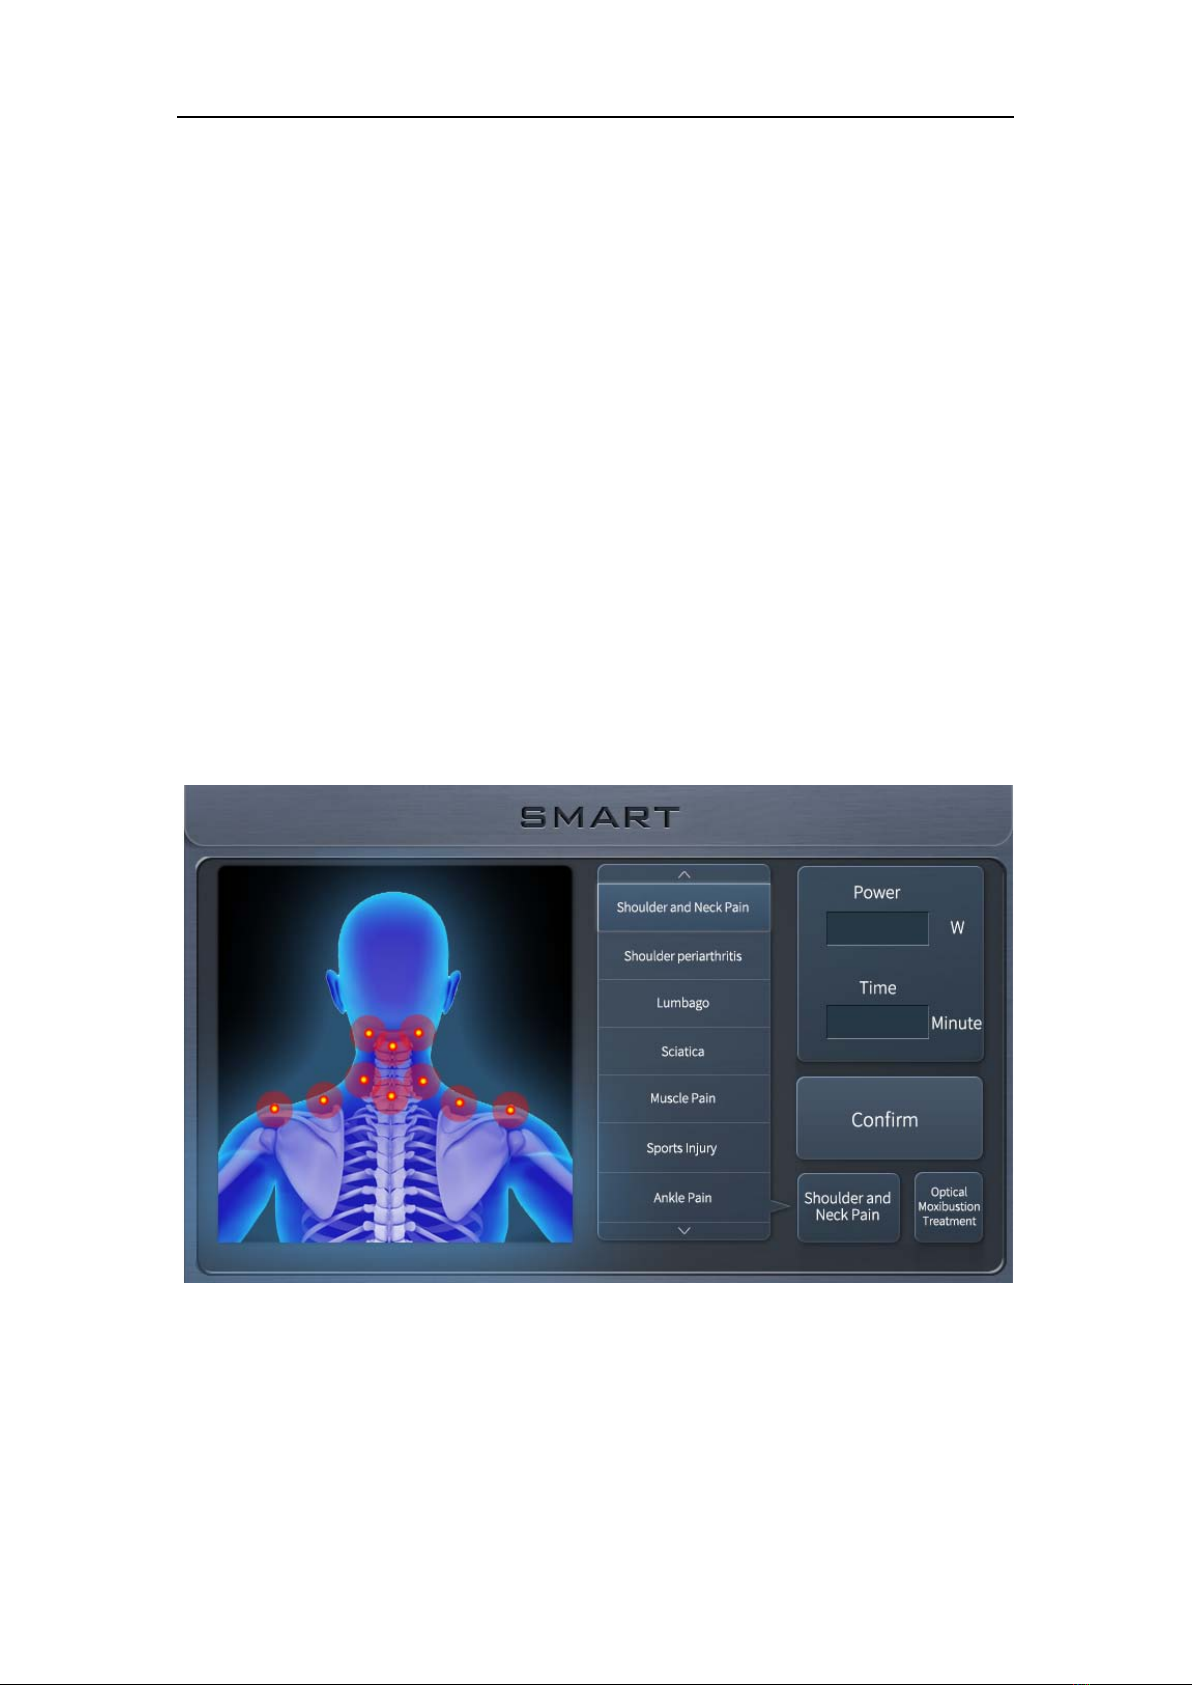
3.3 Shoulder and Neck pain treatment ..................................................................................... - 5 -
3.4 Shoulder periarthritis treatment .......................................................................................... - 7 -
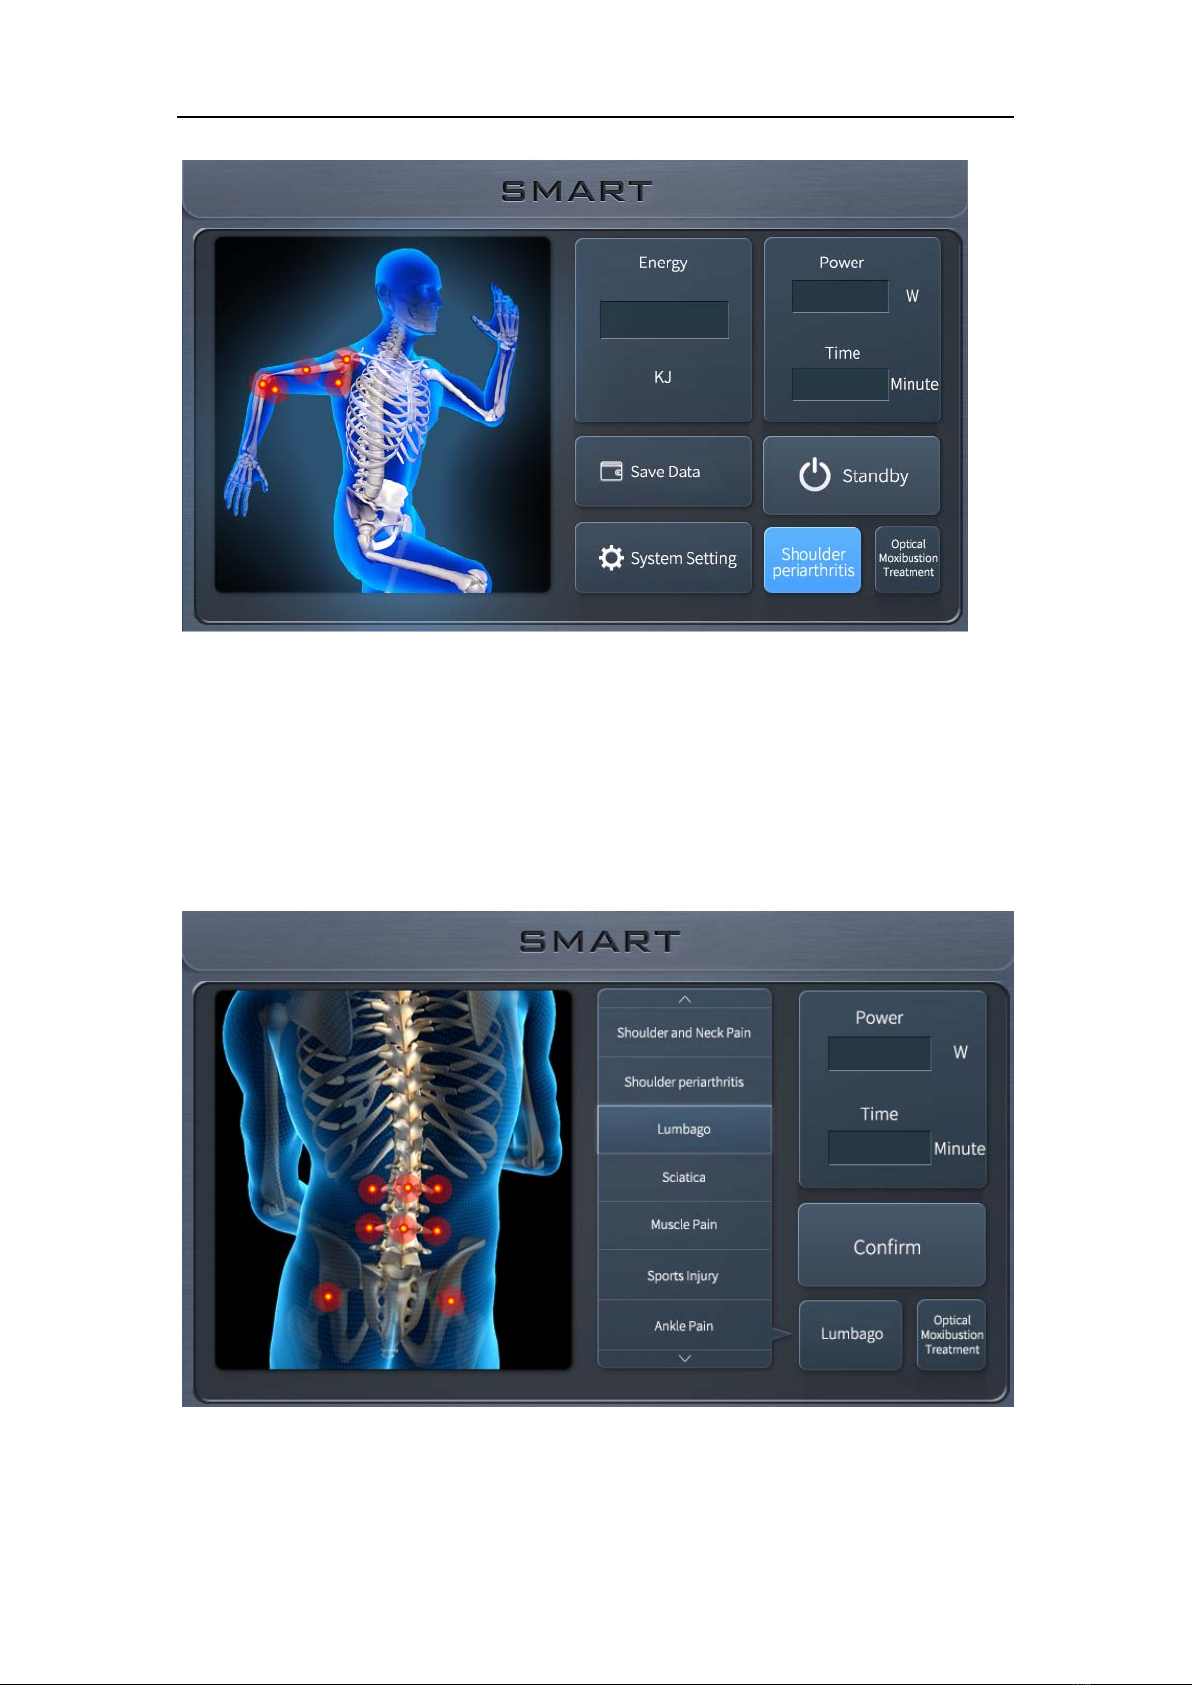
3.5 Lumbago treatment ............................................................................................................ - 8 -
3.6 Sciatica treatment ............................................................................................................... - 9 -
3.7 Muscle pain treatment ...................................................................................................... - 10 -
3.8 Sports injury treatment ..................................................................................................... - 11 -
3.9 Ankle pain treatment ........................................................................................................ - 12 -
3.10 Tenosynovitis and Tennis Elbow treatment ...................................................................... - 13 -
3.11 Rheumatoid arthritis treatment ......................................................................................... - 14 -
4. System setting ........................................................................................................................... - 15 -
4.1 System setting interface ..................................................................................................... - 15 -
4.2 Swith the treatment mode .................................................................................................. - 16 -
4.3 Debugging .......................................................................................................................... - 16 -
4.4 Factory Reset ..................................................................................................................... - 17 -
4.5 Turn on or off the sound ..................................................................................................... - 17 -
6. Frequent manfunctions and solutions ....................................................................................... - 17 -
7. Performance Parameters ........................................................................................................... - 18 -
8. Product list ................................................................................................................................ - 18 -

User Manual
- 2 -
Precautions
Please read t his u ser manual be fore us ing the s ystem, a nd pa y more attention to the
safety precaution in this manual.
Please keep the user manual for future reference.
If a ny que stions a bout during the us e o f the s ystem, pl ease c all our after s ales
department, Tel no. +86 27 88189920.
Important safety instructions
When using this physiotherapy s ystem, it is n ecessary to co mply w ith th e f ollowing b asic
precautions.
Danger
Absolutely prohibited to look a t the treatment w indow d irectly through th e handle in case of
retinal damage.
Attention
1) Do not bend or turn round the optical fiber which connects the handle and the system
main body, or the optical fiber will be damaged.
2) Please put the handle on the handle holder after use of the system
3) Please do not open the system case to adjust of fix the system without our permission.
Only our company after sales staff or authorized professional staff could adjust or fix the
system.
4) Please turn off the key switch, turn off the emergency stop switch, unplug the power

User Manual
- 3 -
cord if long time not use the system. Keep the system in a dry and cool environment.
5) Clean the system with alcohol if there is dust or greasy dirt on the system case.
1.Turn on the system
1.1 Before t urn on the s ystem, please p ut the h andle o n the h andle holder, and make s ure th e
handle treatment window not towards human, and there is no blocks.
1.2 Connect the interlock (four-core aviation plug) the right position show in the follow picture.
1.3 Insert the key switch, turn the key switch clockwise to turn on the system.
1.4 Plug the power cord.
1.5 Emergency stop switch is off.
1.6 Turn on power switch, the system starts working.
Treatment handle
Trigger
Key switch
Emergency stop switch
Handle holder

User Manual
- 4 -
1.7 The startup interface for SMART S20A system is as follows
2. Main interface for SMART S20A system
When turn on the SMART S20A system, and goes to the main interface, it shows as below
pictures
When the green indicator light is on, it shows the system works normally.
Interlock two-core a viation
plug
Key switch
Upper case
USB interface
Power switch
Power socket
Interlock
USB socket

User Manual
- 5 -
3.Choose the target treatment area
Press t he bu tton “Treatment Area”, enter b elow i nterface, an d choose t he r ight treatment
area.
3.1 Shoulder and Neck pain treatment
3.3.1 Press t he bu tton “ Shoulder a nd Neck pain”, it s hows the d efault treatment energy
and time on the right side of the interface. Press the button “Confirm”, you can go to the
interface as below picture. You can set the treatment energy and time by yourself in this

User Manual
- 6 -
interface, press th e b utton “Value” w hich b elow t he b utton “Energy”, you can set t he
energy. T he energy s hould be les s o r e qual t o 2 0. P ress “ Confirm” after y ou en ter th e
value. Set the treatment time with the same method.
3.3.2 After the setting, press “Confirm”, go to the follow interface.
3.3.3 Press “Standby”, when the button turns to “Ready”, the physiotherapy system is ready
for treatment. The indicator light of the treatment handle window is on, press the trigger button , it
emit laser light continuously, the blue indicator light of the front panel is on meantime. There is
“ d i d i di “ sound f rom th e s ystem. W hen the b utton ‘ Ready” tu rns to “ S hooting”, p ut the
treatment h andle c lose to the tar get neck an d s houlder p ain ar ea and s tart t he treatment. T he
treatment time will become l ess till zero when t he treatment finished. T he treatment power
becomes higher, the final data is the total treatment energy. When t he whole treatment finished,
could press “Save data” to record the related d ate in the system. The default mode is traditional
treatment mode, it moves continuously on the treatment area. Before press the button “Standby”,
you could also press “Light moxibustion therapy” button to enter light moxibustion therapy mode.
You can have light moxibustion treatment for target area continuously. The treatment times turns
to zero when treatment finished. The button “Shooting” turns to “Ready”, At this time, if you press
the button again, you can start the treatment twice till the treatment time turns to zero.
20
20

User Manual
- 7 -
3.4 Shoulder periarthritis treatment
Press the button “Shoulder periarthritis”, shows the below interface, set the power and time
as 3.3.
Handle button

User Manual
- 8 -
3.5 Lumbago treatment
Press the button “Lumbago” shows the below interface, set the power and time as 3.3.
20
20

User Manual
- 9 -
3.6 Sciatica treatment
Press the button “Sciatica ” shows the below interface, set the power and time as 3.3.

User Manual
- 10 -
3.7 Muscle pain treatment
Press the button “Muscle Pain ” shows the below interface, set the power and time as 3.3.

User Manual
- 11 -
3.8 Sports injury treatment
Press the button “Sports Injury ” shows the below interface, set the power and time as 3.3.

User Manual
- 12 -
3.9 Ankle pain treatment
Press the button “Ankle Pain ” shows the below interface, set the power and time as 3.3.

User Manual
- 13 -
3.10 Tenosynovitis and Tennis Elbow treatment
Press t he button “ Tenosynovitis and Tennis E lbow ” s hows the below in terface, set t he
power and time as 3.3.

User Manual
- 14 -
3.11 Rheumatoid arthritis treatment
Press the button “Rheumatoid Arthritis ” shows the below interface, set the power and time as 3.3.

User Manual
- 15 -
4. System setting
4.1 System setting interface
press “system Setting”, it shows the system basic information on the left side of the interface,
includes the system type, software version, production date and serial number.

User Manual
- 16 -
4.2 Swith the treatment mode
Press the button“Back”, you can exit the system setting and back to the system main interface.
If you have to switch from the two treatment modes during treatment, you could press the button
“System Setting” and press “Back” to choose the treatment mode you need.
4.3 Debugging
Press the button“ Debugging” you could adjust the system, this function is only used for staff
from manufacturer.

User Manual
- 17 -
4.4 Factory Reset
Press the button “Factory Reset”, all parameters will go back to the original value when leave the
factory.
4.5 Turn on or off the sound
The default display is “Sound On”, at the same time, the system will gives out the sound “ di
di di …”, press “Sound On”, the button turns to “sound Off”, at the same time, the system will not
give out any sounds during treatment.
5. Frequent malfunctions and solutions
Malfunctions Reason Solutions
The red indicator light is on, the
lower right corner on the screen
shows “stop switch
disconnected, reset the stop
switch”
The emergency
stop switch is
pressed down
Loosen the red emergency stop switch
The red indicator light is on,
shows “key switch was not on,
please turn on the key switch”
on the screen,.
The key switch is
off Turn on the key switch
The red indicator light is on,
shows “interlock not connected,
Interlock is not
connected.
Connect the interlock to the right
position.

User Manual
- 18 -
please connect the interlock”
The red indicator light is on,
shows “Temperature is high,
please stop for half an hour” on
the screen.
Handle overheat Use the system after half an hour.
6. Performance Parameters
Terms Value
Type Diode Laser
Wavelength 980nm
Peak Power 20W
Spot Size φ30mm
Working mode CW
Power Supply AC200-240V /50Hz
Input Power 200W
Dimension 354mm×128mm×225mm
Weight 6kg
7. Product list
Smart physiotherapy main body
Treatment handle
Handle holder
Power cord
Key switch
Interlock (four-core aviation plug)
User manual
Table of contents
Other SMART Medical Equipment manuals