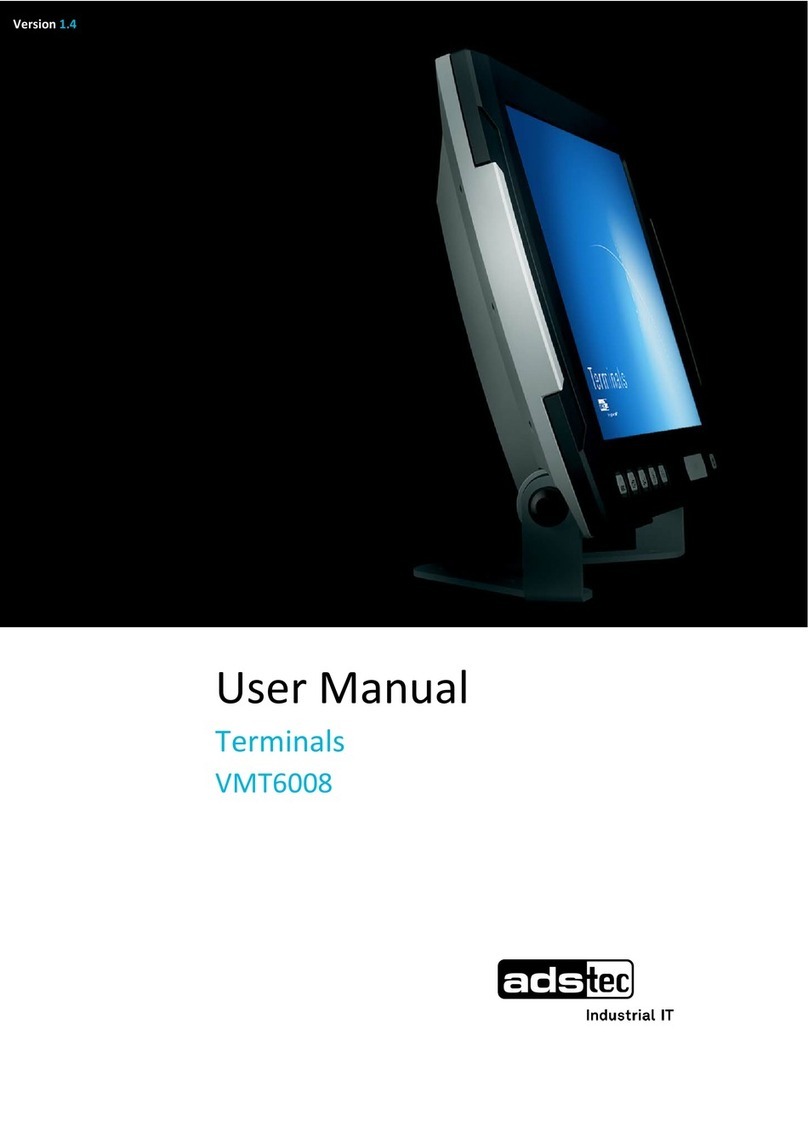
Smartmove WaveOn 738 User manual

TROUBLE SHOOTING GUIDE
SmartMove software isn't starting
Problem 1
Step 1
Step 2
Insert USB key
Hold button 4 on the front of the unit and press the reset at the top left on the back of the unit (this
is called a ‘hard reset’)
1
www.smartmovetaxis.comFor WaveOn 738 terminal
Screen is black
Problem 3
If the red light at the bottom left of the screen is lit
If the red light at the bottom left of the screen is not lit
If there is a red light on the jBox
If there is still no red light in the jBox
Step 1
Step 2
Step 3
Step 4
Step 5
Press middle button
If there is still no picture reset the computer by pressing the button at the back at the top left of the screen.
If the car has a 'kill switch' fitted, check that it is switched to 'on'.
Check that the power cable is connected to the screen properly. Unplug the cable and force
the metal connectors inside the plug closer together
(you’ll need a small screwdriver) so they make better contact with the terminals, then
reconnect the computer.
then there is a fault with the power supply.
Version 1.0 November 2008
Step 3
Step 4
Step 5
Step 6
This completely resets the unit and you should get the WaveOn ‘desktop’
Tap twice on the ‘My Device’ icon
Tap twice on ‘Hard Disk’
Tap twice on ‘Install’
After the unit has restarted
Tap twice on the ‘My Device’ icon
Tap twice on the DOC icon
Tap twice on the SmartMove Vehicle Folder
Tap twice on the Reinstall SmartMove icon
Configure the unit for the vehicle (see Installation Guide)
Don’t interrupt the installation once it has started.
Step 7
Step 8
Step 9
Step 10
Step 11
Note
If SmartMove still doesn't start, replace computer and return.
Screen needs calibrating
Problem 2
When touching screen buttons is unreliable
Step 1
Step 2
Step 3
Step 4
Press the red reset button on the back of the unit (note: this is a normal reset, you don’t
have to press button 4 as in the ‘hard reset’ above).
After approximately 30 seconds the start up screen displays with the SmartMove logo and
includes the message ‘Click to calibrate’ (which lasts only a few seconds). Click on the screen and a
new white calibration screen appears with a cross in the centre.
Follow the instructions by pressing and holding the stylus on each cross, for about one second, as it appears. This
will happen five times (one in the centre and one for each corner).
Touch the screen again to confirm the new settings.

Note
Step 1
Step 2
Step 3
Step 4
Not all SmartMove units are wired to the meter. These notes apply only if the
fare has been transferred at some stage in the past.
Remove the data cable from the back of the screen.
Check that none of the pins are bent.
Replace the cable carefully and tighten the screws. Wait for a few minutes.
Check that the cable from the meter is plugged into the COM4 or COM5 port
(socket) in the jBox.
SmartMove is not getting the fare from the meter
Problem 4
TROUBLE SHOOTING GUIDE
Note
Step 1
Step 2
Step 3
These notes apply only if the fare is not normally transferred from the meter.
Check that the dome light goes off when the meter is running. If not, fix the dome light.
Try the panic button. If that works then check there is voltage on the blue wire feeding into SmartMove.
If the panic button doesn't work either, then check that the signals are plugged into the 'Digital In'
connector.
SmartMove is not registering the meter going on and off
Problem 5
Step 1
Step 2
Step 3
Note
Restart the computer by pressing the small button at the back on the top left
Check the unit is configured for the car. Tap on Debug then Properties,
check that the correct fleet/vehicle registration is displayed.
If the fleet/vehicle registration is incorrect, configure the unit
for the vehicle (see Installation Guide)
Don’t interrupt the installation once it has started.
Not connecting to server
Problem 6
2
Not getting GPS signal (no zone)
Problem 7
Step 1
Step 2
Step 3
Step 4
Step 5
Step 6
Step 7
Step 8
Make sure car is parked in an open area.
Tap on the ladybug icon
then GPS tab
If the computer is reporting that there are satellites but the signal quality is poor
then there is probably interference. Try turning off the CabCharge unit.
Remove the data cable from the back of the
screen.
Check that none of the pins are bent.
Replace the cable carefully including
tightening the screws evenly to make sure the plug
is straight.
Restart the computer by pressing the small
button at the back on the top left
Check that the antenna connection on the jBox isn’t damaged.
The jBox is normally under the driver's seat. If necessary, replace the jBox.
If SmartMove is still not getting a position
If SmartMove is still not getting a position
Note
Step 1
Step 2
Step 3
Step 4
Step 5
The panic button must be held in the for more than half a second to register.
Check that there is voltage across the panic button and that the panic button works
Remove the data cable from the back of the screen.
Check that none of the pins are bent.
Replace the cable carefully and tighten the screws. Wait for a few minutes.
Restart the computer by pressing the small button at the back on the top left
Panic button not working or constantly working
Problem 8
Table of contents
