SMK-Link VP3720 User manual

Page 1
Cover
VP3720
SMK-Link™ Electronics
Universal Projector
Remote Control
Version 2.0 - 06/15

Page 2
Table of Contents
Regulatory Information ...................................................................1
Getting Started ...............................................................................3
Setting your Projector .....................................................................4
Entering Library Codes.................................................................4
Learning From Another Remote...................................................5
Searching For A Code..................................................................6
Show Current Code......................................................................7
Factory Reset................................................................................8
Remote Control Layout...................................................................9
Appendix: Library Codes List........................................................11

Page 3
Regulatory Information
Regulatory Compliance
This device complies with Part 15 of the FCC Rules. Operation is subject to the following
two conditions:
(1) This device may not cause harmful interference, and (2) This device must accept any
interference received, including interference that may cause undesired operation.
FCC Certication
This equipment has been tested and found to comply with the limits for a Class B
digital device, pursuant to Part 15 of the FCC rules.These limits are designed to provide
reasonable protection against harmful interference when the equipment is operated
in a residential installation.This equipment generates, uses and can radiate radio
frequency energy and, if not installed and used in accordance with the instructions, may
cause harmful interference to radio communications. However, there is no guarantee
that interference will not occur in a particular installation. If this equipment does cause
harmful interference to radio or television reception, which can be determined by turning
the equipment off and on, the user is encouraged to try to correct the interference by one
or more of the following measures:

Page 4
• Reorient or relocate the receiving antenna.
• Increase the separation between the equipment and receiver.
• Consult the dealer or an experienced radio/TV technician for help.
Notice: Any changes or modications not expressly approved by the party responsible
for compliance could void the user’s authority to operate the equipment. Extension
cables are not recommended, if used, they must be shielded in order to comply with the
emission limits.
IC Certication
The term “IC” before the certication/registration number only signies that the Industry
Canada technical specications were met.
Declaration of conformity
Hereby, SMK-Link Electronics Corporation declares that this product is in compliance
with the essential requirements and other relevant provisions of Directive 1999/5/EC. All
trademarks and registered trademarks mentioned in this document are the property of
their respective owners. Features and specications are subject to change without notice.
© 2013 SMK-Link Electronics, Inc.

Page 5
Getting Started
The Universal Projector Remote control uses two AA batteries.
• Remove the battery cover by pressing down on the battery door
and sliding in the direction of the arrow.
• Remove any wrapping from two AA batteries and insert them into
the back of the remote control. The orientation of the batteries is
indicated in the battery compartment.
• Replace the battery cover before using the remote control.
john pics
WEIGHT:
A1
SHEET 1 OF 1
SCALE:2:1
DWG NO.
TITLE:
REVISION
DO NOT SCALE DRAWING
MATERIAL:
DATE
SIGNATURE
NAME
DEBUR AND
BREAK SHARP
EDGES
FINISH:
UNLESS OTHERWISE SPECIFIED:
DIMENSIONS ARE IN MILLIMETERS
SURFACE FINISH:
TOLERANCES:
LINEAR:
ANGULAR:
Q.A
MFG
APPV'D
CHK'D
DRAWN

Page 6
Setting your Projector
Entering Library Codes
To test a ve-digit code to see if it controls your projector, please
complete the following steps. Available codes are listed in the
Appendix. Some brands have multiple codes which work for different
models.
• Press and hold both the Up and Down arrows
simultaneously for 3 seconds.
• The status LED will turn off while both keys are
pressed but will turn solid red after three seconds.
• As you enter each digit of the code, the status light will briey turn
off. Do not enter the next digit until the status light is on.
After entering the code, the status light will go off. Taking longer
than 30 seconds, pressing any other key or entering an invalid code
will cause the status light to blink quickly three times.
Test your library choice to make sure it is working. If it is not working,
try the next code. Not all keys will be supported for all models.
Unused keys can be customized or ignored.

Page 7
Learning From Another Remote
If you have access to the original remote control for your projector
or wish to learn from other remote controls, place the two remote
controls end pointing towards one another approximately two to
three inches apart.
• To enter learning mode, press and hold both the Left and Right
arrows simultaneously for 3 seconds. The status LED will turn
off while both keys are pressed but will turn solid red after three
seconds.
• Repeat the following steps until you are done customizing.
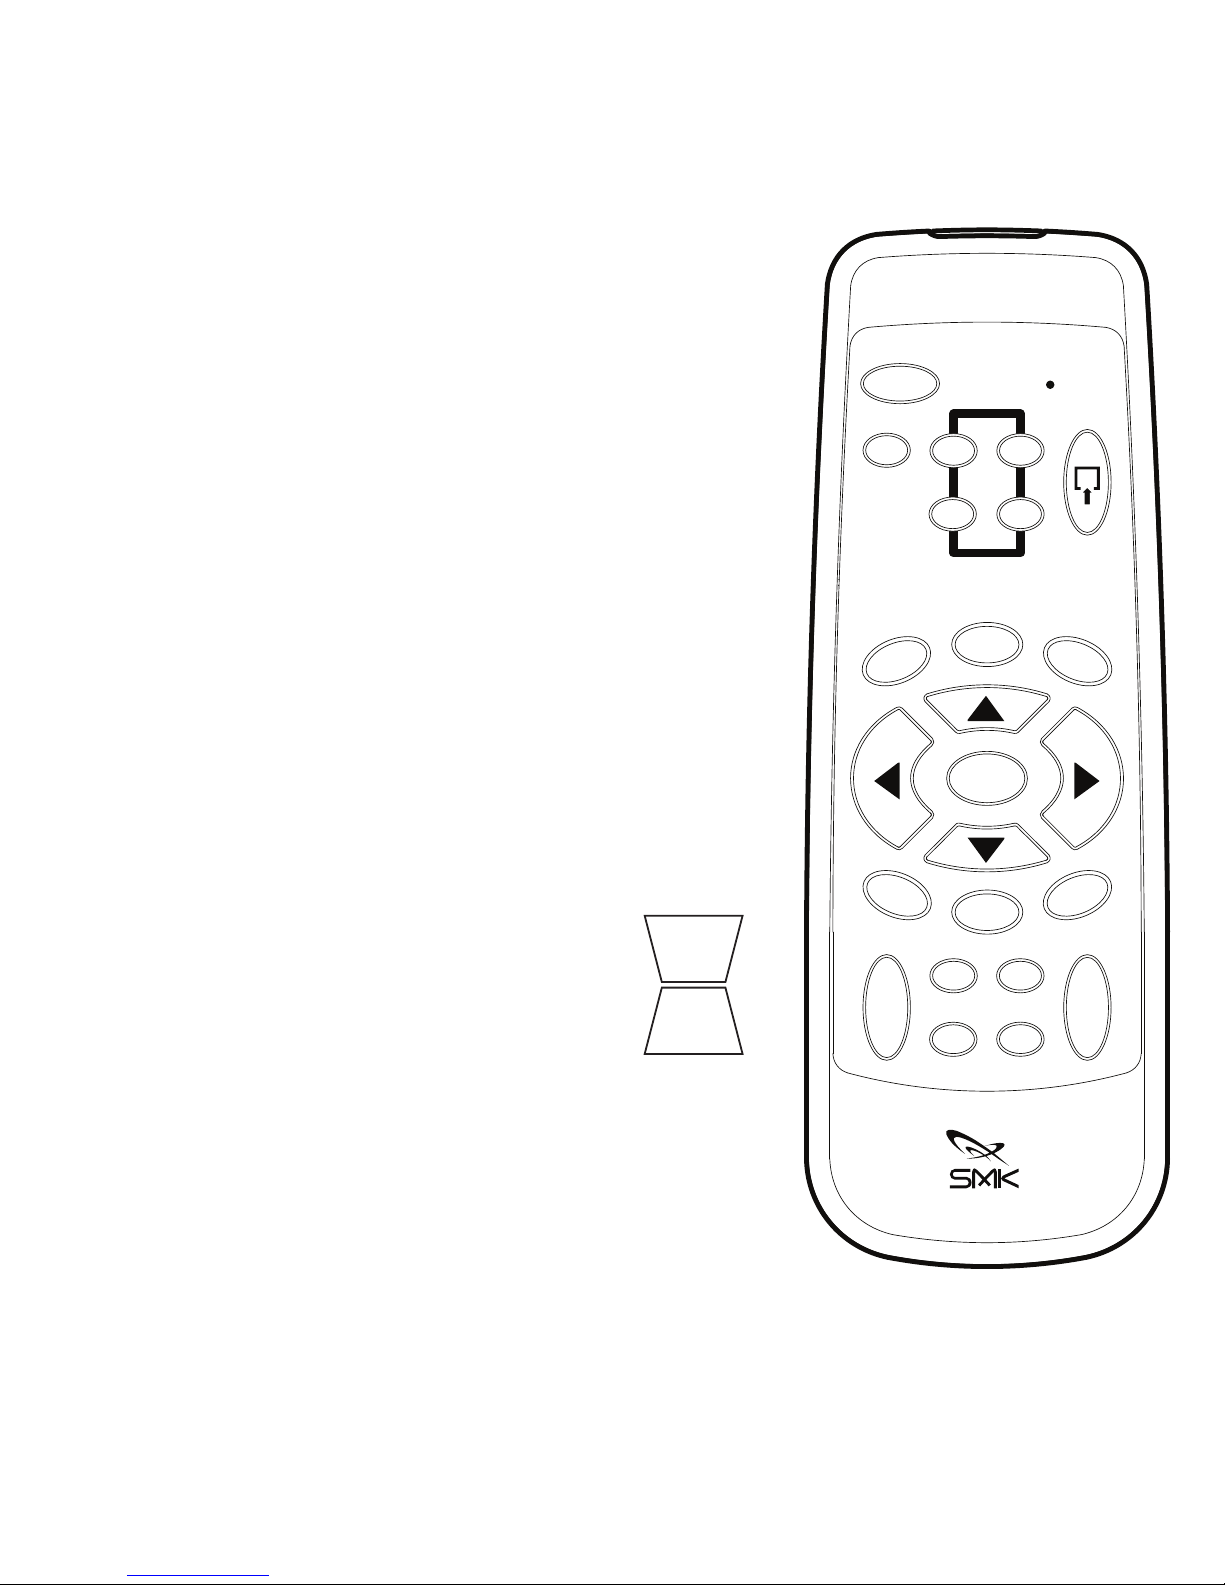
– Tap the key you wish to customize on your Universal Projector
Off
Power
Input
Input
Status
43
21

Page 8
Remote. The status LED will ash.
– On the other remote control, press and hold the key you wish
the Universal Projector Remote to learn.
– If learning was successful, the status LED will ash once.If
learning was unsuccessful, the status LED will ash three times.
• Once you are done customizing, wait 30 seconds to exit learning
mode.
Searching For A Code
If you have tried all of the codes for your projector and are unable
to nd a match, you can also search the entire database quickly for a
compatible code.
• Turn the projector on and wait for it to warm up.
• Press and hold both the Up and Down arrows simultaneously for 3
seconds.
• The status LED will turn off while both keys are pressed but will
turn solid red after three seconds.

Page 9
• Press the Menu key to enter Automatic Code Search
mode. The LED will blink off one second and turn on
again.
• Press the Zoom + key to search through codes from
the beginning of the Library in ascending order.
• Press the Zoom - key to search through codes from
the beginning of the Library in descending order.
• Every time the Zoom + or Zoom - key is pressed, the IR code
corresponding to the Menu key will be transmitted for one
second.
• If the projector brings up the menu screen, press the Select key to
store, the current code.
• If no key is pressed for 30 seconds or a key other than Zoom + or
Zoom - is pressed, the LED will ash 8 times and searching will be
cancelled.
Menu
+
_
Zoom

Page 10
Show Current Code
Complete the following steps to display the current library code.
• Press and hold both the Up and Down arrows simultaneously for 3
seconds.
• The status LED will turn off while both keys are pressed but will
turn solid red after three seconds.
• Press Select, wait one second then press Select a second time.
The LED will then ash the code digit by digit with a one second
delay between each digit. The library code 1 1 2 1 3 would blink the
status LED.
Flash [Delay] Flash [Delay] Flash Flash [Delay] Flash [Delay] Flash Flash Flash

Page 11
Factory Reset
The Universal Projector Remote Control can be reset to factory
default. All user programmed codes and learned codes will be
erased.
• Press and hold both the Up and Down arrows simultaneously for 3
seconds.
• The status LED will turn off while both keys are pressed but will
turn solid red after three seconds.
• Press the Off key
• Wait one second then press the Reset key.
Factory default settings will be set and LED will go OFF to indicate a
successful factory reset.

Page 12
Remote Control Layout
Note: Not all brands support all keys. Unused keys may be ignored
or customized through learning.
Power: Turn the projector on. Some brands use this key for both
power on and power off.
Off: Some brands of projectors have a dedicated key to turn the
projector off.
1, 2, 3, 4: These are used for entering library codes or to directly
select the input on some brands and models of projectors.
Input: This switches between the various input options, VGA, HDMI,
Composite, etc.
Menu: Brings up the projector menu.
Select: Used to choose the currently highlighted item and to enter
various setup modes.
Back: Moves back to the prior screen or menu..
Up, Down, Left, Right: Used for the navigation of menus and to
enter various setup modes.
Page 13
Hide: Turns the screen black.
Aspect: Switch between 4:3 and 16:9 modes.
Volume +,Volume -: Turn the projector
volume up or down.
Mute: Turn the projector’s sound to the
lowest setting.
Freeze: Freezes the image on the screen.
Reset: Send reset or exit command to
projector, also used to exit setup.
Auto: Auto setup projector picture.
Keystone +,Keystone -: Correct
projected image which looks like a
trapezoid rather than rectangular
display.
Zoom +,Zoom -: Zoom in on a portion of
the screen. Once zoomed the arrow keys
pan the window. Some models use the
Volume +, Volume - to scroll left and right.
Mute
Aspect
Menu
Back
Freeze
Hide
Off
Select
Power
Reset Auto
++
+
_
__
Link
Volume Keystone
Zoom
Input
Input
Status
43
21

Page 14
Appendix: Library Codes List
Brand
3M 11122 11411 11413 12341 13324 13414
13421 14433
A+K 11144
ACER 11231 14344
ASK 11213 11232
BENQ 11132 14411 14434 14441
BOXLIGHT 11122 11211 11224 11333 11411 12123
12124 12324 12424 12431
CANON 11133 21131
CASIO 11121
COMPAQ 11334
DELL 11134 14232 14233
DUKANE 11122 11411 11413 12242 12341 13324
13414 13421
EIKI 11421
EIZO 11144
EPSON 11111 11233 12131 12132 12331 12332
13132 13133 14413

Page 15
Brand
GREAT WALL 14412
HITACHI 11122 11234 11411 11412 11413 12133
12134 12141 12231 12232 12233 12333
12334 12341 12432 12433 12434 13134
13141 13142 13143 13241 13242 13323
13324 13331 13414 13421 13422 13441
13442 14114 14121 14122 14123
HP 11141
INFOCUS 11121 11213 11313 14443
JVC 11142 11241 11414 12144 12234 14133
14134
KINDERMAN 14422 14423 14424 14431 14432
LG 11242 12241 12441 14234
MITSUBISHI 11143 11144 21132
NEC 11144 21111
OPTOMA 11112 11344 14414 14421 14444

Page 16
Brand
PANASONIC 11114 11243 11321 11331 12113 12114
12121 12222 12223 12224 12321 12322
12323 12421 12422 12423 13122 13123
13124 13231 13232 13233 13234 13311
13312 13313 13411 13412 13413 13434
14112 14113 14341 14342 14343
PHILIPS 11223
PIONEER 11212
PLUS 11332
POLAROID 11411
POLYVISION 14421
PROMETHEAN 21112 21113
PROXIMA 11213 21114
SAMSUNG 11131 12112 12314 13223 13224 14144
14211
SANWA 13221
SANYO 11214 11224 11244 11322 11421 11422
11423 12122 12123 12124 12142 12143
12242 12324 12424 12431 13144 13211
13423 13424 14241 14242 14243 14442
21121

Page 17
Brand
SHARP 11123 11311 11323 11443 11444 12111
12213 12214 12221 12244 12311 12312
12313 12411 12412 12413 12414 13112
13113 13114 13121 13131 13212 13213
13214 13222 13314 13321 13322 13342
13343 13344 13431 13432 13433 13443
13444 14111 14124 14131 14132 14141
14142 14143 14223 14224 14231 14331
14332 14333 14334
SMART 11341 11342 11343
SONY 11113 11312 11424 11431 11432 12211
12212 12243 12342 12343 12344 12442
12443 13243 13244 13332 13333 14212
14213 14214 14244 14311
TOSHIBA 11221 11313 11324 11433 11434 11441
12444 13111 13334 13341 14312 14313
14314 14321
VIEWSONIC 11122 11411 11413 12341 13324 13414
13421 21122 21123 21124
VIVITEK 11124
YAMAHA 11222 11314 11442 14221 14222 14322
14323 14324

Page 18
SMK-Link Electronics
www.smklink.com
3601-B Calle Tecate, Camarillo, CA 93012, USA

Page 19

Page 20
Other manuals for VP3720
1
Table of contents
Other SMK-Link Remote Control manuals

SMK-Link
SMK-Link VP4150 User manual

SMK-Link
SMK-Link X-Link VP3701 User manual

SMK-Link
SMK-Link VP4590 User manual

SMK-Link
SMK-Link VP3700 Blu-Link User manual

SMK-Link
SMK-Link Global Presenter VP4350 User manual

SMK-Link
SMK-Link VP3720 User manual

SMK-Link
SMK-Link VP6620 User manual

SMK-Link
SMK-Link VP4750 User manual

SMK-Link
SMK-Link Presentation Pilot Pro VP6450 User manual

SMK-Link
SMK-Link X-Link VP3701 User manual


