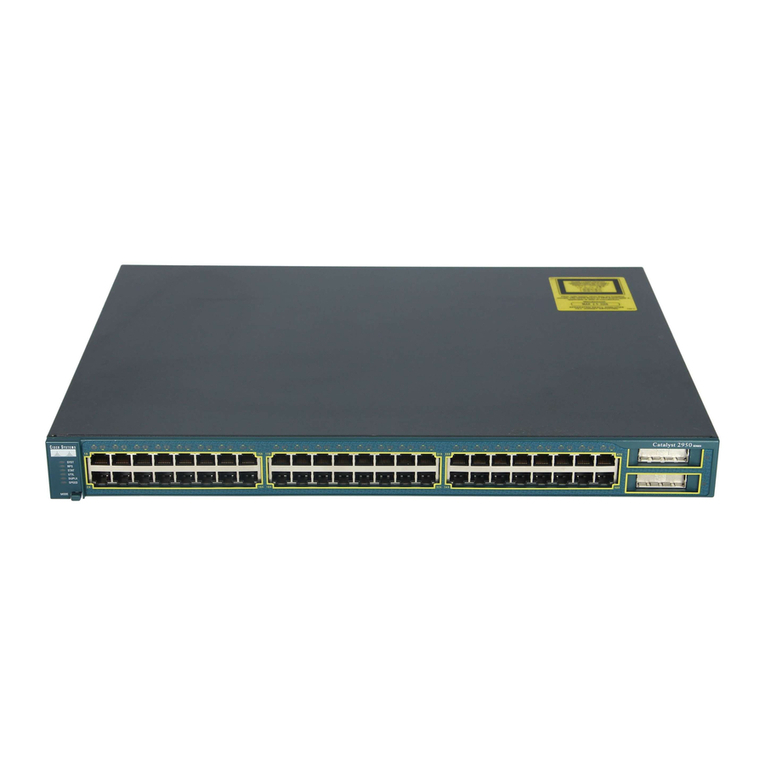
SOARNEX EG210-10-2F User manual

EG210 Series
L2 Smart Managed Switch
Rev. 1.1 Sep. 2018
Quick Installation Guide
EG210-10-2F
EG210-28-4C
EG210-52-4C

EN
Contents of Packing
Open the shipping carton and carefully unpack its
contents. The carton should contain the following items.
1. EG210 series L2 Smart Managed Switch x 1
2. AC Power Cord x 1
3. Rubber Footpads x4, Screw x 8
4. Rack Mount Kit x 1
5. Quick Installation Guide x1
♦Install the Switch in a suitable temperature / humidity
environment.
♦ The power outlet should be within 1.82 meters (6 feet) of
the Switch.
♦ Visually inspect the power cord to make sure that it’s
secured fully to AC Power.
♦ Make sure that there is proper heat dissipation and
adequate ventilation around the Switch.
!NOTE:
♦ Do not place any heavy objects on the Switch.
♦ Users can check for more technical specications at
http://www.soarnex.com

EN
5. Plug the power cord into the power socket of the
Switch.
6. Keep enough ventilation space between the Switch
and surrounding objects.
Hardware Installation
1. Attach the rubber
footpads to the recessed
areas on the bottom of
the Switch.
2. Place the Switch on a flat
desk or shelf.
3. Attach the mounting
brackets on the both
sides of the Switch and
secure them with the
screws.
4. Then, mount the Switch
to a rack with the screws.

EN
Conguration
Default User Name and Password of the Switch are
“admin”.
You can configure the Switch by entering the User
Name/Password and IP Address via WEB platform.
After you’ve modified the configuration, the change
ONLY saves in a running configure in the RAM. You
need to click “Save Settings to Flash button” to save the
configuration from the RAM to FLASH.
2. Recovering Back to Factory Default Configuration
If you’ve forgotten the User Name or Password or
IP Address which has been changed (or if you do
not install the Switch Utility and do not know the IP
Address), and then you can reset it to factory default
settings through reset button.
Open your web browser and
enter http://192.168.1.1 (the
factory default IP address) to
access the WEB platform.
1. Logging the Switch via browser

EN
LED Indicators
EG210-28-4C
EG210-10-2F
EG210-52-4C
There are few steps for reset button behavior
1. Push reset button for 1~5 seconds and release the
button for DUT Reboot.
2. Push reset button for 6~10 seconds and release
the button for Factory Reset.
(LED light amber for 2 seconds)
3. Push reset button >11 seconds and release button
for boot loader mode.
(LED lights green for 2 seconds)
4. If all imaged are failed, entering to loader mode
automatically.

EN
LED Indicator Color Status Description
Power Green
Green solid Power on
Blinking
The switch is performing a
system self-test
(not for EG210-10-2F)
O Light o Power o
L/A
(Link/ Act)
RJ-45port
Amber
Amber
solid
When there is a secure
connection (or link) to
10/100Mbps Ethernet
device at any of the ports
Amber
blinking
When there is reception or
transmission of data
occuring at 10/100 Mbps
Green
Green
solid
When there is a secure
connection (or link) to
1000Mbps Ethernet device
at any of the ports
Green
blinking
When there is reception or
transmission of data
occuring at 1000 Mbps
O Link o No Link
L/A
(Link/Act)
SFPport
Amber
Amber
Solid
When there is a secure
connection (or link) to
100Mbps Ethernet
device at any of the ports
Amber
blinking
When there is reception or
transmission of data
occuring at 100Mbps
Green
Green
solid
When there is a secure
connection (or link) to
1000Mbps Ethernet
device at any of the ports.
Green
blinking
When there is reception or
transmission of data
occurring at 1000Mbps
O Light o No link

EN
Declaration of Conformity
SOARNEX TECHNOLOGY CORPORATION
3F., NO.158, RUIHU ST., NEIHU DIST., TAIPEI CITY11494, TAIWAN (R.O.C)
Product Information
Model Number: EG210-10-2F, EG210-28-4C, EG210-52-4C
Product Name: 10 Port Gigabit Managed Switch (EG210-10-2F)
28 Port Gigabit Managed Switch (EG210-28-4C)
52 Port Gigabit Managed Switch (EG210-52-4C)
Trad Name: SOARNEX
Safety: EN 60950-1:2006+A11:2009+A1:2010+A12:2011+A2:2013
EMC: EN 55032:2012+AC: 2013 (CISPR32:2012) (Class A)
EN 61000-3-2: 2014
EN 61000-3-3:2013
EN 55024:2010
AS/NZS CISPR 32:2013
Those products are here with conrmed to comply with the Directives.
Directives: EMC Directive 2014/30/EU
RoHS Directive 2011/65/EU
WEEE Directive 2012/19/EU
REACH Regulation (EU) No. 1907/2006
Low Voltage Directive 2014/35/EU
Person is responsible for this declaration.
Place of Issue: TAIPEI, TAIWAN (R.O.C)
Date: Sep. 30, 2018
Name: Signature:
Title:
Li, Yi Wu
Director

EN
FCC Warning
CE Mark Warning
Declaration
This is a Class A product. In a domestic environment, this product may cause radio
interference in which case the user may be required to take adequate measures.
This product is here with conrmed to comply with Directive of 2004/108/EC and
2006/95/EC. I here by declare that the products and devices mentioned above
are consistent with the standards and provisions of the guidelines.
This equipment has been tested and found to comply with the limits for a
Class A digital device, pursuant to Part 15 of the FCC Rules. These limits are
designed to provide reasonable protection against harmful interference when
the equipment is operated in a commercial environment.This equipment
generates, uses, and can radiate radio frequency energy and, if not
installed and used in accordance with this user’s guide, may cause harmful
interference to radio communications. Operation of this equipment in a
residential area is likely to cause harmful interference in which case the
user will be required to correct the interfence at his own expense. Change
or modifications not expressly approved by the party responsible for
compliance could void the user‘s authority to operate the equirments.
1. The miniGBIC ports should use UL listed Optical Transceiver product, Rated
Laser Class 1.3.3Vdc.
CAUTION
僅适用于海拔2000米以下地區安全使用
Copyright © 2018 SOARNEX Technology Corp.
Contents are subject to change without prior notice.
Document is also available on SOARNEX Website.
29072466EG210*2

Rev. 1.1 Sep. 2018
二層智慧管理型交換機
EG210系列
快速安裝指南
EG210-10-2F
EG210-28-4C
EG210-52-4C

中
打開包裝盒, 你的包裝內含有這些:
1. EG210系列二層智慧管理型交換机 x 1
2. 交流電源線x 1
3. 橡膠腳墊x 4, 螺絲x 8
4. 机架安裝架(套)x 1
5. 快速安裝指南x 1
包裝清單

中
1. 將橡膠腳墊黏貼在交換机
背面的凹處。
2. 將交換机放置在平桌面或
者架子上。
3. 將托板用螺絲固定在交換
机兩邊。
4. 然后再用螺絲交換机固定
在支架上。
5. 插上電源線。
6. 在交換机和周邊物体之間
保持足夠的通風空間。
硬件安裝

中
1. 通過瀏覽器登錄管理型交換机
2. 回复出厂缺省配置
如果你忘記了登錄用戶名密碼或者修改過的IP地址(或者
你沒有安裝這台交換机的應用程序并且也不知道這台交換
机的登錄IP地址),你可以用Reset按鈕重置交換机恢复
出厂缺省配置。
打開网頁瀏覽器然后輸入IP地址http://192.168.1.1 (這台管
理型交換机的缺省IP地址) 進入WEB界面。交換机的缺省登
錄用戶名和密碼是“admin”。
你可以在WEB界面中修改這台交換机的缺省登錄用戶名密
碼及IP地址。當修改這台交換机的配置之后,修改被保存
在RAM 里正在運行的配置中,需要再点擊執行“保存設置到
FLASH″才能將配置从RAM保存到FLASH 里。
配置

中
Reset按鈕行為有几个步驟
1. 按下Reset (复位)按鈕1~5秒并釋放: 交換机重新啟動。
2. 按下Reset (复位)按鈕6~10秒并釋放: 交換机恢复出厂缺
省配置。(LED燈橙色2秒鐘)
3. 按下Reset(复位)按鈕> 11秒并釋放: 啟動引導加載程序模
式(Loader mode)。(LED燈綠色2秒)
4. 如果所有Image都失敗,自動進入加載模式
(Loader mode)。
● 請在一个溫度和濕度均适宜的環境下安裝交換机。
● 電源線引出口要在离開交換机1.82米(6英尺)以內。
● 确保交換机周邊有一定的熱量耗散空間以及一定的通風
空間。
● 不要在交換机上放置重物。
● 請在公司网站http://www.soarnex.com上查看更多的
技術說明資料。
!注意事項:

中
EG210-28-4C
EG210-10-2F
EG210-52-4C
LED指示燈 顏色 狀態 描述
Power 綠色
恒亮 電源開啟
閃爍 交換机正在進行開机自檢測試
(EG210-10-2F不适用
燈滅 燈滅 系統未通電
L/A
(Link/ Act)
RJ-45端口
橙色 恒亮 10/100Mbps 以太网接口鏈路已建立
閃爍 10/100Mbps 以太网接口有數據收發
綠色 恒亮 1000Mbps 以太网接口鏈路已建立
閃爍 1000Mbps 以太网接口有數據收發
燈滅 燈滅 以太网端口無連接
L/A
(Link/Act)
SFP端口
橙色 恒亮 100Mbps 接口鏈路已建立
閃爍 100Mbps 接口有數據收發
綠色 恒亮 1000Mbps 接口鏈路已建立
閃爍 1000Mbps 接口有數據收發
燈滅 燈滅 端口無連接
指示燈
LED
This manual suits for next models
3
Table of contents
Other SOARNEX Switch manuals
Popular Switch manuals by other brands
Brocade Communications Systems
Brocade Communications Systems Converged Enhanced Ethernet 8000 Hardware reference manual
Juniper
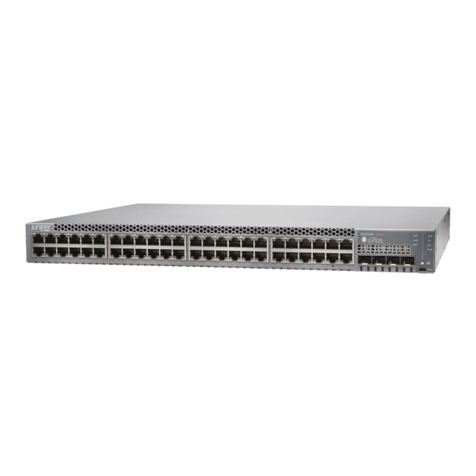
Juniper EX3400 quick start
KTI
KTI KGS-510F installation guide
Allied Telesis
Allied Telesis AT-9000/28 Command Line User's guide

Micas
Micas M2-S6920-4S Hardware installation and reference guide
Hanwell
Hanwell IKVM-101Plus user manual

