Socket SoMo 650-E User manual

SoMo®650
Handheld Computer
User’s Guide

4/2010 Document # 6410-00287 P
COPYRIGHT NOTICE
Copyright © 2008-2010 Socket Mobile, Inc. All rights reserved.
Socket, the Socket logo, SoMo, SocketCare, SocketScan, Connect!Agent, and Wi-Fi Companion are
trademarks or registered trademarks of Socket Mobile, Inc. Bluetooth and the Bluetooth logos are
registered trademarks owned by Bluetooth SIG, Inc., U.S.A. and licensed to Socket Mobile, Inc. Wi-Fi and
the Wi-Fi logo is a registered trademark of the Wi-Fi Alliance. Windows Mobile is a trademark of the
Microsoft group of companies. All other brand and product names are trademarks of their respective
holders.
The SoMo 650 includes technology licensed under European Community Registered Design Nos.
000745245-0001, 000745245-0002 and 000745245-0003.
Reproduction of the contents of this manual without the permission of Socket Mobile is expressly
prohibited. Please be aware that the products described in this manual may change without notice.
Feel free to contact Socket Mobile at:
Socket Mobile, Inc.
39700 Eureka Drive
Newark, CA 94560-4808
USA
Other than the above, Socket Mobile can assume no responsibility for anything resulting from the
application of information contained in this manual.
Please refrain from any applications of the SoMo 650 that are not described in this manual. Please refrain
from disassembling the SoMo 650. Disassembly of this device will void the product warranty.
You can track new product releases, software updates and technical bulletins by visiting the Socket
Mobile website at: http://www.socketmobile.com.

IMPORTANT SAFETY INSTRUCTIONS
Please read and follow these safety instructions before using your device for the first
time, and save them for future reference.
•Keep away from extremely hot, cold or humid conditions.
•Avoid using in dusty environments.
•Do not allow the device to get wet.
•Avoid strong force, shock or vibrations.
•Do not open your device. Any attempts to open this device will void the
warranty.
•Do not place objects on top of the device.
•Avoid removing the battery without turning off the device.
•Do not charge the device in extremely hot or cold conditions.
•Please only use the supplied USB synchronization cable.
•Please do not use other chargers or adapters, as these may damage your device.
•Do not remove SD/MMC or CF cards while they are being accessed.
•Do not use this device in damp, wet or rainy conditions.
•Do not insert metal objects into the sync/charging port of the SoMo.
•Keep the SoMo and its accessories away from children.

TABLE OF CONTENTS
COPYRIGHT NOTICE 2
IMPORTANT SAFETY INSTRUCTIONS 3
TABLE OF CONTENTS 4
1 | INTRODUCTION 6
PACKAGE CONTENTS 6
PRODUCT REGISTRATION 7
SOCKETCARE™SERVICE PROGRAM 7
SOCKET THIRD-PARTY ACCESSORIES RECOMMENDATION (STAR) 7
SYNCHRONIZATION SOFTWARE 7
HARDWARE FEATURES 7
CHARGING/SYNC CRADLE 11
2 | GETTING STARTED 12
STEP 1: INSTALL THE BATTERY 12
STEP 2: CHARGE THE BATTERY 13
STEP 3: SET UP YOUR SOMO 650 14
STEP 4: INSTALL SYNCHRONIZATION SOFTWARE ON HOST PC 15
STEP 5: CONNECT THE SOMO TO HOST PC 15
STEP 6: SET UP YOUR DEVICE PARTNERSHIP 18
GETTING STARTED WIZARDS 19
Configure hold switch 20
Configure CF/SD slots 22
Set up Enhanced Wi-Fi Companion (e-WFC) 23
Set up Data Capture Triggers 23
Set up WAN Connections 23
3 | USING THE SOMO 650 25
STYLUS 25
HOLD SWITCH 25
START MENU 26
ONLINE HELP 26
WIRELESS RADIO MANAGER 26
SOMO 650 POWER PLUS BATTERY FRIENDLY UTILITY 29
BACKLIGHT AND POWER SETTINGS 30
CPU PERFORMANCE UTILITY 31
VOICE RECORDER 33
ADDING A USB KEYBOARD/MOUSE 33
4 | WI-FI COMPANION 34
TURNING ON THE WI-FI RADIO 34
MAIN SCREEN OF WI-FI COMPANION 37
WI-FI STATUS ICON 37
WI-FI FINDER 37
FINDING AND CONNECTING TO A WLAN 39
4

5
5 | SOCKETSCAN AND CONNECT!AGENT FOR BLUETOOTH
BARCODE SCANNERS 41
STEP 1: PREPARE THE SCANNING HARDWARE 42
STEP 2: ENABLE CORDLESS SCANNING 42
STEP 3: CONNECT SCANNER TO SOMO43
STEP 4: START APPLICATION 44
STEP 5: SCAN BARCODES 44
6 | SOCKETSCAN FOR PLUG-IN SCANNERS AND READERS 45
STEP 1: ASSIGN A TRIGGER BUTTON 46
STEP 2: START SOCKETSCAN 47
STEP 3: INSERT THE CARD 48
STEP 4: START APPLICATION 49
STEP 5: SCAN OR READ DATA 49
7 | SOMO 650 BACK PACK SOFTWARE 50
STEP 1: CONFIGURE A MODEM CONNECTION 51
STEP 2: PREPARE THE HARDWARE 51
STEP 3: CONNECT TO NETWORK 52
APPENDICES
A SPECIFICATIONS 53
B CARE AND MAINTENANCE 55
C RESETTING THE SOMO 650 56
D UPGRADING THE ROM IMAGE 62
E TECHNICAL SUPPORT 65
LIMITED WARRANTY 66
DISCLAIMER 66
REGULATORY COMPLIANCE 68

1 | INTRODUCTION
Thank you for purchasing the SoMo 650 handheld
computer. The SoMo 650 is a durable, Windows Mobile
powered device that can help your business increase the
productivity of mobile workers, improve the visibility of
data in the field, and automate manual processes.
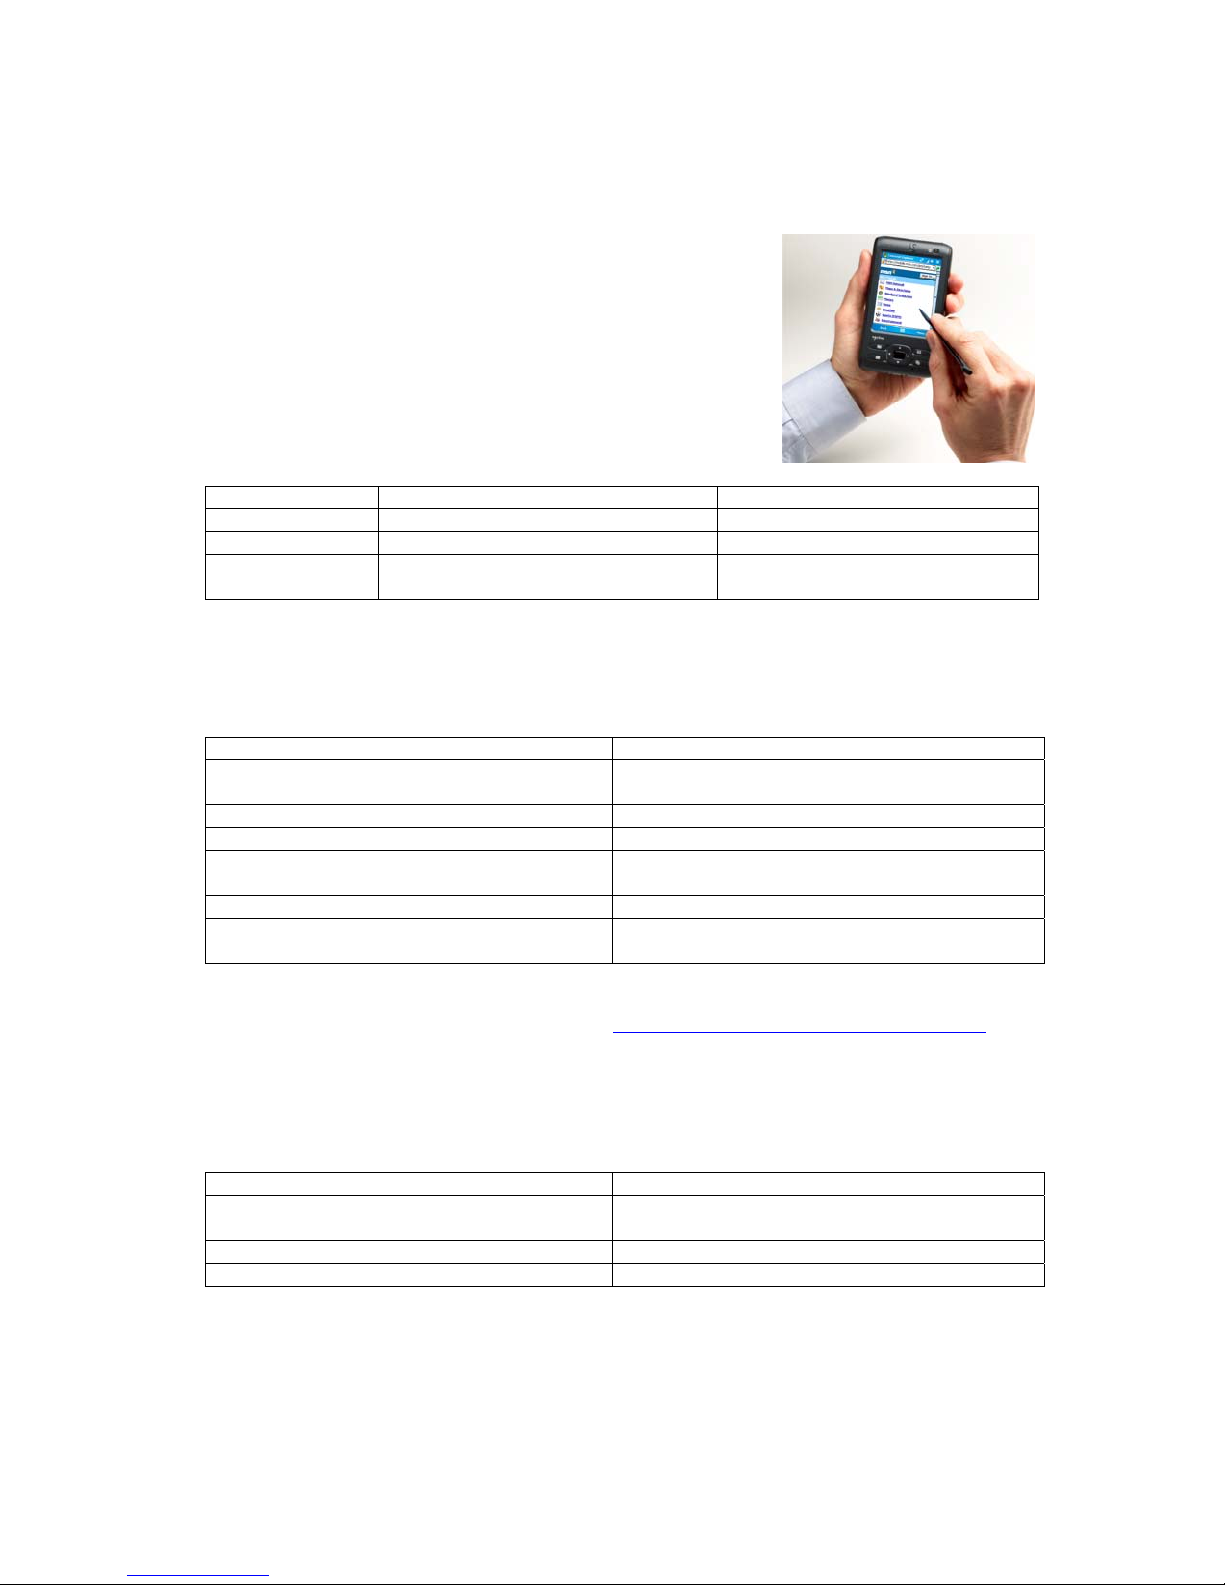
There are multiple configurations to suit different type
of applications:
Model Configuration Target Industry
SoMo 650-E Standard Various
SoMo 650Rx-E Antimicrobial with Extended Battery Healthcare
SoMo 650DX-E Radio-free (No Bluetooth or Wi-Fi) Government/high-security and
batch applications
READY TO CUSTOMIZE
The SoMo 650 can be deployed out the box with a wide range of Socket or third-
party peripherals, because it comes pre-loaded with the following software:
Socket/Third-Party Peripheral Pre-loaded Software
Socket barcode, RFID and magnetic stripe
readers
SocketScan™ keyboard wedge software
Connect!Agent Bluetooth software
Socket 56K Modem Cards Modem Utilities
Socket 10/100 Ethernet Card Ethernet Utilities
Socket SoMo 650 Back Pack wireless
broadband ExpressCard adapter
Drivers, utilities
UIC UIC683 contactless/mag stripe card reader SocketScan keyboard wedge software
SocketSerial Serial I/O Card, Shielded USB-to-
Serial Adapter, USB Ethernet Gigabit Adapter
Drivers
Socket also offers a wide range of accessories for the SoMo 650, including screen
protectors, Multi-Bay Chargers, and more. http://www.socketmobile.com/products/
POWER MANAGEMENT SOFTWARE
The SoMo 650 features the following power management software so you can
optimize battery life according to your performance needs:
Software Description
Socket Power Plus Battery Friendly® utility Performance optimization, analysis and
troubleshooting utility
Socket CPU Performance utility Processor performance optimization utility
Socket Hold Switch utility Configuration utility for hold switch
6

CHAPTER 1: INTRODUCTION 7
PACKAGE CONTENTS
All SoMo 650-E, SoMo650Rx-E, and SoMo 650DX-E configurations come with the
following items:
•SoMo 650 handheld computer
•Lithium-ion battery
•USB sync/power cable
•AC adapter
•2 rubber screw caps
•Quick Start Guide
•Getting Started CD with software
and user documentation
Additionally, the “M” versions of the SoMo come with the following accessories:
SoMo Version Additional Accessories Included
650-M
650Rx-M
650DX-M
•Sync/charging cradle
•Belt carrying case
•2.5mm to 3.5mm audio headset adapter
•Audio headset with microphone
PRODUCT REGISTRATION
Socket highly recommends that all customers register their products. Registered
users benefit from priority technical support and can download free service packs
and other updates for the SoMo 650. Register online at:
http://support.socketmobile.com/
SOCKETCARE™SERVICE PROGRAM
SocketCare is an enhanced service program which features:
•Faster turnaround for product repair, replacement, and support
•Option for full accidental damage coverage
•Exclusive telephone access to technical support
SocketCare is sold separately. For more information, please visit:
http://www.socketmobile.com/support/socketcare
SOCKET THIRD-PARTY ACCESSORIES RECOMMENDATION (STAR)
The STAR Program assembles third-party accessories that have been tested for
compatibility with Socket products. Featured products include keyboards, smart card
readers, cases, and more. http://ww1.socketmobile.com/products/star.aspx The SoMo
comes pre-loaded with software for STAR products from UIC and SocketSerial.
SYNCHRONIZATION SOFTWARE
Before you start using your new SoMo 650, you should have a host PC with the
correct synchronization software installed.
OS on Host PC OS on SoMo Synchronization
Software
Microsoft URL
(Free Download)
Windows 7/Vista Windows
Mobile 5 or 6
Windows Mobile
Device Center
http://www.microsoft.com/windowsmobile/devic
ecenter.mspx
Windows XP/2000 Windows
Mobile 5
ActiveSync 4.2+
(included on CD)
Windows XP/2000 Windows
Mobile 6
ActiveSync 4.5+
(included on CD)
http://www.microsoft.com/windowsmobile/en-
us/help/synchronize/activesync-download.mspx

HARDWARE FEATURES
Front
12
10
3
4
9
5
8
6
7
1.
Wireless Status LED (Blue/Green) –
indicates Bluetooth®, Wi-Fi®
2.
Battery Status/Alarm LED (Red/Green)
3.
3.5" TFT LCD touch screen
4.
Calendar shortcut button
5.
Messaging shortcut button
6.
5-way navigation button
7.
Microphone
8.
Today shortcut button
9.
Contacts shortcut button
10.
Power button
Besides the power button, you can turn on the SoMo by pressing the Calendar, Messaging, Today or Contacts button.
Wireless Status LED
LED Behavior Meaning
Flashing blue Bluetooth radio is on
Flashing green Wi-Fi radio is on
Flashing blue and green Bluetooth and Wi-Fi radios are on
Battery Status / Alarm LED
LED Behavior Meaning
Flashing red Alarm or Low battery notification:
<20% charge remaining for 1200 mAh battery
<15% charge remaining for 2600 mAh battery
OFF Running on battery power
Solid red light when connected to charger Charging
Solid green light when connected to charger Fully charged
8

Back
3
1
2
1.
Battery cover
2.
Battery cover release
3.
Speaker
Left
1
2
3
4
1.
Hands-free (headset/microphone) connector (lift rubber cover to access)
2.
Left programmable application button (launches Voice Notes voice recording
utility by default)
3.
Hold switch (disables screen and all buttons). There is a Hold Switch Utility to
configure the hold switch, see Chapter 2.
4.
DC-in connector (lift rubber cover to access)
Right
Right programmable application button
(launches radio manager by default)
CHAPTER 1: INTRODUCTION 9

Top (with card slot cover open)
1
2 3
1.
Stylus holder and stylus
2.
SD (Secure Digital)/SDIO/MMC (MultiMedia Card) slot (lift rubber cover to access)
3.
CF (CompactFlash) slot (lift rubber cover to access)
Bottom
1 2
1.
USB synchronization/host cable connector
2.
Soft reset button
SoMo Behavior Under Low Battery
Conditions
Remaining Charge
for 1200 mAh
Battery
Remaining Charge
for 2600 mAh
Battery
Low Battery Alert in title bar of Today screen and
flashing red LED
20% 15%
Critical Battery Alert in title bar of Today screen
and flashing red LED
10% 5%
SoMo will shut down to preserve data until the
battery charged. The SoMo should be able to
maintain a standby state for 160 hours.
5% 3%
10

CHAPTER 1: INTRODUCTION 11
CHARGING/SYNC CRADLE
With two USB ports, the cradle can act as a hub to connect a keyboard, mouse or
other device. There is a compartment for charging a spare battery, which can be
charged at the same as a SoMo.
Front
26-pin docking
connector
Charging status LED
USB port status LEDs
Back
Spare battery charger
USB ports 1 and 2 26-pin connector
Power jack
If your SoMo does not include a cradle, you can buy one at:
http://ww1.socketmobile.com/products/handheld-computers/accessories-
hc.aspx?cat=Charging
Socket offers a broad range of charging accessories for the SoMo, including
durable charging cradles, multi-bay chargers, car chargers, and more.

2 | GETTING STARTED
STEP 1: INSTALL THE BATTERY
1. Remove the battery cover of the SoMo 650. Press the release button on
the bottom of the battery cover and use the thumb of your opposite hand
to slide the battery cover off the SoMo.
2. Place the included battery into the battery compartment, so that the
battery’s barcode label is face up, near the bottom of the device.
3. Replace the cover.
CAUTION: RISK OF EXPLOSION IF BATTERY IS REPLACED BY AN INCORRECT
TYPE. DISPOSE OF BATTERIES ACCORDING TO YOUR LOCAL REGULATIONS
FOR BATTERY DISPOSAL.
12

STEP 2: CHARGE THE BATTERY
1.
Connect the AC adapter to the DC-in connector on the left side of the SoMo.
Alternatively, you can use the cradle, if included with your version of the
SoMo 650.
2.
Plug the AC adapter into a suitable wall socket.
The SoMo 650 should be charged for 4 hours before first use.
Afterwards, charge the device as needed according to its battery level.
While charging, the power LED of the SoMo will be red. After charging is
complete, it will change to green.
CHAPTER 2: GETTING STARTED 13

STEP 3: SET UP YOUR SOMO 650
NOTE: Make sure the SoMo 650 is fully charged before proceeding.
1.
Slide the hold switch on the left side of your SoMo 650 up to the
unlocked position.
Hold switch
IMPORTANT! SLIDE THE SWITCH UP, OR THE DEVICE WILL NOT WORK!
2.
Turn on your SoMo 650 by pressing the small power button on the front
(top right-hand corner).
Power button
3.
Follow the onscreen instructions to set up your SoMo 650.
14

STEP 4: INSTALL SYNCHRONIZATION SOFTWARE ON HOST PC
Do not connect your SoMo 650 to your host PC until the synchronization
software has been installed on the PC.
Windows 7/Vista
1. Download the Windows Mobile Device Center software from:
http://www.microsoft.com/windowsmobile/en-us/downloads/microsoft/device-
center-download.mspx
2. Follow the instructions on the webpage to install the software.
Refer to the Microsoft website for information on how to use the
software.
Windows XP/2000
ActiveSync version 4.2 or greater is required to connect to Windows
Mobile 5.0, and version 4.5 or greater is required to connect to
Windows Mobile 6.
1.
Close any programs running on your host PC.
2.
Insert the SoMo 650 Companion CD into the computer's CD-ROM drive.
3.
The CD's welcome page will appear. Click Next.
The welcome page may be different for different SoMo versions.
4.
Follow the instructions to install Microsoft ActiveSync.
5.
After installation, the ActiveSync icon will appear on your system tray
(usually the lower right corner of the screen).
Refer to the ActiveSync online Help for information on how to use the
software. To restart this setup program, re-insert the CD into the CD drive.
CHAPTER 2: GETTING STARTED 15

STEP 5: CONNECT THE SOMO TO HOST PC
Connect with the Sync Cable
1. Plug the USB sync cable into the connector on the bottom of your SoMo
650.
2. Plug the other end of the cable into a USB port of your PC.
It is recommended that you also connect the AC adapter.
16

Connect with the Cradle
1. Insert the SoMo 650 into the cradle.
2. Use the USB sync cable to connect the cradle to a host computer.
3. Plug the other end of the cable into a USB port of your PC.
It is recommended that you also connect the AC adapter.
CHAPTER 2: GETTING STARTED 17

STEP 6: SET UP YOUR DEVICE PARTNERSHIP
Windows 7/Vista
1. When you connect your SoMo 650 to your computer for the first time,
the Windows Mobile Device Center should automatically start.
2. Click Set up your device.
3. Select the information you want to synchronize and click Next.
4. Follow the instructions in the remaining screens to complete the setup.
Windows XP/2000
1.
When you connect your SoMo 650 to your computer for the first time, the
New Partnership wizard should automatically launch.
NOTE: If the wizard does not automatically appear, click
Start | All Programs | Microsoft ActiveSync.
2.
Follow the setup wizard to set up the partnership. Once completed, the
first synchronization will start automatically.
3.
After the synchronization is complete, you will see that the Calendar,
Contacts and Tasks on your SoMo 650 have been updated.
The next time you wish to use the synchronization software, just plug
your SoMo 650 into your computer. The software will open automatically
and update your device.
18

GETTING STARTED WIZARDS
Windows Mobile 6.1 only
1. In the Today screen, tap Getting Started.
2. A list of wizards will appear. Some are generic for Windows Mobile 6.1,
but some are specifically for the SoMo 650:
•Configure hold switch
•Configure CF/SD slots
•Set up e-WFC (Windows Mobile 6 SP4 or later only)
•Set up Data Capture Triggers
•Set up WAN connections (Windows Mobile 6 SP4 or later only)
•Sprite Backup Trial (Windows Mobile 6 SP5 or later only)
Tap on a title to launch the wizard.
CHAPTER 2: GETTING STARTED 19

Configure hold switch
The Hold Switch Utility lets you change the default behavior of the hold switch.
ROM v1.1 and later includes the utility. For previous ROMs, download the
utility from: http://www.socketmobile.com/support/downloads/
handheld-computer/somo-650/
When the hold switch is activated, any connections or programs running
on the SoMo will remain active. By default the screen will turn off.
By default, the SoMo automatically suspends according to settings saved in
the Power applet. To access the applet, tap Start | Settings | System tab | Power.
1. In the list of Getting Started wizards, tap Configure hold switch.
2. Tap on the link in the wizard to access the Hold Switch Utility.
Alternatively, tap Start | Settings | System tab | Hold Switch.
20
This manual suits for next models
4
Table of contents
Other Socket Handheld manuals

Socket
Socket SoMo 650 User manual

Socket
Socket SoMo 655 Standard Instruction Manual

Socket
Socket SoMo 655 Standard Instruction Manual

Socket
Socket SoMo 650DX User manual

Socket
Socket SoMo 655 Standard User manual

Socket
Socket SoMo 655 Standard User manual

Socket
Socket SoMo 655 Standard Instruction Manual

Socket
Socket SoMo 655 Standard User manual

Socket
Socket SoMo 650Rx-E User manual

Socket
Socket SoMo 650 User manual