manuals.online logo
Brands
  1. Home
  2. •
  3. Brands
  4. •
  5. Sojag
  6. •
  7. Outdoor Furnishing
  8. •
  9. Sojag Sedona User manual

Sojag Sedona User manual

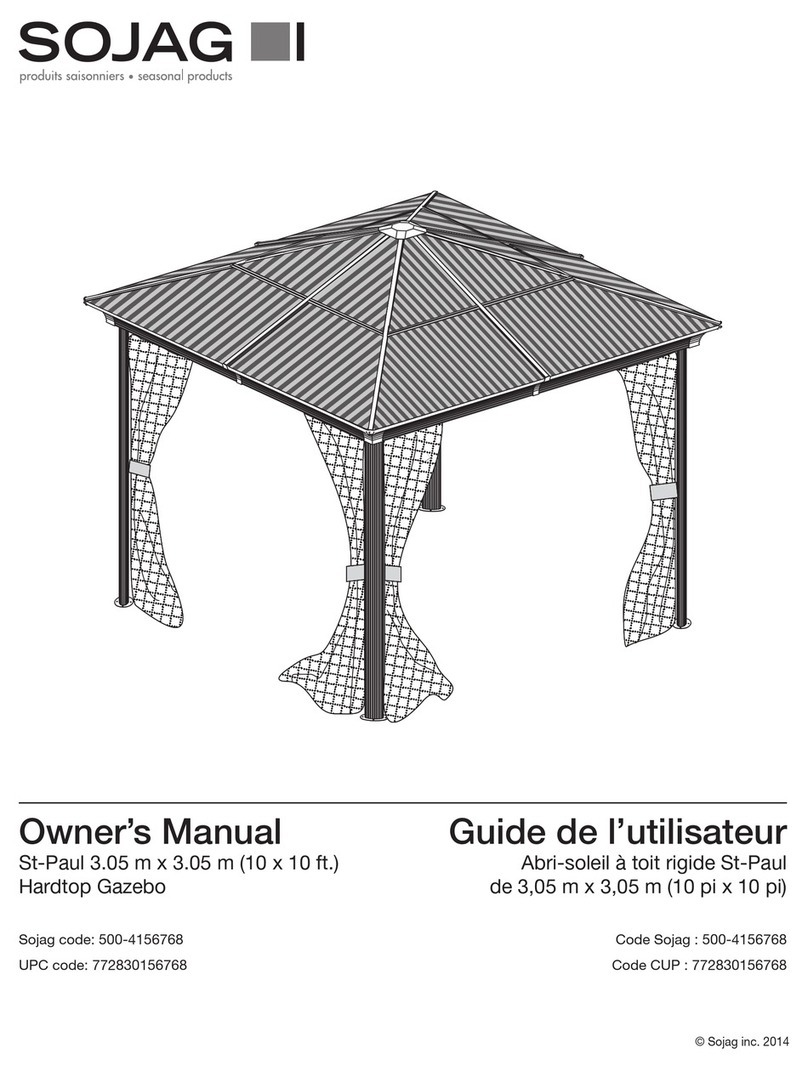
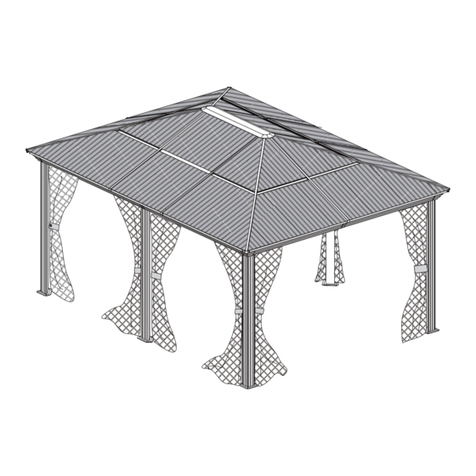
Owner's Manual
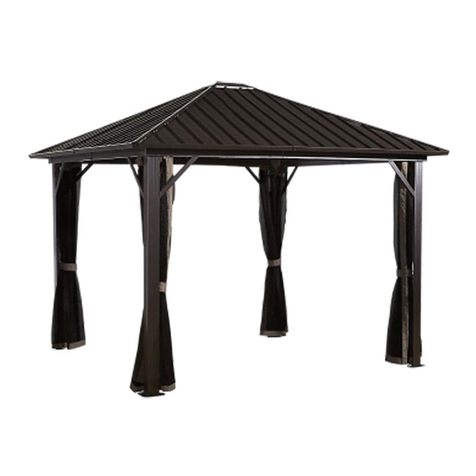
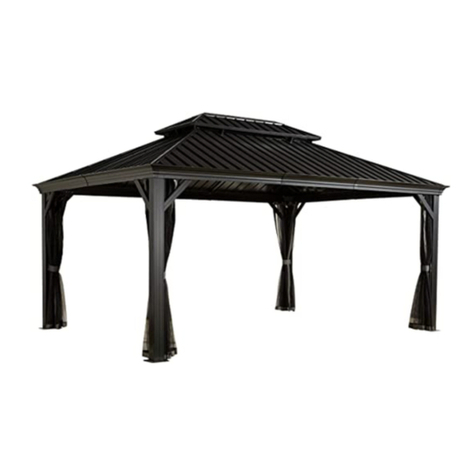
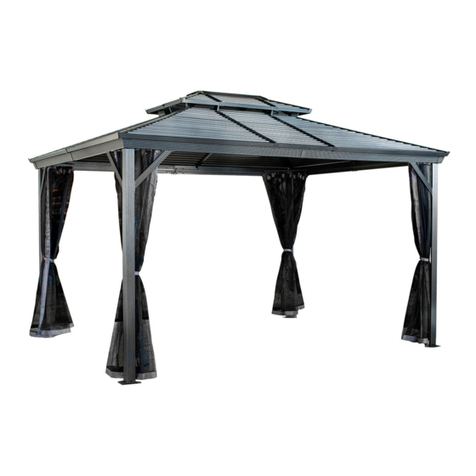
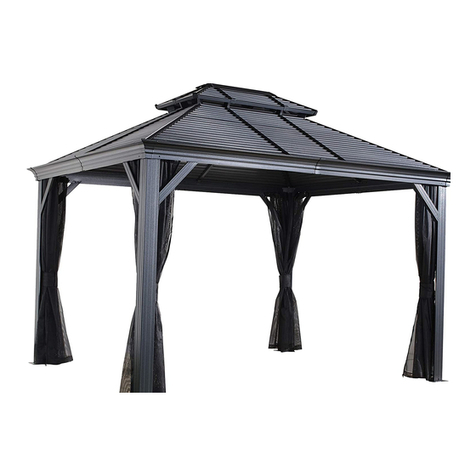
Sedona 3.6x4.25(12x14ft.)Hardtop Gazebo
Sojag Code: E500-3153248
UPC Code: 772830153248
Date of purchase:___/___/___
Safety Information
IMPORTANT:
Do not remove the protective film on the polycarbonate roof panels before installation (step 10 & 11).
Ensure to put the UV protected side facing up. It is a very important procedure; if not followed as
described, your roof will not be covered by the warranty.
It is very important to read and follow the safety precautions
before assembly and during the use of the product.
1. Keep all children and pets away from assembly area.
2. When assembling and using this product, basic safety precautions must always be followed to
reduce risk of personal injury and damage to product or surroundings.
3. Make sure that all the parts are in the box before starting the assembly. Some parts may
contain sharp edges; wear protective gloves.
4. This unit will take at least 5 hours to set up. You must schedule enough time to complete the
assembly. You cannot leave it unattended if not fully assembled, even if bolted to the ground. At
least 3 people are required for safe assembly.
5. Begin assembly no less than 1.8 m (6 ft.) from any obstruction including but not limited to a
fence, garage, house, overhanging branches, laundry line or electrical wires.
6. Always install your unit on a level platform. The unit must be anchored to either wood or
concrete using the appropriate screws for that flooring.
7. Check all screws for tightness before and during usage.
8. Your shelter has been created for all four seasons and will resist to snow accumulations of 907
kg (2000 lb.). However, you must remove any snow accumulation on the roof at all time. The
optional mosquito netting must be removed for winter storage.
9. Do not place any type of heat conductor under the sun shelter or within 1.5 m (5 ft.) of the unit
including but not limited to a barbeque or space heater.
Warranty
WHAT IS COVERED
The sunshelter is guaranteed against defective materials based on normal use of the product as
follows: 1 year on the frame, 3 years on the roof panels for damages due to hail if the panel install
on the UV side up. Transportation fees for parts replacements under warranty are free for the first
year only. Limited warranty applicable on parts only.
WHAT IS NOT COVERED
Damages due to vandalism, abuse or wrong use of the product. Damages due to extreme
weather conditions such as a thunderstorm, windstorm and hailstorm. Rust, water infiltration,
holes in polycarbonate roof panels, fabric and structure discolouration are not covered under
warranty.
Operation
• The unit is a four-season sun shelter, meaning it may be left up year round. However, any
accumulation of snow must be removed from the roof of the unit at all time.
• The unit must be anchored using the appropriate screws based on the flooring which it is to be
secured upon.
• Optional mosquito netting must be removed for storage during the winter.
• Roof panels must be installed with the UV protected side facing the sun. (See note on step 10)
• Failure to follow any of the previously mentioned requirements will void the warranty.
Customer Service
If this shelter needs repairs :
• In case of a defective part or if a problem occurs while using product, please contact
SOJAG Customer Service at 1-866-901-1649.
• Use the part number on the parts list to order replacement parts.
Care and Cleaning
• For cleaning: Use a domestic soap or detergent and wash with warm water using a sponge or
fabric.
Rinse with clean water.
• Check all screws on a regular basis to maintain the solidity of the structure.
Pre-ASSEMBLY
PLANNING ASSEMBLY
• It is the consumer’s responsibility to comply with any building codes, ordinances, zoning
limitations, or local homeowner’s restrictions and obtain any required permit, before purchase and
installation of the products.
• Make sure that all the parts are in the box before starting the assembly.
• Some parts may contain sharp edges; wear protective gloves.
• This unit will take at least 5 hours to set up. You must schedule enough time to complete the
assembly.
• You cannot leave the sun shelter unattended if not fully assembled, even if bolted to the ground.
• At least 3 people are recommended for assembling the unit.
• Follow all instructions to assure the strength of the shelter.
• In order to avoid damage to the shelter and its components, use appropriate tools. Do not use
the structure as a support; a stepladder is recommended.
• Keep instructions and parts list for further reference.
B
C
D
6
Long ogee with steel union
Short ogee with steel union
Short ogee
E
4
2
F
F2
4
A
Parts List
Item Description Qty Illustration
4
2
2
2
2
2
Column
C1
Corner roof bar
Middle roof bar
F1
Middle roof finishing bar
Right roof finishing bar
Left roof finishing bar
-2-
B1
Long ogee
Solidifying bar
Solidifying bar
Solidifying bar
D2
Corner roof bar
1
Solidifying bar
Outside roof connector
Solidifying bar
Inside roof connector
Solidifying bar
H
H1
H2
I
I1
I2
J
J1
-3-
Description Qty
Item Illustration
Left roof panel (upside)
Left roof panel (downside)
Corner finishing ends
Finishing ends
Right roof panel (upside)
Right roof panel (downside)
Middle roof panel (upside)
Middle roof panel (downside)
Left roof support bar
Right roof support bar
Middle roof support bar
Joint cover plate
Bases
Corner cover
Q4
Solidifying bar
A2 Winter solidifying Column 2
St5 x 15 Screws
T
Hardware Kit
Illustration
Item Description Qty
Hook
M6 x 10 with nutcapScrews
SMosquito net
-4-
V
4
X
64
32
Y
M6 x 35 Screws
8
WM6 x 12(D12x20)
M6 x 12 Screws
M6 x 16 Screws 57
20
M6 x 12 with nutcapScrews
16
10
20
Y1
U
U1
Allen key
Wrench
2
2
Optional
Step-1
X4
·Install column (A) on base (K) using screws (U).
-5-
U X12
A
K
U
A
K
Step-2Step-2
X2
Slide 7 hooks (T) into each short track (B&B1) and 9 hooks (T)
into each long track (C&C1).
·Attach the ogee (B) to the ogee (B1) with screw (U). Repeat
with the ogee (C& C1)
-6-
U X16
B1
B
C
C1
7x
9x
For add or
remove hook
64
Step-3
· Install the ogee (B & B1) between two (2) columns (A) using screws (V)
through welded bracket on ogee, screws (U) from inside the column (A)
and screws (W) from outside the column (A). Repeat with the ogee (C &
C1).
-7-
Step-3
You need 3 people for
this step.
U X4 V X16 W X8
W
W
A
A
A
A
Step-4
X4
-8-
· Install the joint covers (L1) using screws (X) in the center of ogees (B &
B1) and (C & C1).
· Install the corner covers (L) using screws (X).
X X32
Step-5
-9-
Q
Q
Q
QQ
Q
UU
U X8
·Install solidifying bars(Q)inside each structure bar using
screws(U).
Step-6
-10-
· Slide 2 screws (Y) in each roof bar (D,D1 & E) to install the
solidifying bar in further step.
1
( )
Y
OD(D1)
E
2X
Y X20
Step-7
-11-
·
.
· columns
· Screw to top of columns using screws (U).
Install roof bars (D) one at a time to the inside roof connector
(J1) using screws(U1). (Make sure not to use previously inserted
screws)
Place roof structure on top of .
D(D1)
U1
1
2
2
2
2
1
1
1
U1
2
U
U X4 U1 X8
Step-8
-12-
·Install roof bars (E) to the inside roof connector (J1) using
screws (U1) and screw to ogees with screws (U). Repeat for all
six bars (E).
E
U1
1U1
U X6 U1 X12
2
U
Step-9
-13-
·Install the outside roof connector (J) on the inside roof
connector (J1) using screws (U). Don't over-tighten before
placing the polycarbonate roof panels.
U X3
Step-10
This
ide ps u
One side of the roof
panels is UV protected.
Make sure the sun
protected side faces
the sun light.
-14-
·Install the small roof panels (Ma) and (M1a) in roof bar's
upper tracks according to the picture. Make sure they are
completely inserted in the tracks.
·Insert roof panels (P) from the end of the roof bars(E) in the
middle of the wide side of the shelter. Align with the other
panels.
·Install the roof support bar (N,N1 &N2) according to picture.
Make sure they are completely inserted in the tracks. Align
(N2) with (N &N1).
Step-11
Th s
i
sd pi e u
Th s
i
s d p
ie u
·Install the roof panels (Mb) and (M1b) all the way in roof bar's
bottom tracks.
·Insert roof panels (P1) from the end of the roof bars in the
middle of the wide side of the shelter. Align with panels (Mb
&M1b).
-15-
This
ide ps u
Step-12
·On the wide side of the shelter starting from left to right:
·Install roof finishing bar (F), a roof finishing bar (F2) and a
roof finishing end (O1) using screw (Y1) in the end of the roof
bar (E). Repeat with (F1).
· Use finishing end (O) for the corners.
-16-
Y1 X10
· Install the solidifying bars (H, H1, I & I1) according to the angle
and also solidifying bars (H2 & I2) in the middle zone using
previously inserted screws (Y). Tighten using bolts (Y).
Y
-17-
Step-13
Mb
1
N
Ma
1
I
H
F
E
D
You must install the roof panels
before the solidifying bars.
Step-14
· Install the optional mosquito netting (S) along the tracks on the hooks (T).
· Make sure the corner of mosquito netting (S) lines up with columns (A).
-18-
S x4 Start
0 e1 sid
1 se2 id
1

This manual suits for next models

2

Other Sojag Outdoor Furnishing manuals

Sojag Verona User manual

Sojag

Sojag Verona User manual

Sojag 500-9166897 User manual

Sojag

Sojag 500-9166897 User manual

Sojag Verona User manual

Sojag

Sojag Verona User manual

Sojag 500-9165326 User manual

Sojag

Sojag 500-9165326 User manual

Sojag 500-9167832 User manual

Sojag

Sojag 500-9167832 User manual

Sojag Verona User manual

Sojag

Sojag Verona User manual

Sojag 999-9162349 User manual

Sojag

Sojag 999-9162349 User manual

Sojag E999-5144055 User manual

Sojag

Sojag E999-5144055 User manual

Sojag 500-9162493 User manual

Sojag

Sojag 500-9162493 User manual

Sojag E500-5157871 User manual

Sojag

Sojag E500-5157871 User manual

Sojag 999-5157154 User manual

Sojag

Sojag 999-5157154 User manual

Sojag 500-6160680 User manual

Sojag

Sojag 500-6160680 User manual

Sojag 999-6158755 User manual

Sojag

Sojag 999-6158755 User manual

Sojag Ellington User manual

Sojag

Sojag Ellington User manual

Sojag 500-5156355 User manual

Sojag

Sojag 500-5156355 User manual

Sojag 314-5158496 User manual

Sojag

Sojag 314-5158496 User manual

Sojag KORADO User manual

Sojag

Sojag KORADO User manual

Sojag 500-6153675 User manual

Sojag

Sojag 500-6153675 User manual

Sojag Savino User manual

Sojag

Sojag Savino User manual

Sojag 500-4155945 User manual

Sojag

Sojag 500-4155945 User manual

Sojag 500-4156768 Instruction Manual

Sojag

Sojag 500-4156768 Instruction Manual

Sojag Octogonal Solarium E999-5144048 User manual

Sojag

Sojag Octogonal Solarium E999-5144048 User manual

Sojag Ventura 10x12 User manual

Sojag

Sojag Ventura 10x12 User manual

Sojag 500-6159264 User manual

Sojag

Sojag 500-6159264 User manual

Popular Outdoor Furnishing manuals by other brands

Uberhaus 38115134 Operator's manual

Uberhaus

Uberhaus 38115134 Operator's manual

shopPOPdisplays 18004 Assembly instructions

shopPOPdisplays

shopPOPdisplays 18004 Assembly instructions

Belson Outdoors RPD6C instruction sheet

Belson Outdoors

Belson Outdoors RPD6C instruction sheet

Dancover 33233 100 manual

Dancover

Dancover 33233 100 manual

Sister Bay Newport 17-1-10 quick start guide

Sister Bay

Sister Bay Newport 17-1-10 quick start guide

Gutta BS 160 Assembly instructions

Gutta

Gutta BS 160 Assembly instructions

Sunjoy L-GZ501PST Assembly instructions

Sunjoy

Sunjoy L-GZ501PST Assembly instructions

Berkley Jensen 276951 Assembly instructions

Berkley Jensen

Berkley Jensen 276951 Assembly instructions

CERLAND Carport Double Victor manual

CERLAND

CERLAND Carport Double Victor manual

Outsunny 344-032 Assembly instructions

Outsunny

Outsunny 344-032 Assembly instructions

Country Living D71 M80783 owner's manual

Country Living

Country Living D71 M80783 owner's manual

OWT OZCO Project 125 quick start guide

OWT

OWT OZCO Project 125 quick start guide

Sunjoy A102005804 Assembly instruction

Sunjoy

Sunjoy A102005804 Assembly instruction

Songmics GGF009 Assembly instructions

Songmics

Songmics GGF009 Assembly instructions

Dancover San Pablo manual

Dancover

Dancover San Pablo manual

Gazebo penguin 41215MR-12 Assembly instructions

Gazebo penguin

Gazebo penguin 41215MR-12 Assembly instructions

Adlonco Holdings 40808 owner's manual

Adlonco Holdings

Adlonco Holdings 40808 owner's manual

Leigh Country TX 94101 instruction manual

Leigh Country

Leigh Country TX 94101 instruction manual

manuals.online logo
manuals.online logoBrands
  • About & Mission
  • Contact us
  • Privacy Policy
  • Terms and Conditions

Copyright 2025 Manuals.Online. All Rights Reserved.