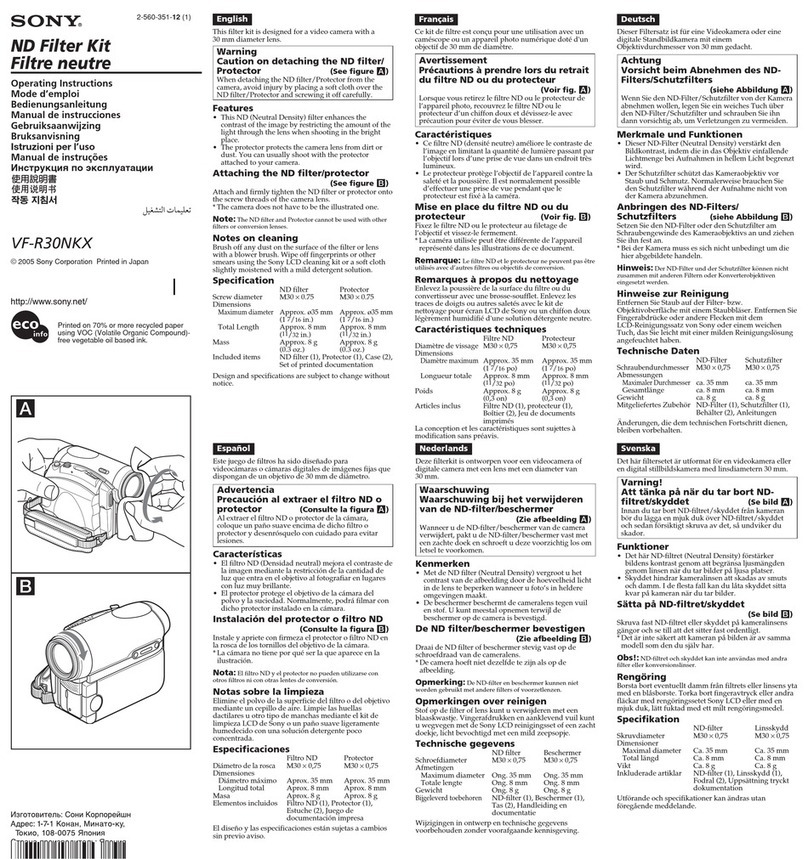
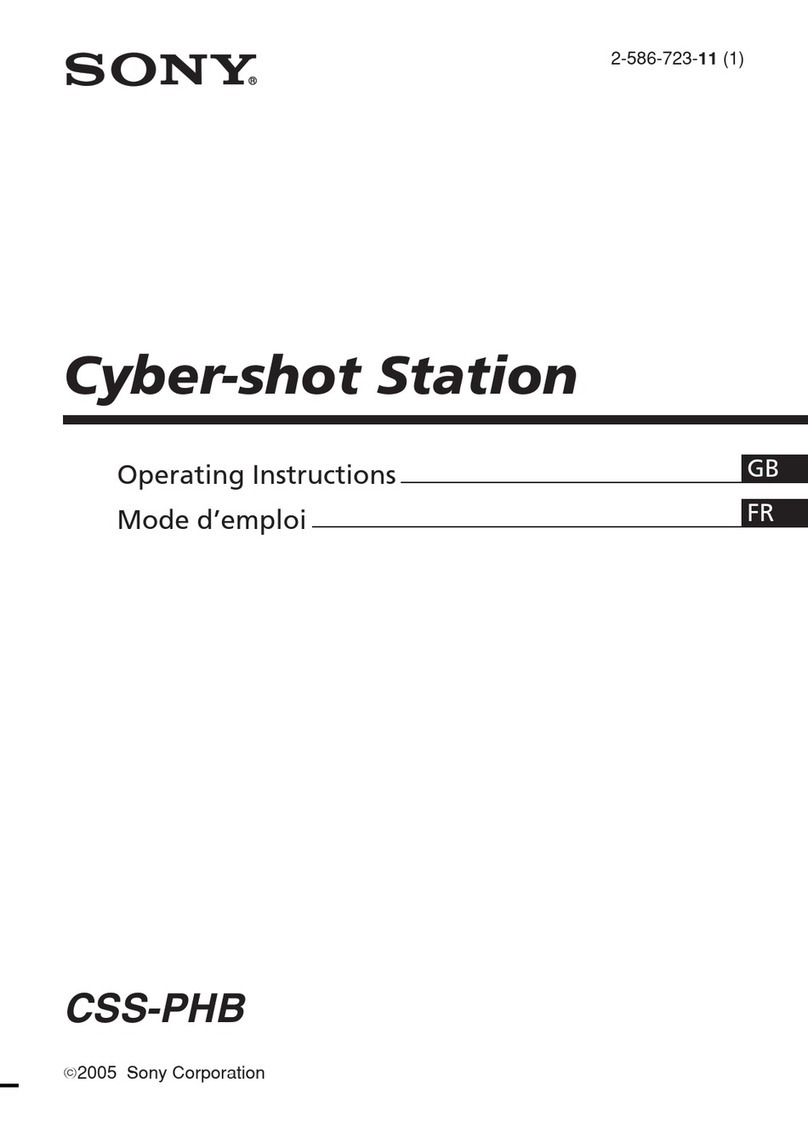
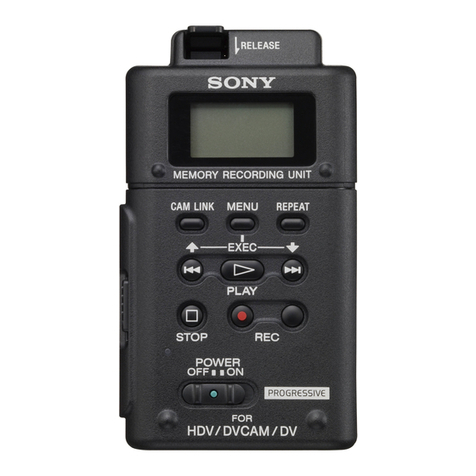
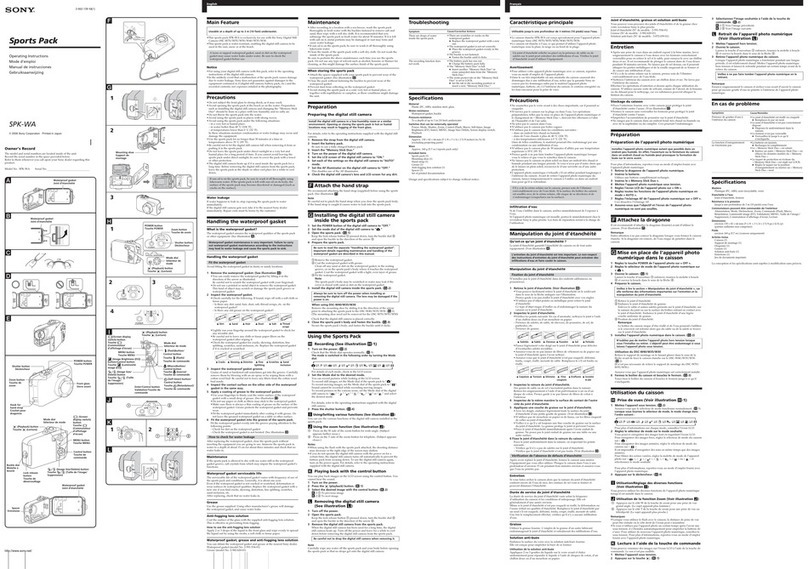
Sony GP-VPT2BT Reference guide

Help Guide
Shooting Grip With Wireless Remote Commander
GP-VPT2BT
Use this Help Guide when you have issues or questions on how to use your Shooting Grip With Wireless Remote
Commander.
Supported camera models
Identifying the parts
Preparations
Unpacking
Inserting the battery
Pairing the unit with the mounted camera
Confirming the setting on the camera
Mounting the camera
Adjusting the tilt angle
Preventing unintentional operations
Shooting
About the camera shooting styles
1

Help Guide
Shooting Grip With Wireless Remote Commander
GP-VPT2BT
Supported camera models
This unit is Shooting Grip with the Bluetooth compatible wireless remote commander function (hereinafter referred to as
“this unit”).
For camera models compatible with this unit, visit the website at:
https://www.sony.net/dics/vpt2bt/
5-011-845-11(1) Copyright 2019 Sony Corporation
3

Help Guide
Shooting Grip With Wireless Remote Commander
GP-VPT2BT
Identifying the parts
About the built-in Bluetooth®antenna
This unit is equipped with a built-in Bluetooth antenna at the section shown in the following illustration. When you
operate this unit, keep your hand away from the section to prevent a possible Bluetooth connection failure.
Camera mounting screw1.
Flip button
Flips around the mounted camera. For details, see “Adjusting the tilt angle.”
2.
Angle adjusting button
Adjusts the angle of the grip. For details, see “Adjusting the tilt angle.”
3.
PHOTO button4.
Indicator5.
MOVIE button6.
LOCK switch
Disables the remote commander function to prevent unintentional camera operations.
7.
Zoom button8.
C1 button
Activates the function assigned to the C1 button on the camera. For details about the camera's settings, refer to the
operating instructions supplied with your camera.
9.
Adjustment wheel
Adjusts feel for changing the angle of the grip.
10.
Camera mounting wheel11.
Battery chamber lid12.
4

Help Guide
Shooting Grip With Wireless Remote Commander
GP-VPT2BT
Unpacking
If you find anything missing, please contact your dealer.
The number in the parentheses indicates the quantity.
Shooting Grip With Wireless Remote Commander (1)
Lithium coin cell battery (CR2032) (1)
Pouch (1)
Set of printed documentation
5-011-845-11(1) Copyright 2019 Sony Corporation
6

Help Guide
Shooting Grip With Wireless Remote Commander
GP-VPT2BT
Inserting the battery
Insert the supplied lithium coin cell battery (CR2032) into the battery chamber of this unit.
5-011-845-11(1) Copyright 2019 Sony Corporation
Push the tab ( ) on the battery chamber lid to the left and hold the tab, push down the other tab ( ) on
the lid, and then remove the battery chamber lid.
1
Insert the supplied lithium coin cell battery.
Insert the battery so that the + terminal is facing upward.
(+ on the battery chamber indicates the direction of the battery.)
2
Replace the battery chamber lid.
3
7

Help Guide
Shooting Grip With Wireless Remote Commander
GP-VPT2BT
Pairing the unit with the mounted camera
Establish a Bluetooth connection between this unit and a camera.
Before establishing a Bluetooth connection, you must pair the unit with the camera (device registration).
Note
The following is an example of the mounting procedure for Sony Interchangeable Lens Digital Cameras and Sony digital still
cameras.
Before you start pairing, make sure that the LOCK switch on this unit is NOT in the “LOCK” position.
Note
If pairing fails, the indicator on this unit flashes rapidly. If this happens, repeat the procedure all over again.
A pairing attempt times out when a certain amount of time elapses between the actions in step and step .
In the event of the following, pair this unit with the mounted camera all over again.
On the camera, select MENU → (network) → [Bluetooth Settings] → [Bluetooth Function] → [On].
1
On the camera, select MENU → (network) → [Bluetooth Rmt Ctrl] → [On].
If the pairing screen appears on the camera's screen, proceed to step .
2
On the camera, select MENU → (network) → [Bluetooth Settings] → [Pairing].
3
On this unit, press and hold the PHOTO button ( ) and the T side of the Zoom button ( ) simultaneously
for at least 7 seconds.
4
When a confirmation message appears on the camera's screen, select [OK].
appears and pairing begins.
When pairing is complete, [Paired.] appears.
5
8

You mounted a different camera on this unit for operation. (When you replaced the camera back with the previously mounted
one, you must pair the unit with the mounted camera all over again as well.)
You reset the camera's network settings.
If this unit is kept unused while a Bluetooth connection is established, (no Bluetooth connection) may appear on the camera’s
screen.
5-011-845-11(1) Copyright 2019 Sony Corporation
9

Help Guide
Shooting Grip With Wireless Remote Commander
GP-VPT2BT
Confirming the setting on the camera
On the camera, select MENU → (network) → [Bluetooth Rmt Ctrl] and make sure that [On] is selected.
Note
You cannot use the function for linking location information with a smartphone while [Bluetooth Rmt Ctrl] is set to [On].
You cannot use an infrared remote commander while [Bluetooth Rmt Ctrl] is set to [On].
While [Bluetooth Rmt Ctrl] is set to [On], the camera will not switch to the power-saving mode. Change the setting to [Off] when
you are done using the Bluetooth remote commander.
5-011-845-11(1) Copyright 2019 Sony Corporation
10

Help Guide
Shooting Grip With Wireless Remote Commander
GP-VPT2BT
Mounting the camera
Mount a camera to this unit.
Install the battery pack and a memory card in the camera before mounting to this unit.
Note
Be careful not to drop the camera or this unit.
When you are finished with using this unit, remove it from the camera and keep it in the supplied pouch. Before removing the unit
from the camera, turn the LOCK switch to the “LOCK” position.
5-011-845-11(1) Copyright 2019 Sony Corporation
Fit the camera mounting screw on this unit into the tripod screw hole on the bottom of the camera ( ) ,
and then turn the camera mounting wheel to secure the camera ( ).
1
11

Help Guide
Shooting Grip With Wireless Remote Commander
GP-VPT2BT
Adjusting the tilt angle
Adjust the tilt angle of the grip or the facing direction of the camera mounted on this unit.
To adjust the tilt angle of the grip
By pressing the angle adjusting button, you can change the tilt angle of the grip by 10 degrees.
To adjust feel for changing the angle of the grip
Turn the adjustment wheel ( ).
Hint
If the camera mounted on this unit is heavy, the camera may tilt all at once while you are adjusting the tilt angle of the grip by
pressing the angle adjusting button. To avoid this, it is recommended that you tighten the adjustment wheel (by turning it
Press and hold the angle adjusting button ( ) and release the button when the grip is adjusted to the
desired angle ( ).
Before you press the angle adjusting button, be sure to hold the camera with your hand in case it tilts all at once.
Do not change the angle of the grip by force without pressing the angle adjusting button.
1
Make sure that the angle adjusting button rises back into position to indicate that the grip is locked at the
desired angle.
2
12

clockwise).
If the camera is light, on the other hand, it is easier to adjust the tilt angle of the grip when the adjustment wheel is loose.
Do not tighten the adjustment wheel excessively.
When the adjustment wheel is excessively tightened, you can use a coin or an equivalent to loosen the wheel.
To change the facing direction of the camera
By pressing the flip button ( ), you can flip around the camera ( ). Each time you press the button, the camera flips by
90 degrees.
Note
Make sure that the angle adjusting button has risen back into position. If not, the grip is not locked. Hold the camera and change
the angle by moving the grip until the angle adjusting button rises back into position.
Depending on the tile angle of the grip, the remote commander function of this unit does not work. In such a case, readjust the tilt
angle of the grip.
5-011-845-11(1) Copyright 2019 Sony Corporation
13

Help Guide
Shooting Grip With Wireless Remote Commander
GP-VPT2BT
Preventing unintentional operations
You can disable the remote commander function of this unit to prevent unintentional camera operations that may occur
while you are carrying around the unit along with the mounted camera.
5-011-845-11(1) Copyright 2019 Sony Corporation
Turn the LOCK switch to the “LOCK” position.
To enable the remote commander function, turn the LOCK switch away from the “LOCK” position.
1
14

Help Guide
Shooting Grip With Wireless Remote Commander
GP-VPT2BT
Shooting a still image
Operate this unit that has a Bluetooth connection with a camera to shoot a still image.
Related Topic
Pairing the unit with the mounted camera
Shooting a video
5-011-845-11(1) Copyright 2019 Sony Corporation
Press the PHOTO button ( ).
Press the button halfway down to focus, and then press it all the way down to shoot.
When the camera comes into focus by the auto focus function, the indicator on this unit turns on.
When shooting is successful, the indicator turns on.
1
16

Help Guide
Shooting Grip With Wireless Remote Commander
GP-VPT2BT
Shooting a video
Operate this unit that has a Bluetooth connection with a camera to shoot a movie.
Related Topic
Pairing the unit with the mounted camera
Shooting a still image
5-011-845-11(1) Copyright 2019 Sony Corporation
Press the MOVIE button ( ).
Movie shooting starts. To stop shooting, press the MOVIE button once again.
When shooting starts, the indicator on this unit turns on. When shooting stops, the indicator turns off.
1
17

Help Guide
Shooting Grip With Wireless Remote Commander
GP-VPT2BT
Zooming the camera
Operate this unit that has a Bluetooth connection with a camera to zoom in/out the camera.
Note
The zoom speed varies depending on the camera or lens.
The zoom function works with a camera or lens featuring a built-in electronic power zoom. If the digital zoom function of the
camera is turned on, digital zooming will be performed.
Related Topic
Pairing the unit with the mounted camera
5-011-845-11(1) Copyright 2019 Sony Corporation
Press the zoom button ( ).
Press the T (Telephoto) end of the button to zoom in on a subject.
Press the W (Wide-angle) end of the button to zoom out on a subject.
By pressing and holding either end of the zoom button, you can zoom in/out on a subject faster.
1
18

Help Guide
Shooting Grip With Wireless Remote Commander
GP-VPT2BT
Indicator activities
The indicator on this unit lights or flashes in accordance with the operation of the remote commander function of this unit
or with the operation or state of the camera as described below:
Related Topic
Identifying the parts
5-011-845-11(1) Copyright 2019 Sony Corporation
Lights
when the camera comes into focus by the auto focus function
when you shoot a still image or start recording by pressing the PHOTO button
while movie shooting is in progress
when pairing succeeds
when the camera receives zoom signals from this unit
Flashes
while pairing is in progress
while the self-timer is in operation
Flashes
rapidly
when the camera fails to receive remote operation signals from this unit
when pairing fails
when you switch the LOCK switch from “LOCK” to the position other than “LOCK” while the
remaining battery power is low
19

Help Guide
Shooting Grip With Wireless Remote Commander
GP-VPT2BT
Activating the camera's C1 function
By pressing the C1 button on this unit, you can activate the function assigned to the camera's C1 button.
For details about the camera's C1 button, refer to the operating instructions supplied with your camera.
Related Topic
Supported camera models
5-011-845-11(1) Copyright 2019 Sony Corporation
20
Other manuals for GP-VPT2BT
1
Table of contents
Other Sony Camera Accessories manuals

Sony
Sony SRMASTER SR-PC4 User manual

Sony
Sony VAIO VGP-BPS21A User manual

Sony
Sony HDVF-C30WR User manual

Sony
Sony VF MP5K User manual

Sony
Sony LCS-CS1 User manual

Sony
Sony HDVF-550 User manual

Sony
Sony FA-CC1AM User manual

Sony
Sony PVM-2541 User manual

Sony
Sony Aqty Pack APK-WA User manual

Sony
Sony VCL-ST30 Owner's manual