7
01/02-11_MDRIF320RK2.12E
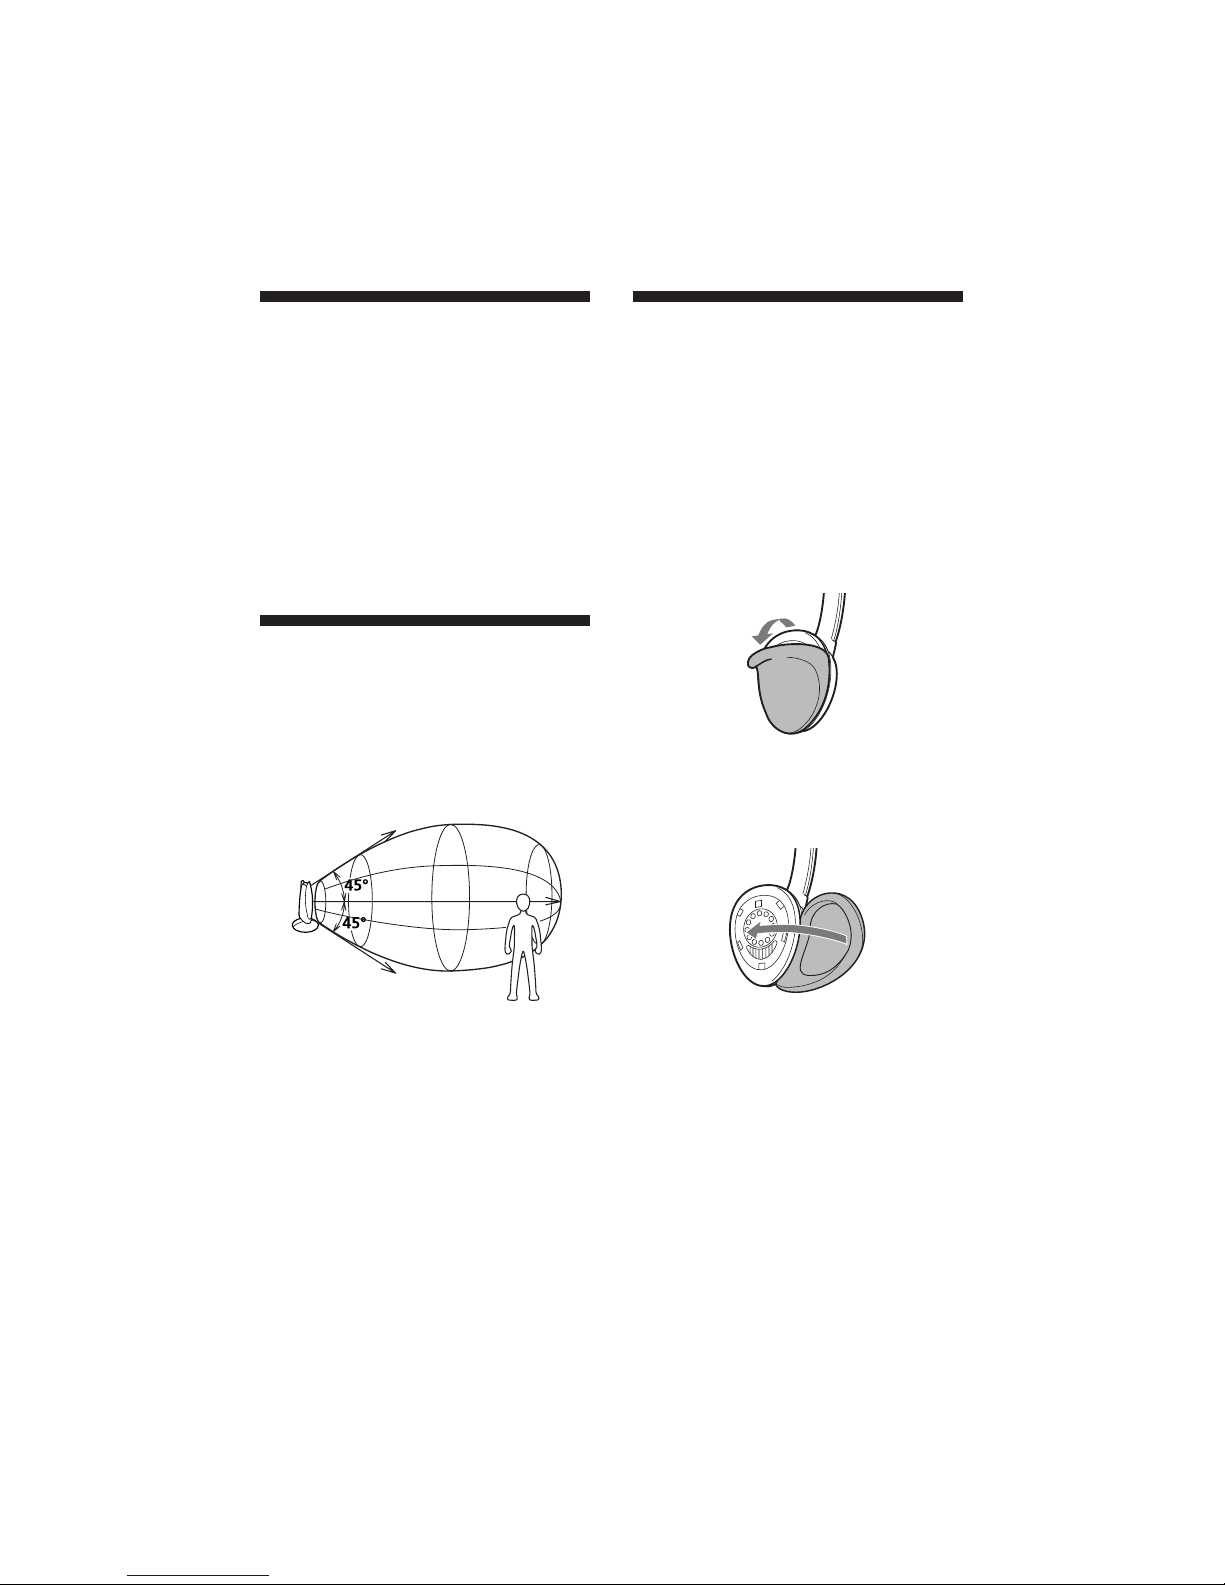
Auto power on/off function
When you remove the headphones, the
power turns off automatically. Do not
stretch the right side headband when
not using the headphones, otherwise
the headphones will be switched on.
Mute function
If a hissing noise is heard when the
infrared rays are obstructed, or the
headphones are used outside of the
effective range (see the next section),
the mute function will be activated and
the sound will not be heard from the
headphones. To restore the sound,
move nearer toward the transmitter or
remove the obstruction.
When no audio signal is received for
more than approximately five
minutes
The transmitter will be turned off
automatically.
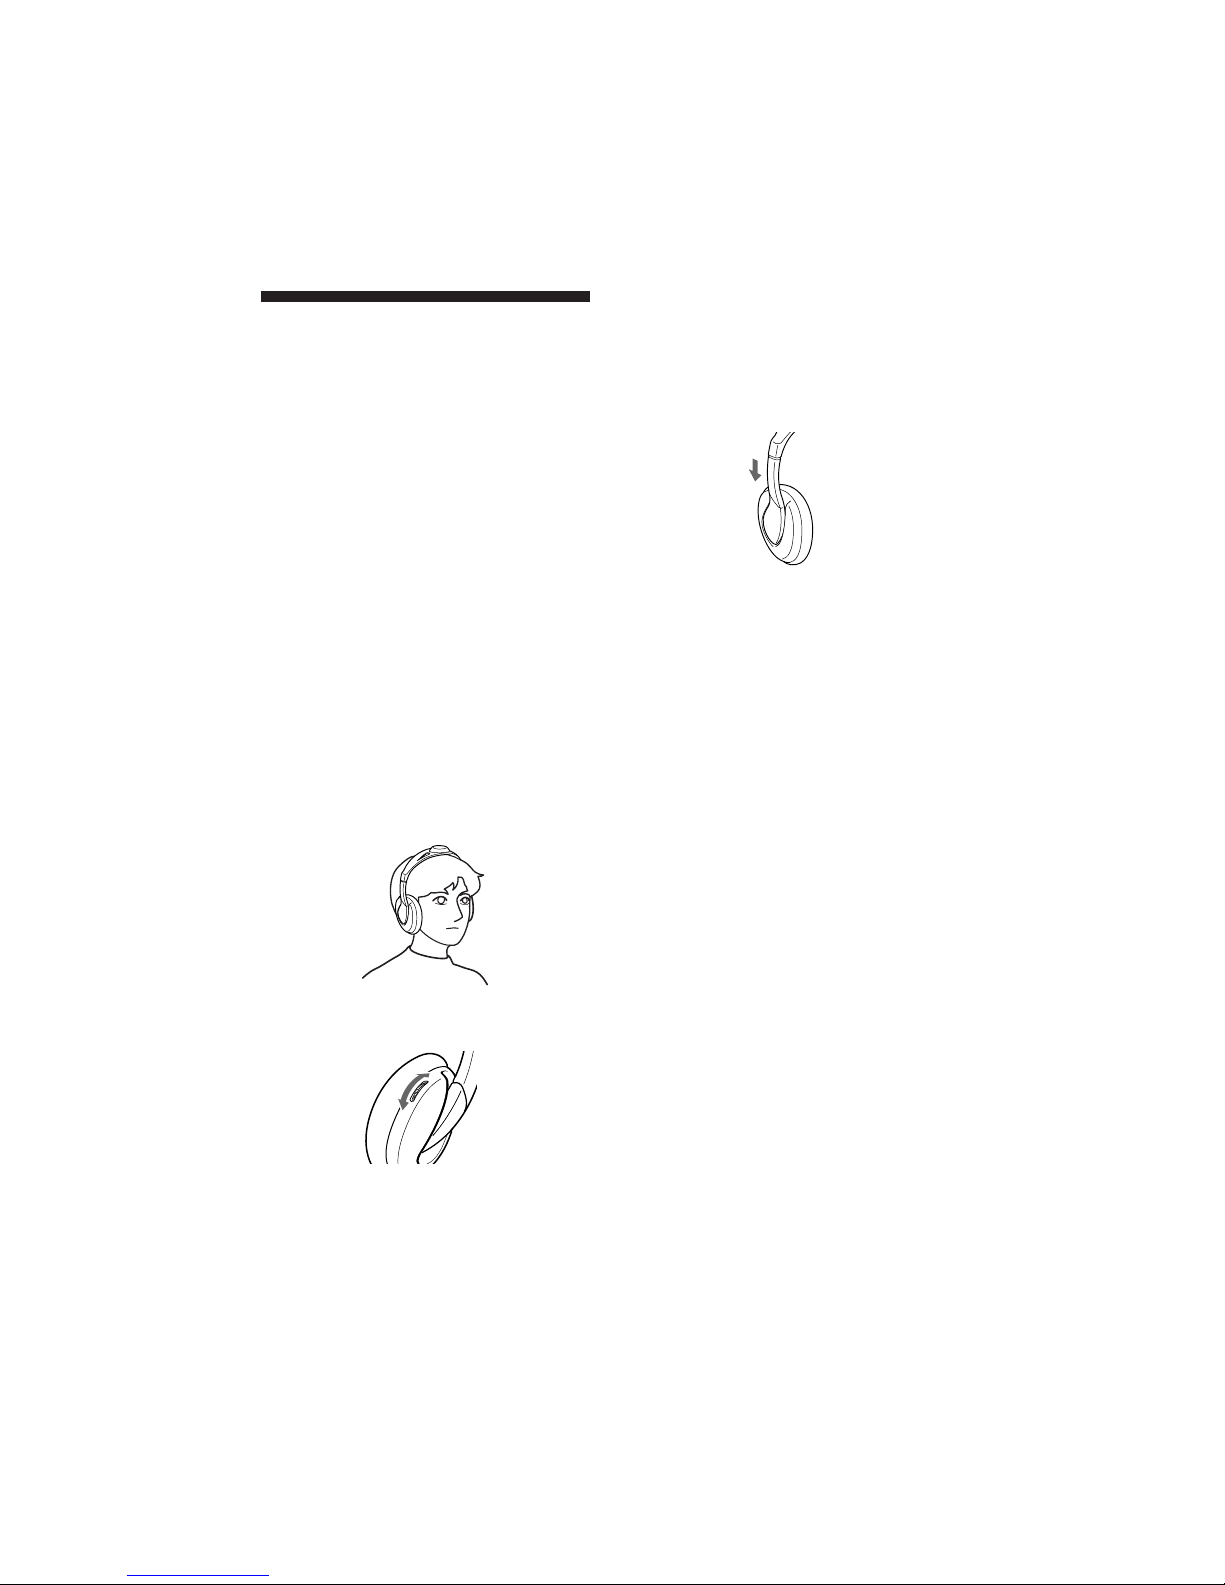
After listening to a program
Take the headphones off and rest them
away onto the transmitter. The
transmitter power will automatically
be turned off, and the charging
indicator lights. Headphone battery is
continuously charged when the
headphones is placed on the
transmitter.
• Since little electric current is used for
charging, there is no need to worry
about over charging.
(Operating the system
Listening to a
program
1Turn on the audio/video
equipment connected to the
transmitter.
When the audio signal is input, the
transmitter turns on automatically
and the infrared emitters glow. If
the transmitter is connected to the
headphone jack, set the volume
control of the audio source
equipment as high as possible but
not so high that the audio signal
gets distorted. (Around level 5 or 6
on the volume control should be
appropriate.)
2Put on the headphones and the
power turns on automatically.
The power indicator glows red
when the power turns on.
3Adjust the volume.
(Continue to next page)