2GB
3
To reduce the risk of fire or electric
shock, do not expose this apparatus to
rain or moisture.
This Class B digital apparatus complies with Canadian
ICES-003.
Do not install the appliance in a confined space, such
as a bookcase or built-in cabinet.
To prevent fire or shock hazard, do not place objects
filled with liquids, such as vases, on the apparatus.
The nameplate is located on the bottom exterior.
Precautions
On power sources
• Install this system so that the AC power cord (mains)
can be unplugged from the wall socket immediately
in the event of trouble.
On placement
• Do not place the system in locations that are hot and
subject to direct sunlight, dusty, very humid, or
extremely cold.
• Use caution when placing the system on a specially
treated (waxed, oiled, polished, etc.) floor, as staining
or discoloration may result.
• Allow adequate air circulation to prevent internal
heat buildup.
• Do not place the system on surfaces (rugs, blankets,
etc.) or near materials (curtains, draperies) that may
block the ventilation slots.
• Do not install the system near heat sources such as
radiators, or air ducts, or in a place subject to direct
sunlight, excessive dust, mechanical vibration, or
shock.
• Do not install the system in an inclined position. It is
designed to be operated in a horizontal position only.
• Position the Sony DVD Home Theatre System
(DAV) and surround amplifier away from each other.
• Keep the system away from equipment with strong
magnets, such as microwave ovens, or large
loudspeakers.
• Do not place heavy objects on the system.
• If you use more than one set of these systems (Sony
DVD Home Theatre System (DAV) and WAHT-
SD1), position them away from each other to avoid
cross talk.
On cleaning
Clean the cabinets with a soft cloth lightly moistened
with a mild detergent solution or water. Do not use any
type of abrasive pad, scouring powder or solvent such
as alcohol or benzene.
Safety
• If anything falls into the cabinet, unplug the unit and
have it checked by qualified personnel before
operating it any further.
• Unplug the unit from the wall outlet if you do not
intend to use it for an extended period of time. To
disconnect the cord, pull it out by the plug, never by
the cord.
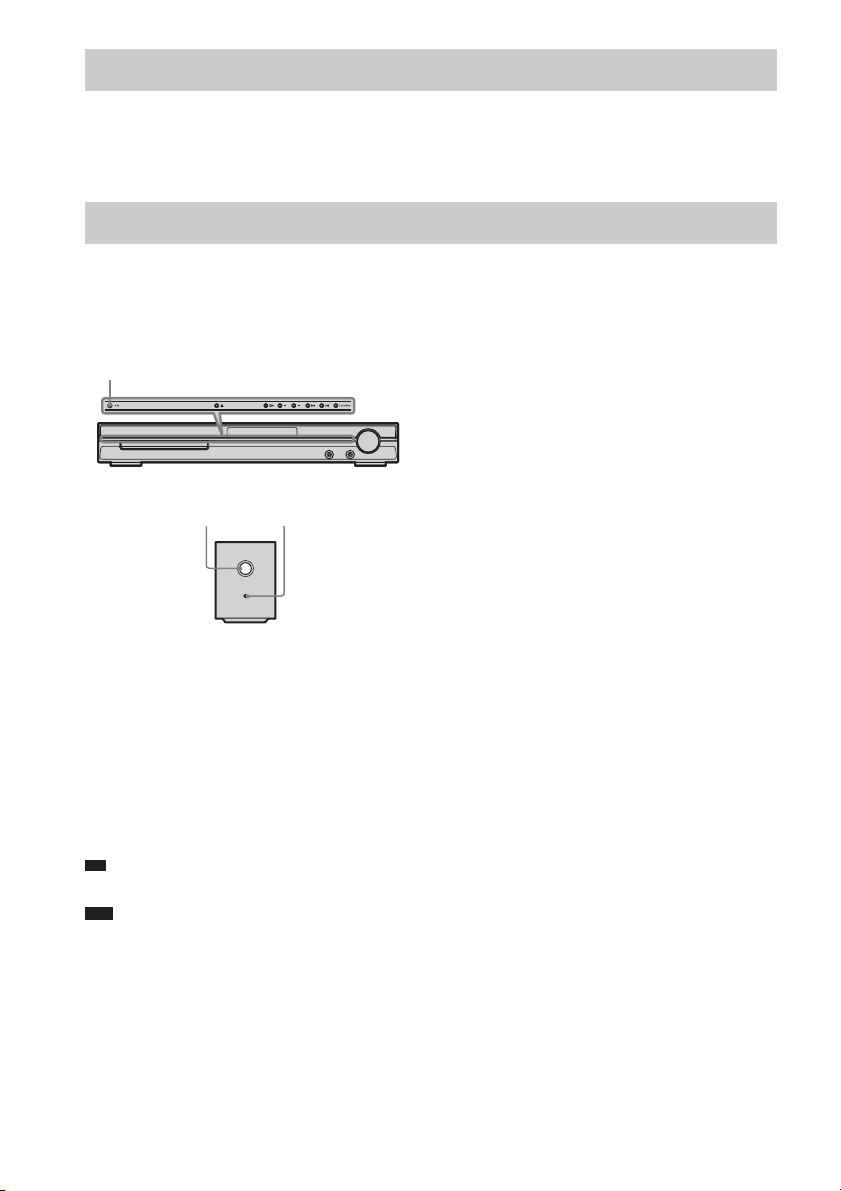
The WAHT-SD1 is a Wireless Surround Kit for
the Sony DVD Home Theatre System (DAV).
DAV-DZ555K/DZ556KB model is used in this
manual for some illustrations.
This kit is for models which have a slot cover
and have “DIR-TC1” printed on the rear panel.
Table of Contents
About this manual ..........................................2
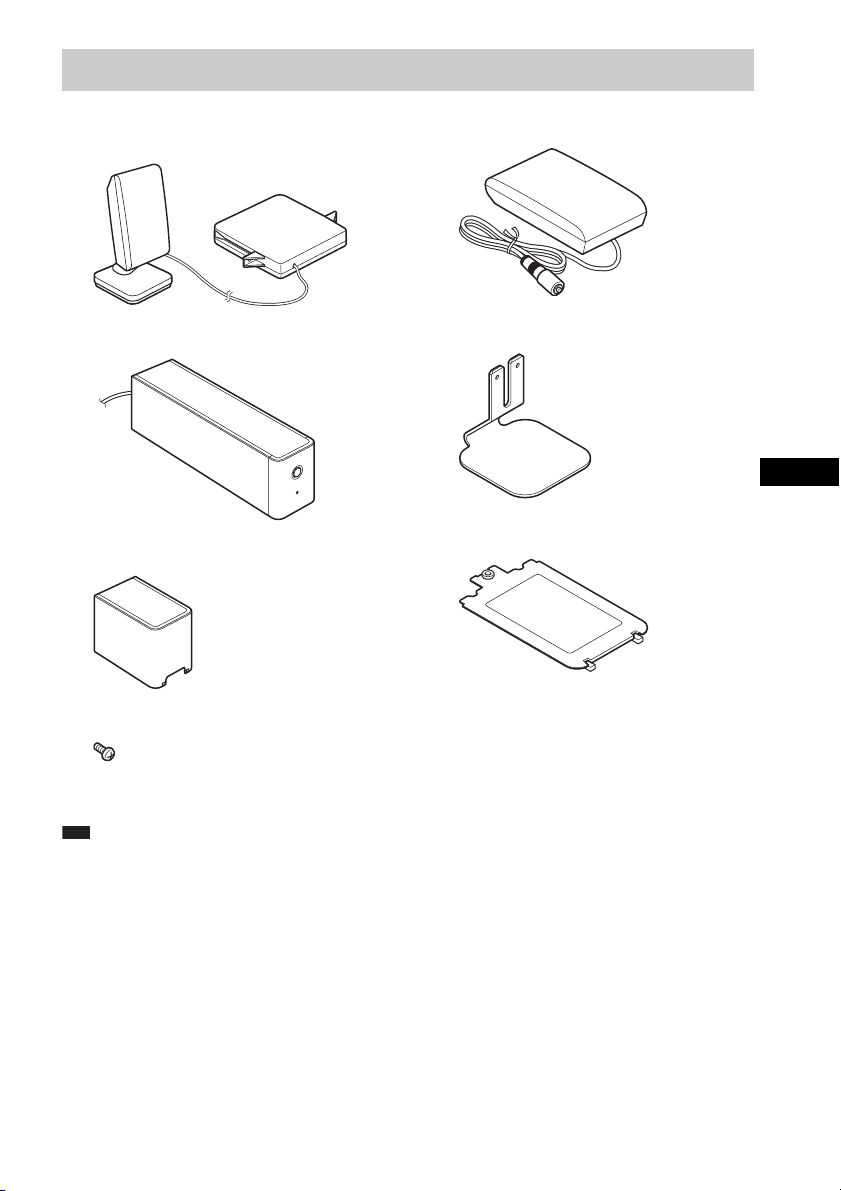
Unpacking ......................................................3
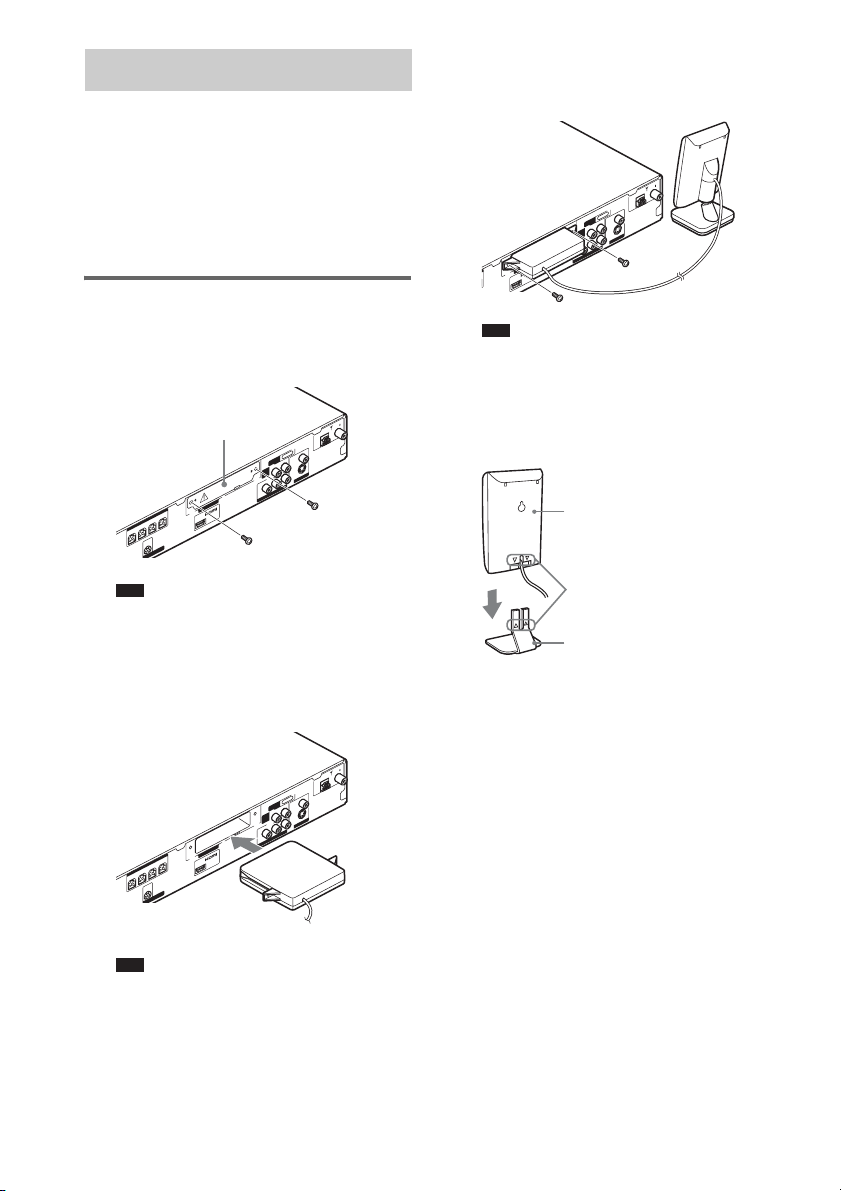
Hooking Up ....................................................4
Connecting the AC Power Cords (Mains
Leads) .............................................................8
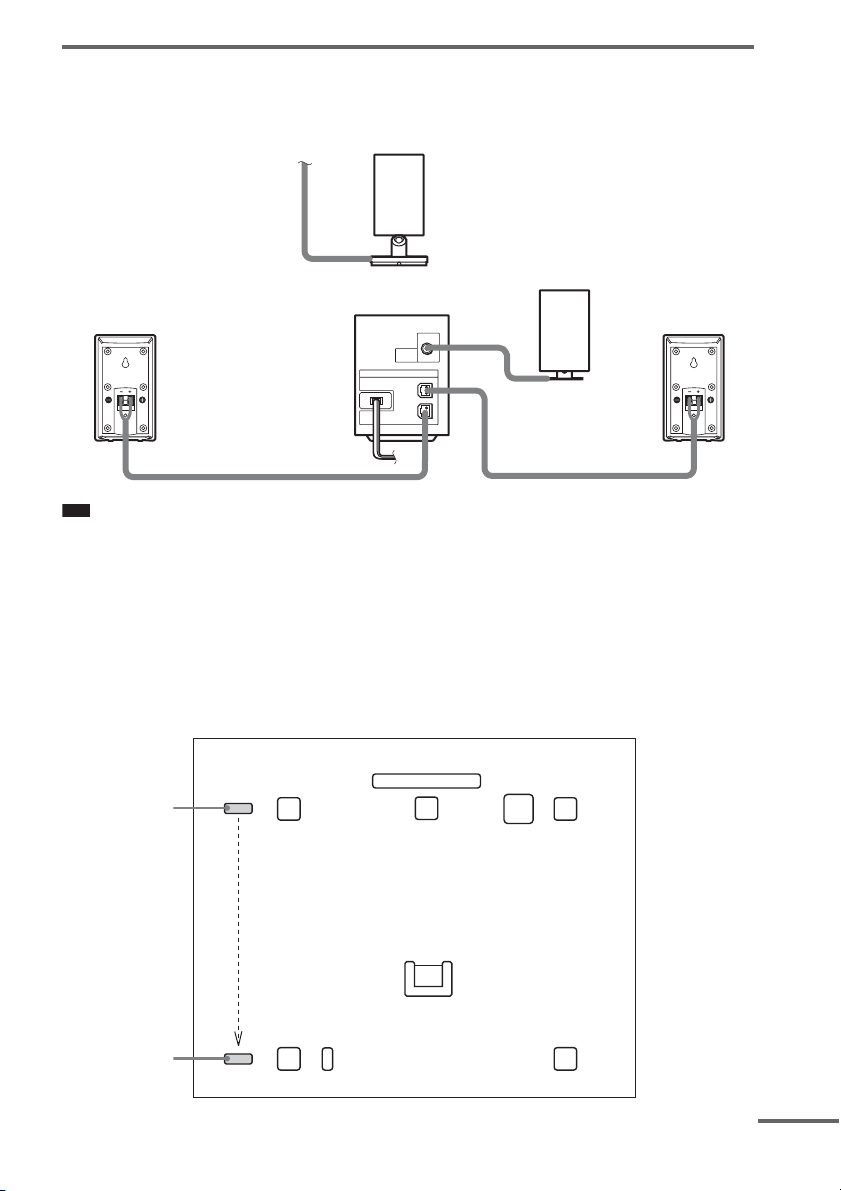
Adjusting the Wireless System ......................8
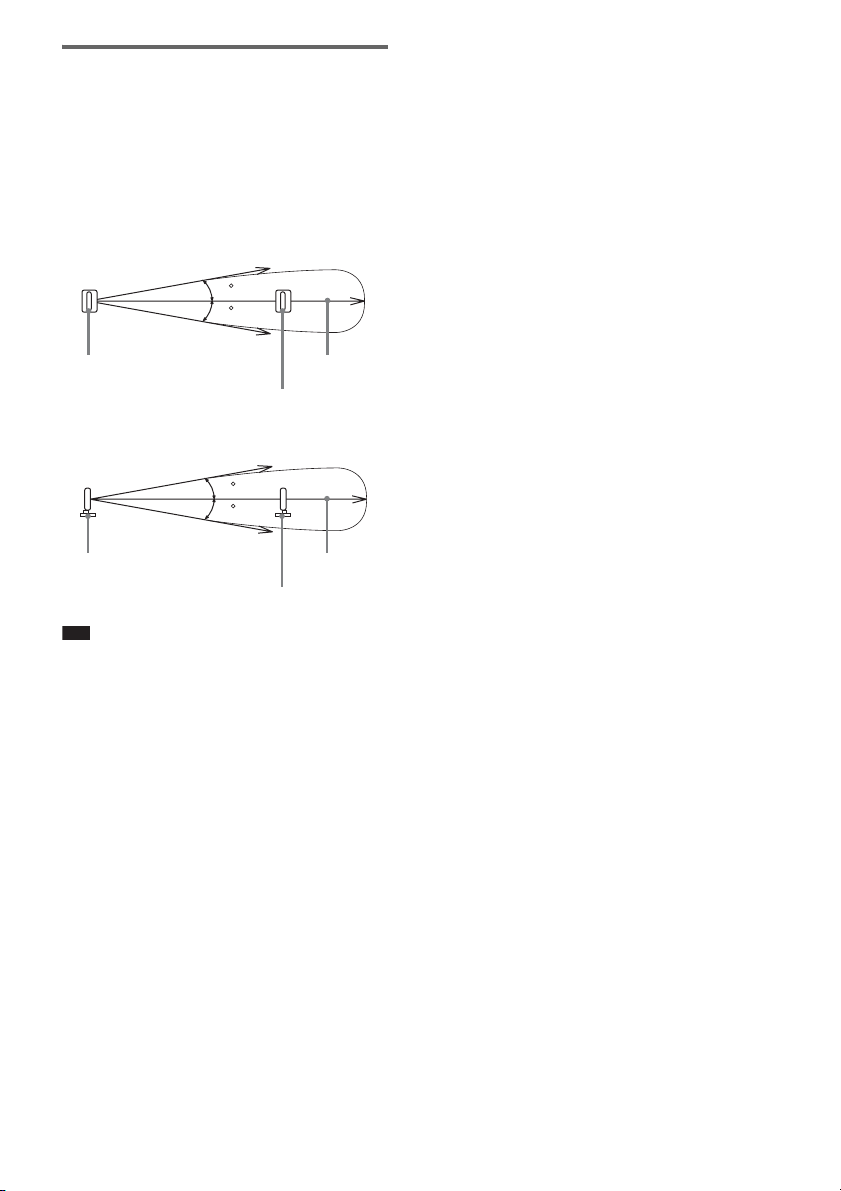
Installing the IR Transmitter and the IR
Receiver on a Wall .......................................11
Troubleshooting ...........................................13
Specifications ...............................................14
Index to Parts ...............................................15
WARNING
About this manual