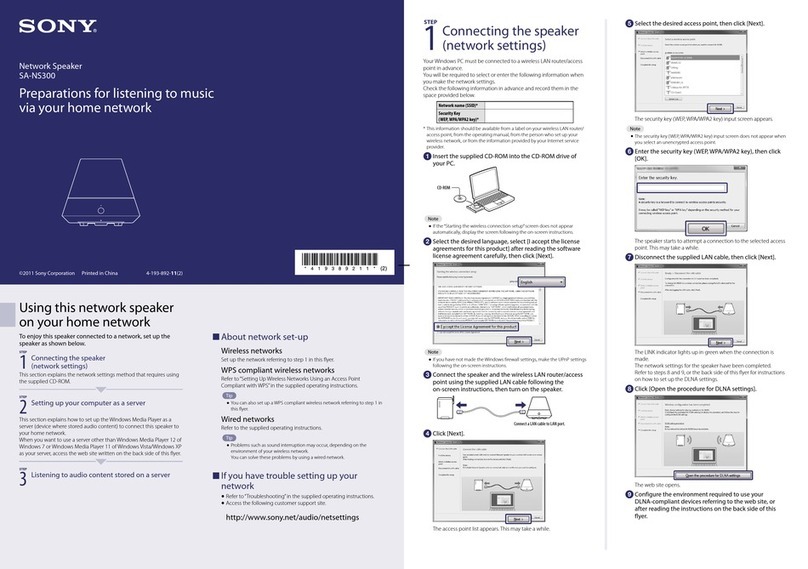
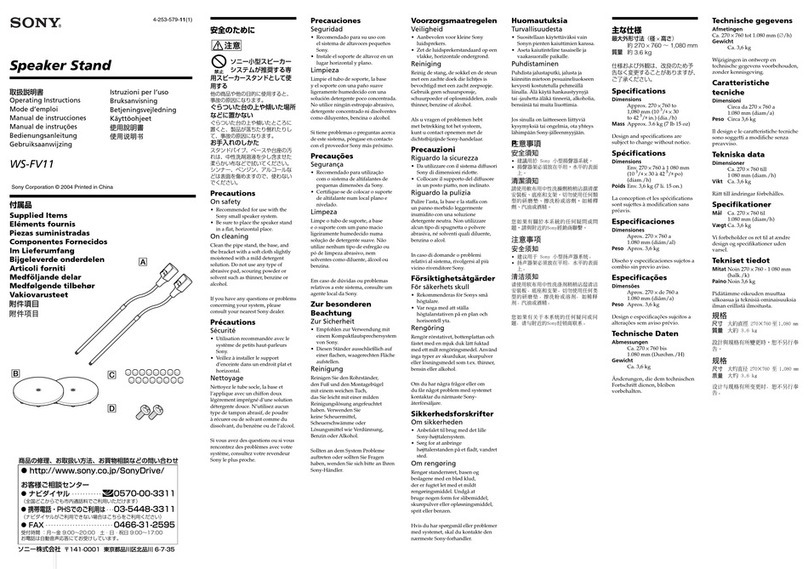
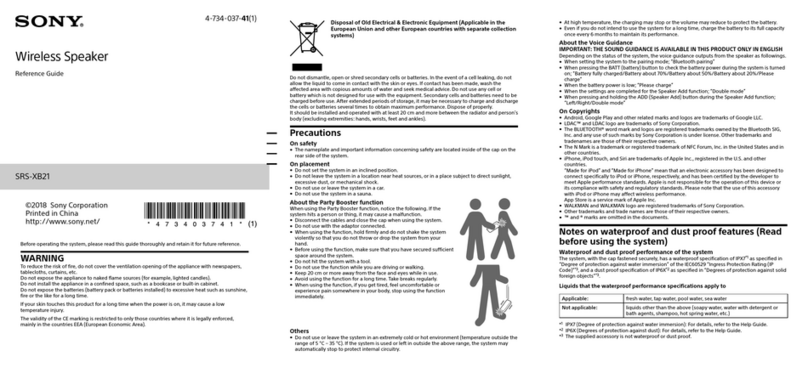
Sony RDP-XA700iPN Manual

RDP-XA900iPN / RDP-XA700iPN
© 2013 Sony Corporation Printed in China
AirPlay via Wi-Fi
Network Setup
GB
Guide de configuration
d’AirPlay via le réseau Wi-Fi
FR
Configuración de AirPlay
e través de la red Wi-Fi
ES
4-461-999-11(1)
Personal Audio System
AirPlay
via Wi-Fi Network
Setup

2GB
NO / UNKNOWN
YES
Refer to the operating instructions supplied with the
router/access point for details.
QAre you using a wireless LAN router/access
point compatible with Wi-Fi Protected Setup
(WPS)?
What is AirPlay?
AirPlay allows you to play audio from iPhone, iPod touch, iPad or iTunes, and control it
from anywhere in your home.
You will need to set your iPhone/iPod touch/iPad to a Wi-Fi Network, and connect this unit
to that network.
* A dedicated dock app for iPhone, iPod touch, iPad available at Apple App Store. Search for“D-Sappli” and download
the free app to find out more about the functions. ** RDP-XA700iPN is used for illustration purposes.
Check How to Connect Your Network
Set up the network after checking your network environment. Use the chart below
to determine the correct connections.

GB3
Set up using
WPS Push-Button Configuration Method (page 4).
Set up using
D-Sappli* with iPhone/iPod touch/iPad (page 6).
Check How to Connect Your Network
Set up the network after checking your network environment. Use the chart below
to determine the correct connections.
For Access Point Scan using your Mac
or PC
Refer to“Connecting Your Network” of
“Operating Instructions”supplied with
this unit.

4GB
Before Starting
1 Place this unit close to the wireless LAN
router/access point.
2 Turn this unit on.
The LINK indicator (page 5) starts to flash
green.
3 Wait for about 70 seconds until the LINK
indicator turns off.
Notes
While it is connected to a Wi-Fi Network, do not
turn this unit off.
The LINK indicator may not turn off after the first
setting.
In this case, skip the next step when the LINK
indicator does not flash green.
Setup device: WPScompatible Wireless LAN router/access point
Method: WPS Push-ButtonConfiguration Method
Starting Network Settings
1 Press and hold the WPS button on this
unit until the beep sound is output from
this unit.
Rear of this unit
2 Press and hold the WPS button on the
router/access point within 90 seconds
after step1.
* The position and shape of the WPS button differ
depending on the model of the router/access point.
Tip
For details on the WPS button, refer to the operating
instructions of the router/access point.
3 Check the status of the LINK indicator
(page 5).
When the LINK indicator lights up green,
the connection is established.

GB5
Listening via AirPlay
1 Check that the iPhone/iPod touch/iPad
you are using as the“AirPlay” device is
connecting to the Wi-Fi Network.
2 Tap the “AirPlay” icon on the music
player screen of your iPhone/iPod
touch/iPad.
3 Tap this unit’s name.
unit name
4 Tap to start playback.
For details on “AirPlay” operation of
iTunes, refer to“Operating Instructions”
supplied with this unit.
About the LINK indicator
Lights up green.
The Wi-Fi Network connection is
established.
(Green)
Flashes green.
This unit is in the process of
connecting to the Wi-Fi Network.
Please wait.
(Green)
Lights up red.
An error has occurred.
Try again from the beginning, or adjust
your network settings.
(Red)
The indicator turns off.
No connection is established.
(Nothing)

6GB
Before Starting
1 Check that the iPhone/iPod touch/iPad
you are using as the“AirPlay” device is
connecting to the Wi-Fi Network.
2 Write down the Security Key (WEP or
WPA key) of your wireless LAN router/
access point.
For details, refer to the operating
instructions of the router/access point.
3 Press to open the Docking Tray, and
connect your iPhone/iPod touch/iPad to
the connector.
4 Turn this unit on (page 4).
The LINK indicator (page 7) starts to flash
green.
5 Wait for about 70 seconds until the LINK
indicator turns off.
Tip
If the message to download D-Sappli appears, follow
the on-screen instructions and download it.
Notes
While it is connected to a Wi-Fi Network, do not
turn this unit off, press the Home button, or
disconnect your iPhone/iPod touch/iPad.
When a problem occurs during Wi-Fi settings,
disconnect your iPhone/iPod touch/iPad and
connect it again.
Setup device: iPhone/ iPod touch/ iPad
Method: D-Sapplisetup
Starting Network Settings
1 Tap the D-Sappli icon to access it while
keeping your iPhone/iPod touch/iPad on
this unit.
2 Perform the network settings, following
the on-screen instructions.
3 When the message [Connection
complete.] appears, tap [OK] to finish the
network settings.
4 Check the status of the LINK indicator
(page 7).
When the LINK indicator lights up green,
the connection is established.

GB7
Listening via AirPlay
1 Disconnect your iPhone/iPod touch/iPad
from the connector.
2 Tap the “AirPlay” icon on the music
player screen of your iPhone/iPod
touch/iPad.
3 Tap this unit’s name.
unit name
4 Tap to start playback.
For details on “AirPlay” operation of
iTunes, refer to“Operating Instructions”
supplied with this unit.
About the LINK indicator
Lights up green.
The Wi-Fi Network connection is
established.
(Green)
Flashes green.
This unit is in the process of
connecting to the Wi-Fi Network.
Please wait.
(Green)
Lights up red.
An error has occurred.
Try again from the beginning, or adjust
your network settings.
(Red)
The indicator turns off.
No connection is established.
(Nothing)
To adjust the network settings at a later
time
1 Perform the procedure of “Before Starting”
to connect your iPhone/iPod touch/iPad to
the connector.
2 Access D-Sappli.
3 Tap the [i] icon, then tap [Network] to
perform the network settings.
[i] icon

8GB
This unit cannot connect to the Wi-Fi Network.
☐Check that your wireless LAN router/access point is turned on.
☐Check that the router/access point is close to this unit.
☐Devices that use a 2.4GHz frequency band such as microwave, Bluetooth or digital cordless
device, may interrupt the communication. Move this unit away from such devices, or turn off
the devices.
WPS configuration method failed.
☐Check that the router/access point Wi-Fi Network setting is WEP. If so, adjust the network
settings using Access Point Scan. For details, refer to“Operating Instructions”supplied with this
unit.
If you encounter a problem, please check

GB9
If you encounter a problem, please check
The “AirPlay” icon or unit name does not appear on your iPhone/iPod
touch/iPad or iTunes.
☐Check that this unit, your iPhone/iPod touch/iPad, Mac or
PC are connected to the same network.
You can check the connected access point under [Network]
setting using D-Sappli (page 7).
☐Check that your iPhone/iPod touch/iPad or iTunes has the latest software version.
☐If the problem persists, reboot your iPhone/iPod touch/iPad or iTunes.
No sound is output, even when you select this unit’s name.
☐Adjust this unit’s volume by pressing VOL+/-.
☐Check that no other iPhone/iPod touch/iPad is set on this unit. If so, remove it from the
network.
☐If the problem persists, reboot your iPhone/iPod touch/iPad or iTunes.
It takes time for the “AirPlay” function to start.
☐Use this unit in the network standby mode. This mode shortens the startup time when using
the “AirPlay” function, but increases standby power consumption. For details, refer to
“Operating Instructions”supplied with this unit.

2FR
NON / INCONNU
OUI
Pour plus d’informations, reportez-vous au mode
d’emploi qui accompagne le routeur/point d’accès.
QUtilisez-vous un point d’accès/routeur LAN
sans fil compatible WPS (Wi-Fi Protected
Setup) ?
Qu’est-ce que la fonction AirPlay ?
AirPlay permet d’écouter le son d’un iPhone, d’un iPod touch, d’un iPad ou d’iTunes, et de
le commander à partir de n’importe quel endroit de votre maison.
Vous devez configurer votre iPhone/iPod touch/iPad sur un réseau Wi-Fi et y connecter cet
appareil.
* Application de connexion réservée à l’iPhone, iPod touch et iPad, disponible sur Apple App Store. Recherchez
« D-Sappli » et téléchargez l’application gratuite pour en savoir davantage sur les fonctions. ** Le modèle illustré est
le RDP-XA700iPN.
Déterminez le mode de connexion à votre réseau
Vérifiez votre environnement réseau, puis configurez le réseau. Utilisez le schéma
ci-dessous pour déterminer les connexions correctes.

FR3
Configuration avec
Méthode de configuration du bouton de commande WPS (page 4).
Configuration avec
D-Sappli* avec iPhone/iPod touch/iPad (page 6).
Déterminez le mode de connexion à votre réseau
Vérifiez votre environnement réseau, puis configurez le réseau. Utilisez le schéma
ci-dessous pour déterminer les connexions correctes.
Pour l’opération Recherche du point
d’accès à l’aide de votre Mac ou PC
Reportez-vous à la section « Connexion à
votre réseau » du « Mode d’emploi » qui
accompagne cet appareil.

4FR
Avant de commencer
1 Installez cet appareil à proximité du
point d’accès/routeur LAN sans fil.
2 Mettez cet appareil sous tension.
Le témoin LINK (page 5) se met à
clignoter en vert.
3 Attendez environ 70 secondes que le
témoin LINK s’éteigne.
Remarques
Lorsqu’il est connecté à un réseau Wi-Fi, ne mettez
pas cet appareil hors tension.
Il est possible que le témoin LINK ne s’éteigne pas
après le premier réglage.
Dans ce cas, ignorez l’étape suivante lorsque le
témoin LINK ne clignote pas en vert.
Configuration du périphérique : Point d’accès/routeur LAN sans fil compatible WPS
Méthode : Méthode de configuration du bouton de commandeWPS
Définition des paramètres réseau
1 Maintenez le bouton de commande WPS
de cet appareil enfoncé jusqu’à ce que
ce dernier émette un bip.
Arrière de cet appareil
2 Maintenez le bouton de commande WPS
du routeur/point d’accès enfoncé dans
les 90 secondes qui suivent l’étape 1.
* La position et la forme du bouton de commande
WPS varient selon le modèle de routeur/point
d’accès.
Conseil
Pour plus d’informations sur le bouton de commande
WPS, reportez-vous au mode d’emploi qui
accompagne le routeur/point d’accès.
3 Vérifiez l’état du témoin LINK (page 5).
Si le témoin LINK s’allume en vert, la
connexion est établie.

FR5
Ecoute avec la fonction AirPlay
1 Vérifiez que l’iPhone/iPod touch/iPad
que vous utilisez comme périphérique
AirPlay se connecte au réseau Wi-Fi.
2 Tapotez sur l’icône AirPlay dans
l’écran du lecteur audio de votre iPhone/
iPod touch/iPad.
3 Tapotez sur le nom de cet appareil.
nom de l’appareil
4 Tapotez sur pour lancer la lecture.
Pour plus d’informations sur l’utilisation
de la fonction AirPlay d’iTunes, reportez-
vous au « Mode d’emploi » qui
accompagne cet appareil.
A propos du témoin LINK
S’allume en vert.
La connexion au réseau Wi-Fi est
établie.
(Vert)
Clignote en vert.
Cet appareil se connecte actuellement
au réseau Wi-Fi.
Veuillez patienter.
(Vert)
S’allume en rouge.
Une erreur s’est produite.
Recommencez depuis le début ou
modifiez vos paramètres réseau.
(Rouge)
Le témoin s’éteint.
Aucune connexion n’est établie.
(Rien)

6FR
Avant de commencer
1 Vérifiez que l’iPhone/iPod touch/iPad
que vous utilisez comme périphérique
AirPlay se connecte au réseau Wi-Fi.
2
Notez la clé de sécurité (clé WEP ou WPA)
de votre point d’accès/routeur LAN sans fil.
Pour plus d’informations, reportez-
vous au mode d’emploi qui
accompagne le routeur/point d’accès.
3 Appuyez sur le plateau de connexion
pour l’ouvrir et raccordez votre iPhone/
iPod touch/iPad au connecteur.
4
Mettez cet appareil sous tension (page 4).
Le témoin LINK (page 7) se met à
clignoter en vert.
5 Attendez environ 70 secondes que le
témoin LINK s’éteigne.
Conseil
Si le message de téléchargement de l’application
D-Sappli s’affiche, conformez-vous aux instructions
affichées afin de la télécharger.
Remarques
Lorsque cet appareil est connecté à un réseau Wi-Fi,
ne le mettez pas hors tension, n’appuyez pas sur la
touche Home ou ne débranchez pas votre iPhone/
iPod touch/iPad.
Si un problème survient pendant la configuration
du Wi-Fi, débranchez votre iPhone/iPod touch/iPad
et rebranchez-le.
Configuration du périphérique : iPhone/ iPod touch/ iPad
Méthode : Configuration à l’aide de D-Sappli
Définition des paramètres réseau
1 Tapotez sur l’icône D-Sappli pour y
accéder tout en laissant votre iPhone/
iPod touch/iPad sur cet appareil.
2 Définissez les paramètres réseau en vous
conformant aux instructions affichées.
3 Lorsque le message [Connexion
terminée.] s’affiche, tapotez sur [OK]
pour mettre fin à la configuration du
réseau.
4 Vérifiez l’état du témoin LINK (page 7).
Si le témoin LINK s’allume en vert, la
connexion est établie.

FR7
Ecoute avec la fonction AirPlay
1 Débranchez votre iPhone/iPod touch/
iPad du connecteur.
2 Tapotez sur l’icône AirPlay dans
l’écran du lecteur audio de votre iPhone/
iPod touch/iPad.
3 Tapotez sur le nom de cet appareil.
nom de l’appareil
4 Tapotez sur pour lancer la lecture.
Pour plus d’informations sur l’utilisation
de la fonction AirPlay d’iTunes, reportez-
vous au « Mode d’emploi » qui
accompagne cet appareil.
A propos du témoin LINK
S’allume en vert.
La connexion au réseau Wi-Fi est
établie.
(Vert)
Clignote en vert.
Cet appareil se connecte actuellement
au réseau Wi-Fi.
Veuillez patienter.
(Vert)
S’allume en rouge.
Une erreur s’est produite.
Recommencez depuis le début ou
modifiez vos paramètres réseau.
(Rouge)
Le témoin s’éteint.
Aucune connexion n’est établie.
(Rien)
Pour modifier les paramètres réseau
ultérieurement
1 Exécutez la procédure décrite à la section
« Avant de commencer » pour raccorder
votre iPhone/iPod touch/iPad au
connecteur.
2 Accédez à D-Sappli.
3 Tapotez sur l’icône [i], puis sur [Réseau]
pour définir les paramètres réseau.
icône [i]

8FR
Cet appareil ne peut pas se connecter au réseau Wi-Fi.
☐Vérifiez que votre point d’accès/routeur LAN sans fil est sous
tension.
☐Vérifiez que le routeur/point d’accès se trouve à proximité de cet appareil.
☐Des appareils utilisant une bande de fréquences 2,4 GHz, tels qu’un four à micro-ondes, un
périphérique Bluetooth ou un appareil numérique sans fil, peuvent interrompre la
communication. Eloignez l’appareil de ces équipements ou mettez-les hors tension.
La méthode de configuration WPS a échoué.
☐Vérifiez que le réseau Wi-Fi du routeur/point d’accès est réglé sur WEP. Si tel est le cas, modifiez
les paramètres à l’aide de l’opération Recherche du point d’accès. Pour plus d’informations,
reportez-vous au « Mode d’emploi » qui accompagne cet appareil.
En cas de problème, vérifiez les points suivants

FR9
En cas de problème, vérifiez les points suivants
L’icône AirPlay ou le nom de l’appareil n’apparaît pas sur votre
iPhone/iPod touch/iPad ou dans iTunes.
☐Vérifiez que cet appareil et votre iPhone/iPod touch/iPad,
votre Mac ou votre PC sont connectés au même réseau.
Vous pouvez vérifier le point d’accès connecté sous le
paramètre [Réseau] au moyen de D-Sappli (page 7).
☐Vérifiez que vous disposez de la dernière version du logiciel de votre iPhone/iPod touch/iPad
ou d’iTunes.
☐Si le problème persiste, redémarrez votre iPhone/iPod touch/iPad ou iTunes.
Aucun son n’est reproduit, même si vous sélectionnez le nom de cet
appareil.
☐Réglez le volume de cet appareil en appuyant sur VOL+/-.
☐Vérifiez qu’aucun autre iPhone/iPod touch/iPad n’est installé sur cet appareil. Sinon, supprimez-
le du réseau.
☐Si le problème persiste, redémarrez votre iPhone/iPod touch/iPad ou iTunes.
Le démarrage de la fonction AirPlay est lent.
☐Utilisez cet appareil en mode veille réseau. Ce mode permet de réduire le temps de démarrage
lors de l’utilisation de la fonction AirPlay, mais augmente la consommation d’énergie en mode
veille. Pour plus d’informations, reportez-vous au « Mode d’emploi » qui accompagne cet
appareil.

2ES
NO /
DESCONOCIDO
SÍ
Consulte el manual de instrucciones suministrado con el
router/punto de acceso para obtener información
detallada.
P¿Utiliza un router/punto de acceso de LAN
inalámbrica compatible con Wi-Fi Protected
Setup (WPS)?
¿Qué es AirPlay?
AirPlay le permite reproducir audio desde el iPhone, iPod touch, iPad o iTunes y
controlarlos desde cualquier lugar de su hogar.
Deberá configurar su iPhone/iPod touch/iPad en una red Wi-Fi y conectar la unidad a esta
red.
* Aplicación de conexión diseñada para el iPhone, el iPod touch y el iPad disponible en el App Store de Apple. Busque
“D-Sappli” y descargue esta aplicación gratuita para obtener más información sobre sus funciones. ** Se utiliza el
modelo RDP-XA700iPN con fines ilustrativos.
Compruebe cómo conectarse a la red
Configure la red después de comprobar su entorno de red. Utilice el cuadro siguiente
para establecer las conexiones correctas.

ES3
Configuración mediante
Método de configuración del pulsador WPS (página 4).
Configuración mediante
D-Sappli* con iPhone/iPod touch/iPad (página 6).
Compruebe cómo conectarse a la red
Configure la red después de comprobar su entorno de red. Utilice el cuadro siguiente
para establecer las conexiones correctas.
Para usar la opción Búsqueda del
punto de acceso con un Mac o un PC
Consulte“Conexión a la red”del “Manual
de instrucciones”suministrado con esta
unidad.

4ES
Procedimientos iniciales
1 Coloque esta unidad cerca del router/
punto de acceso de LAN inalámbrica.
2 Encienda la unidad.
El indicador LINK (página 5) comienza a
parpadear en color verde.
3 Espere aproximadamente 70 segundos
hasta que el indicador LINK se apague.
Notas
No apague la unidad mientras esté conectada a la
red Wi-Fi.
Es posible que el indicador LINK no se apague
después de la primera configuración.
En estos casos, omita el siguiente paso si el
indicador LINK no parpadea de color verde.
Configure el dispositivo: router/punto de acceso de LAN inalámbrica compatible con WPS
Método: método de configuración del pulsador WPS
Inicio de la configuración de red
1 Mantenga pulsado el botón WPS de la
unidad hasta que esta emita un pitido.
Parte posterior de
esta unidad
2 Antes de que transcurran 90 segundos
después del paso 1, mantenga pulsado
el botón WPS del router/punto de
acceso.
* La posición y la forma del botón WPS pueden diferir
según el modelo del router/punto de acceso.
Sugerencia
Para obtener más información sobre el botón WPS,
consulte el manual de instrucciones del router/punto
de acceso.
3 Compruebe el estado del indicador LINK
(página 5).
Cuando el indicador LINK se encienda de
color verde, se habrá establecido la
conexión.
Other manuals for RDP-XA700iPN
3
This manual suits for next models
1
Table of contents
Languages:
Other Sony Speakers manuals

Sony
Sony HT-CT800 User guide

Sony
Sony DAV-TZ210 User manual

Sony
Sony SA-IF70 User manual

Sony
Sony XS-V6935M - 6 X 9" 3 Way Mobile Speaker User manual

Sony
Sony WS-FV11 User manual

Sony
Sony XS-MP1610B Marketing User manual

Sony
Sony XS-F1720 User manual

Sony
Sony XS F1034 User manual

Sony
Sony SA-VA100 User manual

Sony
Sony XS-K1730 User manual