— 6 —
Precedure:
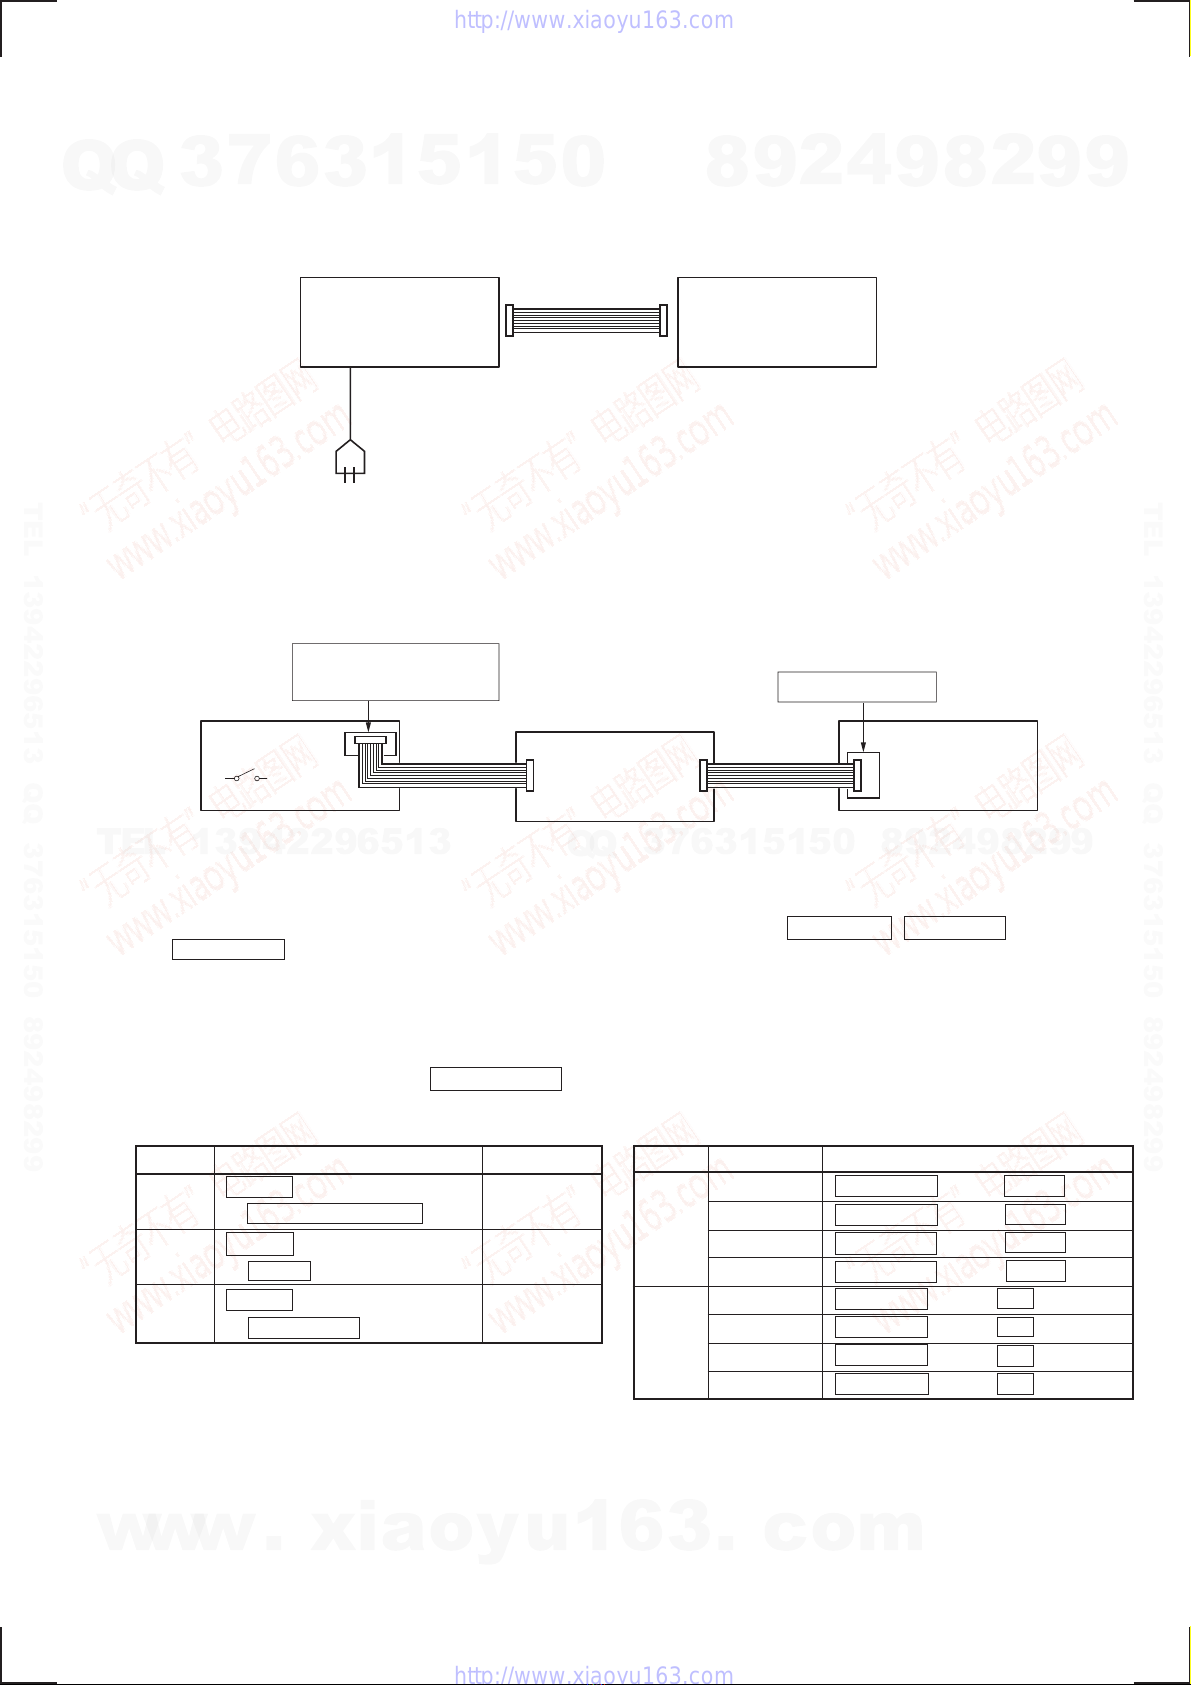
1. After turning ON the power of the conduction jig (PFJ-1), press the π(TAPE A) button, π(TAPE B) button, and ·(TAPE B)
button together in this order.
2. Press the π(TAPE B) button while pressing the p(CD) button to set the aging mode and start aging.
3. To end aging, press the three buttons in step 1.
Cold Reset
NOTE: This is the mode for operating the unit by itself. Take note that the operating method differs when connected to the STR-V5550/
V7770. This method is described in the manuals of the STR-V5550 and STR-V7770. Refer to these manuals for details.
This mode is used for initializing the RAM contents. Perform this mode when returning the repaired product to the customer.
Precedure:
1. After turning ON the power of the conduction jig (PFJ-1), press the π(TAPE A) button, π(TAPE B) button, and ·(TAPE B)
button together in this order.
2. Press the P(TAPE) button while pressing the p(CD) button.
CD Delivery Mode
NOTE: This is the mode for operating the unit by itself. Take note that the operating method differs when connected to the STR-V5550/
V7770. This method is described in the manuals of the STR-V5550 and STR-V7770. Refer to these manuals for details.
This mode moves the pickup to areas where the anti-vibration is stronger. Perform this mode when returning the repaired product
to the customer.
Precedure:
1. After turning ON the power of the conduction jig (PFJ-1), press the π(TAPE A) button, π(TAPE B) button, and ·(TAPE B)
button together in this order.
2. Press the CD SYNCHRO button while pressing the p(CD) button.
3. Wait untill r(TAPE B) indicator is on befor disconnect from the conduction jig (PFJ-1).
LED All Lit Mode
NOTE: Always perform this mode when operating the unit by itself.
This mode is used for lighting up the whole LED.
Precedure:
1. After turning ON the power of the conduction jig (PFJ-1), press the π(TAPE A) button, π(TAPE B) button, and ·(TAPE B)
button together in this order.
2. The whole LED can be turned on and off each time the π(TAPE A) button is pressed while pressing the p(CD) button.
3. Press the three buttons in step 1 at the end.
Key Check Mode
NOTE: Always perform this mode when operating the unit by itself.
This mode is used for checking the key inputs of the buttons of the unit.
Precedure:
1. After turning ON the power of the conduction jig (PFJ-1), press the π(TAPE A) button, π(TAPE B) button, and ·(TAPE B)
button together in this order.
2. Press the DOLBY NR button while pressing the p(CD) button to set the key check mode, and the indicator displays “3·P”.
3. The number of buttons pressed are indicated in binary digits by the indicator LED. Buttons pressed once are not counted when pressed
again.
4. Press the two buttons in step 2 at the end.
Display: 1` 2` 3
Aging Mode
NOTE: Perform the following procedure only when operating the unit by itself.
This mode is used for checking the operations of the CD player and tape deck.
The operations are the same as the aging mode described in the service manual for the STR-V5550/V7770. However as this unit
does not have a fluorescent indicator tube, operating states and error statuses cannot be checked.
If the STR-V5550/V7770 is available, set the aging mode according to those service manuals.
Aging continues in the following sequence as long as no errors occur.
MSB ↑↑LSB
Aging of CD player (12 minutes)
Aging of deck A
Aging of deck B 12 minutes
w
w
w
.
x
i
a
o
y
u
1
6
3
.
c
o
m
Q
Q
3
7
6
3
1
5
1
5
0
9
9
2
8
9
4
2
9
8
T
E
L
1
3
9
4
2
2
9
6
5
1
3
9
9
2
8
9
4
2
9
8
0
5
1
5
1
3
6
7
3
Q
Q
TEL 13942296513 QQ 376315150 892498299
TEL 13942296513 QQ 376315150 892498299
http://www.xiaoyu163.com
http://www.xiaoyu163.com