2-348-779-03(1)
Wall Mounting Brackets
取扱説明書(スピーカー用)
Operating Instructions (For the speakers)
Mode d’emploi (Pour les haut-parleurs)
Manual de instrucciones (para los altavoces)
WS-DAVLFS
Sony Corporation 2004 Printed in Malaysia
安全のために
ソニー専用のスピーカー壁か
けアクセサリとして使用する
DAV-LF1以外の商品や他の目的に使用す
ると、事故の原因になります。
お客様へ
本製品の取り付けには、確実な作業が必
要になります。必ず、販売店や工事店に
依頼して、安全性に充分考慮して確実な
取り付けを行ってください。
販売店様・特約店様へ
本製品の取り付けには特別な技術が必要で
すので、設置の際には取扱説明書をよくご
覧の上、設置を行ってください。取り付け
不備や、取り扱い不備による事故、損傷に
ついては、当社では責任を負いません。な
お、この取扱説明書は、取り付け作業後に
お客様に渡してください。
薄い壁などに設置しない
壁の厚さや強度が充分でない場所に設置
すると、製品が落ちたりして、事故の原
因になります。
スピーカーにぶらさがらない
設置したスピーカーに寄りかかったり、
ぶらさがったりすると、製品が落ちたり
して、事故の原因になります。
お手入れのしかた
取り付け板や台座の汚れは、中性洗剤溶
液を少し含ませた柔らかい布などで拭い
てください。シンナー、ベンジン、アル
コールなどは表面を傷めますので、使わ
ないでください。
Precautions
This product is for DAV-LF1 only. Use with
other products or for other purposes than
those specified may cause damage or injury.
To customers
Sufficient expertise is required for installing
this product. Be sure to subcontract the
installation to qualified service personnel and
pay adequate attention to safety during the
installation.
For qualified service personnel
Sufficient expertise is required for installing
this product. Be sure to read this instruction
manual thoroughly to do the installation
work safely. We are not liable for any
damage or injury caused by mishandling or
improper installation. After installation,
please hand this installation manual to the
customers.
On safety
•Be sure to attach the speaker stand to a
wall that is sufficiently thick and strong.
• Do not lean or hang on the speaker, as the
speaker may fall down.
On cleaning
Clean the plate and the bracket with a soft
cloth slightly moistened with a mild
detergent solution. Do not use any type of
abrasive pad, scouring powder or solvent
such as thinner, benzine or alcohol.
If you have any questions or problems
concerning your system, please consult your
nearest Sony dealer.
主な仕様
台座
最大外形寸法(幅×高さ×奥行き)
約90×90×29mm
質量
約0.12kg(1組)
仕様および外観は、改良のため予告なく
変更することがありますが、ご了承くだ
さい。
Specifications
Plate
Dimensions
Approx. 90 ×90 ×29 mm
(3 5/8 ×3 5/8 ×1 3/16 in.) (w/h/d)
Mass
Approx. 0.12 kg (5 oz) (per fully-assembled
unit)
Design and specifications are subject to
change without notice.
Spécifications
Applique
Dimensions
Approx. 90 ×90 ×29 mm
(3 5/8 ×3 5/8 ×1 3/16 po) (l/h/p)
Poids
Approx. 0,12 kg (5 oz) (unité entièrement
assemblée)
La conception et les spécifications sont
sujettes à modification sans préavis.
Especificaciones
Placa
Dimensiones
Aprox. 90 ×90 ×29 mm
(ancho/altura/profundidad)
Peso
Aprox. 0,12 kg (unidad completamente
montada)
Diseño y especificaciones sujetos a cambios
sin previo aviso.
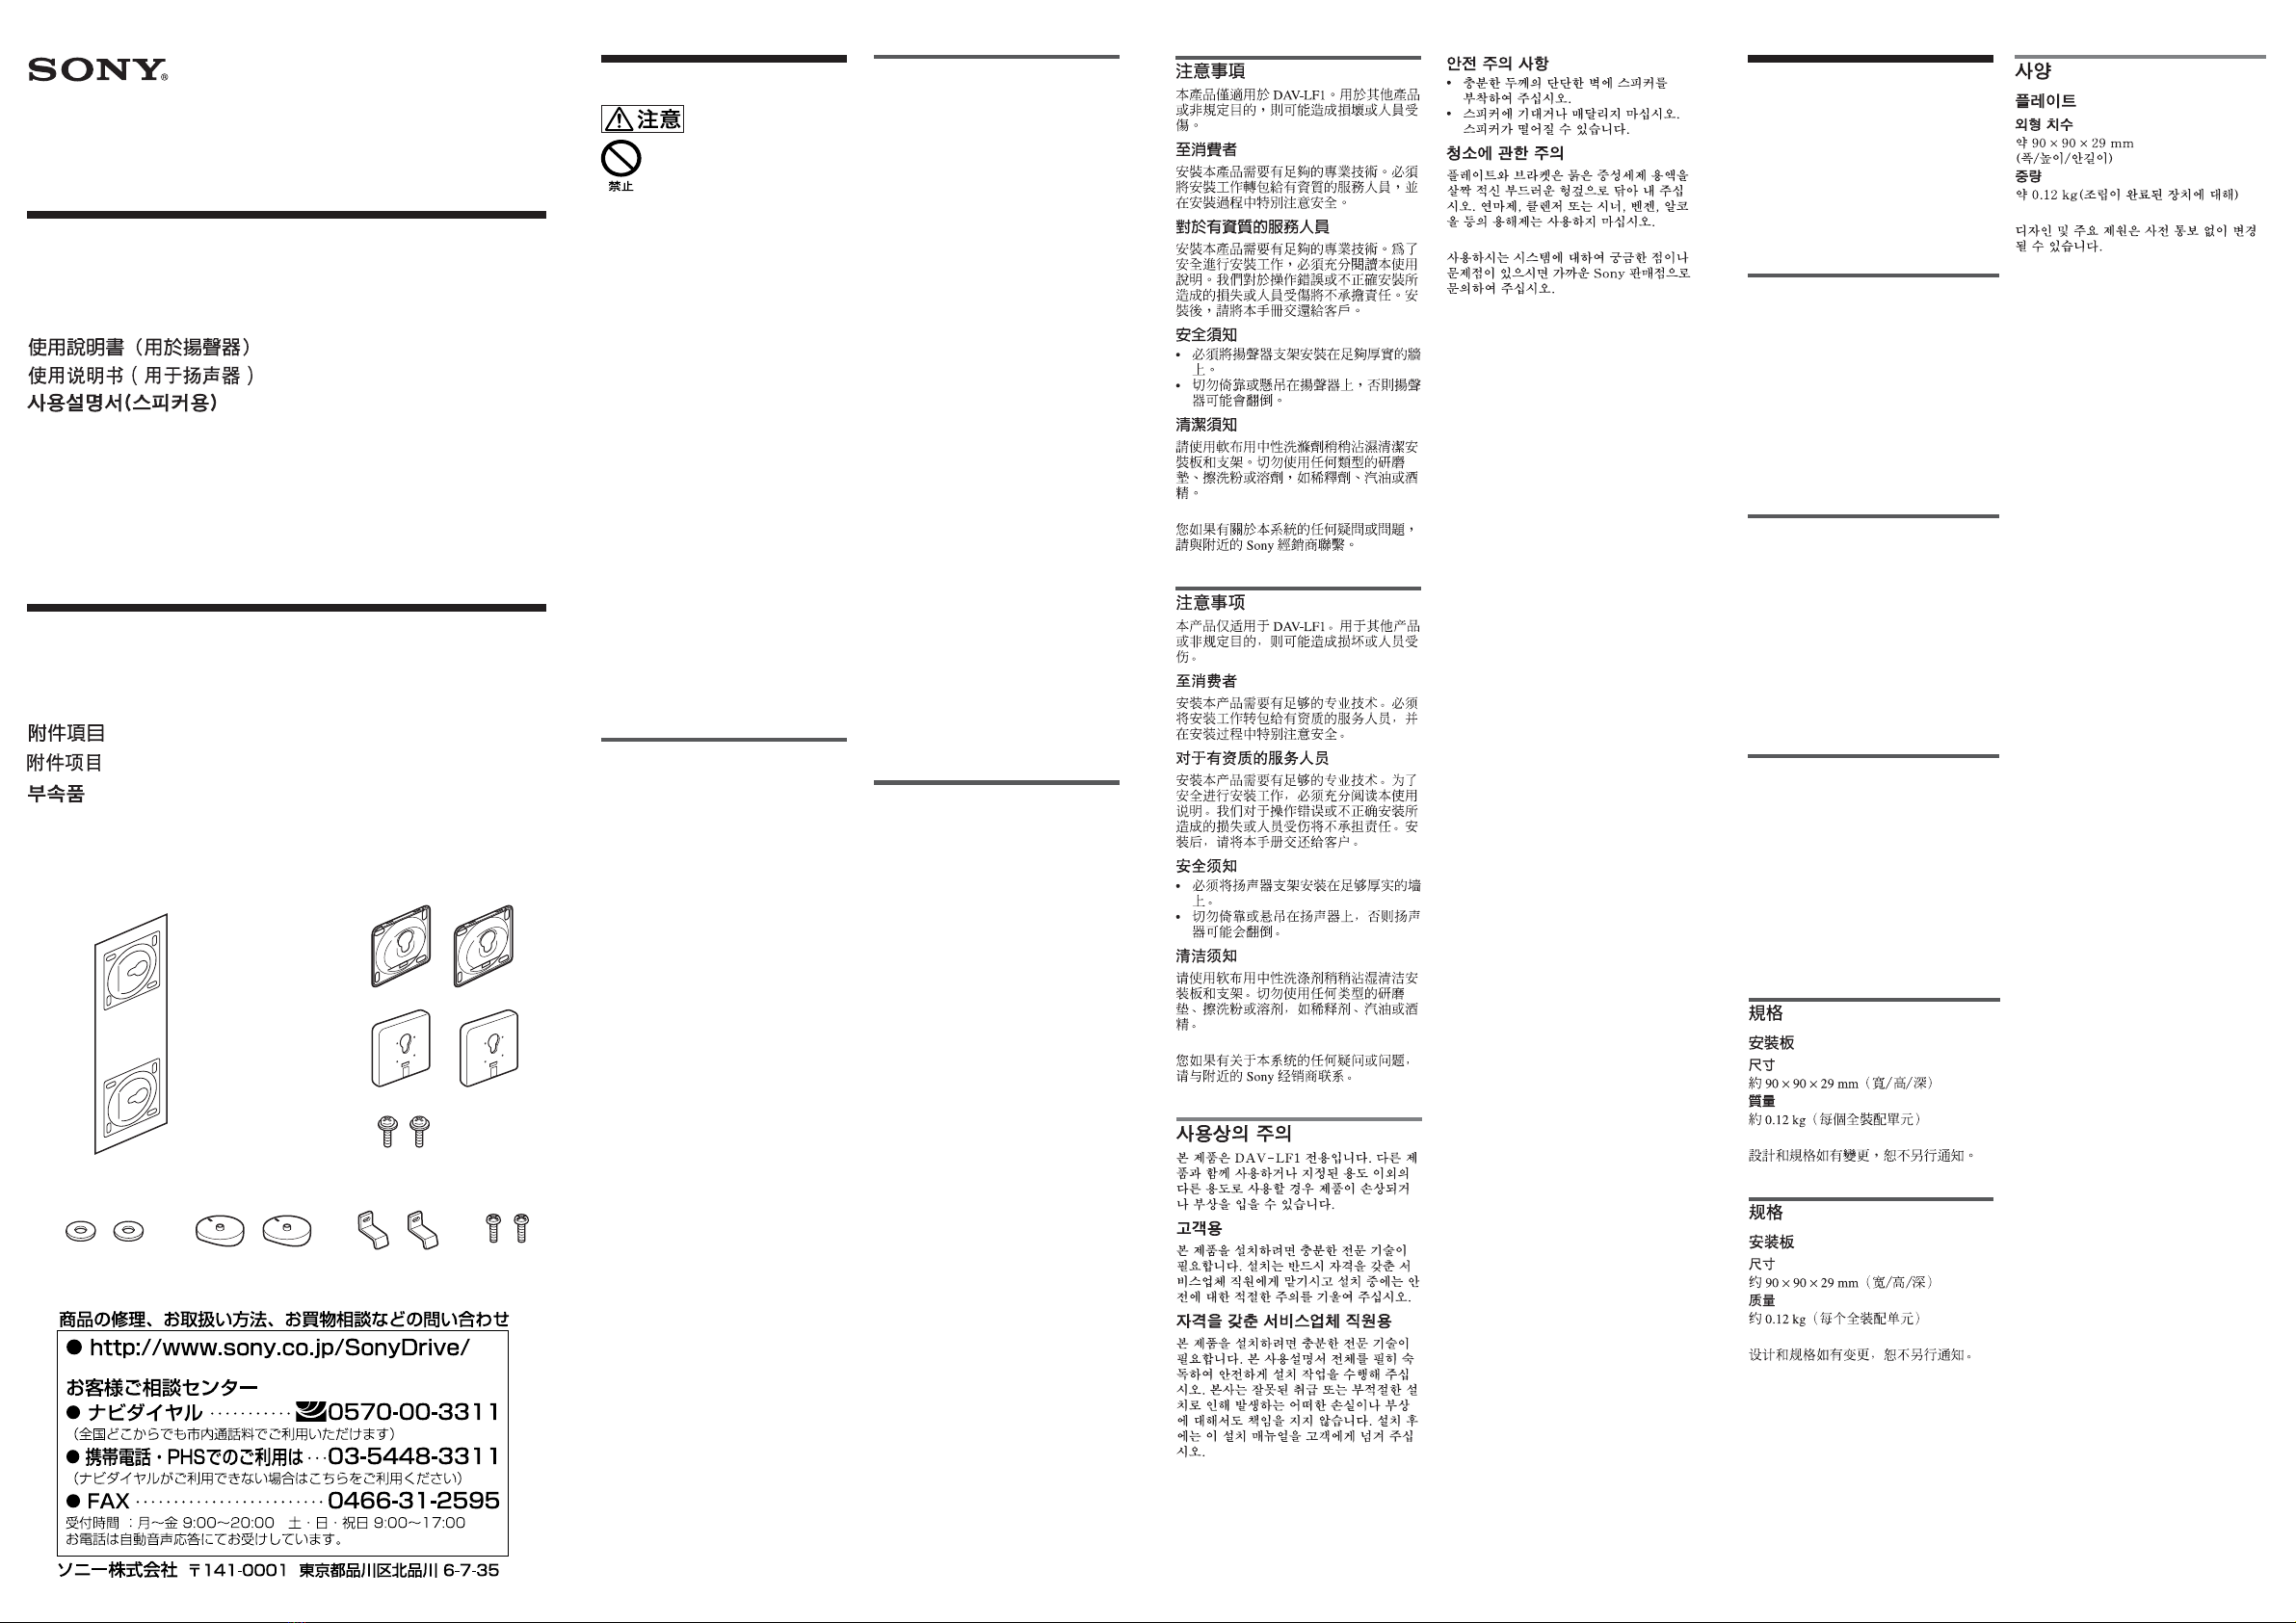
付属品
Supplied Items
Eléments fournis
Elementos suministrados
AB
C
D
EFGH
Précautions
Ce produit est destiné uniquement au
DAV-LF1. L’utilisation avec d’autres
produits ou à des fins autres que celles
spécifiées peut provoquer des dégâts ou des
blessures.
Avis aux clients
Vous devez disposer d’un certain savoir-faire
pour installer ce produit. Confiez
l’installation à du personnel qualifié et
prenez toutes les mesures de sécurité
requises pendant l’installation.
Avis au personnel qualifié
Vous devez disposer d’un certain savoir-faire
pour installer ce produit. Lisez intégralement
le mode d’emploi pour réaliser le travail en
toute sécurité. Notre garantie ne couvre pas
les dégâts ni les blessures qui seraient
provoqués par une fausse manipulation ou
une installation incorrecte.Après
l’installation, transmettez le présent mode
d’emploi à votre client.
Sécurité
•Ne fixez le support mural qu’à un mur
suffisamment épais et résistant.
•Ne vous appuyez pas au haut-parleur et ne
vous y pendez pas ; vous risquez de le
faire tomber.
Nettoyage
Nettoyez le support et l’applique avec un
chiffon doux légèrement humidifié à l’aide
d’une solution détergente douce. N’utilisez
aucun type de tampon abrasif, de poudre à
récurer ou de solvant comme du dissolvant,
du benzène ou de l’alcool.
Si vous avez des questions ou si vous
rencontrez des problèmes avec votre
système, consultez votre revendeur Sony le
plus proche.
Precauciones
Este producto es sólo para DAV-LF1. El uso
con otros productos o para otros fines
distintos de los especificados puede producir
lesiones o daños.
A los clientes
La instalación de este producto requiere una
experiencia suficiente. Asegúrese de
subcontratar la instalación a personal técnico
cualificado y preste la atención adecuada a la
seguridad durante la instalación.
Para el personal técnico
cualificado
La instalación de este producto requiere una
experiencia suficiente. Lea detenidamente
este manual de instrucciones para realizar la
instalación con seguridad. El fabricante del
producto no se responsabiliza de las lesiones
o daños causados por la manipulación
incorrecta o la instalación inadecuada.
Después de la instalación, devuelva este
manual a los clientes.
Seguridad
•Asegúrese de fijar el soporte de altavoz a
una pared que sea suficientemente gruesa
y fuerte.
• No se apoye ni se cuelgue del altavoz,
pues éste se podría caer.
Limpieza
Limpie la placa y el soporte con un paño
suave ligeramente humedecido con una
solución de detergente suave. No utilice
estropajos o polvo limpiador de ningún tipo,
ni disolventes como bencina o alcohol.
Si tiene cualquier pregunta o problema
relacionado con el sistema, consulte a su
distribuidor Sony más cercano.