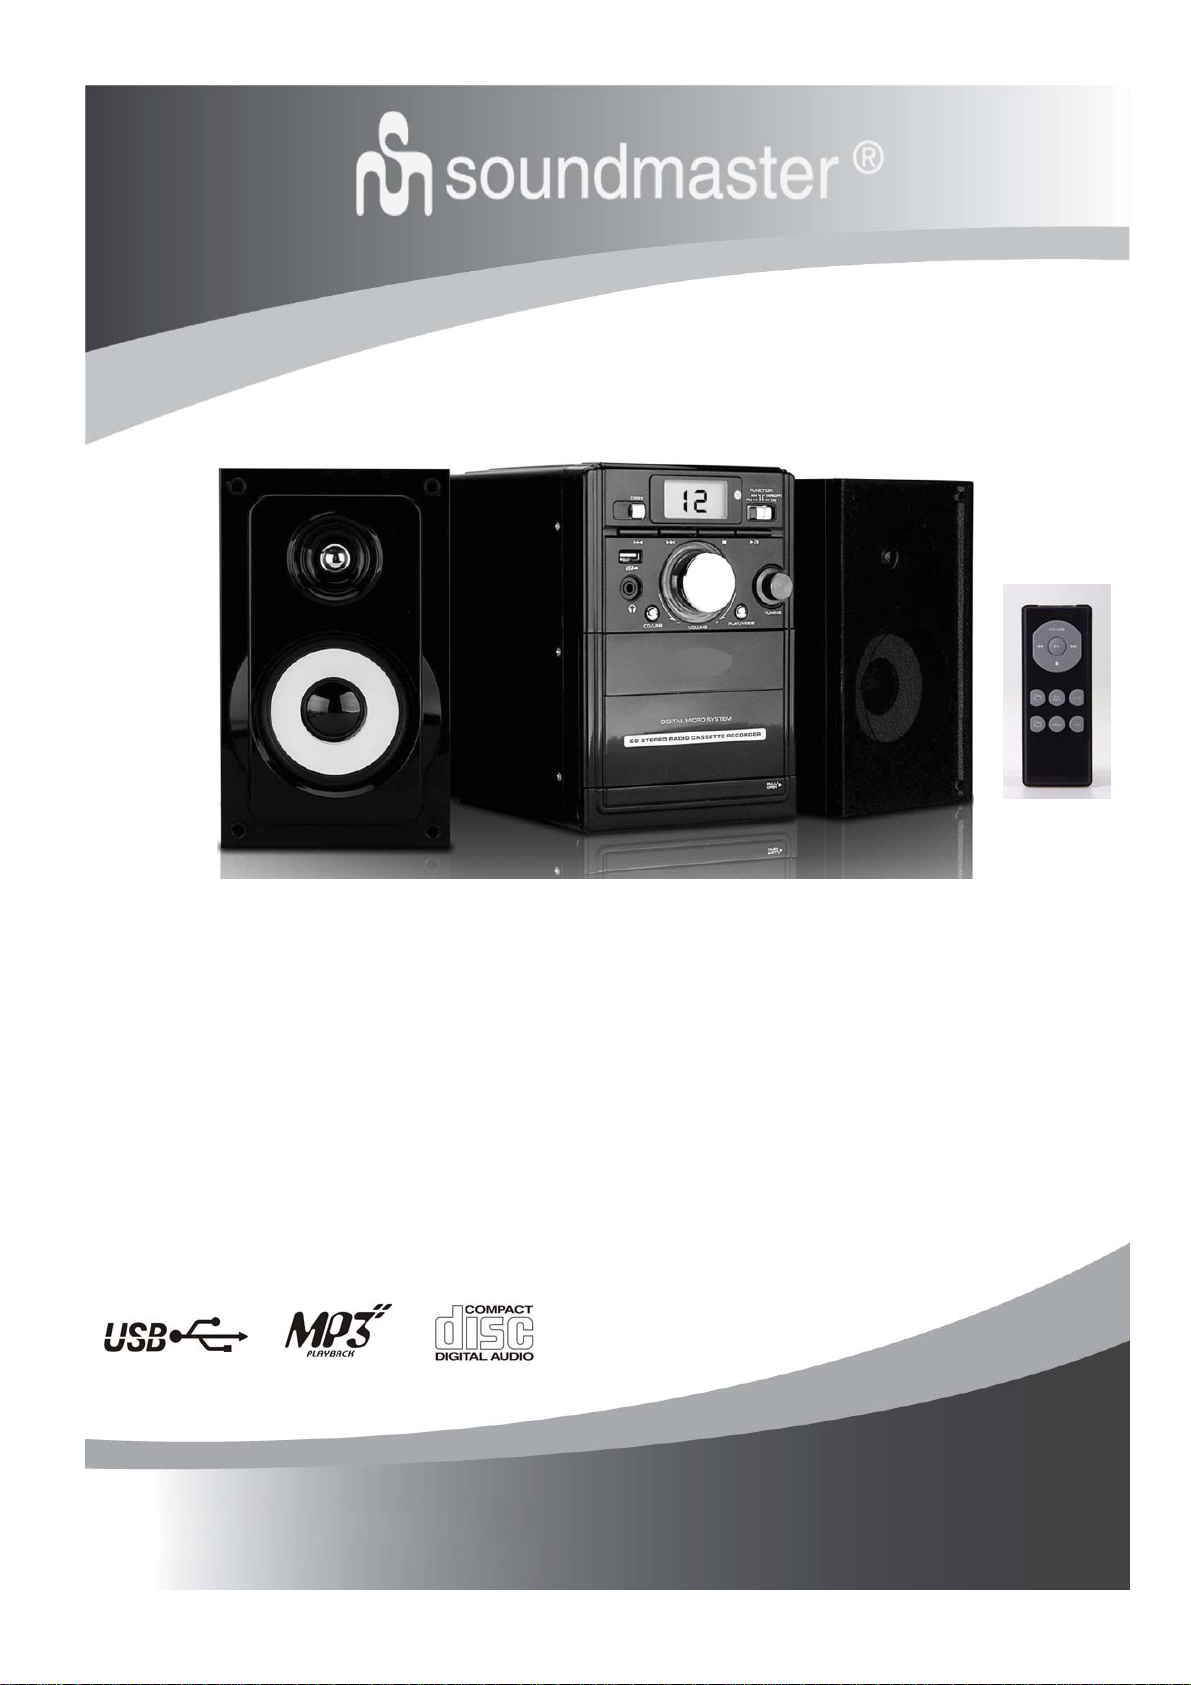
SOUNDMASTER MCD 7895USB User manual

MCD 7895USB
DEUTSCH
ENGLISH
FRANÇAIS
NEDERLANDS
ΕΛΛΗΝΙΚΆ

WARNING: TO PREVENT FIRE OR SHOCK HAZARD, DO NOT EXPOSE THIS EQUIPMENT
TO RAIN OR MOISTURE.
CAUTION: TO PREVENT ELECTRIC SHOCK, MATCH WIDE BLADE OF PLUG TO WIDE
SLOT, AND FULLY INSERT.
Ventilation warning:
The normal ventilation of the product shall not be impeded for intended use.
CLASS 1
LASER PRODUCT


English CONTROLS POWERSUPPLY
Top and front panels (See 1)
1.USB INTERFACE
-USB input host
2.DBBS
Press the DBBS button, the sound change to bass
boost.
3.SKIP
CD:-skips track backwards or forward.
4.DISPLAY
-shows the CD functions and RADIO FREQUENCY.
5.STOP
-stops CD playbak;;erased a CD program.
6.REMOTE CONTRAL SENSORE
-receive the signal from the remote control.
7.FUNCTION SELEXTOR
-selects source of sound FM,AM,TAPE(OFF),CD
8.PRESS TO PLAY/PAUSE
-starts or pauses CD play.
9.CD DOOR
-Press here to open/close the CD door.
10.STEREO HEADPHONE JACK
-3.5 mm stereo headphone jack.
11.CD/USB
-Switch between USB and CD mode
12.VOLUME
-adjusts volume level.
13.PLAY/MODE
-Repeat,repeat 1, Random
14.TUNING FM/AM stations.
-selects FM/AM stations.
15.CASSETTE RECORDER KEYS
RECORD -starts recording.
PLAY -starts playbak.
F.FWD/REW -fast winds/rewinds the tape
STOP/EJECT -stops the tape;
-opens the cassette compartment.
PAUSE -interrupts recording or playback.
Back Panel (See 1)
16.FM ANTENNA
-to improve FM reception.
17.SPEAKER TERMINAL
-for inset speaker L/R jack.
18.AC MAINS
-inlet for power cord
Remote Control Handset (See 1)
19.CD/USB
Switch either CD or USB mode
20.SKIP
CD:-skips track backwards or forward.
21.
-Folder up (MP3 mode)
22.
-Folder down (MP3 mode)
23.PRESS TOP PLAY/PAUSE
-starts or pauses CD play.
24.STOP
-stops CD playback; erases a CD program.
25.+10
-selects the CD tracks(+10).
26.PLAY/MODE
-Repeat,Repeat 1, Random
27.-10
-selects the CD tracks(-10).
28.PROG
CD:-programs and reviews programmed track
numbers.
Power Supply
Using AC Power
1. Check if the power voltage,as shown on the type
plate located on the rear of the set, corresponds to
your local AC power supply.If it does not,consult
your dealer or service centre.
2. Connect the power cord to the AC MAINS inlet and
the wall outlet. The power supply is now connected
and ready for use.
3. To switch off completely,unplug the power cord
from the wall outlet
*Unplug the power cord from the wall outlet to protect
your set during heavy thunderstoms.

BASIC FUNCTIONS RADIO
Switching power on/off: Save energy
To avoid unnecessary energy consumption always
adjust the source selector to off.
General operation
1. To select your sound source adjust the source
selector to FM/AM/TAPE(OFF)/CD
2. Adjust the sound with the VOLUME control.
3. To switch off the set, adjust the source selector to
off position.
RADIO
Radio reception
1. Slide the FUNCTION selector to a desired setting –
FM, AM.
The frequency will shown on display fig. 1
2. Rotate the TUNING control to find the desired
stations.
NOTE: If the FUNCTION selector is set to the FM
stereo position and you have tuned to an FM stereo
station the FM stereo indicator (st) show on display.
3. When you have finished listening, slide the
FUNCTION selector to the OFF position to shut the
power off.
-For FM, pull out the telescopic antenna. Incline
and turn the antenna. Reduce its length if the
signal is too strong (very close to a
transmitter).
-For AM the set is provided with a built-in
antenna so the telescopic antenna is not
needed. Direct the antenna by turning the
whole set.
PLAYING A CASSETTE
1. Select TAPE source.
2. Press STOP·EJECT to open the cassette door.
3. Insert a recorded cassette and close the cassette door.
4. Press PLAY to start playback.
5. To interrupt playback, press PAUSE. To resume, press the key again.
6. By pressing or on the set, fast winding of the tape is possible in both directions.
7. To stop the tape, press STOP·EJECT
-The keys are automatically released at the end of the tape, except if PAUSE has been activated.

RECORDING
GENERAL INFORMATION ON RECORDING
•Recording is permissible in so far as copyright or other rights of third parties are not infringed.
•This deck is not suitable for recording on CHROME (IECⅡ) or METAL (IEC Ⅳ) type cassettes. For recording,
use NORMAL type cassettes (IECⅠ) on which the tabs have not been
broken. The best recording level is set automatically. Altering the VOL
and DBB controls will not affect the recording in progress.
•At the very beginning and end of the tape, no recording will take place
during the 7 seconds, when the leader tape passes the recorder heads.
•To protect a tape from accidental erasure, have the tape in front of you
and break out the left tap.
Recording on this side is no longer possible. To record over this side again, cover the tabs with a piece of
adhesive tape.
Recording from the radio
1. Tune to the desired radio station (See TUNNING TO RADIO STATIONS).
2. Press STOP·EJECT to open the cassette door.
3. Insert a suitable cassette into the cassette deck and close the cassette door.
4. Press RECORD to start recording.
5. For brief interruptions, press PAUSE. To resume recording, press PAUSE again.
6. To stop recording, press STOP·EJECT.
MAINTENANCE
Tape deck mantenance
To ensure quality recording and playback of the tape deck, clean parts
and shown in the diagram below, after approx. 50 hours of
operation, or on average once a month. Use a cotton bud slightly
moistened with alcohol or a special head cleaning fluid to clean the deck.
1. Open the cassette door by pressing STOP·EJECT.
2. Press PLAY and clean the rubber pressure rollers .
3. Press PAUSE and clean the magnetic heads and also the Capstan .
4. After cleaning, press STOP·EJECT.
Note: Cleaning of the heads can also be done by playing a cleaning cassette through once.

CD/MP3 PLAYER
CD/MP3 PLAYER
Playing a CD/MP3
This CD-player can play Audio Discs, CD-R, and CD
Rewritables. Do not try to play CD-ROM, CDi, VCD,
DVD or computer CD.
1. Adjust the source selector to CD.
ÆDisplay:show - - - Briefly.
2. To open the CD door, lift the CD door at the edge
marked OPEN.
3. Insert a CD, CD-R or CD-RW with the prited side
Facing up and press the CD door gently close.
4. Press”PLAY/PAUSE” on the set to start playback.
5. To pause playback press “PLAY/PAUSE” To
resume, press”PLAY/PAUSE” again.
6. To stop CD playback, press “STOP”.
Playing Music from USD device
This CD player can play the music from USB.
1. Side the function switch to CD.USB position;
2. In CD mode, press and hold the PLAY/PAUSE/USB
button to switch from CD to USB mode;
3. Plug the USB device at the front panel:
4. Press PLAY/PAUSE button.
Notice for playing USB:
This unit only can play Audio CD and mp3 format.
Selecting a different track CD/MP3/USB
Note: CD/MP3/USB play will also stop when:
-you open the CD compartment;
-you select RADIO sound source;
-the CD/MP3/USB has reached to the end.
Selecting a different track
During playback you can use or to select a
particular track..
•if you have selected a track number in the stop or
pause position, press “PLAY/PAUSE” to start
playback.
•Press once briefly for the next track, or press
repeatedly until the desired track number appears
in the display.
•Press once briefly to return to the beginning of
a current track.
•Press more that once briefly for a previous
track.
Play modes:
PRESS 1. REPEAT – plays the current track
continuously
PRESS 2. REPEAT ALL- plays the entire CD
continuously
PRESS 3. Play the CD in random order
PRESS 4. Cancel all play modes
MP3 MODE
REPEAT 1 > REPEAT FOLDER > REPEAT ALL >
RANDOM
Programming track numbers
You may store up to 20 tracks in the desired sequence.
If you like, store any track more that once.
1. In the STOP mode, press or for your
desired track.
2. When your chosen track number appears, press
PLAY MODE once to store the track.
ÆThe display shows play and will start to play your
playlist!
3. Repeat steps 1 to 2 to select and store all desired
tracks in this way.
4. To play your program, press “PLAY/PAUSE”.
Reviewing your set program
•In the STOP mode, press PLAY MODE.
ÆThe display shows your stored track numbers in
sequence.
Erasing a program
You can erase the contents of the memory by:
-opening the CD door;
-selecting RADIO source:
-pressing “STOP”(twice during playback or in the
stop position)

MAINTENACE &SAFETY
Precautions & General Maintenance
•Place the set on a hard and flat surface so that the
system does not tilt.
•Do not expse the set,batteries or CDs to
humidity,rain,and or excessive heat caused by heating
equipment or direct sunlight.
•Do not cover the set,Adequate ventilation with a
minimum gap of 6 inches between the ventilation holes
and surrounding surfaces is necessary to prevent heat
build –up.
•The mechanical parts of the set contain self-lubricating
bearings and must not be oiled or lubricated.
•To clean the set,use a soft dry cloth.Do not use any
cleaning agents contaning alcohol,ammonia,benzene or
abrasives as these may harm the housing.
CD player and CD handling
•The lens of the CD player should never be touched!
•Sudden changes in the surrounding temperature can suse condersation to form and the lens of your CD player
to cloud over.Playing a CD is then not possible.Do not attempt to clean the lens but leave the set in a warm
environment until the moisture evaporates.
•Always close the CD door to keep the CD compartment dust-free.To clean,dust the compartment with a soft try
cloth.
•To clean the CD,wipe in a strainght line from the centre towards the edge using a soft,lint-free cloth. Do not use
cleaning agents as they may damage the disc.
•Never write on a CD or attach any stickers to it.

TROUBLESHOOTING
Troubleshooting
If a fault occurs, first check the points listed below before taking the set for repair.
Do not open the set as there is a risk of electric shock.
If you are unable to remedy a problem by following these hints, consult your dealer or service center.
WARNING: Under no circumstance should you try to repair the set yourself, as this will invalidate the warranty.
--Problem
•Solution
No sound/power
-Volume not adjusted
•Adjust the VOLUME
- Power cord not securely connected
•Connect the AC power cord properly
- Batteries dead/incorrectly inserted
•Insert (fresh) batteries correctly
Display does not function properly/
No reaction to operation of any of the controls
- Electrostatic discharge
•Switch off and unplug the set. Reconnect after a
few seconds
Poor cassette sound quality
Dust and dirt on the heads,etc.
•Clean deck parts etc., see maintenance
- Use of incompatible cassette types (METAL or
CHROME)
•Only use NORMAL(IECI)for recording
Recording does not work
-Cassette tab(s)may be broken
•Apply a piece of adhesive tape over the missing tab
space
No disc indication
-No CD inserted
•Insert a CD, CD-R or CD-RW
-CD badly scratched or dirty
•Replace/clean CD, see Maintenance
- Laser lens steamed up
•Wait until lens has cleared
-CD-R is blank or the disc is not finalized
•Use a finalized CD-R
CD playback does not work
-CD badly scratched/dirty
•Replace/clean CD(see maintenance)
- Laser lens steamed up
•Wait until lens has adjusted to room temperature
The CD skips tracks
-CD damaged or dirty
•Replace or clean CD
-Program is active
•Quit Program mode(s)
SPECIFICATION
Specifications:
Environmental information
We have done our best to redue the packaging and make it easy to separate into 3 materials: cardboard, paper pulp and
expandable polyethylene.
You set consists of materials which can be recycled if disassembled by a specialized company. Please observe the local
regulations regarding the disposal of packaging, dead batteries and old equipment.

•Power supply :AC 230 V,50Hz
•Power consumption :18 Watts
•Dimensions of unit :380mm(W)x200mm(H)x200mm(D)
•Frequency range :AM540-1600khZ
FM88-108MHz
•Antenna :FM-PIG TAIL ANTENNA.
AM-FERRITE BAR ANTENNA.
•CD Section :TOP LOADING CD PLAYER.
•CDSize :5’’&3’’COPMATIBLE
•Speaker Systerm :2 WAY 2 SPEAKERS SYSTEM
•Phones Jack :3.5 mm
Disposal of Used Electrical & Electronic Equipment
The meaning of the symbol on the product, its accessory or packaging indicates that this product shall
not be treated as household waste. Please, dispose of this equipment at your applicable collection point
for the recycling of electrical & electronic equipments waste. In the European Union and Other
European countries which there are separate collection systems for used electrical and electronic
product. By ensuring the correct disposal of this product, you will help prevent potentially hazardous to
the environment and to human health ,which could otherwise be caused by unsuitable waste handling
of this product. The recycling of materials will help conserve natural resources.
Please do not therefore dispose of your old electrical and electronic equipment with your household
waste. For more detailed information about recycling of this product, please contact your local city
office, your household waste disposal service or the shop where you purchased the product.
Table of contents
Other SOUNDMASTER Media Converter manuals