manuals.online logo
Brands
  1. Home
  2. •
  3. Brands
  4. •
  5. Speco
  6. •
  7. Security Camera
  8. •
  9. Speco HTB10X Operating and maintenance instructions

Speco HTB10X Operating and maintenance instructions

◈
FEATURE
1. Long visible range at night.(50m Max. indoors,
40m Max.
outdoors)
2. This camera uses split glass technology to prevent IR light
reflection.
3. This camera has a Varifocal IR lens to prevent
focus
drift under IR lighting.
4. The IR cut filter is removed at night to re
ceive maximum
available light.
5. This product is weather proof to resist rain, snow
and
other environmental factors. (IP65)
6. This product is made of corrosion-
free materials to resist
rust and corrosion for extended periods of time.
7. The built-
in sunshield helps the camera produce clear
pictures under a variety of lighting conditions.
8. Power & video cables are concealed for extra security.
(Cable through the mount).
9. Unique bracket allows the camera to be fully adjustable
from both wall and ceiling mounting positions.
10. Dual voltage operation. You can connect 24V AC or 12V
DC
regardless of polarity. The Line-
Lock function is available
when you use 24V AC power.
11. The IR output level is adjustable to suit any lighting condition.
12. High magnification zoom / Auto focus
- Max. 100X zoom is available.(Optical:10X, Digital:10X)
- It features “Auto focus" for maximum versatility.
13. DNR (Digital Noise Reduction)
By using this DSP chip and associated technology,
the
amount of low light noise has been significantly reduced,
and the signal-to-noise ratio(S/N) as well as hori
zontal
resolution has been improved,
resulting in a clear and
sharp image display even in the dark.
14. Privacy zoom masking (max. 32 zones/8
programmable
zone per screen)
The privacy zone function makes it possible to mask
specific areas of the scene from view.
15. Motion Detection (4 programmable zone per screen)
You can transmit an alert signal when it detects motion
of an object on the screen. This feature is useful when
you have to monitor several screens simultaneously.
16. High resolution Horizonta
l Resolution of 560TV Lines:
Clear image quality has been achieved by employing a
1/4" SONY Super HAD CCD with 410,000 pixels, which
provides a horizontal resolution of 560 TV lines.
17. OSD (On Screen Display)
For easy adjustment of all features.
18. RS-485 control
RS-485 communication is available to
control the camera
OSD and lens
19. Day & Night function
The camera can distinguish between day and night and
will make changes according to the conditions. It maintains
the most suitable color in daytime and B/W at night
.
◈
CONFIGURATION
<Caution>
RS485 signal only-Do not apply power to this cable.
To avoid product failure, connect ORANGE
wire to RS485A
and WHITE to RS485B, Never do it backwards.
◈
WALL MOUNT INSTALLATION #1
1. Make a hole Ø30mm in diameter for routing cable.
2. Using the mounting plate, drill four holes on the wall.
3. Insert the anchors.
4. Attach the screws.
◈
WALL MOUNT INSTALLATION #2
1. Adjust horizontal angle.
1) Loosen the bolt to adjust the horizontal angle of the
camera.
2) Use the WRENCH to tighten the bolt after adjusting
the camera.
2. Adjust vertical angle
1) Loosen a bolt to adjust vertical angle of the camera.
2)
Use the WRENCH to tighten a bolt after adjusting the
camera.
◈
CEILING MOUNT INSTALLATION #1
1. Make a hole Ø30mm in diameter for routing cable.
2. Using the mounting plate, drill four holes on the ceiling.
3. Insert the anchors.
4. Attach the screws.
◈
CEILING MOUNT INSTALLATION #2
1. Adjust horizontal angle.
1) Loosen the bolt to adjust the horizontal angle of the
camera.
2) Use the WRENCH to tighten the bolt after adjusting the
camera.
2. Adjust vertical angle
1) Loosen the bolt to adju
st the vertical angle of the
camera.
2) Use the WRENCH to tighten a bolt after adjusting the
camera.
HTB10X
◈
FUNCTIONS
1. Setup for camera functions
ㆍ
Function setting combination
ㆍ
OSD MENU
①
SETUP :
To access the main menu.
Push this button for 1 second.
②
TELE / UP :
To zoom in on a far object.(ZOOM-IN) /
Moves the arrow indicator to up.
③
WIDE / DOWN :
To widen the view (ZOOM-OUT) /
Moves the arrow indicator to down.
④
NEAR / LEFT :
To focus on a near object clearly. /
Moves the arrow indicator to the left.
⑤
FAR / RIGHT :
To focus on a far object clearly. /
Moves the arrow indicator to the right.
⑥
EXT. VIDEO :
Plug your test monitor in here.
⑦
DAY & NIGHT :
- AUTO : DAY & NIGHT auto
- MANUAL : DAY & NIGHT passive
Color : Color fixed regardless illumination.
B/W : B/W fixed regardless illumination.(IR ON)
2. Camera function setting
MAIN SETUP
CAMERA TITLE
OFF Set Camera Title String and OSD
Display Position.
ON
WHITE BAL
ATW -Mo de:
OUTDO OR
INDO OR
ATW is controlled by color tem-
perature range
*MODE
- INDOOR : 3000~10,500°K
- OUTDOOR : level
AWC
→
SET ONE PUSH
MANUA L RED / BLUE Adjustable.
BACKLIGHT
OFF / LO W /
MIDDLE /
HIGH
Backlight compensation.
MOTION
DETEC TION
OFF Motion detection off
ON
AREA(4 Progra mmable zone/
SIZE)
The words "MOTION DETECTED"
appear on the screen when move-
ment is detected.
FOC US Refer to focus setup
EXPOSURE Refer to exposure setup
SPECIAL Refer to special setup
RESET
Returns to the level which was
set by the manufacturer for ship-
ment.(except for communication
and Day & Night)
EXIT Saves all settings, then exits.
FOCUS SETUP TABLE
MODE
AUTO Focus is controlled automatically
MANUA L Focus is controlled m anually
ONE-PUSH
Focus is automatically adjusted
just once, after zoom position is
changed.
ZO OM TRK OFF Zoom tracking off
ON Zoom tracking on
ZO OM SPEED FAST/SLO W Zoom speed Control
D-ZOO M
OFF Digital zoom off
ON Digital zoom limit selectable
(x2 ~ x10).
DIS ZOO M
MAG
OFF Zoom magnification display off
ON Zoom magnification display on.
ZO OM POS
INIT
OFF When initialized, zoom positio n
is disabled.
ON Zoom magnification set at power
on(x1 ~ x10)
LENS INIT Execute lens initialization.
EXPOSURE SETUP TABLE
BRIGH TNESS Brightness level adjustment.
IRIS MANUA L IRIS is controlled manually.
AUTO IRIS is controlled automatically.
SHUTTER MANUA L Shutter is controlled manually
A. FLK Anti-flicker
AGC
OFF Automatic gain control off.
NORMAL /
HIGH Automatic gain control limit set.
SSNR
OFF Noise reduction off.
LO W /
MIDDLE /
HIGH
Noise reduction level set.
SENS-UP
OFF Sense-up off
AUTO Sense-up limit selectable
(x2 ~ x128)
SPECIAL SETUP TABLE
USER PRESET
OFF Turns function off
ON
Using the position preset function,
8 sets of camera shooting condi-
tions can be stored and recalled.
PRIVACY
OFF Privacy mask off
ON AREA(4 Programmable zone)
/ SIZE / TONE adjustable.
SYNC
INT Internal Sync.
LL
External Sync(can adjust desired
phase from 0° ~ 359°).
Trigger Signal: Auto Detection.
COMM ADJ Refer to communication setup
IMAGE ADJ Refer to communication setup
COMMUNICATION SETUP TABLE
CAM ID OFF ID not display ed
ON Camera names are displayed
DISP CAM ID OFF Com m unication ID display off.
ON Com m unication ID display on.
BAUD RATE 2400 ~ 57600
Baud-rate set
(factory default : 2400).
UART MODE 8-E-1 / 8-0-1 /
8-N-1
Parity bits selectable.
(factory default : 8-N-1)
RET PKT
DISABLE Do not send a command back
to the control & device.
ENABLE
Returning the data when com-
munication.
(Caution : Activate this function
to use D&N.)
* Protocol: Pelco-D
IMAGE SETUP TABLE
FREEZE OFF Freez e image: OFF
ON Freez e image: ON
H-REV OFF Horizontal reverse: OFF
ON Horizontal reverse: ON
V-REV OFF Vertical reverse: O FF
ON Vertical reverse: ON
SHARPNESS OFF Sharpness control is disabled.
ON The Sharpness can be adjusted.
COLOR GAIN The Color level can be adjusted
(0~100)
◈
DIMENSIONS
◈
SPECIFICATION
Model HTB10X
Type Weatherproof x10 optical motorized zoom
color camera
Image Sensor 1/4" SONY SUPER HAD CCD
Effective Pixel 768(H) X 494(V)
TV Type NTSC
Scanning System 2:1 Interlace
Sync. System Internal / Line lock
Scan. Freq.(HOR.) INT : 15.734KHz
L/L : 15.750KHz
Scan. Freq.(VERT.) INT : 59.94Hz
L/L : 60.00Hz
Resolution 580 lines resolution(IR ON)
560 lines resolution(IR OFF)
Video Output 1.0 Vp-p(Sync. Negative)
with 75
Ω
Termination
S/N Ratio More than 50dB(weight ON)
Min. Illumination 0.05 Lux (F1.8) : LED OFF
0 Lux (40M range) : LED ON
Gamm a r = 0.45
Shutter Speed
Auto(x128 ~ 1/60 ~ 1/120,000sec)
Sense-up and Sense-up limit is selectable,
Flickerless
White Balance ATW / AWC / Manual(1,800 ~ 10,500
°
K)
SSNR LO W / MIDDLE / HIGH / OFF
Motion Detection ON / OFF(4 programmable zone per screen)
Privacy Function ON / OFF(32 zones, It consists of 8 group
4 programmable, zone per screen)
Flip Vertical, Horizontal, Vertical-Horizontal, OFF
Preset 8 position
OSD Yes
ZO OM Optical zoom 10X,
Digital zoom 10X
FOCA L Length f = 3.8(W) ~ 38.0(T)
F 1.8(W) ~ F 2.8(T)
Angle of View 51.2
°
(Wide End), 5.58
°
(Tele End)
Min. Working
Distance 0.1M
Com m unication RS-485
Power Supply 24 Volts AC, 12 Volts DC - Dual Voltage
Current Consumption
Max. 600mA
Operation Tem p. -20
°
F to 140
°
F
Dimension 3.1”W x 3”H x 6.8”L
Weight 3.3 Ibs.
※
The specification is subject to change without any prior
notice to improve the quality.Rev. 1/25/10.
HTB10X
R

Other Speco Security Camera manuals

Speco Focus Free Intensifier HT7248FFiL User manual

Speco

Speco Focus Free Intensifier HT7248FFiL User manual

Speco CVC-627B User manual

Speco

Speco CVC-627B User manual

Speco CVC-628M User manual

Speco

Speco CVC-628M User manual

Speco O4LT1 User manual

Speco

Speco O4LT1 User manual

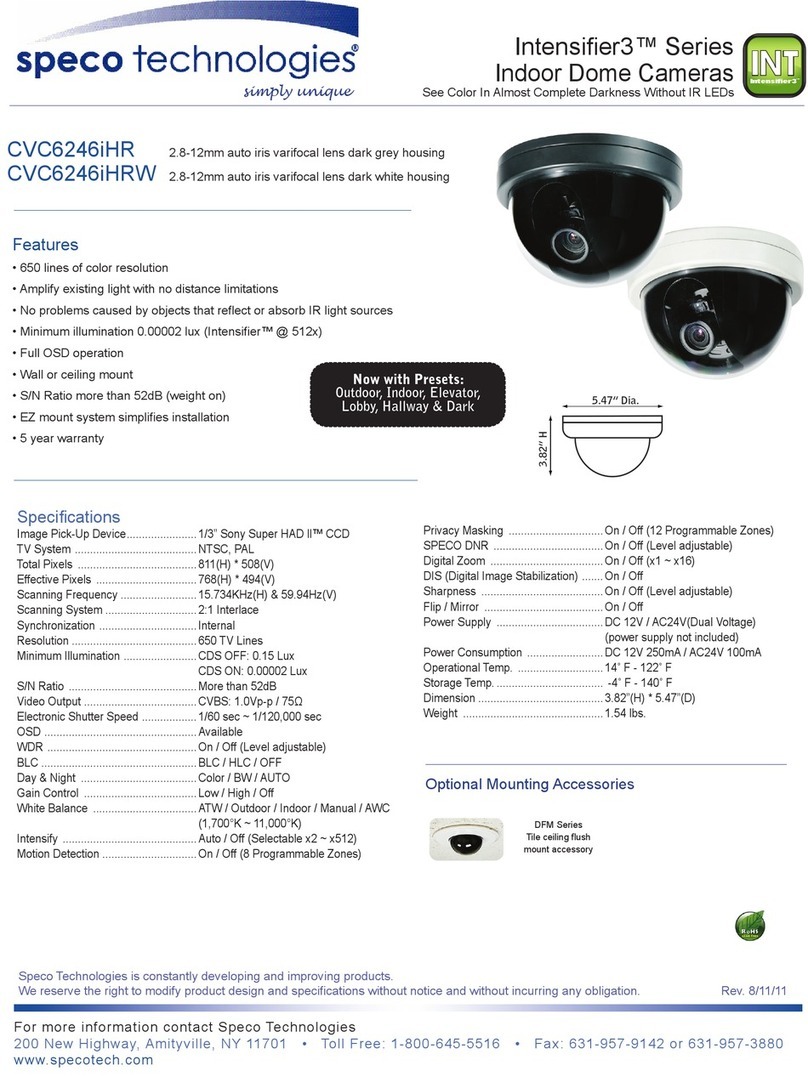
Speco INTENSIFIER CVC6246IHR User manual

Speco

Speco INTENSIFIER CVC6246IHR User manual

Speco V5B2 User manual

Speco

Speco V5B2 User manual

Speco VLT4DG User manual

Speco

Speco VLT4DG User manual

Speco O8VB3M User manual

Speco

Speco O8VB3M User manual

Speco CVC-130R User manual

Speco

Speco CVC-130R User manual

Speco LEDome User manual

Speco

Speco LEDome User manual

Speco CVC-1805DC User manual

Speco

Speco CVC-1805DC User manual

Speco O4VLB3 User manual

Speco

Speco O4VLB3 User manual

Speco VLEDB2HW User manual

Speco

Speco VLEDB2HW User manual

Speco O3FB68 User manual

Speco

Speco O3FB68 User manual

Speco O5T2 User manual

Speco

Speco O5T2 User manual

Speco WDR700VF User manual

Speco

Speco WDR700VF User manual

Speco O4D6 User manual

Speco

Speco O4D6 User manual

Speco HTFB2TM User manual

Speco

Speco HTFB2TM User manual

Speco 700Line IntensifierH CVC6246H User manual

Speco

Speco 700Line IntensifierH CVC6246H User manual

Speco O2iBD5 User manual

Speco

Speco O2iBD5 User manual

Speco O4LB1M User manual

Speco

Speco O4LB1M User manual

Speco WDRB1 User manual

Speco

Speco WDRB1 User manual

Speco O4DT1 User manual

Speco

Speco O4DT1 User manual

Speco HT7040T User manual

Speco

Speco HT7040T User manual

Popular Security Camera manuals by other brands

iBeam OnSite Fixed Series installation instructions

iBeam

iBeam OnSite Fixed Series installation instructions

Wisenet XNF-9010RV user manual

Wisenet

Wisenet XNF-9010RV user manual

SECURENET AVA quick start guide

SECURENET

SECURENET AVA quick start guide

Vivotek FD8151V user manual

Vivotek

Vivotek FD8151V user manual

Dahua HDBW2831R-ZAS Operation manual

Dahua

Dahua HDBW2831R-ZAS Operation manual

Vivotek IB9387 Series user manual

Vivotek

Vivotek IB9387 Series user manual

Huawei IPC6325-WD-VFZ quick start guide

Huawei

Huawei IPC6325-WD-VFZ quick start guide

Vivotek 4712123678542 user manual

Vivotek

Vivotek 4712123678542 user manual

Visionite VCL-F8A0W-IR instruction manual

Visionite

Visionite VCL-F8A0W-IR instruction manual

VADDIO ROBOSHOT12 Installation and user guide

VADDIO

VADDIO ROBOSHOT12 Installation and user guide

Honeywell Honeywell Black CAHBC720PI40-80 Dimension and installation guidelines

Honeywell

Honeywell Honeywell Black CAHBC720PI40-80 Dimension and installation guidelines

ACTi A310 Hardware manual

ACTi

ACTi A310 Hardware manual

Vivotek FD9369 Quick installation guide

Vivotek

Vivotek FD9369 Quick installation guide

Vivotek FD8171 Quick installation guide

Vivotek

Vivotek FD8171 Quick installation guide

Panasonic VL-SDM100A operating instructions

Panasonic

Panasonic VL-SDM100A operating instructions

Honeywell 2450Cm Series user guide

Honeywell

Honeywell 2450Cm Series user guide

Foscam FI8916W Quick installation guide

Foscam

Foscam FI8916W Quick installation guide

Lorex E881AP Series quick start guide

Lorex

Lorex E881AP Series quick start guide

manuals.online logo
manuals.online logoBrands
  • About & Mission
  • Contact us
  • Privacy Policy
  • Terms and Conditions

Copyright 2025 Manuals.Online. All Rights Reserved.