H-MI O :Flips the image along the y-axis.
P IVACY : Used to hide regions of the image.
MASK LV : Selects the desired mask color
A EA NO.: Selects the current mask area from 1 to 8 zones
DISPLAY: Selects ON/OFF to display of mask zone or not.
TOP/BOTTOM/LEFT/ IGHT : Adjusts the mask zone size for directions.
SPECO DNR : educes the background noise caused by the digital enhancement
of a low light environment.
If AGC is turned OFF, DN will be disabled (LOW/MIDDLE/HIGH)
MOTION : Adjusts motion detection settings.
SENSITIVITY : Sets the desired multiple of the digital exposure length.(0~20)
A EA NO : Selects the current motion zone from area1 to 4.
A EA USE : Adjusts the motion detection zone size.
TOP/BOTTOM/LEFT/ IGHT : Adjusts the mask zone size for directions
SYSTEM : Adjusts various System options.
CAM TITLE : Determines the camera name. (ON/OFF)
CAM ID : Sets the ID for the S-485 (0~255)
ID DISP. : ON(Disables camera NO/ID)/OFF(Displays camera No/ID)
LANGUAGE : Sets the desired OSD language.
SPECIAL : Adjusts special options.
DEFECT DET : To remove “White Spot(Dead Pixel)” on screen
FONT COLO : Sets the camera OSD color(0~8)
WHITE BAL : Adjusts white balancing options.
ATW : Automatically white balances the image.
PUSH : if you press it in appropriate item position, then Auto White Balance
will perform once.
MANUAL : manually adjust the scene to your desired settings.
ED : Adjusts the red gain level. (0~ 20)
BLUE : Adjusts the blue gain level. (0~20)
MONITOR : Sets the video output to main input types.
GAMMA : Sets the desired Gamma value (0.35/0.40/0.45/0.50/0.55/0.60/0.65/0.70)
CH OMA : Sets the color gain (0~20)
SHA PNESS : Sets the amount of sharpness applied on the image(0~20)
SHADING : Sets the Lens Shading Compensation value. (0~20)
PED. LV : Sets the Pedestal Level (0~20)
IMAGE : Adjusts various effect options.
BACKLIGHT : : Adjusts backlight options.
BLC : Produces a clearer image of an object darkened by strong backlighting.
HLC : Used to contain extremely bright areas such as car headlights,
the light can be masked out.
CONT AST : Adjusts Contrast options.
WD : Uses a digital wide dynamic range to balance dark and over
saturated areas within the image.
DEFOG : Activate this mode when the video or the weather is foggy.
It maintains a clear picture.
POSI/NEGA : Changes to Positive or Negative image.
* IMPORTANT SAFETY INSTRUCTIONS *
1) Read these instructions. 2) Keep these instructions.
3) Heed all warnings. 4) Follow all instructions.
5) Do not use this apparatus near water. 6) Clean only with a dry cloth.
7) Do not block any of the ventilation openings. Install in accordance with the manufacturer's instructions.
8) Do not install near any heat sources such as radiators, heat registers, stoves, or other apparatus (including
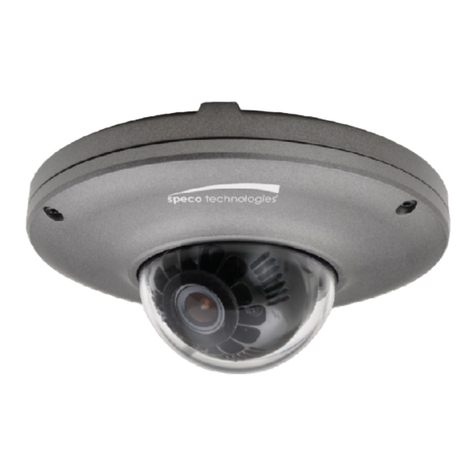
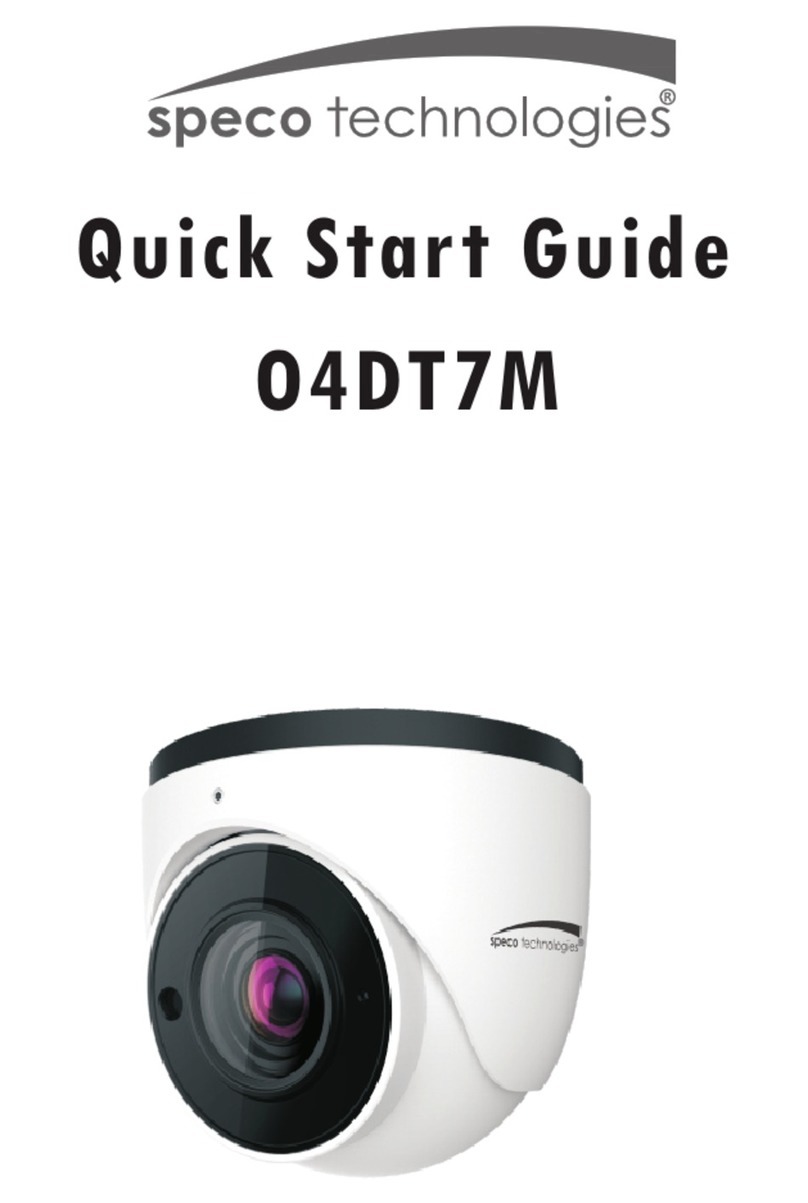
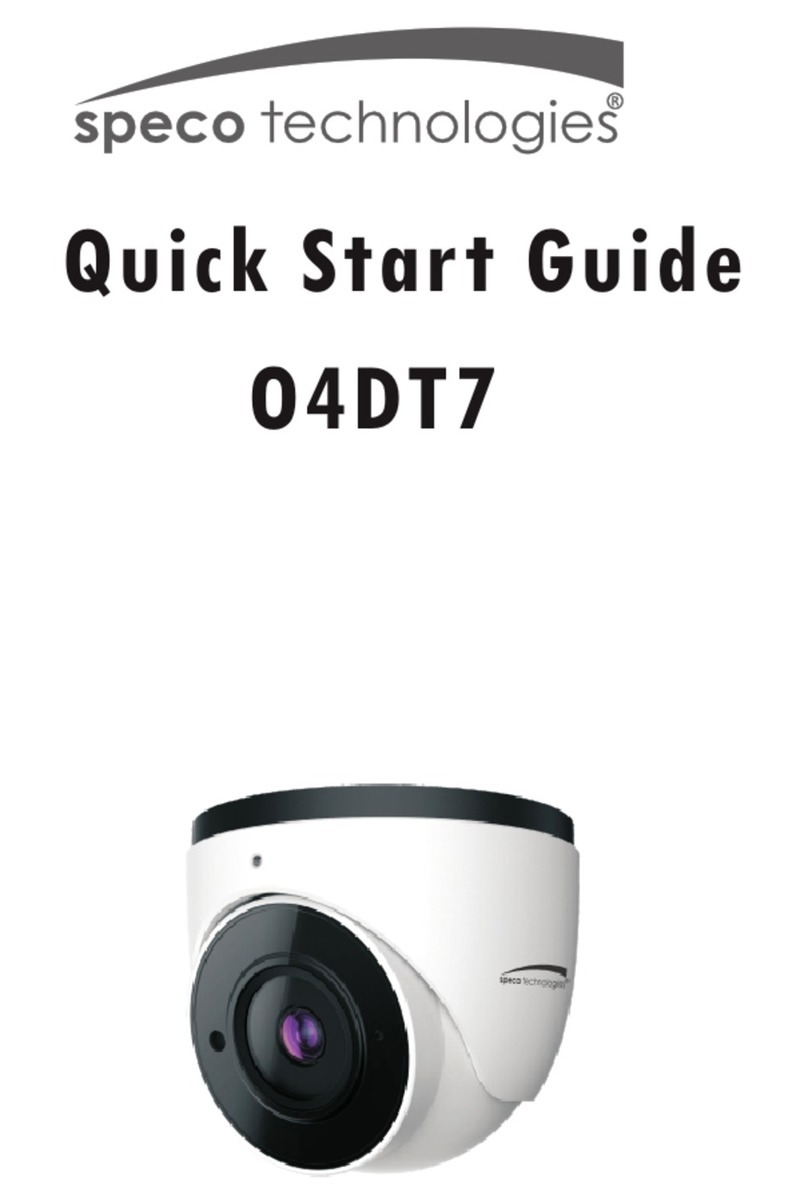
Intensifier H® Outdoor Mini Turret Camera, Wall/Ceiling Mount
HINT7 HG – Grey, 2.9mm / HINT7 HW – White, 2.9mm
HINT72HG – Grey, 3.6mm / HINT72HW – White, 3.6mm 200 New Highway, Amityville, NY 11701
800-645-5516 / www.specotech.com
Speco Technologies is const ntly developing product improvements.
We reserve the right to modify product design nd specific tions without
notice nd without incurring ny oblig tion. Rev. 082114
8) Do not install near any heat sources such as radiators, heat registers, stoves, or other apparatus (including
amplifiers) that produce heat.
9) Do not defeat the safety purpose of the polarized or grounding type plug. A polarized plug has two blades
with one wider than the other. A grounding type plug has two blades and a third grounding prong. The wide
blade or the third prong is provided for your safety. When the provided plug does not fit into your outlet,
consult an electrician for replacement of the obsolete outlet.
10) Protect the power cord from being walked on or pinched particularly at plugs, convenience receptacles,
and the point where they exit from the apparatus.
11) Only use the attachments/accessories specified by the manufacturer.
12) Use only with a cart, stand, tripod, bracket, or table specified by the manufacturer, or sold with
the apparatus. When a cart is used, use caution when moving the cart/apparatus combination to avoid
injury from tip-over.
13) Unplug this apparatus during lightning storms or when unused for
long periods of time.
14) Refer all servicing to qualified service personnel. Servicing is required
when the apparatus has been damaged in any way, such as power supply cord
or plug is damaged, liquid has been spilled or objects have fallen into the
apparatus, the apparatus has been exposed to rain or moisture, does not
operate normally, or has been dropped.
* WARNING *
“To reduce the risk of fire or electric shock, do not expose this apparatus to rain or moisture.”
“Apparatus shall not be exposed to dripping or splashing and that no objects filled with liquids, such as vases,
shall be placed on the apparatus.”
Pour réduire le risque de feu ou de décharge électrique, n’exposez pas cet appareil à la pluie ou à l’humidité.
L’appareil doit être gardé à l’abri des goutes ou des éclaboussures et aucun objet remplie d’un liquide,
comme un vase, ne devrait être posé sur l’appareil.
In USA and Canada, Use a Class 2 power supply only
* CAUTION *
These servicing instructions are for use by qualified service personnel only. To reduce the risk of electric
shock do not perform any servicing other than that contained in the operating instructions unless you are
qualified to do so.
Ces instructions d'entretien sont pour l'utilisation par le personnel de service qualifié seulement. Afin d’éviter
tout danger de décharge électrique, n’exécutez pas d’autre entretien que ceux indiqué dans le manuel
d’instruction À moins que vous soyez qualifié pour le faire.
•FCC Information *
This equipment has been tested and found to comply with limits for a class A digital device, pursuant
to part 15 of the FCC rules. These limits are designed to provide reasonable protection against harmful
interference when the equipment is operated in a commercial environment. This equipment generates,
uses, and can radiate radio frequency energy and, if not installed and used in accordance with the
instruction manual, may cause harmful interference to radio communications. Operation of this
equipment in a residential area is likely to cause harmful interference in which case the user will be
required to correct the interference at his own expense.
