manuals.online logo
Brands
  1. Home
  2. •
  3. Brands
  4. •
  5. SPIETH Gymnastics
  6. •
  7. Fitness Equipment
  8. •
  9. SPIETH Gymnastics ERGOJET-CLUB User manual

SPIETH Gymnastics ERGOJET-CLUB User manual

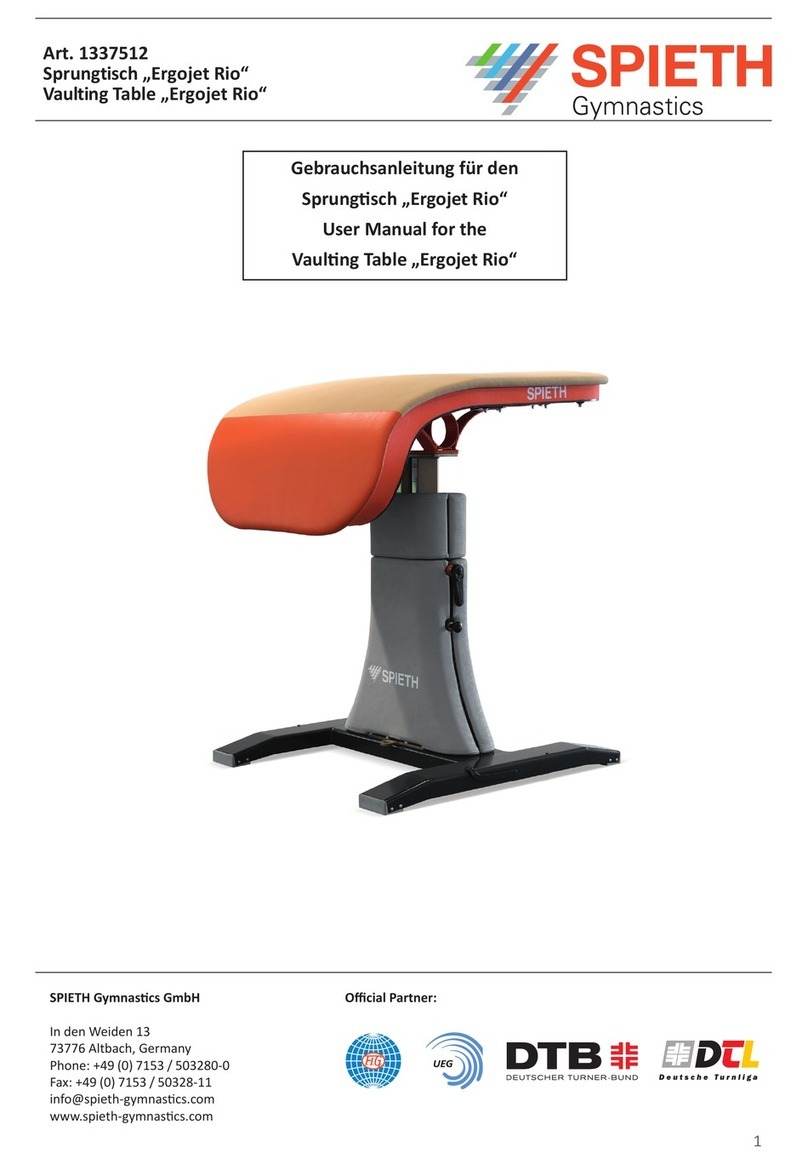
Art. 250
Sprungtisch „ERGOJET-CLUB“
Vaulting Table „ERGOJET-CLUB“
Seite 1 aus 8
Page 1 of 8
SPRUNGTISCH „ERGOJET
-
CLUB“
/ VAULTING TABLE
„ERGOJET
-
CLUB“
ART.
250
D
Gebrauchsanleitung
E
User manual
Art. 250
Sprungtisch „ERGOJET-CLUB“
Vaulting Table „ERGOJET-CLUB“
Seite 2 aus 8
Page 2 of 8
SPRUNGTISCH „ERGOJET
-
CLUB“
/ VAULTING TABLE
„ERGOJET
-
CLUB“
ART.
250
Beschreibung Description
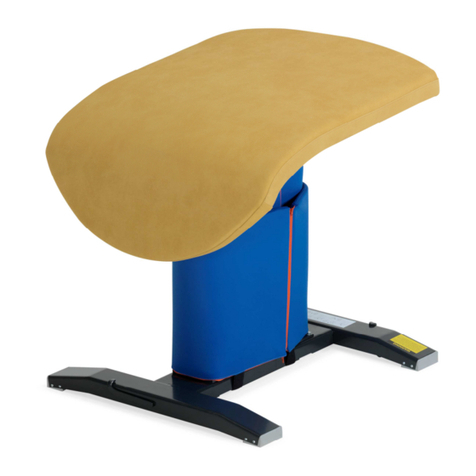
Sprungtisch "ERGOJET-Club" mit eingebauter
Fahreinrichtung.
Neues Modell mit Abstützfläche wie beim
Wettkampf-Sprungtisch.
Einfache Höhenverstellung mit Gasfeder,
2-Säulen-System, Gewicht-Ausgleich durch
eine Gasdruckfeder vorne, 2 Drehknöpfe zur
Sicherung der Konstruktion durch
Sicherheitsbolzen. Ein Schraubklemm-
verschluß in der Ecke jeder Säule zur
Stabilisierung.
Höhenverstellung: von 90 - 135 cm in Stufen
von 5 cm.
Oberteil:
Breite 95 cm
Länge 120 cm
3-schitige Schaumunterlage belegt mit
hygroskopischem Kunstlederbezug. Bezug
ersetzbar mittels Klettbandsystems. Ein
weicherer Trainingsüberzug auf Anfrage
erhältlich.
Füße:
Breite 95,3 cm
Länge 105 cm
Eingebaute Fahreinrichtung in beiden Füßen.
Bodenverankerung möglich, allerdings auf nur
Anfrage lieferbar.
Polsterung:
Weiche PVC Polsterung in spieth-rot
bestehend aus schiebbaren oberem und
unterem Teilen.
Gesamtgewicht: +/- 115 kg
Verpackung: 1 Palette 130x108x113cm
Der Sprungtisch „ERGOJET-CLUB“ wurde
speziell als kostengünstige und leicht
transportierbare Alternative für den
Wettkampfsprungtisch „ERGOJET“ entwickelt.
Besonders geeignet für Vereine, die die
Geräte oft auf- und abbauen müssen.
Außerdem höhenverstellbar von 90 cm
gegenüber 110 cm bei „ERGOJET“.
Vaulting table “ERGOJET-CLUB” with built-
in transport system.
New model with supporting surface as by
competition vaulting table.
Easy height adjustment with gas springs, 2-
pillar system, weight balancing through gas
pressure spring in front, 2 adjusting knobs to
secure the construction by means of safety
bolts. A screw-type buckle in the corner of
each pillar for stabilization.
Height adjustment: from 90 to 135 cm in
steps of 5 cm.
Upper part:
Width 95 cm
Length 120 cm
3-layers of foam pad covered with
hygroscopic synthetic leather cover. The
cover is exchangeable by means of Velcro
system. A soft covering for training is
available on request.
Feet:
Width 95,3 cm
Length 105 cm
Integrated transport system in both feet.
Floor anchoring is possible, but only on
request.
Upholstery:
Soft PVC upholstery in red color consists of
sliding upper and down parts.
Total weight: +/- 115 kg
Package: 1 pallet 130x108x113cm
The vaulting table “ERGOJET-CLUB” has
been developed as a cheaper and an easy
transportable alternative to the competition
vaulting table “ERGOJET”. It is specially
match for clubs, where the apparatuses are
to be often reinstalled. Additionally, height
adjustment is from 90 cm comparing to
“ERGOJET” with 110 cm.
Art. 250
Sprungtisch „ERGOJET-CLUB“
Vaulting Table „ERGOJET-CLUB“
Seite 3 aus 8
Page 3 of 8
SPRUNGTISCH „ERGOJET
-
CLUB“
/ VAULTING TABLE
„ERGOJET
-
CLUB“
ART.
250
1 2 3 4 5
D
Heben den
Sprungtisch von der
Palette nur mit der
Hilfe von
mindestens 2
Personen.
Stellen den
Sprungtisch
auf dem
Boden
Aufheben die
Einstellhebel,
um die Räder
niedriger zu
setzen
Stellen den
Sprungtisch
auf sein Platz
Schließen
Einstellhebel, um die
Räder höher zu
setzen und den
Sprungtisch in nieder
Position zu bringen
E
Lift the vaulting
table from the pallet
with the help of at
least 2 persons
Place
vaulting
table on the
floor
Lift handle in
order to lower
the wheels
Move the
vaulting table
to its place
Close handle in order
to lift the wheels and
lower the vaulting
table
Art. 250
Sprungtisch „ERGOJET-CLUB“
Vaulting Table „ERGOJET-CLUB“
Seite 4 aus 8
Page 4 of 8
SPRUNGTISCH „ERGOJET
-
CLUB“
/ VAULTING TABLE
„ERGOJET
-
CLUB“
ART.
250
1 2 3
D Öffnen Zip-
Verschluss an
der Seite von der
Auspolsterung
Die Skala für Höheanpassung
auf die Rückseite von der
Auspolsterung wird sichtbar
The höchste Markierung der
Skala entspricht die Höhe, auf
die Sprungtisch gestellt wurde
E Open zip-fastener
on the side of the
padding
the scale marking for the height
adjustment on the back side of
the padding becomes visible
The uppermost number on the
scale marking is the height on
which the vaulting table is set
Art. 250
Sprungtisch „ERGOJET-CLUB“
Vaulting Table „ERGOJET-CLUB“
Seite 5 aus 8
Page 5 of 8
SPRUNGTISCH „ERGOJET
-
CLUB“
/ VAULTING TABLE
„ERGOJET
-
CLUB“
ART.
250
D Auspolsterung wurde
entfernt, um besser zu
erklären, wie das System
funktioniert.
E We have removed for better
explanation of the
mechanism functioning
1 2 3 4 5
D
Drehen den
Griff nach
links, um
aufzumachen
Ziehen
Sicherheits-
befestiger
aus
Anpassen die
Höhe. Die Skala
ist auf die
Rückseite der
Auspolsterung
Die Höhe vom
Sprungtisch kann
mit dem Schritt 5 cm
von 90 – 135 cm
umgestellt werden
Diese Aktion
muss für beide
Füße gleichzeitig
ausgeführt
werden
E
Turn handle
counter
clockwise in
order to
unlock
Pull out the
safety catch
Adjust height.
The scale
marking is at
the back side of
the padding
The vaulting table
can be altered with 5
cm increments from
90 – 135 cm
This action needs
to be executed at
both legs
simultaneously
Art. 250
Sprungtisch „ERGOJET-CLUB“
Vaulting Table „ERGOJET-CLUB“
Seite 6 aus 8
Page 6 of 8
SPRUNGTISCH „ERGOJET
-
CLUB“
/ VAULTING TABLE
„ERGOJET
-
CLUB“
ART.
250
1+2 3 4
D
Stecken den Griff wieder ein und
sicherstellen ob er in seiner
ursprünglichen Position ist. Wenn
notwendig ist, die Verstellrohr
auf- und abbewegen bis es sich
schließt. D.h., der Griff richtig
platziert ist und der Sprungtisch
auf richtige Höhe gestellt ist.
Drehen den Griff rechts
herum bis er festgesetzt
ist. Die Höheverstellung
ist jetzt geschlossen und
das Gerät steht für
Sprünge bereit.
Schließen den
Zip-Verschluss
von der
Auspolsterung
und sicherstellen,
dass sie den
Sprungtisch gut
herum platziert ist.
E
Push back the safety catch and
make sure it’s back in the original
position. If necessary move deck
up and down until it locks. This
means the safety catch is in
place and the vaulting table is
positioned at the correct height
Turn the handle
clockwise until it is
fastened. The height
adjustment is now locked
and the apparatus is
ready to be used for
vaulting
Close the zip
fastener from the
padding and make
sure it is decently
placed around the
vaulting table
Art. 250
Sprungtisch „ERGOJET-CLUB“
Vaulting Table „ERGOJET-CLUB“
Seite 7 aus 8
Page 7 of 8
SPRUNGTISCH „ERGOJET
-
CLUB“
/ VAULTING TABLE
„ERGOJET
-
CLUB“
ART.
250
D
FIG
-
Wettkampfnormen
E
FIG Competition norms
D Alle Maße in cm
E All dimensions in cm
68 cm
125 cm Damen – 135 cm Herren
125 cm women
–
135 cm men
Art. 250
Sprungtisch „ERGOJET-CLUB“
Vaulting Table „ERGOJET-CLUB“
Seite 8 aus 8
Page 8 of 8
SPRUNGTISCH „ERGOJET
-
CLUB“
/ VAULTING TABLE
„ERGOJET
-
CLUB“
ART.
250
Vor jedem Benutzen des Turngerätes sind die
Verspannung und Bodenverankerungen auf Funktion
und Haltbarkeit zu prüfen!
Beim Benutzen dieses Turngerätes übernehmen Sie ein
Risiko der Verletzungen. Um dieses Risiko zu
reduzieren und um den sicheren Betrieb des Geräts zu
gewährleisten müssen die folgenden Anweisungen
allezeit streng beachtet werden:
1. Benutzen Sie dieses Turngerät nur unter
Beobachtung des ausgebildeten und qualifizierten
Instrukteurs / Personals.
2. Das Turngerät darf nur mit richtigen und
funktionsfähigen Niedersprungmatten benutzt
werden, die vom Internationalen Turnverband (FIG)
zugelassen sind. Sollten Sie über Ihre Matten im
Zweifel sein, benutzen Sie dieses Gerät nicht.
3. Berücksichtigen Sie immer Ihre eigenen Grenzen
und die Begrenzungen dieses Turngerätes.
4. Vor jedem Benutzen prüfen Sie dieses Gerät auf
gute Stabilität.
5. Prüfen Sie das Turngerät vor jedem Einsatz auf
korrekte Installation sowie die Verankerung,
Verspannung und Schlösser dieses Gerätes. Sollen
Sie im Zweifel sein, benutzen Sie dieses Gerät
nicht.
SPIETH empfiehlt, keine Veränderungen an den
gelieferten Geräten vorzunehmen. Sollten die
Geräte durch nicht sachgemäße Handhabung
verändert, oder keine Original-Ersatzteile verwendet
werden, lehnt SPIETH jegliche Verantwortung in
Schadensfällen ab. Dadurch tritt automatisch auch
die Produkthaftung außer Kraft.
Allgemeiner Hinweis:
Turngeräte und Matten haben eine begrenzte
Lebensdauer, und Materialien ermüden nach einer
bestimmten Zeit. Bitte prüfen Sie mindestens alle 3
Monate sämtliche Teile, die einer verstärkten Abnützung
unterliegen. Dies betrifft hauptsächlich Sicherungen von
verstellbaren Teilen und Mechanismen, Barrenholme,
Reckstangen, Ringe, etc. Ersetzen Sie alle abgenutzten,
fehlerhaften und fehlenden Teile. Im Zweifelsfall holen
Sie sich einen Sachverständigen zu Rate.
Aus Sicherheitsgründen empfehlen wir eine jährliche
Wartung der Turngeräte und Matten durchführen zu
lassen!
Check all tension cables and floor anchors for proper
function and stability before using the apparatus!
You assume a risk of serious injury in using this
equipment. However, in order to minimize the risk and
to assure secure functioning of the apparatus, down
mentioned rules are to be strictly followed:
1. Use this equipment only under the supervision of
a trained and qualified instructor / staff.
2. This gymnastics equipment may only be used with
mats approved for each apparatus by the
International Gymnastic Federation (FIG). Do not
use this apparatus if in doubt concerning suitability
of mats.
3. Pls. consider your own limits and the restrictions
of this gymnastics apparatus, while using it.
4. Check this equipment for proper stability before
each use. The apparatus must be tensed by
means of matching auxiliary equipment.
5. Always check the apparatus for its correct
installation, particularly for the anchorage,
tensioning and locks before each use.
SPIETH does not recommend any modification of
the equipment supplied. Should the equipment be
modified through improper manipulation or
introduction of not SPIETH spare parts, SPIETH
assumes no responsibility for the damages
caused. This means the end of warranty for the
SPIETH product.
General advise:
The life period of gymnastic equipment and mats is
limited. Also materials wear off after a certain period of
time. Pls. check all parts, which are the subject to
severe wear and tear, at least once in 3 months. This
is mainly relevant for the security of adjustable parts
and mechanisms, rails, bars, rings, etc. Replace any
worn off, defective and missing parts. If in doubt, ask
for the advice of a specialist.
For security reasons, we suggest you to perform the
maintenance of gymnastics equipment and mats once
per year.
SPIETH Gymnastics GmbH – safety in gymnastics
04/02/2013
Offizieller Partner von FIG / UEG / DTB
SPIETH Gymnastic
s
GmbH
Zeppelinstrasse 126 · 73730 Esslingen
Telefon +49 (0)711 / 319 710
Telefax +49 (0)711 / 319 7111
Internet: www.spieth-gymnastics.com
E-Mail: info@spieth-gymnastics.com
WARNUNG
WARNING

Other SPIETH Gymnastics Fitness Equipment manuals

SPIETH Gymnastics Bern User manual

SPIETH Gymnastics

SPIETH Gymnastics Bern User manual

SPIETH Gymnastics 218 Use and care manual

SPIETH Gymnastics

SPIETH Gymnastics 218 Use and care manual

SPIETH Gymnastics Berlin User manual

SPIETH Gymnastics

SPIETH Gymnastics Berlin User manual

SPIETH Gymnastics Ergojet Rio User manual

SPIETH Gymnastics

SPIETH Gymnastics Ergojet Rio User manual

SPIETH Gymnastics Ergojet Rio Use and care manual

SPIETH Gymnastics

SPIETH Gymnastics Ergojet Rio Use and care manual

SPIETH Gymnastics ERGOJET-CLUB Use and care manual

SPIETH Gymnastics

SPIETH Gymnastics ERGOJET-CLUB Use and care manual

SPIETH Gymnastics 1383124 Use and care manual

SPIETH Gymnastics

SPIETH Gymnastics 1383124 Use and care manual

SPIETH Gymnastics Club 1383124 Use and care manual

SPIETH Gymnastics

SPIETH Gymnastics Club 1383124 Use and care manual

Popular Fitness Equipment manuals by other brands

BH FITNESS Rhyno Max Instructions for assembly and use

BH FITNESS

BH FITNESS Rhyno Max Instructions for assembly and use

First Degree Fitness Viking AR Rower owner's manual

First Degree Fitness

First Degree Fitness Viking AR Rower owner's manual

NordicTrack Revitalize inversion system 2.0 831.14895.1 user manual

NordicTrack

NordicTrack Revitalize inversion system 2.0 831.14895.1 user manual

mind alive Oasis Pro Protocol guide

mind alive

mind alive Oasis Pro Protocol guide

BLK BOX 21-0123-0D Owner's manual & quick start guide

BLK BOX

BLK BOX 21-0123-0D Owner's manual & quick start guide

Stamina 50-1755 owner's manual

Stamina

Stamina 50-1755 owner's manual

Hammer 4536V2 manual

Hammer

Hammer 4536V2 manual

Tacx Vortex T1967 manual

Tacx

Tacx Vortex T1967 manual

Proxomed compass MTT user manual

Proxomed

Proxomed compass MTT user manual

Matrix MX-S73 Assembly guide

Matrix

Matrix MX-S73 Assembly guide

Stairmaster Core Health & Fitness HIIT ROWER owner's manual

Stairmaster

Stairmaster Core Health & Fitness HIIT ROWER owner's manual

ParaBody 704101 Assembly instruction sheet

ParaBody

ParaBody 704101 Assembly instruction sheet

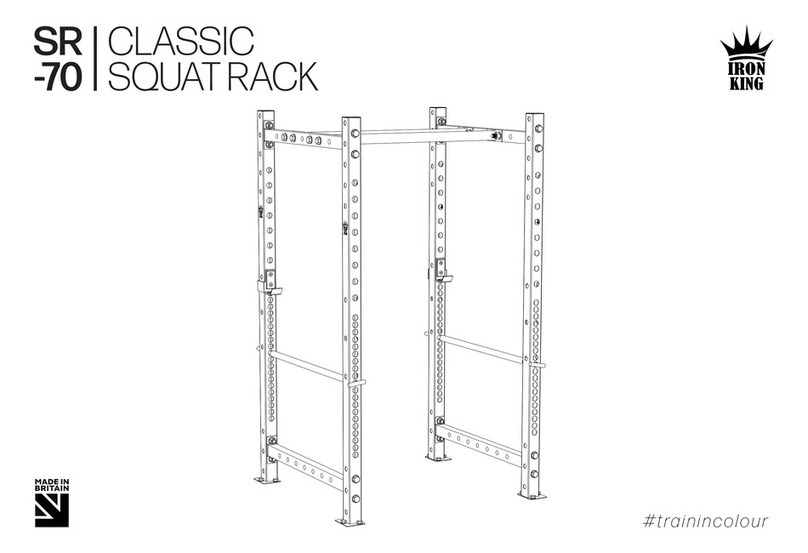
Iron King SR-70 instruction manual

Iron King

Iron King SR-70 instruction manual

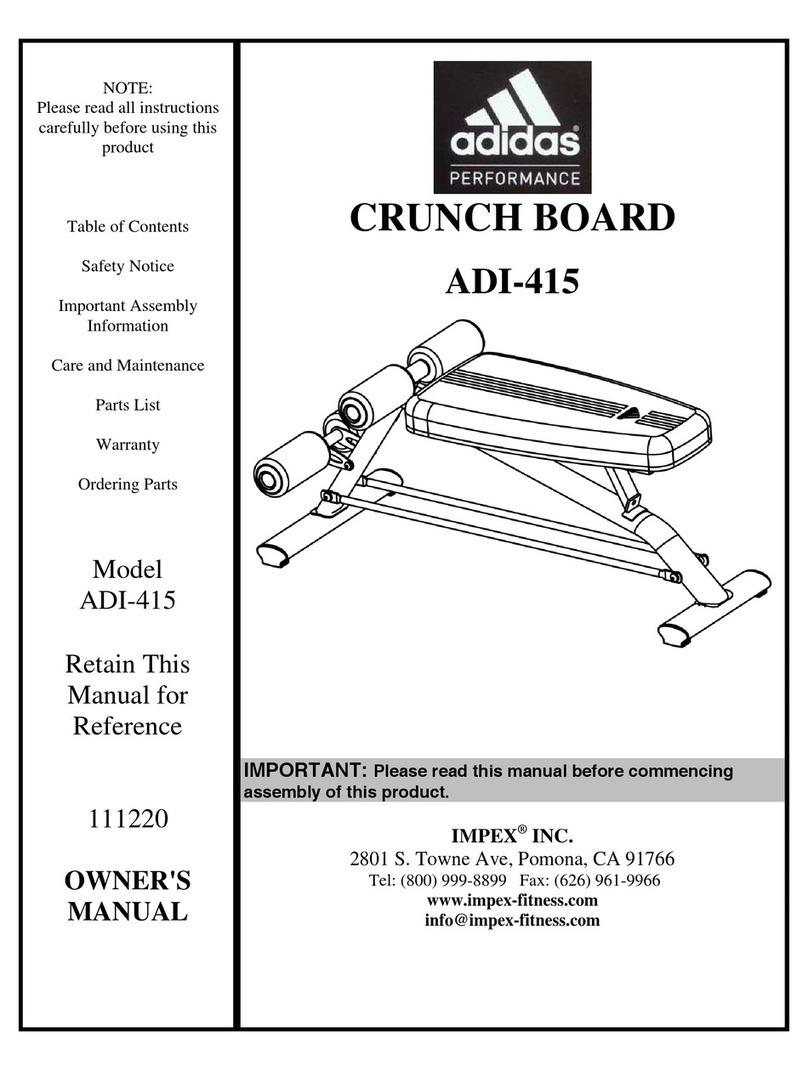
Impex ADI-415 owner's manual

Impex

Impex ADI-415 owner's manual

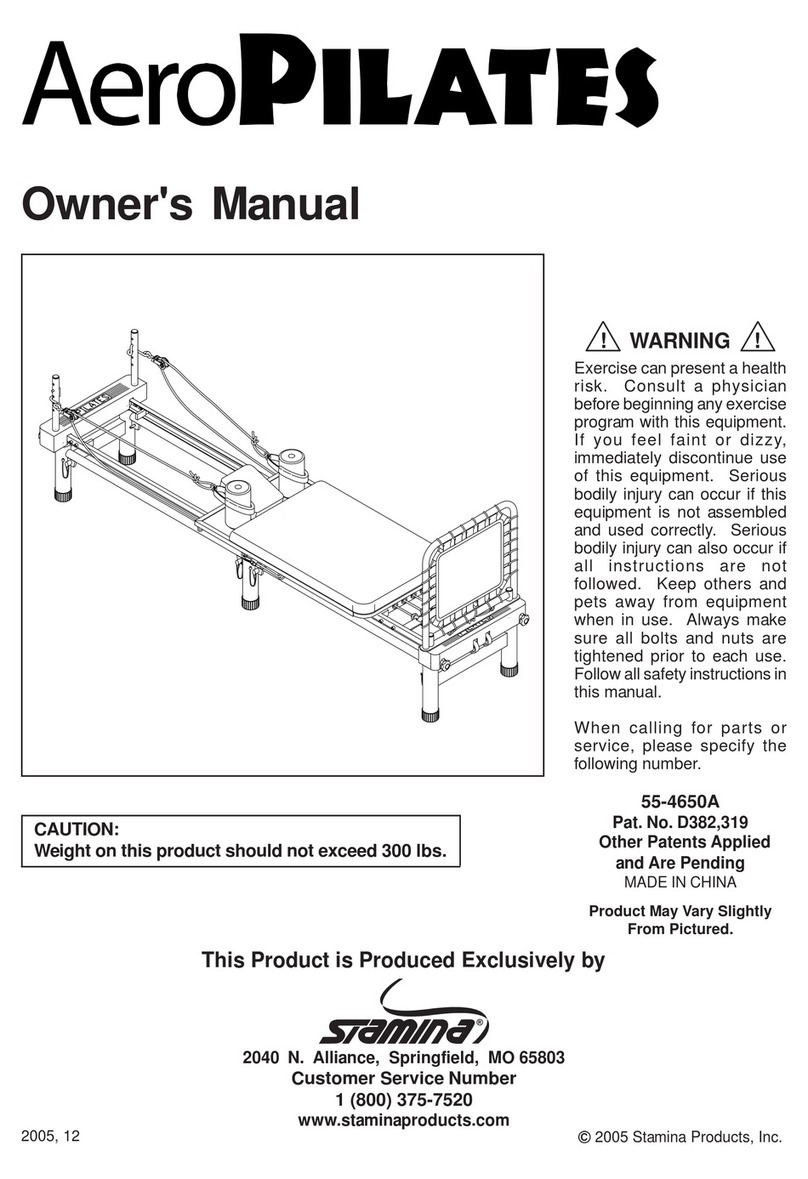
Stamina AeroPilates owner's manual

Stamina

Stamina AeroPilates owner's manual

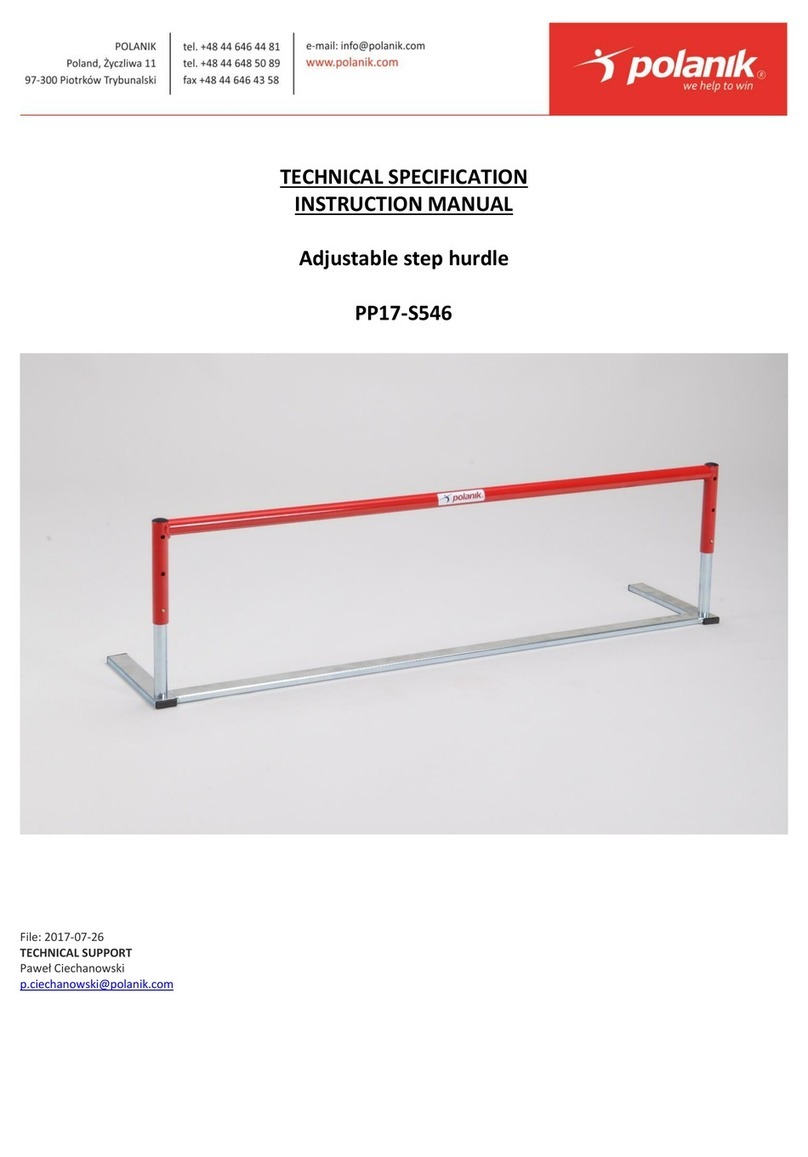
Polanik PP17-S546 TECHNICAL SPECIFICATION INSTRUCTION MANUAL

Polanik

Polanik PP17-S546 TECHNICAL SPECIFICATION INSTRUCTION MANUAL

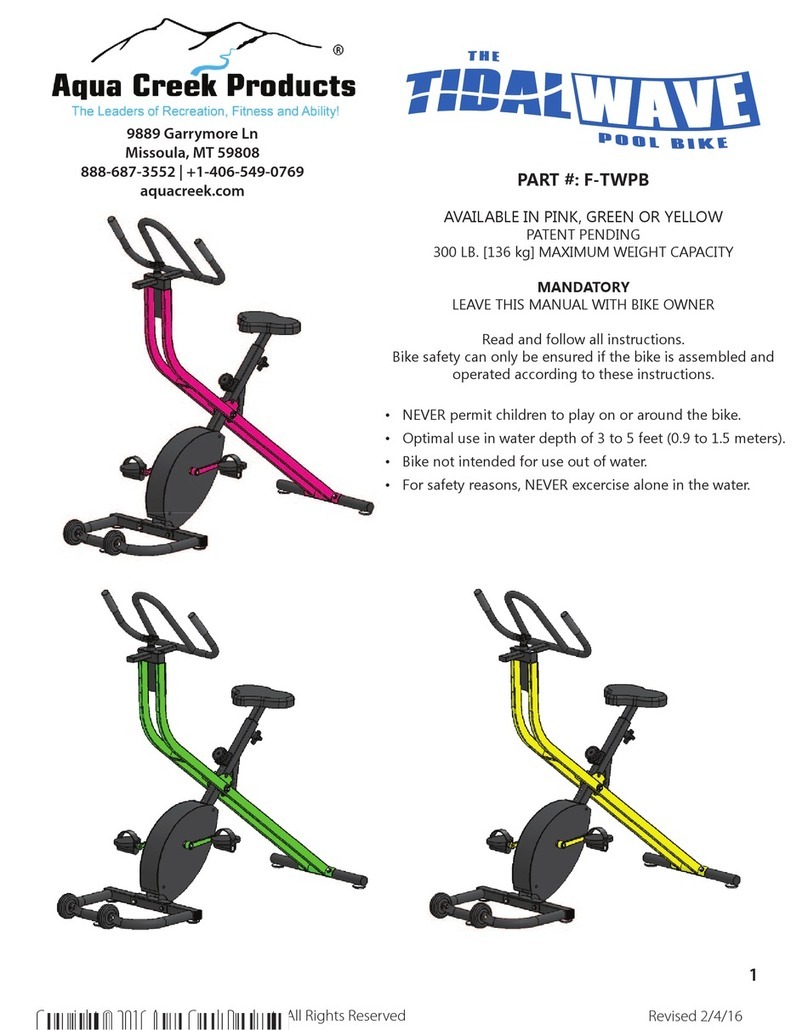
Aqua Creek F-TWPB Assembly instructions

Aqua Creek

Aqua Creek F-TWPB Assembly instructions

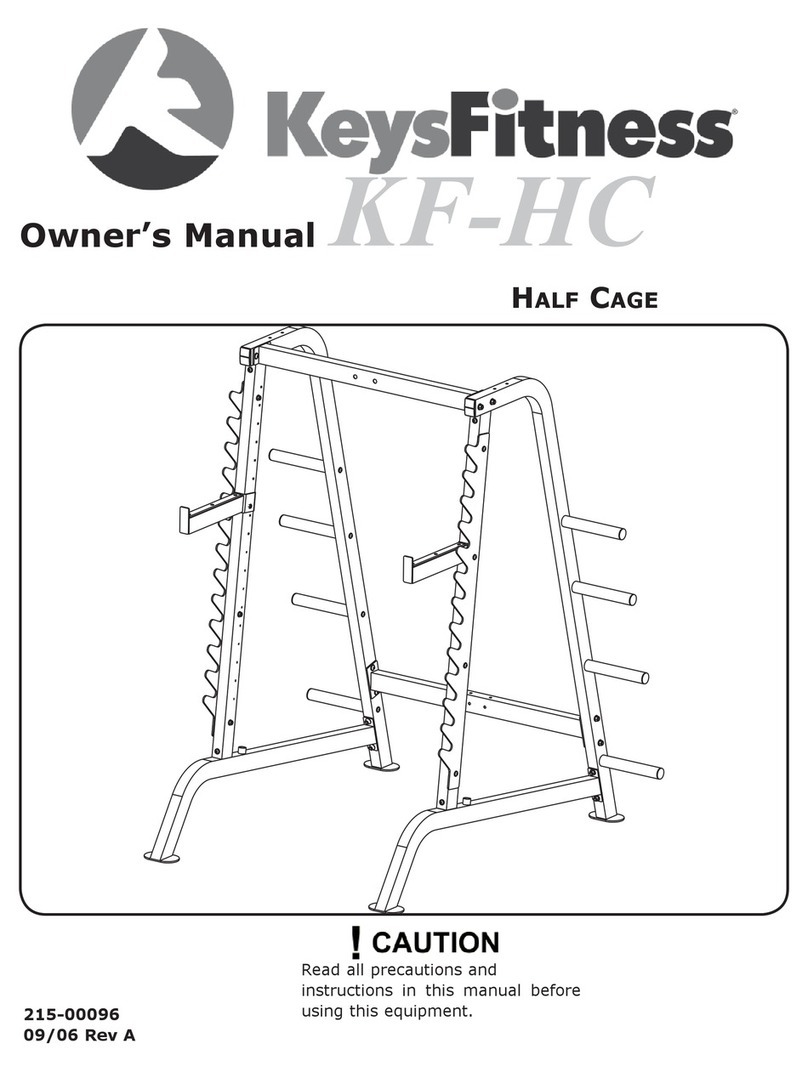
Keys Fitness KF-HC owner's manual

Keys Fitness

Keys Fitness KF-HC owner's manual

manuals.online logo
manuals.online logoBrands
  • About & Mission
  • Contact us
  • Privacy Policy
  • Terms and Conditions

Copyright 2025 Manuals.Online. All Rights Reserved.