manuals.online logo
Brands
  1. Home
  2. •
  3. Brands
  4. •
  5. SPIETH Gymnastics
  6. •
  7. Fitness Equipment
  8. •
  9. SPIETH Gymnastics Club 1383124 Use and care manual

SPIETH Gymnastics Club 1383124 Use and care manual

Art. 1383124
Freistehender Stufenbarren „Club“
Freestanding Uneven Bars „Club“
1
Aufbau- und ebrauchsanleitung
Assembly and user manual
SPIETH ymnastics mbH
–
offizieller Partner von:
SPIETH ymnastics mbH
In den Weiden 13
73776 Altbach
Telefon +49 (0)7153/50 32 800
Telefa +49 (0)7153/50 32 811
www.spieth-gymnastics.com
[email protected]
Art. 1383124
Freistehender Stufenbarren „Club“
Freestanding Uneven Bars „Club“
2
Beschreibung
Der Stufenbarren „Club“ ist eine freistehende
Konstruktion und nach dem ORIGINAL REUTHER
Vorspannungsprinzip gebaut.
Bestehend aus:
•Ausklappbaren Standfüßen
•Federunterstützten Verstellrohre
•Integrierter Transporteinrichtung
•Kann als 1-Holm-Modul eingesetzt und
mit Reckstange (Art. 4140090 ) genutzt
werden
•Das Gerät kann auch verspannt werden
•Die Einlegematte (Art. 2240867) ist auf
Anfrage lieferbar
Abmaße:
Höhenverstellung
Niederer Holm von 143-193 cm möglich
Hoher Holm von 218-266 cm möglich
Ma . Holmdistanz: 180 cm
Breiteneinstellung von 130-205 cm möglich
Standfüße angelegt: 256 124 216 cm
Standfüße geöffnet: 341 284 261 cm
Verpackungsinfo:
Netto-Gewicht: 291 kg
Brutto-Gewicht: 306 kg
Verpackungen: 1 Karton 255 132 36 cm
Description
The Uneven bars “Club” is a freestanding con-
struction and built on ORIGINAL REUTHER preten-
sion principle.
Consisting of:
•Retractable legs for higher stability
•Adjusting tubes assisted by springs
•Integrated built-in transport system
•A rail can easily be removed and be
interchanged with the bar of Horizontal
Bar (Art. 4140090)
•The apparatus can also be tensioned
•Frame mat (Art. 2240867) is available
upon the request
Measurements:
Height adjustment
Lower rail from 143-193 cm possible
Higher rail from 218-266 cm possible
Distance holder: 180 cm
Width adjustment from 130-205 cm possible
Legs folded: 256 124 216 cm
Legs unfolded: 341 284 261 cm
Packing data:
Net-weight: 291 kg
Gross-weight: 306 kg
Packages: 1 carton 255 132 36 cm
Art. 1383124
Freistehender Stufenbarren „Club“
Freestanding Uneven Bars „Club“
3
Bedienungs- und Montageanleitung
Bitte lesen Sie diese Anweisung, bevor Sie das
erät zusammenbauen.
Zahl der Benutzer:
Das Gerät ist ma . für eine Person zugelassen.
ACHTUN !
•Bitte das Gerät während der Benutzung
nicht verstellen.
•Prüfen Sie das Gerät vor jedem Einsatz auf
Beschädigung und Vollständigkeit. Stellen
Sie sicher, dass alle Schrauben und Ver-
schlüsse des Gerätes angezogen und ge-
sichert sind.
•Bei Beschädigung oder Defekt einzelner
Bauteile ist das Gerät für die Nutzung zu
sperren. Bei Austausch oder Reparatur
von Einzelteilen ausschließlich original
Ersatzteile verwenden. (Garantieverlust
bei Nichtanwendung)
•Zur Pflege des Gerätes keine lösemittel-
haltige Reinigungsmittel, oder Scheuerpul-
ver verwenden.
•Stahlbürsten und Sandpapier verletzen die
Holzummantelung der GFK-Holme. Zur
Reinigung der Holme von Magnesia nur
Scheuerschwämme aus Kunststoff ver-
wenden.
•Die Sicherungsstifte und Feststellschrau-
ben sollten in regelmäßigen Abständen,
jedoch mindestens zweimal pro Jahr, ge-
reinigt und eingefettet werden.
Lieferumfang:
1 Grundrahmen mit integrierter Fahreinrichtung
4 Standrohre vormontiert
2 Holme
2 Stützstreben
2 Distanzhalterungen
Benötigte Werkzeuge:
1 Inbusschlüssel 6 mm
User and assembly manual
Please read this instruction before apparatus
assembly.
Number of users:
The apparatus cannot be used by more than one
person at the same time.
ATTENTION!
•Please do not adjust the apparatus during
the use.
•Check the apparatus for any damage and
loose parts before use. Check on a regular
basis that all fi ings are properly tight-
ened.
•When damaged do not use the apparatus
until the damage is repaired. If parts need
to be replaced or repaired use parts of
original manufacturer only. (Loss of
warranty in case of non-application)
•Never use aggressive detergents for the
cleaning of the apparatus.
•Never clean the rails with sandpaper, as it
leads to the damages of wooden coating.
We recommend using a synthetic scouring
pad, to remove magnesium rests.
•The thread of the adjustment knobs must
be regularly cleaned and newly slightly
greased, however at least twice a year.
Scope of delivery:
1 Base frame with built-in transport system
4 Upraight pre-assembled
2 Rails
2 Diagonal distance interlock
2 Distance hoders
Necessary tools:
1 Allen key 6 mm
Art. 1383124
Freistehender Stufenbarren „Club“
Freestanding Uneven Bars „Club“
4
Abb. 1: Zusammenbau von Standrohren und
rundrahmen
Abb. 2:
1 Standrohr in Grundrahmen einsetzen
2 Zwischenbuchsen gemäß Zeichnung einsetzen
3 Inbusschrauben mit Schlüssel fest anziehen
Abb. 3 und 4:
ACHTUN ! Um Lackschäden zu vermeiden,
schwenken Sie die Standrohre vorsichtig bis zur
Außenkante des Langloches am Grundrahmen
Pict. 1: Assembly of uprights and base frame
Pict. 2:
1 Place the upright in the base
2 Place the round sockets into the base
3 Mount the socket-head-screws
Art. 1383124
Freistehender Stufenbarren „Club“
Freestanding Uneven Bars „Club“
5
Pict. 3 and 4:
ATTENTION! Move the uprights slowly towards the
outside and rest them gently onto the base edges
to avoid paint damage
Abb. 5: Zusammenbau von hohen Standrohren
und Stützstreben
Abb. 6:
Montieren Sie die Stützstreben der hohen Stand-
rohre und achten Sie auf fest angezogene Schrau-
ben
Abb. 7: Zusammenbau von Standrohren und Dis-
tanzhalterungen
Pict. 5: Assembly of high uprights and diagonal
distance interlock
Pict. 6:
Mount the diagonal distance interlock and ensure,
that the screws are firmly tightened
Art. 1383124
Freistehender Stufenbarren „Club“
Freestanding Uneven Bars „Club“
6
Pict. 7: Assembly of uprights and width adjusters
Abb. 8:
Montieren Sie die Distanzhalterungen (beginnend
am hohen Holm)
Abb. 9: Zusammenbau von Standrohren und Stu-
fenbarrenholmen
Abb. 10:
1 Stufenbarrenholm in den Spannkopf legen
2 Befestigen Sie mit dem Sicherungsstift (roter
Knopf muss gedrückt sein) den Stufenbarren-
holm im Spannkopf
Pict. 8:
Mount the width adjusters to the uprights
Pict. 9: Assembly of uprights and rails
Pict. 10:
Art. 1383124
Freistehender Stufenbarren „Club“
Freestanding Uneven Bars „Club“
7
1 Position the rail above the slot of the clamping
head
2 Mount the rail to the clamping head into the
locking pin (the red button must be pressed)
Höhenverstellung der Holme
Abb. 11:
1 Lösen: Feststellschraube gegen den Uhrzei-
gersinn drehen; Schließen: Feststellschraube im
Uhrzeigersinn drehen
2 Zur Höhenverstellung, Schraube nach außen
ziehen
3 Gewünschte Höhe einstellen
Abb. 12:
ACHTUN ! Sicherungsknopf muss vor dem
Schließen der Verstellschraube eingerastet sein.
Abb. 13: Entfernen, oder Auswechseln der
Stufenbarrenholme
1 Sicherungsstift mit gedrücktem roten Knopf he-
rausziehen
2 Holm entfernen oder einsetzen
ACHTUN ! Sicherungsstift muss komplett am
Spannkopf anliegen
Rails height adjustment
Pict. 11:
1 Unlocking: turn the screw counter clockwise;
Locking: turn the screw clockwise
2 Height adjustment: pull the knob outwards
3 Adjust to the desired height
Pict. 12:
ATTENTION! Always check before use, that all si
red warning indicator buttons do not protrude.
Art. 1383124
Freistehender Stufenbarren „Club“
Freestanding Uneven Bars „Club“
8
Pict. 13: Removing or exchanging uneven bars
rails
1 Push the red button while pulling out the locking
pin
2 Remove\insert rail
ATTENTION! When reinserting the locking pin
make sure the pin is fully inserted
Abb. 14:
1 Umlenkhebel geschlossen (Standposition)
2 Umlenkhebel geöffnet (Fahrposition)
Abb. 15:
3 Nach dem Öffnen der Umlenkhebel, die Ausleger
zum Verfahren des Stufenbarrens nach innen
klappen
Abb. 16:
4 Bewegen des Stufenbarrens in 4 Richtungen
möglich
ACHTUN ! Ausleger müssen eingeklappt sein
Pict. 14:
1 Bell crank closed: stand position
2 Bell crank open: moving position
Pict. 15:
3 After unfolding the wheels all legs must be
folded inward
Pict. 16:
4 Ready for displacement in 4 directions
Art. 1383124
Freistehender Stufenbarren „Club“
Freestanding Uneven Bars „Club“
9
WARNUN
WARNIN
ATTENTION! Before any displacement of the equipment all legs must be fully unfolded and
wheels retracted.
Beim Benutzen dieses Turngerätes übernehmen Sie ein
Risiko der Verletzungen. Um dieses Risiko minimal zu halten
und um den sicheren Betrieb des Geräts zu gewährleisten,
müssen die folgenden Anweisungen beachtet werden:
1. Benutzen Sie das Turngerät nur unter Beobachtung
ausgebildeten und qualifizierten Personals.
2. Vor jedem Benutzen prüfen Sie dieses Gerät auf gute
Stabilität, Standsicherheit und einen einwandfreien
technischen Zustand.
3. Prüfen Sie das Turngerät vor jedem Einsatz auf korrekte
Installation sowie die Verankerung, Verspannung und
Schlösser dieses Gerätes. Sollten Sie im Zweifel sein,
benutzen Sie dieses Gerät nicht und lassen eine Prüfung
durchführen.
4. Das Turngerät darf nur mit funktionsfähigen
Niedersprungmatten benutzt werden, die vom
Internationalen Turnverband (FIG) zugelassen sind.
Sollten Sie über Ihre Matten im Zweifel sein, benutzen
Sie dieses Gerät nicht und lassen die Matten prüfen.
5. Berücksichtigen Sie immer Ihre eigenen Grenzen und
die Begrenzungen dieses Turngerätes.
6. In der unmittelbaren Nähe des Geräts dürfen sich keine
hinderlichen Gegenstände oder Personen befinden.
7. Sorgen Sie für ausreichende Sicherheitsfläche im
Umfeld des Geräts.
8. Benutzen Sie das Gerät nicht, wenn Sie unter Einfluss
von Alkohol, Medikamenten oder Drogen stehen.
9. Schwangere Frauen oder Personen mit gesund-
heitlichen Problemen sollen das Gerät nicht benutzen.
SPIETH empfiehlt, keine Veränderungen an den gelieferten
Geräten vorzunehmen. Sollten die Geräte durch nicht
sachgemäße Manipulation verändert werden, lehnt SPIETH
jegliche Verantwortung in Schadensfällen ab. Dadurch tritt
automatisch auch die Produkthaftung außer Kraft.
Allgemeiner Hinweis:
Turngeräte und Matten haben eine begrenzte Lebensdauer,
und Materialien ermüden nach einer bestimmten Zeit. Bitte
prüfen Sie mindestens alle 3 Monate sämtliche Teile, die
einer verstärkten Abnützung unterliegen. Dies betrifft
hauptsächlich Sicherungen von verstellbaren Teilen und
Mechanismen, z.B. Barrenholme, Reckstangen, Ringe.
Ersetzen Sie alle abgenutzten, fehlerhaften und fehlenden
Teile. Im Zweifelsfall holen Sie sich einen Sachverständigen
zu Rate.
Aus Sicherheitsgründen empfehlen wir eine jährliche
Wartung der Turngeräte und Matten durch Spezialisten
durchführen zu lassen!
SPIETH empfiehlt hierbei auch die Überprüfung der
Bodenanker durch den SPIETH Service oder einen anderen
autorisierten Fachbetrieb. Gemäß FIG-Norm müssen
Bodenanker einer Zugkraft von 8000 N standhalten können.
Im Falle eines Schadens, z.B. dem Ausreißen eines
Bodenankers übernimmt die SPIETH Gymnastics keine
Haftung!
In order to reduce the risk of injury and to assure secure
functioning of the apparatus, rules mentioned below are to
be strictly followed:
1. Use this equipment only under the supervision of a
trained and qualified instructor.
2. Check this equipment for proper stability before each
training, use it only in perfect technical conditions.
3. Always check the apparatus for its correct installation,
particularly for the anchorage, tensioning and locks
before each use. If there are any doubts, do not use the
apparatus and get a professional check for the
apparatus.
4. This gymnastics equipment may only be used with mats
approved for each apparatus by the International
Gymnastic Federation (FIG). Do not use this apparatus if
in doubt concerning suitability of mats and get them
checked by a professional service.
5. Please consider your own limits and the restrictions of
this gymnastics apparatus, while using it.
6. Obstructive items or persons in close pro imity of the
apparatus are not allowed.
7. Provide appropriate safety zones in the surroundings of
the apparatus.
8. Never use the apparatus under influence of alcohol,
medication or drugs.
9. Pregnant women or persons with health issues should
not use this apparatus.
SPIETH does not recommend any modification of the
equipment supplied. Should the equipment be modified
through improper manipulation, SPIETH assumes no
responsibility for the damages caused. This means the end
of warranty for the SPIETH product.
eneral advise:
Art. 1383124
Freistehender Stufenbarren „Club“
Freestanding Uneven Bars „Club“
10
The life period of gymnastic equipment and mats is limited.
Also materials wear off after a certain period of time. Please
check all parts, which are the subject to severe wear and
tear, at least once in 3 months. This is mainly relevant for
the security of adjustable parts and mechanisms, e.g. rails,
bars, rings. Replace any worn off, defective and missing
parts. If there are any doubts, ask for the advice of a
specialist.
For security reasons, we suggest to perform the
maintenance of gymnastics equipment and mats by a
specialist once a year!
SPIETH furthermore recommend the check of floor
anchorage by SPIETH Service or some other authorized
specialist. In accordance with the FIG rules, a floor anchor
must withstand a pulling tension of 8000 N. In case of
damage, e.g. a torn anchor, SPIETH Gymnastics assumes no
liability!

Other SPIETH Gymnastics Fitness Equipment manuals

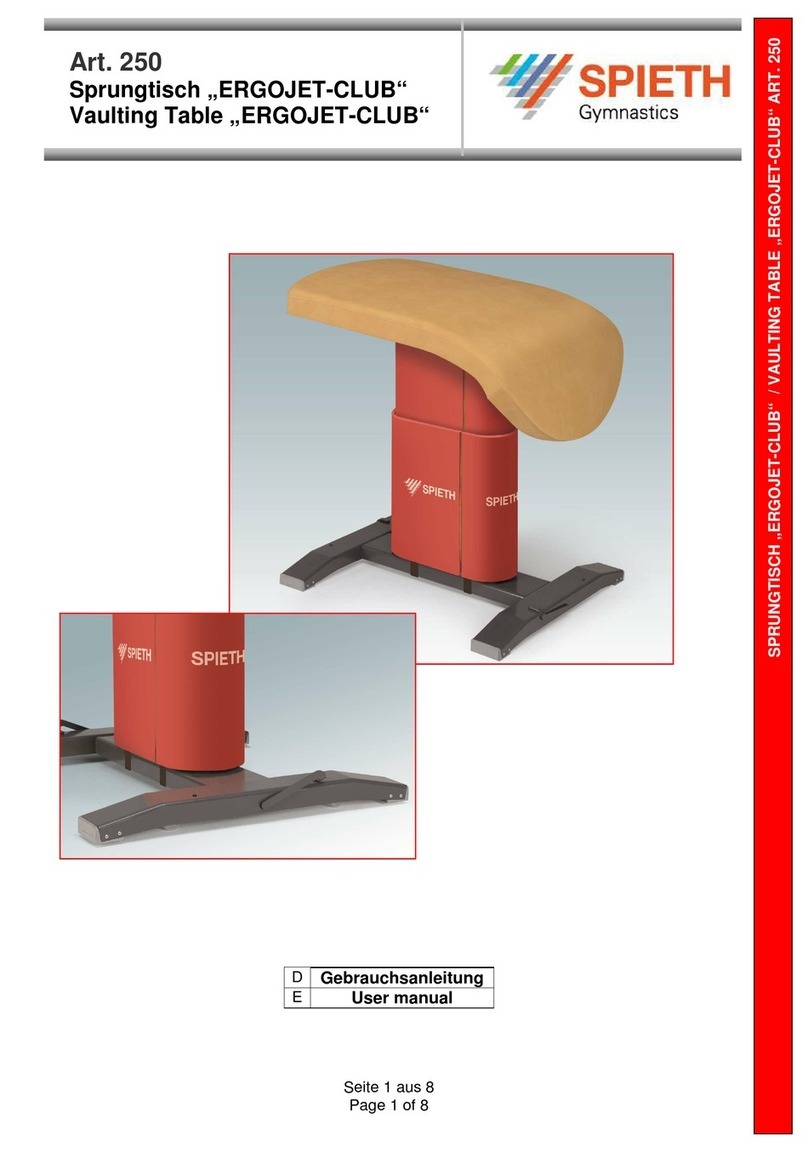
SPIETH Gymnastics ERGOJET-CLUB User manual

SPIETH Gymnastics

SPIETH Gymnastics ERGOJET-CLUB User manual

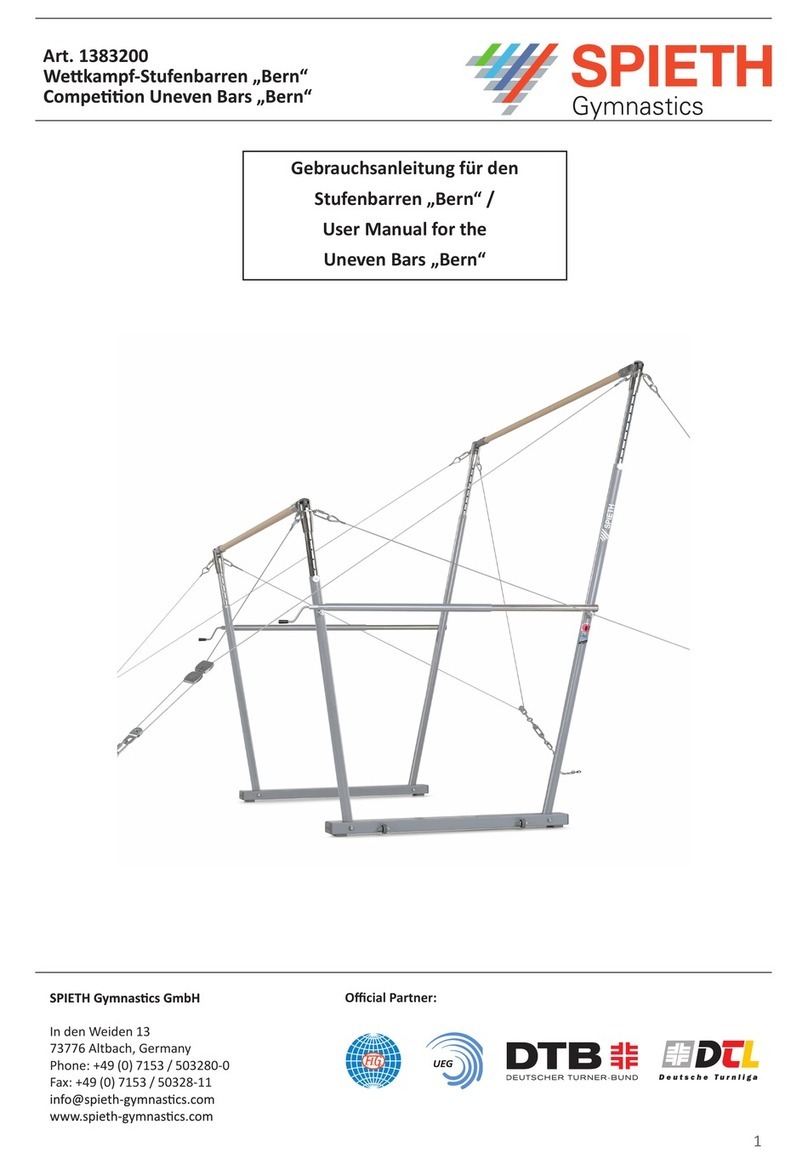
SPIETH Gymnastics Bern User manual

SPIETH Gymnastics

SPIETH Gymnastics Bern User manual

SPIETH Gymnastics 1383124 Use and care manual

SPIETH Gymnastics

SPIETH Gymnastics 1383124 Use and care manual

SPIETH Gymnastics ERGOJET-CLUB Use and care manual

SPIETH Gymnastics

SPIETH Gymnastics ERGOJET-CLUB Use and care manual

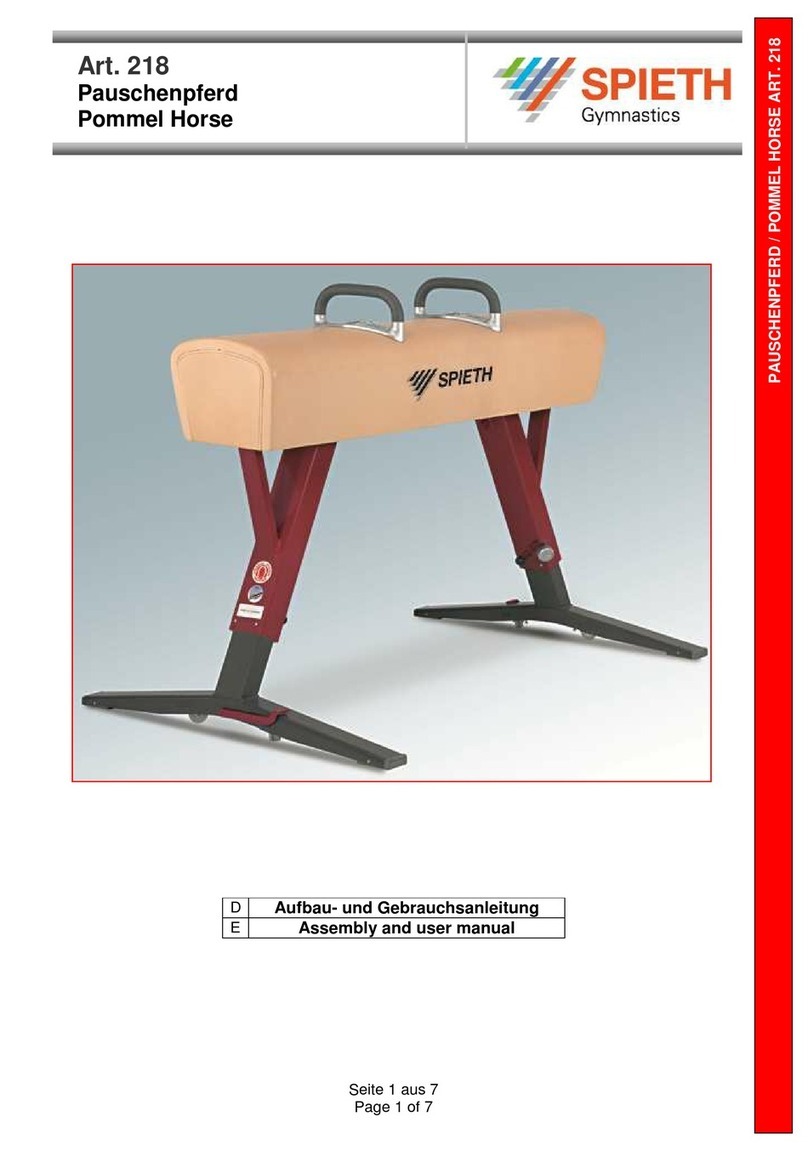
SPIETH Gymnastics 218 Use and care manual

SPIETH Gymnastics

SPIETH Gymnastics 218 Use and care manual

SPIETH Gymnastics Berlin User manual

SPIETH Gymnastics

SPIETH Gymnastics Berlin User manual

SPIETH Gymnastics Ergojet Rio Use and care manual

SPIETH Gymnastics

SPIETH Gymnastics Ergojet Rio Use and care manual

SPIETH Gymnastics Ergojet Rio User manual

SPIETH Gymnastics

SPIETH Gymnastics Ergojet Rio User manual

Popular Fitness Equipment manuals by other brands

Taurus PTT0207 Assembly instructions

Taurus

Taurus PTT0207 Assembly instructions

Domyos PA 250 operating instructions

Domyos

Domyos PA 250 operating instructions

BionicGym BionicGym user manual

BionicGym

BionicGym BionicGym user manual

ONE FITNESS LS5828 Manual instruction

ONE FITNESS

ONE FITNESS LS5828 Manual instruction

Domyos HG 60-3 operating instructions

Domyos

Domyos HG 60-3 operating instructions

CYBEX VR1 13180-999-4 AC owner's manual

CYBEX

CYBEX VR1 13180-999-4 AC owner's manual

Hoist Fitness 440 Assembly instructions

Hoist Fitness

Hoist Fitness 440 Assembly instructions

NordicTrack NTB49030 user manual

NordicTrack

NordicTrack NTB49030 user manual

Maxxus CX 4.3F Installation and operating manual

Maxxus

Maxxus CX 4.3F Installation and operating manual

VIRTUFIT Power Tower Deluxe user manual

VIRTUFIT

VIRTUFIT Power Tower Deluxe user manual

PSS 4000 Installation, operation and maintenance guide

PSS

PSS 4000 Installation, operation and maintenance guide

Precor C556 Service manual

Precor

Precor C556 Service manual

AeroPilates AeroPilates Performer Plus 5002 owner's manual

AeroPilates

AeroPilates AeroPilates Performer Plus 5002 owner's manual

Hang ups Teeter EP-850 owner's manual

Hang ups Teeter

Hang ups Teeter EP-850 owner's manual

Impex Marcy PT-60 owner's manual

Impex

Impex Marcy PT-60 owner's manual

Weider WEBE1996.0 user manual

Weider

Weider WEBE1996.0 user manual

Jumppod Orbounder OR1213 user manual

Jumppod

Jumppod Orbounder OR1213 user manual

Technogym MYWELLNESS KIOSK PRE-INSTALLATION

Technogym

Technogym MYWELLNESS KIOSK PRE-INSTALLATION

manuals.online logo
manuals.online logoBrands
  • About & Mission
  • Contact us
  • Privacy Policy
  • Terms and Conditions

Copyright 2025 Manuals.Online. All Rights Reserved.