manuals.online logo
Brands
  1. Home
  2. •
  3. Brands
  4. •
  5. Spitzer LIGHTING
  6. •
  7. Outdoor Light
  8. •
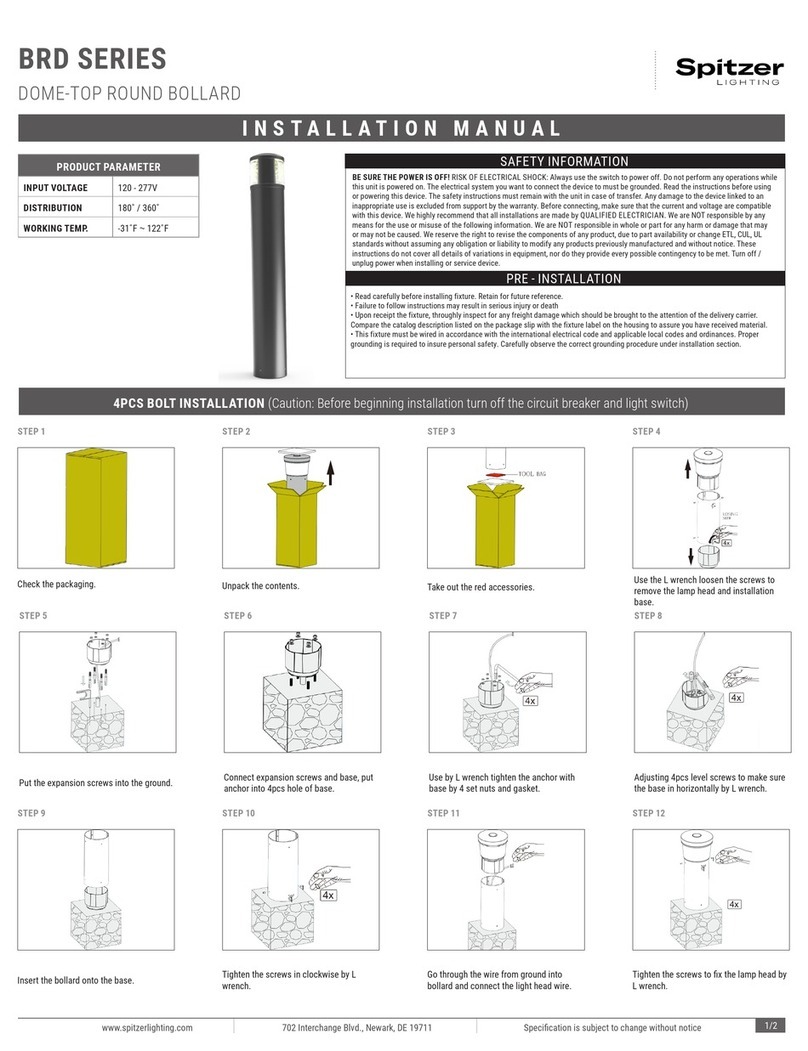
  9. Spitzer LIGHTING BOLLARD Series User manual

Spitzer LIGHTING BOLLARD Series User manual

BOLLARD SERIES
SQUARE BOLLARD LUMINAIRE
INSTALLATION MANUAL
SAFETY INFORMATION
BE SURE THE POWER IS OFF! RISK OF ELECTRICAL SHOCK: Always use the switch to power off. Do not perform
any operations while this unit is powered on. The electrical system you want to connect the device to must be
grounded. Read the instructions before using or powering this device. The safety instructions must remain with
the unit in case of transfer. Any damage to the device linked to an inappropriate use is excluded from support by
the warranty. Before connecting, make sure that the current and voltage are compatible with this device. We highly
recommend that all installations are made by QUALIFIED ELECTRICIAN. We are NOT responsible by any means for
the use or misuse of the following information. We are NOT responsible in whole or part for any harm or damage
that may or may not be caused. We reserve the right to revise the components of any product, due to part availability
or change ETL, CUL, UL standards without assuming any obligation or liability to modify any products previously
manufactured and without notice. These instructions do not cover all details of variations in equipment, nor do they
provide every possible contingency to be met. Turn off / unplug power when installing or service device.
WARNING: Read all safety precautions and installation instructions carefully before installing or servicing this
xture. Failure to comply with these instructions could result in a potentially fatal electric shock, re, and/or
property damage.
• Cut off the power source before installation and ensure the installation position to withstand the weight of lamps
• To prevent lamps falling off, please be sure the installation is correct
• Don’t use these lamps where with corrosive gas
• Do no cover any material on the lamps
• Ensure connection with earth wire is stable
• Don’t install this product in water-logged ground and rough road it is not our warranty cause fault by reason of
decomposition and modified without our authorized or improper construction
WARNING
FCC WARNING
WARNING: Changes or modications to this unit not expressly approved by the party responsible for compliance
could void the user authority to operate the equipment.
NOTES: This equipment has been tested and found to comply with the limits for a Class B digital device, pursuant to
Part 15 of the FCC Rules. These limits are designed to provide reasonable protection against harmful interference in
a residential installation. This equipment generates, uses and can radiate radio frequency energy and, if not installed
and used in accordance with the instructions, may cause harmful interference to radio communications.
However, there is no guarantee that interference will not occur in a particular installation. If this equipment does
cause harmful interference to radio or television reception, which can be determined by turning the equipment off
and on, the user is encouraged to try to correct the interference by one or more of the following measures:
•Reorient or relocate the receiving antenna.
•Increase the separation between the equipment and receiver.
•Connect the equipment into an outlet on a circuit different from that to which the receiver is connected.
•Consult the dealer or an experienced radio/TV technician for help.
PRE - INSTALLATION
•Carefully remove the fixture from the carton.
•Before beginning assembly, installation, or operation of product, make sure all parts
are present. Compare parts with package contents list and diagram on previous page.
If any part is missing or damaged, do not attempt to assemble, install or operate the
product. Contact customer service for replacement parts.
•Tools required for assembly (Not Included): screwdriver, phillips screwdriver, pliers,
electrical tape, wire cutters, safety glasses, ladder, wire stripper.
INSTALLATION (Caution: Before beginning installation turn off the circuit breaker and light switch)
PRODUCT PARAMETER
INPUT VOLTAGE 100-277VAC
OPTICS CCT CHANGEABLE
MATERIAL DIE-CAST ALUMINUM
STEP 1 STEP 2
Fix the pedestal on
concrete column.
Connect driver wire and
Bollard wire. Then next
connect the lamp head
and Bollard by M6 socket
screw bolt.
Then connect the BOLS
Bollard and Pedestal by
M6 socket screw bolt.
STEP 3
www.spitzerlighting.com 702 Interchange Blvd., Newark, DE 19711 Specication is subject to change without notice 1/2
Driver and lighting source are separate, it
is very easy to installation and to change
the driver
Color Temperature selection by Slide-Switch
•3000K/ 4000K/ 5000K color changeable
•Please press the color temperature
indicator to toggle the Slide-switch to the
corresponding position
PRODUCT FEATURES
COLOR TEMPERATURE SETTING
BOLLARD SERIES
SQUARE BOLLARD LUMINAIRE
INSTALLATION MANUAL
www.spitzerlighting.com 702 Interchange Blvd., Newark, DE 19711 Specication is subject to change without notice 2/2
CARE AND MAINTENANCE
TROUBLE SHOOTING
CAUTION: Before attempting to clean the xture, disconnect the power to the xture by turning
the breaker off or removing the fuse from the fuse box. This LED light xture is made from quality
materials that will last many years with minimum care and maintenance. You may want to clean
the xture with a soft cloth periodically. To maintain the best appearance of the xture, do not use
cleaners with chemicals, solvents or harsh abrasives. Do not use liquid cleaner on the LEDs, LED
driver, or wiring inside the light xture.
PROBLEM POSSIBLE CAUSE SOLUTION
Light will not come on A. Light switch is turned off.
B. Fuse is blown or circuit breaker is
turned off.
C. Incorrect circuit wiring
A. Turn light switch on
B. Replace fuse or turn circuit
breaker on
C. Verify that xture is wired
properly
Materials are aluminum alloy Bollard + PC lampshade
with high transmittance to make sure uniform lighting
distribution. Professional optical lens with different angle
can t different lighting distribution demand.
Built in driver, waterproof, dust proof
corrosion proof (IP65).
Die-casting aluminum lamp body,
professional cooling channel, good
thermal management performance.

Other Spitzer LIGHTING Outdoor Light manuals

Spitzer LIGHTING WS15W3K User manual

Spitzer LIGHTING

Spitzer LIGHTING WS15W3K User manual

Spitzer LIGHTING ASE Series User manual

Spitzer LIGHTING

Spitzer LIGHTING ASE Series User manual

Spitzer LIGHTING BOLLARD Series User manual

Spitzer LIGHTING

Spitzer LIGHTING BOLLARD Series User manual

Spitzer LIGHTING POST TOP Series User manual

Spitzer LIGHTING

Spitzer LIGHTING POST TOP Series User manual

Spitzer LIGHTING BRD Series User manual

Spitzer LIGHTING

Spitzer LIGHTING BRD Series User manual

Spitzer LIGHTING WALL PACK Series User manual

Spitzer LIGHTING

Spitzer LIGHTING WALL PACK Series User manual

Popular Outdoor Light manuals by other brands

V-TAC VT-ST15 instruction manual

V-TAC

V-TAC VT-ST15 instruction manual

Quoizel NY8407K Assembly instruction sheet

Quoizel

Quoizel NY8407K Assembly instruction sheet

Trilux 8841 LED Mounting instructions

Trilux

Trilux 8841 LED Mounting instructions

JALEXANDER JAE307 Assembly instructions

JALEXANDER

JALEXANDER JAE307 Assembly instructions

Urban Electric CAY Assembly and mounting instructions

Urban Electric

Urban Electric CAY Assembly and mounting instructions

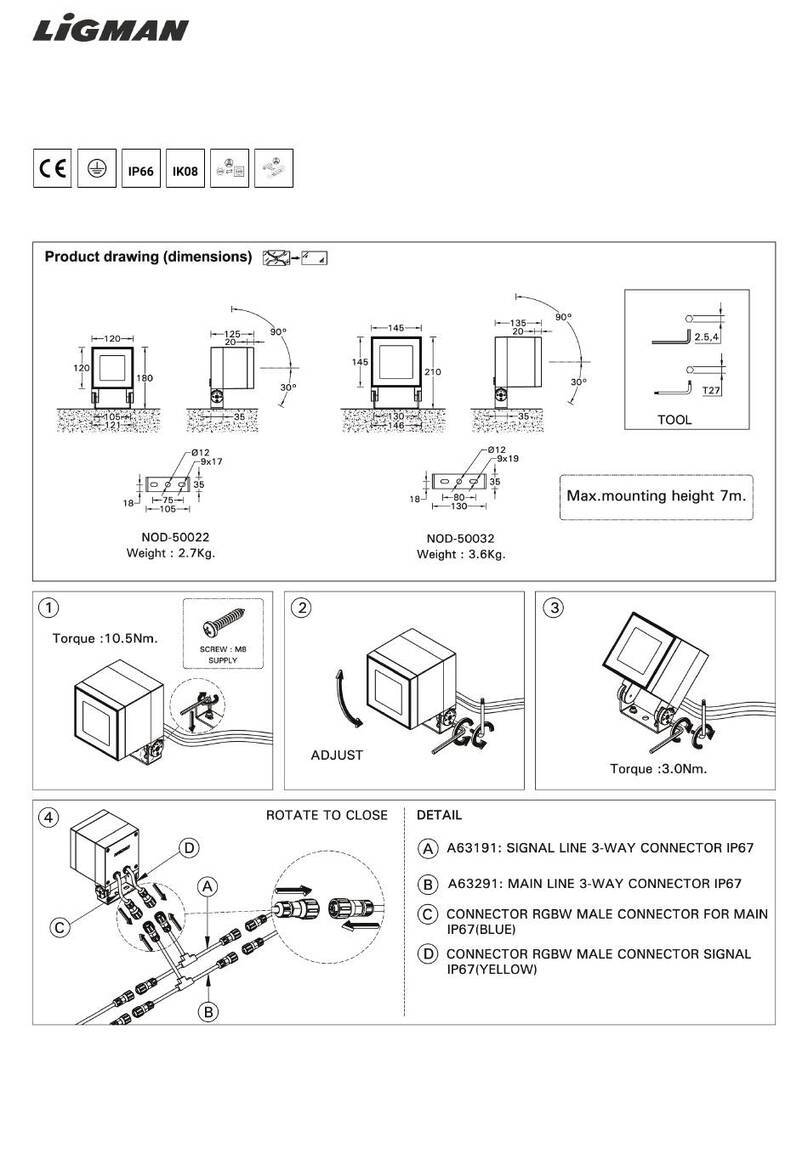
LIGMAN AA-20166-2-1 installation manual

LIGMAN

LIGMAN AA-20166-2-1 installation manual

TotalPond UW16200 quick start guide

TotalPond

TotalPond UW16200 quick start guide

Lights LampLust Elloway installation instructions

Lights

Lights LampLust Elloway installation instructions

Bounce LED NOVANEON Reflex manual

Bounce LED

Bounce LED NOVANEON Reflex manual

HEPER LL2023.865-US Installation & maintenance instructions

HEPER

HEPER LL2023.865-US Installation & maintenance instructions

RH CHARLEROI Assembly instructions

RH

RH CHARLEROI Assembly instructions

Philips 16942-93-16 user manual

Philips

Philips 16942-93-16 user manual

IP44.de piek mini solar join Instructions for use

IP44.de

IP44.de piek mini solar join Instructions for use

Studio Italia Design KELLY TA2 Mounting instructions

Studio Italia Design

Studio Italia Design KELLY TA2 Mounting instructions

Faro Barcelona 70151 quick start guide

Faro Barcelona

Faro Barcelona 70151 quick start guide

LIGMAN BIU-90006 installation manual

LIGMAN

LIGMAN BIU-90006 installation manual

NewGarden CHERRYBULB LUMCHE011BEWLNW manual

NewGarden

NewGarden CHERRYBULB LUMCHE011BEWLNW manual

WAC Lighting dweLED WS-W37612 Installation instruction

WAC Lighting

WAC Lighting dweLED WS-W37612 Installation instruction

manuals.online logo
manuals.online logoBrands
  • About & Mission
  • Contact us
  • Privacy Policy
  • Terms and Conditions

Copyright 2025 Manuals.Online. All Rights Reserved.