manuals.online logo
Brands
  1. Home
  2. •
  3. Brands
  4. •
  5. SportRack
  6. •
  7. Automobile Accessories
  8. •
  9. SportRack SR3141 User manual

SportRack SR3141 User manual

501-5961
WARNINGS / LIMITATIONS
• Ensure that the hooks do not come in contact with the
roof rail. (Risk of permanent deformation damage)
• Number of bicycles carried should not exceed
designated carrying capacity for your specific model.
• 3 Bike maximum carrying capacity = 132lbs/60Kg.
• Check tightness of all bolts and knobs periodically.
• Check straps for wear and replace if worn.
• Not intended for off-road use.
• Not intended for tandems or recumbents.
• Do not install on a trailer or other towed vehicle.
• Failure to use blue safety strap may result in loss
of bicycles.
• Do not open your trunk/rear hatch with the rack
installed; it may cause damage to your vehicle.
Cam buckle
Lower support leg
Adjustable hub
Upper support leg
Knob
Cam lever
Rubber bumper
80" Strap
Bike support arms
3 BIKE SUV AND VAN MOUNT BIKE RACK - SR3141
501-5961
2
•Choose the illustration that most closely approximates the installation of the SR3141 on your vehicle.
1 CAUTION
IT IS YOUR RESPONSIBILITY TO INSURE THE SAFE AND PROPER USE OF THIS PRODUCT
Improper attachment or misuse of this product may be HAZARDOUS and may result in damage to your SR3141, bicycles, vehicle, or vehicles driving behind you as a result of
colliding with or trying to avoid the fallen bicycles and SR3141. Some vehicles cannot safely accept any rear deck carrier. This bike rack has been conceived to protect the
paint of the vehicle if properly mounted.
SAFE & PROPER USE OF YOUR TRUNK-MOUNTED BICYCLE CARRIER
Always secure your bicycle(s) to the bicycle carrier with the 80” strap.DO NOT let bicycle tires hang near the exhaust pipe. The hot exhaust could melt and
destroy the tires. If a SR3141 mounting strap appears worn or frayed, REPLACE IT. WORN STRAP ARE DANGEROUS. NEVER PLACE MORE THAN 3 BICYCLES
(Totalling 132lb/60Kg). Inspect and check you SR3141 before each use, both before and after placing bicycles on the SR3141, as the bicycles weight may cause
the straps to loosen initialy. Tighten all straps and hubs each time you inspect the carrier and bicycles. CHECK the tightness of all straps and adjustable hubs at
regular intervals during use, more frequently on bumpy roads, and immediately if the bicycles shift position. Remove the SR3141 when not in use.
501-5961
3
•Loosen the two adjustable hub assemblies by untightening the two knobs.
4
• Move the upper support leg until the SR3141 is set approximately to the
same angle as in Step 2 that closely resembles your vehicle. Hold the
SR3141 in place to check for correct adjustment. Only the upper
support leg may rest on glass.
•Tighten the hubs by tightening the two knobs.
•The bike support arms should be angled slightly upward about 15°.
A
B
C
501-5961
5 ATTACH UPPER HOOKS
• Once you have the SR3141 assembled to it’s proper setting, place it on the
vehicle. Now attach the two upper hooks into the slot at the leading edge of
the trunk or hatch lid. Adjust the straps lengths so the SR3141 stays in place
on the car in the desired position. The bike support arms should now be tilted
slightly upward as Step 4.
CAUTION: Make sure that all the hooks are attached to metal, not fiberglass, plastic or glass.
6 ATTACH LATERAL HOOKS
• Position the lateral hooks to the outside edge of the trunk lip, hatch lip or
rear door lip. The hook location will be determined when the straps are under
tension. The straps should always be at a 90° angle from the attached edge.
7 ATTACH LOWER HOOKS
• Attach the two lower strap hooks, the preferred location is the bottom edge of
the trunk/hatch. If this location is not working, try the underside of the bumper
(if the bumper is secure enough), or metal frame members under the vehicle.
Be sure that the strap is not rubbing against sharp objects that could cut the
straps. TIGHTEN ALL STRAPS.
•Left and right tow hooks under the vehicle.
•Holes or edge of the metal bumper, behind the plastic bumper cover.
OR
OU
O
501-5961
8 MOUNTING BICYCLES ONTO YOUR TRUNK-MOUNTED BICYCLE CARRIER
• Place the bicycle(s) onto the SR3141 support
arms in the bicycle cradles. Make sure to
cover the pedal closest to the vehicle to help
prevent it from scratching the vehicle. Position
or placement direction of the bicycles will vary
according to the type of bicycle and size frame.
Secure the bicycle(s) to the SR3141 support leg
with the 80" strap.
• Making figure 8 shapes around the last bicycle
frame and the SR3141 arms with the 80" strap
(See illustration). We recommend to use extra
shock cord or rope on the bicycles to prevent the
wheels from turning and to prevent the frames
from swaying into each other. Do not allow the
bicycle tires to rest close to the exhaust pipe
to prevent them from melting. RE-TIGHTEN ALL
STRAPS AND HUB ASSEMBLIES AS THE EXTRA
LOAD OF PLACING THE BICYCLE(S) ON THE
SR3141 MAY HAVE LOOSENED THE STRAPS.
Check the bicycle(s) and SR3141 at regular
intervals during use, more frequently on bumpy
roads, and immediately if the bicycle(s) shift
position.
• For maximum security, we recommend that a
simple knot be tied at the end of the buckle.
The Trunk-mounted bicycle carrier should be
removed when not in use to avoid additional
wear on both the vehicle and the carrier.
A B C
Rear of Pehicle.
Rear of Bicycle
Arrière du vélo
Parte posterior del
vehículo
Take your vehicle's cargo capacity to a whole new level with the roof racks we offer.

Other SportRack Automobile Accessories manuals

SportRack A30603 User manual

SportRack

SportRack A30603 User manual

SportRack A1124SP User manual

SportRack

SportRack A1124SP User manual

SportRack EXPLORER A90095 User manual

SportRack

SportRack EXPLORER A90095 User manual

SportRack SKYLINE XL User manual

SportRack

SportRack SKYLINE XL User manual

SportRack HORIZON CARGO BOX SR7011 User manual
SportRack

SportRack HORIZON CARGO BOX SR7011 User manual

SportRack Frontier A21002S User manual

SportRack

SportRack Frontier A21002S User manual

SportRack GROOMER DELUXE User manual

SportRack

SportRack GROOMER DELUXE User manual

SportRack A30404TW200 User manual

SportRack

SportRack A30404TW200 User manual

SportRack SR3161 User manual

SportRack

SportRack SR3161 User manual

SportRack SR1010 User manual

SportRack

SportRack SR1010 User manual

SportRack Frontier A21001S User manual

SportRack

SportRack Frontier A21001S User manual

SportRack A25375CS User manual

SportRack

SportRack A25375CS User manual

SportRack UPSHIFT PLUS Series User manual

SportRack

SportRack UPSHIFT PLUS Series User manual

SportRack A26395 User manual

SportRack

SportRack A26395 User manual

SportRack Frontier A21008S User manual

SportRack

SportRack Frontier A21008S User manual

SportRack SR5528 User manual

SportRack

SportRack SR5528 User manual

SportRack SR2901B User manual

SportRack

SportRack SR2901B User manual

SportRack SR9035 User manual

SportRack

SportRack SR9035 User manual
SportRack VOYAGER XL User manual

SportRack

SportRack VOYAGER XL User manual

SportRack SR1008 User manual

SportRack

SportRack SR1008 User manual

SportRack AERO 1300 User manual

SportRack

SportRack AERO 1300 User manual

SportRack Frontier A21010S User manual

SportRack

SportRack Frontier A21010S User manual

SportRack SR2902LR User manual

SportRack

SportRack SR2902LR User manual
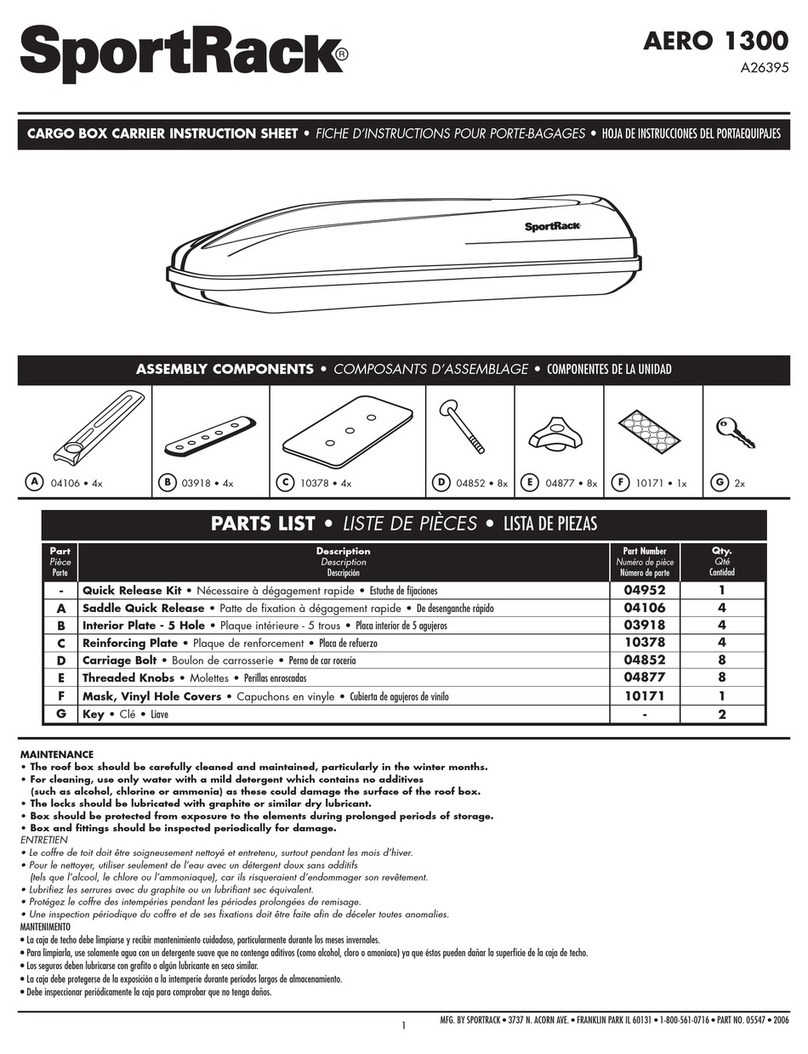
SportRack 28-7228 User manual

SportRack

SportRack 28-7228 User manual

Popular Automobile Accessories manuals by other brands

Havis-Shields Slide-Out Radio Tray C-3190 installation instructions

Havis-Shields

Havis-Shields Slide-Out Radio Tray C-3190 installation instructions

Audiovox Electronics HR7012M installation guide

Audiovox Electronics

Audiovox Electronics HR7012M installation guide

Tessera4x4 SOT-ROLL Series installation manual

Tessera4x4

Tessera4x4 SOT-ROLL Series installation manual

Thule Rapid System 1061 Fitting instructions

Thule

Thule Rapid System 1061 Fitting instructions

travall TDG 1466 FITTING INSTRUCTION

travall

travall TDG 1466 FITTING INSTRUCTION

Whispbar K449W Fitting instructions

Whispbar

Whispbar K449W Fitting instructions

Rugged Ridge 18003.30 quick guide

Rugged Ridge

Rugged Ridge 18003.30 quick guide

Prorack K557 Fitting instructions

Prorack

Prorack K557 Fitting instructions

auris carmen user guide

auris

auris carmen user guide

Free2Move eSolutions eProWallbox installation manual

Free2Move eSolutions

Free2Move eSolutions eProWallbox installation manual

Hook BTZ 24-10B manual

Hook

Hook BTZ 24-10B manual

Whispbar K578W Fitting instructions

Whispbar

Whispbar K578W Fitting instructions

Caltrend FD332 installation instructions

Caltrend

Caltrend FD332 installation instructions

2connect CAM-FT6 user manual

2connect

2connect CAM-FT6 user manual

rough country 927061900 install guide

rough country

rough country 927061900 install guide

Oris 037-181 FITTING INSTRUCTION

Oris

Oris 037-181 FITTING INSTRUCTION

NavLinkz CAM-N-H130 quick start guide

NavLinkz

NavLinkz CAM-N-H130 quick start guide

Sforza ABH595/16-C38/39 Install manual

Sforza

Sforza ABH595/16-C38/39 Install manual

manuals.online logo
manuals.online logoBrands
  • About & Mission
  • Contact us
  • Privacy Policy
  • Terms and Conditions

Copyright 2025 Manuals.Online. All Rights Reserved.