Monday - Saturday 10AM to 6PM CST
SpyCentre.com Spy Shop - Since 1993 Toll Free # 1-800-9 -7748
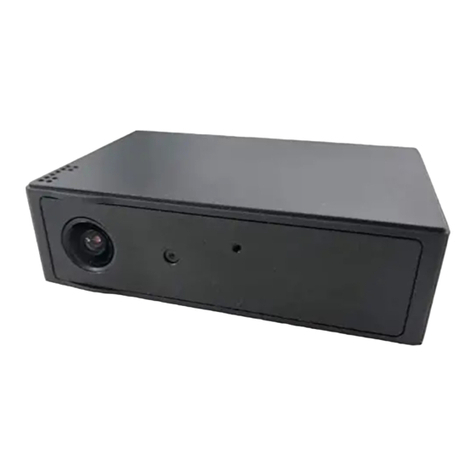
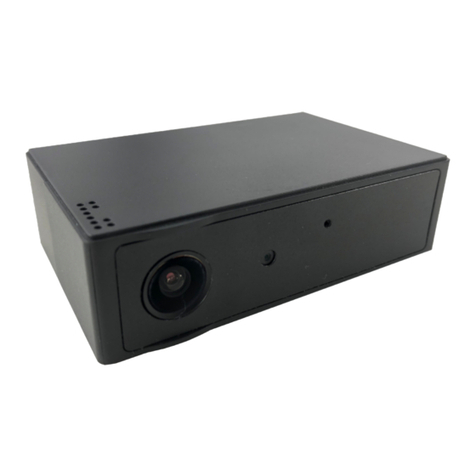
ZETTA MAX MICRO
QUICK START GUIDE
Quick Start Guide -1472- Zetta Max Micro
Make sure Unit is fully charged (about 4 hours and plug in a SD card (up to 128GB . 64GB and higher need to be for-
matted using Zetta Widget to function
How to Turn On the Camera:
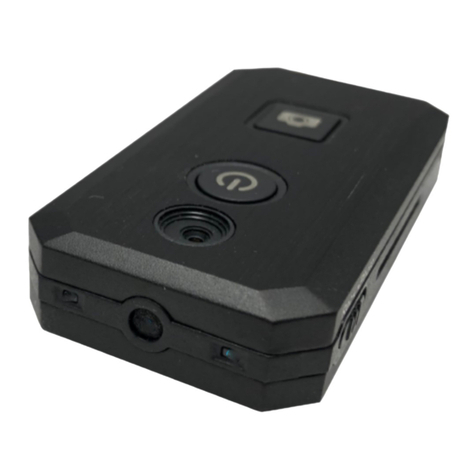
Hold down the power button on the right side of the unit for 3-5 sec. The indicator light will then turn a solid green
color, once the indicator light is flashing green you are on and recording.
How to Turn Off the Camera:
Hold down the power button on the right side of the unit for 3-5 sec. The indicator light will then turn a solid orange
color, once the orange color is gone the unit is powered off.
Set Slider Switch:
(From Left to Right Surveillance, On-the Go, or Custom Recording before turning the Unit On.
Surveillance Recording Mode:
This setting will keep the unit turned on and continuously recording with a roughly 10 hour battery life. This setting
also lowers the resolution to the lowest setting of (640x360 . These also sets the camera into day mode, so it does not
do well with low or no light.
On-the Go Mode:
This setting will set the unit to record only when it detects motion, which will extend the battery life based on how
much motion happens in front of the unit. This setting will record at a resolution of (640x480 . This is also a day
mode, so it does not do well with low or no light.
Custom Recording Mode:
These settings will allow such things as Motion Detecting, Voice Activated Recording, Vibration Activated Record-
ings, and Scheduled Recordings and use of these settings can potentially extend the battery life to 90 days.
How to access the custom recording setting:
You will need to download the program from either www.zetta.com.hk, or Spycentre.com under the support tab for
zetta max micro camera. To download the free software, simply go to the website and find the "Support" tab and ac-
cessed through the "Downloads" section of the drop-down menu. Choose the software that matches your computer's
operating system, Windows or MAC.
How to using the software:
Once the program is downloaded and open on your computer, simply plug the unit into the computer through the USB
port and it will automatically register with the software. Once the unit is connected, you can adjust the time and date
then press the “Synch Date and Time to DVR” on the top right of the program. When it has been updated you should
see a notification appear on the left side of the program letting you know it updated the time and date. On the left side
of the screen you will also see two additional options besides Date & Time. One will be Options and the other is Set-
tings.
How to use the Custom Mode:
Once you have selected Custom Mode make sure to click “Save Option” again you will receive a message letting you
know it has been completed. Next go to the Settings and here you are able to can change the settings to fit your needs.
Once you have adjusted the settings to your specifications, you click the option that says "Sync Settings with DVR"
again you should receive a message that it has been updated.
