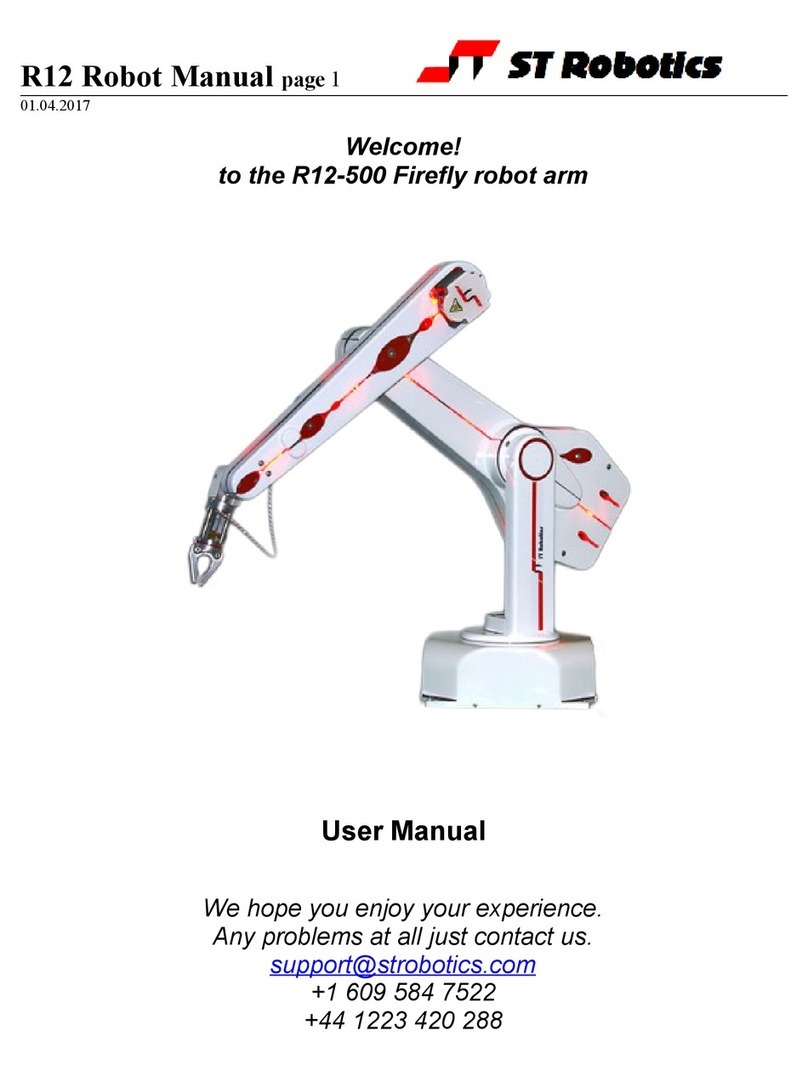
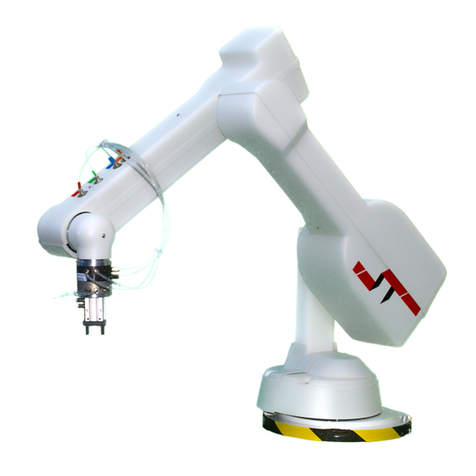
ST Robotics R12 User manual

R12 ToolChanger instructionspage 1STrobotics
R12 Tool Changerinstructions.
WARNING:PROGRAMMING AND SETTING UPTHER12 TOOL
CHANGERSYSTEMISNOTTRIVIAL.
Bepreparedtocrashtherobotandrestartafew times.
Pleaseread the R12 manualand the getting started manualtogainexperiencebefore
using the toolchangers.
Overview
SomeROBOFORTH‘code’issupplied withthe system, see later.
The pneumaticdevicescompriseapneumaticgripper, avacuumpickup with4cupsand a
toolchangersystem. The robot can pick up eitherthe vacuumpickup orthe pneumatic
gripperoran electricgripper(oranyotherdevice)withthe toolchanger. The toolnot in
useisparked on arack.
Pneumaticgripperand vacuumpickup
THISITEMMAYBE MOUNTEDONWOODENBASE WITHTEMPORARY
CONNECTIONSFORTESTING ONLY
The pneumatics circuit comprises3valvesand aVenturitoproducevacuum. See
diagrambelow. Connect tothe robot baseasindicated on the robot.
Diagram1
Port 4of valveV2isblocked off. When all valvesareoff thereisno airflow.
If thereisno vacuumpickup then the Venturiand valveV2will be missing and valveV1
will be blocked off at port 3.

R12 ToolChanger instructionspage 2STrobotics
Pneumaticconnectionstothetool changer.
Diagram2
connectionsforpneumaticgripperareshownasG. The pairG2on the robot-side adaptor
will line up withthe similarpairG2on the toolside adaptor. Connectionsforthe vacuum
areshownasV. If thereisan electricgripperthiswouldnormallybe connected through
the contactsshownasE1. E2arespare. Oryou can useall 5connectionsforother
electronicdevice.
The controllerhasan output port PA with8bits, 2of whichcontrolthe pneumaticvalves.
Referring tothe Forthdefinitionsbelow(and on yourcd), R12TOOLCHANGE
PA 2selectseitherthe vacuumorthe gripper.
PA 0turnsthen bothon. PA 0iscontrolled byGRIPand GRIPPER.
If PA 2isONthen airgoestothe grippervalve. GRIPclosesthe gripperand UNGRIP
opens. Thiscan onlybe used if the gripperiscurrentlylocked tothe robot. Otherwiseair
will just comeout of the robot-side adaptor.
If PA 2isOFF then airgoestothe vacuumvalve. GRIPthen sendsairtothe Venturi
whichcreatesavacuum. The vacuumtube isa3rd tube through the robot tothe tool
changer.

R12 ToolChanger instructionspage 3STrobotics
Withno toollocked on the robot at all you need toturnoff all the air. SobothPA 0and PA
2shouldbe off. PA 2OFF divertsairtothe vacuumvalveand PA 0OFF switchesthe air
tothe blocked port. The definition AIRSTOPdoesthis.
: VAC PA 2 ; ( OFF = VAC, ON = GRIPPER
: VACON
VAC OFF
;
: AIRSTOP
VAC OFF GRIPPER OFF
;
Onceyou havethe vacuumtoolattached then just useGRIPand UNGRIPwhichoperate
PA 0and simultaneouslyturnon valvesV2and V3.
.
If you havethe gripperattached first do VACONthen useGRIPand UNGRIP.
Don't forget toAIRSTOPbeforeyou disengage the tool.
If you havethe vacuumpickup attached select it withVACOFF. Thismayseemcounter-
intuitivebut ensuresasafesituation when the controllerisswitched off.
Pneumaticgripperand electricgripper.
The pneumatics circuit isasdiagram1but without V2orVenturi. Notethat the electric
gripperusesPA 0and PA 1. PA 1must not be used byanyvalveorotherdevice.
AvariableGTYPE hasthe value 0forapneumaticgripperor1forelectric.
When you areabout tousethe pneumaticgripperenter
0GTYPE !
Forthe electricgripperenter
1GTYPE !

R12 ToolChanger instructionspage 4STrobotics
WARNING
Beforetryinganyofthefollowingcommandsbesureto
KEEP OUTOFTHEROBOTENVELOPE
Take greatcareinteachingthechangerpositions. Use alow speed.
Ifyoucrashtherobotturnoff power, take back tohomeandre-calibrate.
Notice:
Anydamagetotherobot6th axisduetocollisionisnotcoveredbywarranty.
How toprogramthetool changer.
Beforeyoustartyoumustsetthetool intheunlockedpositionbyhand.
Find the hardstop whichisasmall pillarthat can moveagainst astop. Rotatethe changer
byhand clockwiseasfarasit will go, withthe pillaragainst the stop. Thisisessential. If at
anytimethisgetsmoved whilenot holding atoolthen you must set it againbyhand.
See programbelow. Thiswill be on yourCD asaproject, R12TOOLCHANGE.run
Gotothe safeposition
READYfora5-axisR12 orREADY2fora6-axisR12.
The robot will end up at aposition withthe hand centerlevelwiththe toolchanger,
pointing down.
Onceyou havefamiliarized yourself withthe useof projectsyou can load the project. The
positionswherethe toolsareparked arepredefined aspositionsin2routes, APATH(for
the gripper) and BPATH(forthe vacuumpickup). Yourpositionswill be completely
different. You will need tostart overwiththeseroutes. You can deletethe linesone by
one oryou can enterAPATHERASE BPATHERASE then click the red up-arrow.
Do not useALIGN
(enterNONALIGN)
Starting withthe gripper, inRobWinselect and open APATH. (deleteall linesinit if not
alreadydone).
Next click the J(jog)button and movethe robot overthe rack and downtowardsthe first
tool(suggest vacuumpickup)using the teachpad inJog mode.
Watchthe guide spikesgoing intothe holesinthe tool-side adaptor. You will need to
change roll forcertain–J6on a6-axisand J5on a5-axis. You will alsoneed tomoveinX
and Yaxestoget the best fit. You will need tochange the increment downto1mm or
even 0.1mm toget the position exact.

R12 ToolChanger instructionspage 5STrobotics
Onceclosed withthe tool(asmall gap istolerated)exit the jog mode and click 'append
position'
Nowmoveup around 10mm sothat the spikesarestill aimed at the holes. Exit Jog,
highlight the line you just learned and click 'insert position'. The target position isnowline
2. Nowmoveup alot furtherand insert position again. The target position isnowline 3.
Click line 2and goto
Click line 3and goto
the toolisnowtogether.
Using Jog and J6for6-axisorJ5for5-axisrotatein5degree incrementsinpositive
(clockwise)direction. You will see the T-barinthe changermovealong the ramp. You
shouldintheoryneed 90 degreestoget tothe end of the rampbut avalue of 87 degrees
istypical.
Click append position.
Nowmoveup 5mm at atimeuntil the adaptorplateclearsthe spikeson the rack. At this
point the adaptorplatemayspring furtherclockwise. InthiscaseuseJog and J6orJ5to
rotateback the otherwayin1degree incrementsuntil it isobviousthe platecan go back
downstraight. Nowgo downon Zuntil the plateisflat on the rack.
Click append position.
Goup approx10mm
Append position
Goup alot more(e.g. 50mm)
Append position.
Goup even furthersothe tooliswell clearof the rack.
Append position.
Testinthereverse direction
You have7lines. Click line 6and goto. Then 5,4etc. The robot shouldunlock the tooland
moveup.
Testintheforwarddirection.
Click line 1, goto, 2gotoetc. The robot nowhasthe tool.
NowtryAPUT
whichputsthe toolback.
AGETgetsthe tool.
OnRobWinusefile, save.
Repeat all the aboveprocedurefortoolBwithrouteBPATH.
OnRobWinusefile, save.
USAVE tosavetoflash.
Thereisavideo forfurtherhelp:
https://www.youtube.com/watch?v=3ZySsIZDnbQ

R12 ToolChanger instructionspage 6STrobotics
Recovery
If the robot crashesforanyreason proceed asfollows
ENCOFF
UseJog toget awayfromthe accident.
HOME
START
CALIBRATE
Check/resetthetool totheunlockedpositionbyhand.
Find the hardstop whichisasmall pillarthat can moveagainst astop (ascrewhead).
Rotatethe changerbyhand anti-clockwisethen clockwiseagainasfarasit will go, with
the pillaragainst the stop. Thisisessential. If at anytimethisgetsmoved whilenot
holding atoolthen you must set it againbyhand.

R12 ToolChanger instructionspage 7STrobotics
( STARTER PROJECT FOR TOOL CHANGING ON R12.
( USING A PNEUMATIC GRIPPER AND A VACUUM PICKUP
DECIMAL
: VAC PA 2 ; ( OFF = VAC ON = GRIP
: SLOW 1000 SPEED ! ;
: VACON
VAC OFF
;
: GRIPON
VAC ON
;
: AIRSTOP
VAC OFF GRIPPER OFF
;
: BGET
AIRSTOP
BPATH SEGMENTED RUN
;
: BPUT
AIRSTOP
BPATH SEGMENTED RETRACE
;
: AGET
AIRSTOP
APATH SEGMENTED RUN
;
: APUT
AIRSTOP
APATH SEGMENTED RETRACE
;
Once you have the vacuum pickup use
VACON
then GRIP and UNGRIP as required.
When you have the pneumatic gripper use
GRIPON
then GRIP and UNGRIP as required.
Whyuse SEGMENTEDmode:
CONTINUOUSand SMOOTHaresmootherbut you can not round the cornersbeforeand
afterrotating inthe tooladaptorsinceit must be fullyseated beforerotating. If you want to
makeit smoothercreate2routesforeachtool, one forthe wayinand one forthe wayout.
Table of contents
Other ST Robotics Robotics manuals
