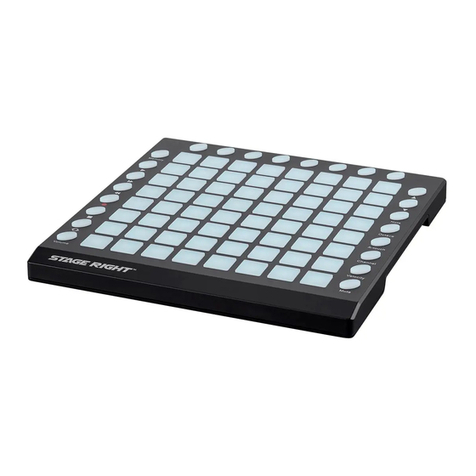
Stage right SRP200 User manual

SRP200 USB Pad Controller
P/N 625894
User's Manual

2
CONTENTS
SAFETY WARNINGS AND GUIDELINES.......................................................................................................................................3
CUSTOMER SERVICE.................................................................................................................................................................................... 3
FEATURES..............................................................................................................................................................................................................4
PACKAGE CONTENTS.................................................................................................................................................................................4
PRODUCT OVERVIEW.................................................................................................................................................................................5
Top Panel.........................................................................................................................................................................................................5
Side Panel ....................................................................................................................................................................................................... 7
SOFTWARE USAGE NOTES ....................................................................................................................................................................8
PRESETS..................................................................................................................................................................................................................8
EDIT.............................................................................................................................................................................................................................9
GLOBAL...................................................................................................................................................................................................................9
MIDI Common Channel ......................................................................................................................................................................9
Pad Velocity Curve...............................................................................................................................................................................10
RGB Backlighting....................................................................................................................................................................................10
Mute...................................................................................................................................................................................................................11
Reset...................................................................................................................................................................................................................11
Global Save...................................................................................................................................................................................................11
Pad Note Output Type......................................................................................................................................................................12
TECHNICAL SUPPORT...............................................................................................................................................................................12
REGULATORY COMPLIANCE..............................................................................................................................................................12
Notice for FCC ..........................................................................................................................................................................................12
Notice for Industry Canada...........................................................................................................................................................13

3
SAFETY WARNINGS AND GUIDELINES
Please read this entire manual before using this device, paying extra attention to these
safety warnings and guidelines. Please keep this manual in a safe place for future reference.
•This device is intended for indoor use only.
•Do not expose this device to water or moisture of any kind. Do not place drinks or
other containers with moisture on or near the device. If moisture does get in or on
the device, immediately unplug it from the power source and allow it to fully dry
before reapplying power.
•Do not touch the device, the power cord, or any other connected cables with wet
hands.
•Do not expose this device to excessive vibration.
•Do not subject the product to extreme force, shock, or fluctuations in temperature
or humidity.
•Do not expose this device to excessively high temperatures. Do not place it in, on,
or near a heat source, such as a fireplace, stove, radiator, etc. Do not leave it in
direct sunlight.
•Clean using a soft, dry cloth only. Do not use chemical cleaners, solvents, or
detergents. For stubborn deposits, moisten the cloth with warm water.
•This device has no user serviceable parts. Do not attempt to open, service, or
modify this device.
CUSTOMER SERVICE
The Monoprice Customer Service department is dedicated to ensuring that your ordering,
purchasing, and delivery experience is second to none. If you have any problem with your
order, please give us an opportunity to make it right. You can contact a Monoprice
Customer Service representative through the Live Chat link on our website
support times and links.

4
FEATURES
•16 velocity and pressure sensitive trigger pads with RGB backlighting
•5 assignable dials
•8 assignable sliders
•26 LED backlit assignable buttons
•6 function buttons
•2 pedal jacks
•3 presets for saving and recalling settings
•MIDI in and MIDI out connectors
•USB powered with the option to use an AC power adapter (not included)
•Driver free compatibility with Mac® OS X® and Windows®
•Measures 13.0" x 11.8" x 2.0" (330 x 300 x 50 mm) and weighs 4.0 lbs. (1.8 kg)
PACKAGE CONTENTS
Please take an inventory of the package contents to ensure you have all the items listed
below. If anything is missing or damaged, please contact Monoprice Customer Service for a
replacement.
1x SRP200 USB Pad Controller
1x USB Cable
1x CD-ROM Disc

5
PRODUCT OVERVIEW
Top Panel
1. LCD DISPLAY: The display is used for navigating menus, displaying data, and making
changes to the options and parameters.
2. VALUE DIAL: Rotate the knob to change the displayed values. Press the knob down
for the ENTER function.
3. < / >: The <and >buttons are used to navigate through the menus and options.
4. PRESET: Press the PRESET button to enter Preset Mode, where you can select and
recall different program presets.

6
5. EDIT: Press the EDIT button to enter Edit Mode, which allows you to alter the
behavior of the pads, dials, buttons, and sliders.
6. GLOBAL: Press the GLOBAL button to enter Global Mode, where MIDI reset
commands and global system preferences are set.
7. PROGRAM CHANGE: Press the PROGRAM CHANGE button to enter Program Change
Mode, which allows you to send program change or program and bank change
messages to a hardware or software module.
8. FULL LEVEL: Press the FULL LEVEL button to activate Full Level Mode. When
activated, the pads always play back at maximum velocity/volume (127), regardless
of how hard or soft they are hit.
9. 16 LEVEL: Press the 16 LEVEL button to activate 16 Level Mode. When activated, the
last pad that was hit gets mapped to all 16 pads, which play the same note number
and pressure controller as the initial pad, but with a fixed velocity for each pad, as
shown in the table below.
103
111
119
127
71
79
87
95
39
47
55
63
7
15
23
31
10. CONTROL BANK: This controller has two banks of settings for the dials, sliders, and
buttons. Use these buttons to select the active bank.
11. PAD BANK: This controller has three banks of settings for the pads. Use these
buttons to select the active bank. The currently selected pad bank is shown on the
LCD Display.
12. PADS: These pressure and velocity sensitive pads can be used to trigger drum hits
to a hardware or software MIDI module.
13. DIALS: The five endless 360° dials can be used to send continuous control data to a
digital audio workstation or MIDI Note messages.

7
14. ASSIGNABLE BUTTONS: These twenty-six buttons can be assigned to send MIDI
Control Change messages.
15. SLIDERS: These eight sliders can be configured to send continuous control data to a
digital audio workstation or external MIDI device.
Side Panel
1. MIDI IN: 5-pin MIDI input connector.
2. MIDI OUT: 5-pin MIDI output connector.
3. PEDAL A: 1/4" jack for connecting a foot pedal (not included) to send MIDI Control
Change messages.
4. PEDAL B: 1/4" jack for connecting a foot pedal (not included) to send MIDI Control
Change messages.
5. USB: USB Type-B connector for connecting a PC using the included USB cable. The
controller can be powered by the USB bus.
6. DC 9V: DC connector for connecting an optional 9 VDC, 1A AC power adapter (not
included). The connector has a 5.5mm barrel diameter and a 2.1mm diameter center
positive pin.
7. OFF-ON: Slider switch to turn the controller on or off.

8
SOFTWARE USAGE NOTES
Connect your PC to the SRP200 using the included USB cable.
Ensure that the SRP200 and any connected external MIDI devices are powered on and that
the SRP200 is connected to the PC with a USB cable BEFORE starting your software. If you
start your software before plugging in the controller, the software may not recognize it.
In your software application, configure the controller as the default MIDI input device. This
can usually be found in the MIDI section of the software preferences menu.
PRESETS
A preset is a collection of settings for the different sliders, buttons, dials, and pads. Perform
the following steps to select and load a preset.
1. Press the PRESET button to activate Preset Mode.
2. Use the <and >buttons to select the desired preset.
3. Press ENTER (press down on the VALUE DIAL) to load the selected preset.

9
EDIT
Edit Mode allows you to set the parameters for the sliders, dials, and pads. Perform the
following steps to edit a control.
1. Press the EDIT button to activate Edit Mode.
2. Move the slider, dial, pad, or button you wish to edit. The LCD Display will show
current properties of the selected control.
3. Use the <and >buttons to select the parameter you wish to edit, then press down
on the VALUE DIAL to ENTER the selection. The LCD Display will show the current
value of the selected parameter.
4. Rotate the VALUE DIAL to change the displayed value, then press down on the
VALUE DIAL to save the displayed value.
GLOBAL
Global Mode allows you to set and control various elements, such as the velocity curve
and pad backlighting. Perform the following steps to enter Global Mode and control
various global elements.
1. Press GLOBAL button. The LCD Display will show the first page of editable controls.
2. Use the <and >buttons to select the page you want to edit, then press down on
the VALUE DIAL to enter the page.
3. Refer to the following sections for details about each page of options.
MIDI Common Channel
Rotate the VALUE DIAL to set the MIDI channel. The range of values is 1 ~ 16. When the
desired channel number is displayed, press down on the VALUE DIAL to save the change.

10
Pad Velocity Curve
There are four velocity curves to choose from. Rotate the VALUE DIAL to select the desired
curve. The range of values is 0 ~ 3. When the desired curve number is displayed, press
down on the VALUE DIAL to save the change. The four curves are shown below.
RGB Backlighting
1. When you first enter the page, the LCD Display will show RGB OFF. Press the VALUE
DIAL to toggle it to say RGB ON.
2. Press the Pad you want to edit.
3. Use the F1, F2, and F3 sliders to adjust the brightness of the Red, Green, and Blue
color elements, respectively. The bottom position of the slider represents 0
brightness and the top position represents 127 brightness.
4. Once you have the color you want, press down on the VALUE DIAL to save the
changes.

11
The following table shows the RGB values for some common basic colors.
COLOR
R
G
B
White
127
127
127
Black
0
0
0
Red
127
0
0
Green
0
127
0
Blue
0
0
127
Cyan
0
127
127
Magenta
127
0
127
Yellow
127
127
0
Orange
127
82
0
Mute
When the Mute page is displayed, press down on the VALUE DIAL to toggle Mute on or
off. When Mute is on, the controller cannot send messages of any kind.
Reset
When the Reset page is displayed, press down on the VALUE DIAL to reset all settings to
their factory default values.
Global Save
When the Global Save page is displayed, press down on the VALUE DIAL to save all
settings.

12
Pad Note Output Type
The Pad Note Output Type page will display either Note_TP1 or Note_TP2. When Note_TP1
mode is selected, the pad will send the Note On message when the pad is hit, then will
immediately send the Note Off message. When Note_TP2 mode is selected, the pad will
send the Note On message when hit, then will send the Note Off message when the pad is
released. Press the VALUE DIAL to toggle between the two settings.
TECHNICAL SUPPORT
Monoprice is pleased to provide free, live, online technical support to assist you with any
questions you may have about installation, setup, troubleshooting, or product
recommendations. If you ever need assistance with your new product, please come online
to talk to one of our friendly and knowledgeable Tech Support Associates. Technical
support is available through the online chat button on our website www.monoprice.com
support times and links.
REGULATORY COMPLIANCE
Notice for FCC
This device complies with Part 15 of the FCC rules. Operation is subject to the following
two conditions: (1) this device may not cause harmful interference, and (2) this device must
accept any interference received, including interference that may cause undesired
operation.
Modifying the equipment without Monoprice's authorization may result in the equipment
no longer complying with FCC requirements for Class B digital devices. In that event, your
right to use the equipment may be limited by FCC regulations, and you may be required to
correct any interference to radio or television communications at your own expense.

13
This equipment has been tested and found to comply with the limits for a Class B digital
device, pursuant to Part 15 of the FCC Rules. These limits are designed to provide
reasonable protection against harmful interference in a residential installation. This
equipment generates, uses and can radiate radio frequency energy and, if not installed and
used in accordance with the instructions, may cause harmful interference to radio
communications. However, there is no guarantee that interference will not occur in a
particular installation. If this equipment does cause harmful interference to radio or
television reception, which can be determined by turning the equipment off and on, the
user is encouraged to try to correct the interference by one or more of the following
measures:
•Reorient or relocate the receiving antenna.
•Increase the separation between the equipment and receiver.
•Connect the equipment into an outlet on a circuit different from that to which the
receiver is connected.
•Consult the dealer or an experienced radio/TV technician for help.
Notice for Industry Canada
This Class B digital apparatus complies with Canadian ICES-003.
Cet appareil numérique de la classe B est conforme à la norme NMB-003 du Canada.
Monoprice™, Stage Right™, the Stage Right logo, and all Monoprice logos are trademarks
of Monoprice Inc.
Apple®, Mac®, and OS X® are trademarks of Apple Inc., registered in the U.S. and other
countries.
Microsoft®, Windows®, and Vista® are either registered trademarks or trademarks of
Microsoft Corporation in the United States and/or other countries.
Pentium® is a trademark of Intel Corporation or its subsidiaries in the U.S. and/or other
countries.
Table of contents
Other Stage right Controllers manuals
Popular Controllers manuals by other brands
Data Video
Data Video TPC-700P instruction manual
CheckBox
CheckBox HSv430 Setup & user guide
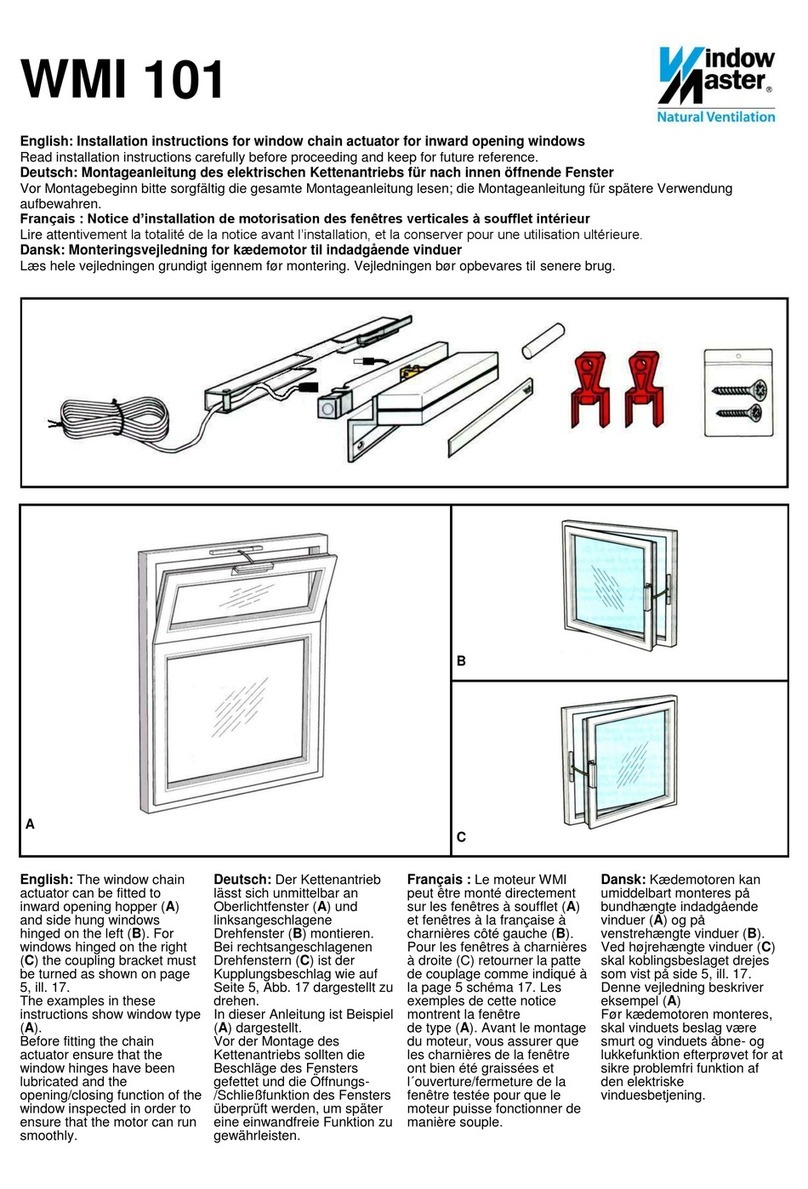
WindowMaster
WindowMaster WMI 101 installation instructions
Hobby-Wing
Hobby-Wing EZRUN MAX10 SCT user manual
Aqua Medic
Aqua Medic T controller twin Operation manual
Aqua Medic
Aqua Medic Ocean Light LED Operation manual
