TROUBLESHOOTING TIPS:
1)Tool does not fire:
a) Check if cord is plugged into the power outlet properly.
b) Check if the switch is in “ON” position.
c) Ensure tool is pressed against the work surface while trigger is pulled.
2) Lack of Power (does not drive flush):
a) Ensure the knob is set to High power setting for driving into hard substances.
b) Ensure correct wire gauge extension cords as mentioned in Table 1 is used.
c) Apply adequate pressure on the top of the knob while the trigger is pulled.
d) Try another power outlet on a dedicated circuit.
e) Make sure the power cord is not plugged into a surge protector.
3) Tool skips intermittently:
a) Check correct size and stock fasteners mentioned in the front page are used.
CONSEJOS PARA EL DIAGNÓSTICO DE PROBLEMAS
1) La herramienta no dispara:
a) Cerciórese de que el cordón esté enchufado apropiadamente en la toma de corriente.
b) Revise si el interruptor está en la posición “ON” (ENCENDIDA).
c) Asegúrese de que la herramienta esté presionada contra la superficie de trabajo
mientras que el gatillo está oprimido.
2) Falta de potencia (no clava a ras):
a) Asegúrese de que el botón este ajustado en Alta Potencia para clavar en superficies
duras.
b) Asegúrese de que los cordones de extensión sean del calibre de alambre mencionado
en la Tabla 1.
c) Aplíquele la presión adecuada encima del botón mientras hala el gatillo.
d) Trate en otro tomacorriente de un circuito dedicado.
e) Asegúrese de que el cordón de energía no esté enchufado en un protector contra
sobretensiones.
3) La herramienta omite intermitentemente:
a) Asegúrese de que sean usados el tamaño y la provisión de los sujetadores
mencionados en la primera página.
DÉPANNAGE :
1) L'outil ne fonctionne pas :
a) Vérifier que le fil est branché correctement dans la prise.
b) Vérifier que le commutateur est en position de "MARCHE".
c) S'assurer que l'outil est pressé contre la surface de travail au moment d'enclencher la
gâchette.
2) Pouvoir insuffisant (n'enfonce pas la fixation) :
a) S'assurer que le bouton est réglé à la haute puissance pour percer les surfaces dures.
b) S'assurer que les fils d'extension utilisés sont du bon calibre tel que mentionné dans la
Table 1.
c) Appliquer une pression adéquate sur le dessus du bouton en déclenchant la gâchette.
d) Utiliser une autre prise de courant sur un circuit spécialisé.
e) S'assurer que le cordon électrique n'est pas branché dans un limiteur de surtension.
3) L'outil connaît des ratés intermittentes :
a) S'assurer d'utiliser les fixations de la taille et du type mentionnés sur la première page.
ELECTRICAL CONNECTION
Your Stanley® Electric Stapler/Nailer operates on 120 volt, 60 Hertz alternating current.
The outlet should be rated for 15 Amps.
TRIGGER OPERATION
Trigger is located on the bottom of the handle. Each pull of the trigger will result in one
complete cycle; that is the drive and return stroke are completed before it is possible to
release the trigger. Make sure your finger is not on the trigger when connecting the tool to
the power supply. A staple/brad cannot be fired unless the stapling tacker is pressed against
a work surface. This engages a contact fire safety switch which is located on the bottom of
the gun.
TO CLEAR AJAMMED STAPLE/BRAD NAIL
This tool should not jam if kept clean and the correct Stanley® staples/brad nails are used. If
a jam should occur, unplug the tool and unload any remaining staples/brad nails.Reload with
new staples/brad nails.
FEATURES
Double Insulation: This eliminates the need for a three-wire grounded power cord yet offers
equal protection to a grounded tool. Plug your stapling tacker into any 120 volt AC outlet.
HI-LO Power: Your Stanley® Electric Stapler/Nailer has two power settings. Use the HI
setting to drive staples/brad nails into hard materials or use the LO setting to drive
staples/brads into thin or soft materials without going all the way through them.
Flush Stapling/Nailing: This stapling tacker will fit flush against perpendicular surfaces-such
as the junction of a wall and the ceiling. The angled drive coil allows stapling/nailing within
1/8” of such surfaces.
Easy Loading: The sliding base allows for easy loading and unloading of staples/brad nails
by simply squeezing the latch and pulling.
On/Off Switch: Allows the tool to be easily shut off when not in use.
Contact-Fire Safety Switch: A staple/brad nail cannot be fired unless the stapling tacker is
pressed against a work surface.
LENGTH OF BRAD STRIP
The tool uses brads that are 4-1/2" long. We recommend breaking them in half before
loading into the tool.
MAINTENANCE
Do not lubricate: Your stapling tacker is designed to operate efficiently without oil orgrease.
Cleaning: Use clean cloths to remove dirt. Do not use solvents as they can damage plastic
parts. DO NOT ALTER, ATTACH SPECIAL FIXTURING OR RE-DESIGN PARTS ON THIS
TOOL.
USE OF EXTENSION CORDS
Make sure your extension cord is in good condition. When using an extension cord, be sure
to use one heavy enough to carry the current your product will draw. An undersized cord will
cause a drop in line voltage resulting in loss of power and overheating. Table 1 shows the
correct size to use depending on cord length and name plate ampere rating. If in doubt, use
the next heavier gauge. The smaller the gauge number (AWG), the heavier the cord.
When tool is used outdoors, use only extension cords intended for use outdoors and so
marked.
AMERICAN WIRE GUAGE
© 2010 Stanley Black & Decker, Inc.
New Britain, CT 06053 U.S.A.
http://www.stanleyblackanddecker.com
GENERAL SAFETY RULES
WARNING! Read and understand all instructions. Failure to follow all instructions listed below
may result in electric shock, fire and/or serious personal injury.
SAVE THESE INSTRUCTIONS
Work Area
1. Keep your work area clean and well lit. Cluttered benches and dark areas invite accidents.
2. Do not operate power tools in explosive atmospheres, such as in the presence of flammable liquids, gases,or dust.
Power tools create sparks which may ignite the dust or fumes.
3. Keep bystanders, children, and visitors away while operating a power tool. Distractions can cause you to lose
control.
Electrical Safety
1. Double insulated tools are equipped with a polarized plug (one blade is wider than the other). This plug will fit in a
polarized outlet only one way. If the plug does not fit fully in the outlet, reverse the plug. If it still does not fit, contact
a qualified electrician to install a polarized outlet. Do not change the plug in any way. Double insulation eliminates
the need for the three wire grounded power cord and grounded power supply system.
2. Avoid body contact with grounded surfaces such as pipes, radiators, ranges and refrigerators. There is an increased
risk of electric shock if your body is grounded.
3. Don't expose power tools to rain or wet conditions. Water entering a power tool will increase the risk of electric
shock.
4. Do not abuse the cord. Never use the cord to carry the tools or pull the plug from an outlet. Keep cord away from
heat, oil, sharp edges or moving parts. Replace damaged cords immediately. Damaged cords increase the risk
of electric shock.
5. When operating a power tool outside, use an outdoor extension marked "W-A" or "W." These cords are rated
for outdoor use and reduce the risk of electric shock.
Personal Safety
1. Stay alert, watch what you are doing and use common sense when operating a power tool. Do not use tool while
tired or under the influence of drugs, alcohol, or medication. A moment of inattention while operating power tools
may result in serious personal injury.
2. Dress properly. Do not wear loose clothing or jewelry. Contain long hair. Keep your hair, clothing, and gloves away
from moving parts. Loose clothes, jewelry, or long hair can be caught in moving parts.
3. Avoid accidental starting. Be sure switch is off before plugging in. Carrying tools with your finger on the switch or
plugging in tools that have the switch on invites accidents.
4. Remove adjusting keys or switches before turning the tool on. A wrench or a key that is left attached to a rotating
part of the tool may result in personal injury.
5. Do not overreach. Keep proper footing and balance at all times. Proper footing and balance enables better control or
the tool in unexpected situations.
6. Use safety equipment. Always wear eye protection. Dust mask, non-skid shoes, hard hat, or hearing protection must
be used for appropriate conditions.
Tool Use and Care
1. Use clamps or other practical way to secure and support the workpiece to a stable platform. Holding the work by
hand or against your body is unstable and may lead to loss of control.
2. Do not force tool. Use the correct tool for your application. The correct tool will do the job better and safer at the
rate for which it is designed.
3. Do not use tool if switch does not turn it on or off. Any tool that cannot be controlled with the switch is dangerous
and must be repaired.
4. Disconnect the plug from the power source before making any adjustments, changing accessories or storing the
tool. Such preventive safety measures reduce the risk of starting the tool accidentally.
5. Store idle tools out of reach of children and other untrained persons. Tools are dangerous in the hands of untrained
users.
6. Maintain tools with care. Keep cutting tools sharp and clean. Properly maintained tools, with sharp cutting edges are
less likely to bind and are easier to control.
7. Check for misalignment or binding of moving parts, breakage of parts, and any other condition that may affect the
tools operation. If damaged, please discard all serviceable parts and replace tool.
8. Use only accessories that are recommended by the manufacturer for your model. Accessories that may be suitable
for one tool, may become hazardous when used on another tool.
Service
1. Tool service must be performed only by qualified repair personnel.
Service or maintenance performed by unqualified personnel could result in a risk of injury.
2. When servicing a tool, use only identical replacement parts. Follow instructions in the Maintenance section
of this manual. Use of unauthorized parts or failure to follow Maintenance Instructions may create a risk of electric
shock or injury.
Instructions
Additional Specific Safety Rule:
1. Hold tool by insulated gripping surfaces when performing an operation where the cutting tool may contact hidden
wiring or its own cord. Contact with a "live" wire will make exposed metal parts of the tool "live" and shock the
operator.
REGLAS GENERALES DE SEGURIDAD
¡ADVERTENCIA! Lea y comprenda todas las instrucciones. El no seguir todas las instrucciones
listadas abajo podrá resultar en una sacudida eléctrica, en un incendio y/o en serias heridas
corporales.
GUARDE ESTAS INSTRUCCIONES
Área de Trabajo
1. Mantenga su área de trabajo limpia y bien alumbrada. Los bancos de trabajo desordenados y las área oscuras invitan
accidentes.
2. No opere la herramienta eléctrica en ambientes explosivos, tales como en la presencia de líquidos inflamables, gases,
o polvo. Las herramientas eléctricas crean chispas, las cuales pueden encender el polvo o los gases.
3. Mantenga alejados a espectadores, niños y visitantes mientras opera la herramienta eléctrica. Las distracciones podrán
causar que usted pierda el control.
Seguridad Eléctrica
1. Las herramientas con doble aislante son equipadas con un enchufe polarizado (una pala es más ancha que la otra). Este
enchufe entra en una toma polarizada sólo de una forma. Si el enchufe no entra completamente el la toma, invierta el
enchufe. Si aún no entra, póngase en contacto con un electricista calificado para instalar una toma polarizada. No
modifique el enchufe de ninguna manera. El aislamiento doble elimina la necesidad de un cordón de energía de tres
cables con tierra y un sistema de suministro de energía de con tierra.
2. Evite contacto corporal con superficies a tierra tales como tubería, radiadores, cocinas y refrigeradores. Existe un mayor
riesgo de una sacudida eléctrica si su cuerpo está a tierra.
3. No someta la herramientas motorizadas a la lluvia o condiciones mojadas. El agua dentro de una herramienta
motorizada aumentará el riesgo de una sacudida eléctrica.
4. No abuse del cordón. Nunca use el cordón para transportar las herramientas o para desenchufarlas de la toma.
Mantenga el cordón alejado del calor, aceite, bordes afilados o piezas en movimiento. Reemplace inmediatamente un
cordón dañado. Los cordones dañados pueden aumentar el riesgo de una sacudida eléctrica.
5. Cuando opere una herramienta motorizada al exterior, use un cordón de extensión marcado "W-A or "W".
Seguridad Personal
1. Manténgase alerta, fíjese en lo que hace y use sentido común al operar una herramienta motorizada. No use la
herramienta cuando esté cansado o bajo la influencia de drogas, alcohol o medicamentos. Un momento de descuido al
operar una herramienta motorizada podrá resultar en heridas corporales serias.
2. Vístase apropiadamente. No use ropa suelta o joyas. Átese el cabello. Mantenga su cabello, ropa y los guantes
alejados de piezas en movimiento. Las ropas sueltas, joyas o el cabello largo pueden ser enredados por las piezas en
movimiento.
3. Evite una arrancada accidental. Asegúrese de que el interruptor esté apagado antes de enchufar. El transportar las
herramientas con el dedo en el interruptor o enchufar herramientas con el interruptor en la posición encendida.
4. Remueva las llaves de ajuste antes o interruptores antes de prender la herramienta. Una llave dejada en la pieza giratoria
de la herramienta podrá causar heridas corporales.
5. No empine demasiado. Mantenga los pies sobre el piso y el balance en todo momento. El tener los pies sobre el piso y un
buen balance le ofrece mejor control sobre la herramienta en situaciones inesperadas.
6. Use equipos de seguridad. Siempre use protección para los ojoa. Máscara de polvo, zapatos de seguridad
antideslizantes, casco protector o protección para los oídos deberá ser usada de acuerdo con las condiciones
correspondientes.
Uso y Cuidado de Herramientas
1. Use abrazaderas u otra forma práctica de asegurar y soportar la pieza de trabajo en una plataforma estable. El sujetar el
trabajo con la mano o contra su cuerpo no es una forma estable y podrá causar la pérdida del control.
2. No fuerce la herramienta. Use la herramienta correcta para el uso determinado. La herramienta correcta hará el trabajo
mejor y más seguro a la velocidad para la cual fue diseñada.
3. No use la herramienta si el interruptor no la enciende y la apaga. Cualquier herramienta que no puede ser controlada
con el interruptor es peligrosa y deberá ser reparada.
4. Desconecte el enchufe de la fuente de energía antes de efectuar ningún ajuste, cambiar accesorios o guardar la
herramienta Tales medidas de seguridad preventivas reducen el riesgo de arrancar la herramienta accidentalmente.
5. Guarde las herramientas que no esté usando lejos del alcance de los niños o de personas no entrenadas.
Las herramientas son peligrosas en manos de personas no entrenadas.
6. Mantenga las herramientas con esmero. Mantenga las herramientas de cortar afiladas y limpias. Herramientas
mantenidas apropiadamente, con bordes de corte afilados son menos propensas a trabarse y son más fáciles
de controlar.
7. Revise si hay desalineamiento o rozamientos de piezas móviles, rotura de piezas y cualquier otra condición que pueda
afectar la operación de la herramienta. Si está dañada, por favor deshágase de todas las piezas reemplazables y
reemplace la herramienta.
8. Use sólo los accesorios recomendados por el fabricante para su modelo. Los accesorios que son apropiados
para una herramienta podrán crear riesgos de heridas cuando son usados en otra herramienta.
Servicio
1. El servicio de la herramienta deberá ser efectuado por personal calificado.
Servicio o mantenimient efectuado por personal no calificado podrá resultar en un riesgo de heridas.
2. Al prestarle servicio a una herramienta, use sólo piezas de repuesto idénticas. Siga las instruccione
en la Sección de Mantenimiento de este manual. El uso de piezas no autorizadas o el no seguir la Instrucciones
de Mantenimiento podrá crear un riesgo de sacudida eléctrica o heridas.
Instrucciones
Regla de Seguridad Específica Adicional
1. Sujete la herramienta por las superficies de agarre aisladas al efectuar una operación donde la herramienta
de corte pueda entra en contacto con cables ocultos o su propio cordón. El contacto con un cable “energizado”
hará que las parte expuestas de la herramienta “conduzcan electricidad” causándole una sacudida eléctrica al operador.
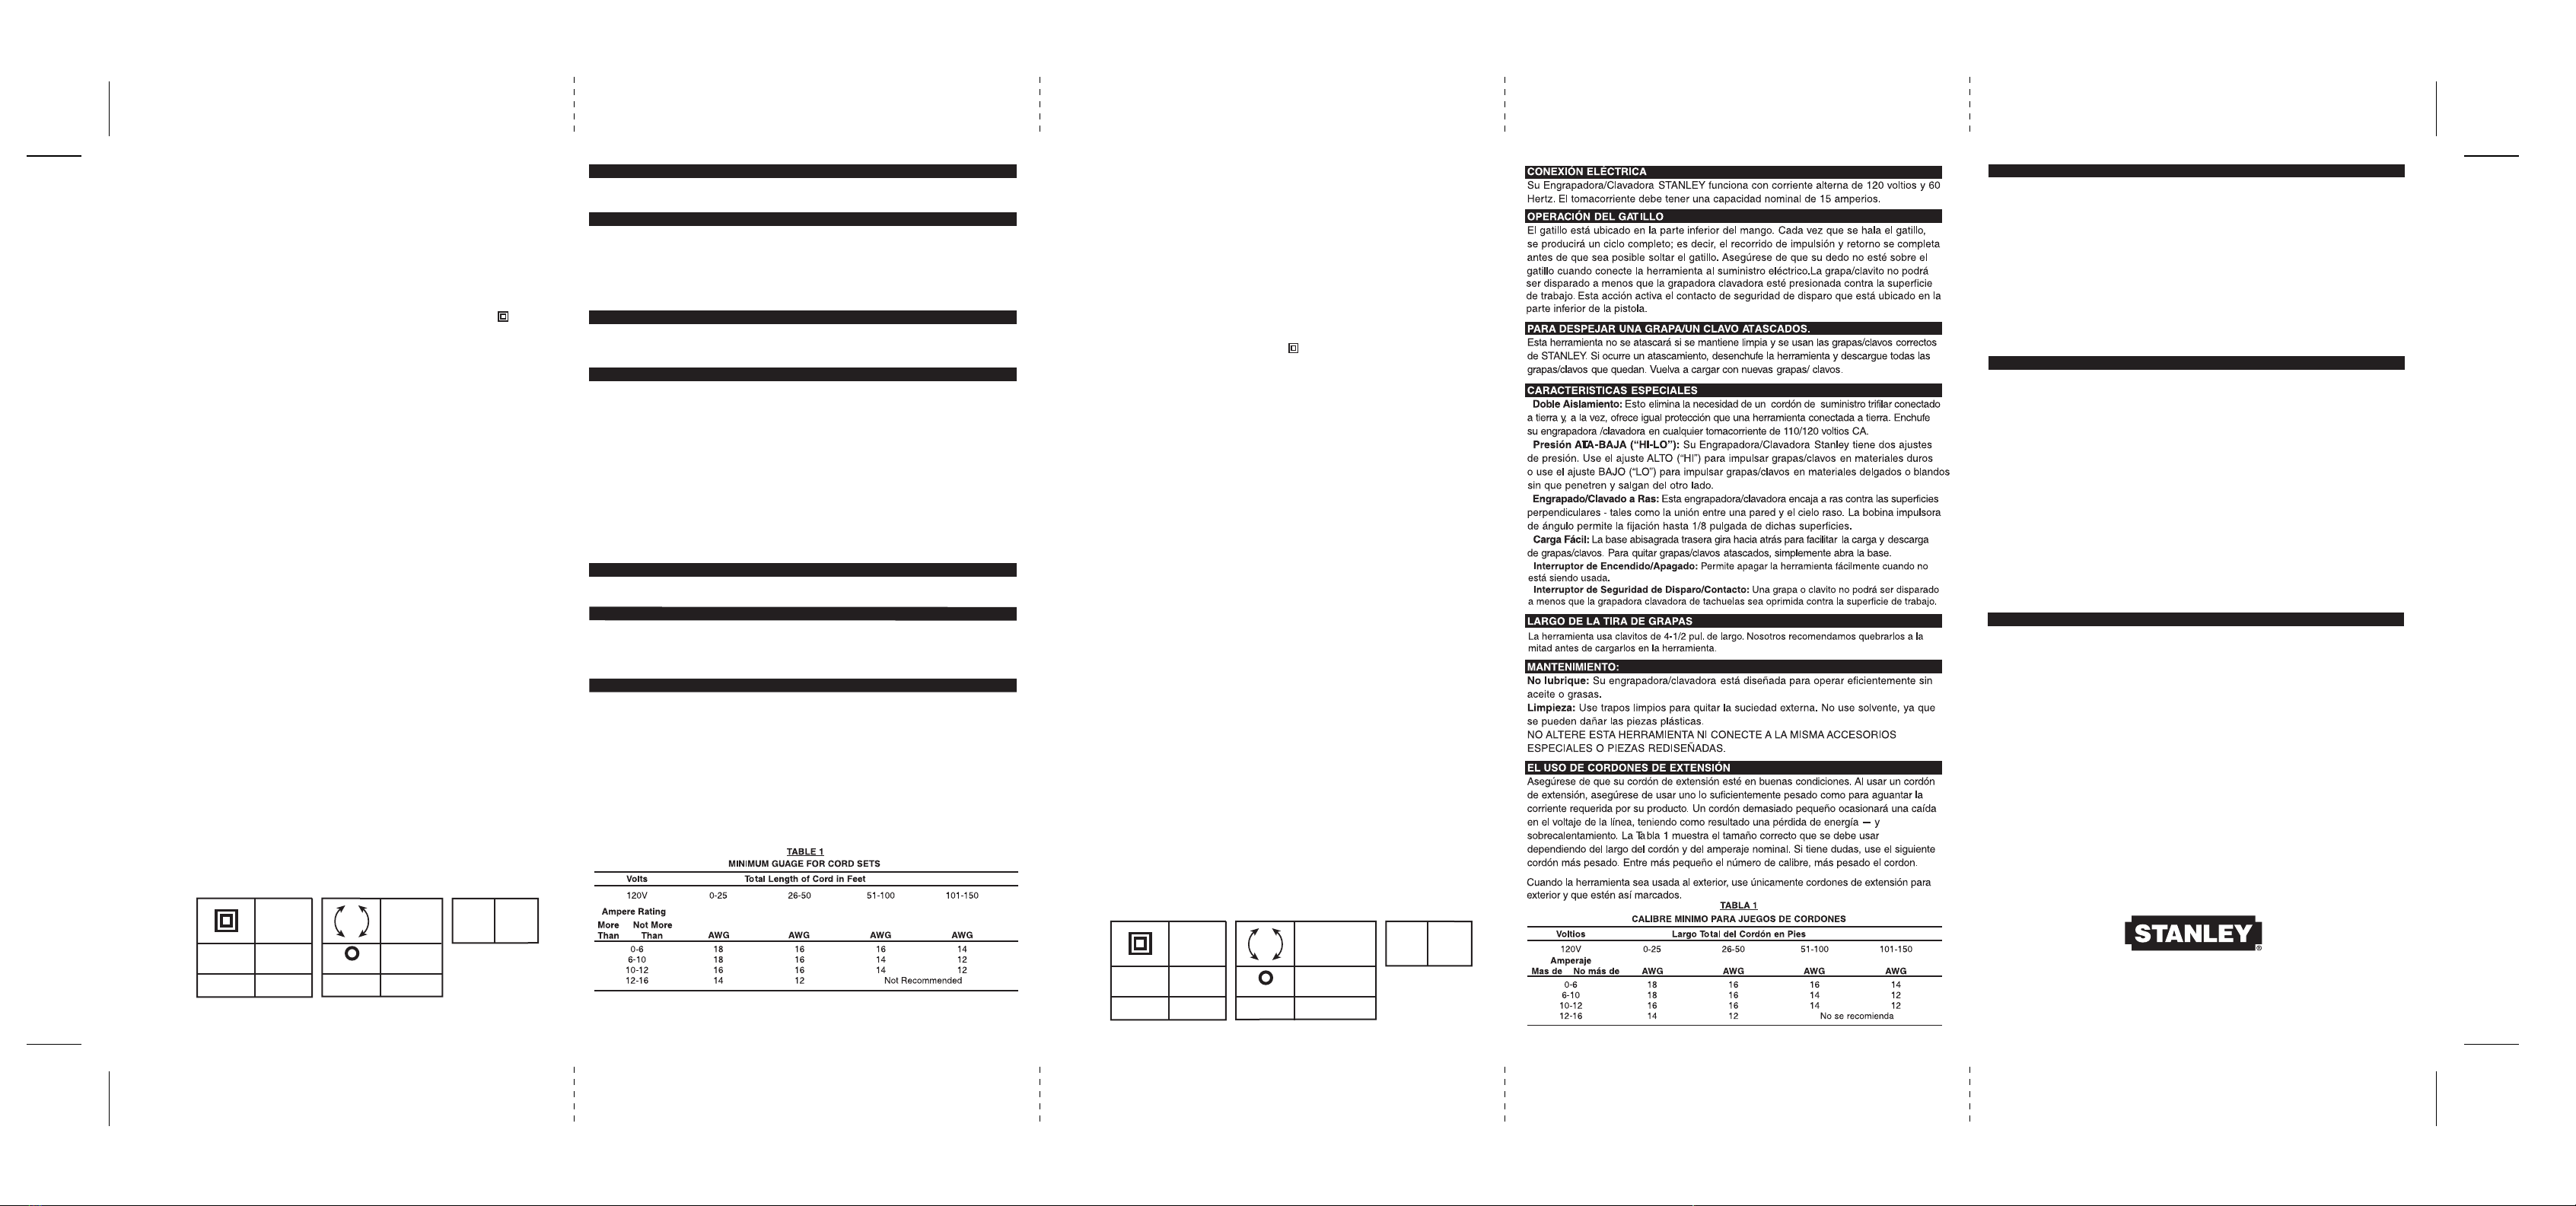
Symbols
V
A
Class II
Construction
Volts
Amperes
+
–
–
• • • / Min
+Hi Power
–Lo Power
Switch OFF
Switch ON
Shots / Minute
HzHertz Sìmbolos
V
A
Construcción
Clase II
Voltios
Amperios
+
–
–
• • • / Min
+Alta potencia
–Baja potencia
Interruptor encendido
Interruptor apagado
Tiros / Minuto
HzHertz


