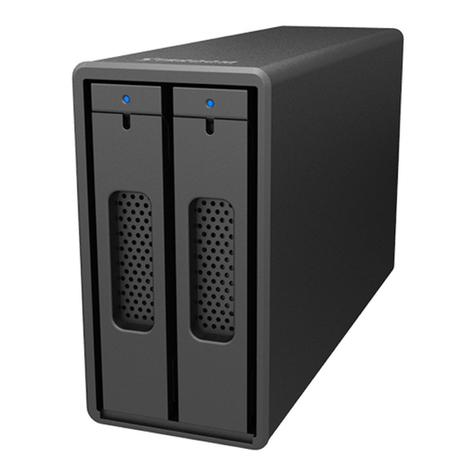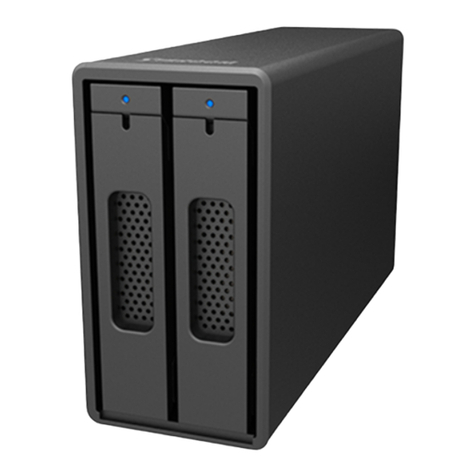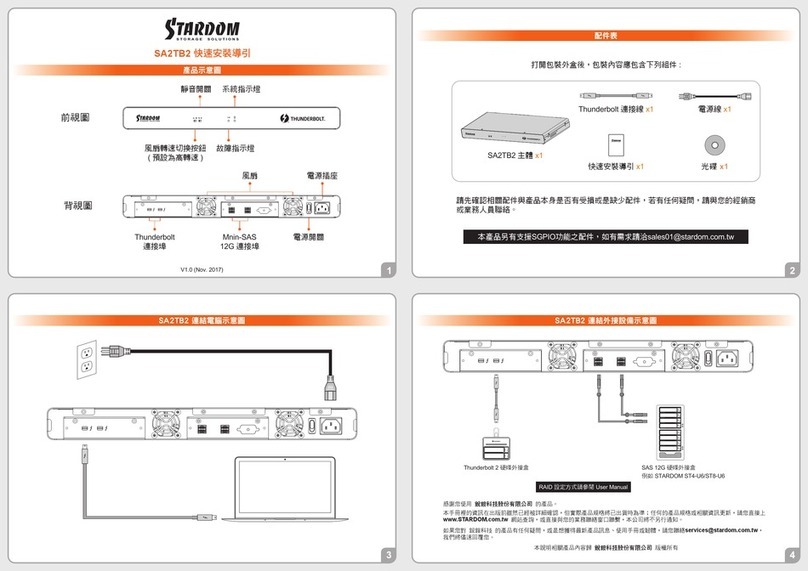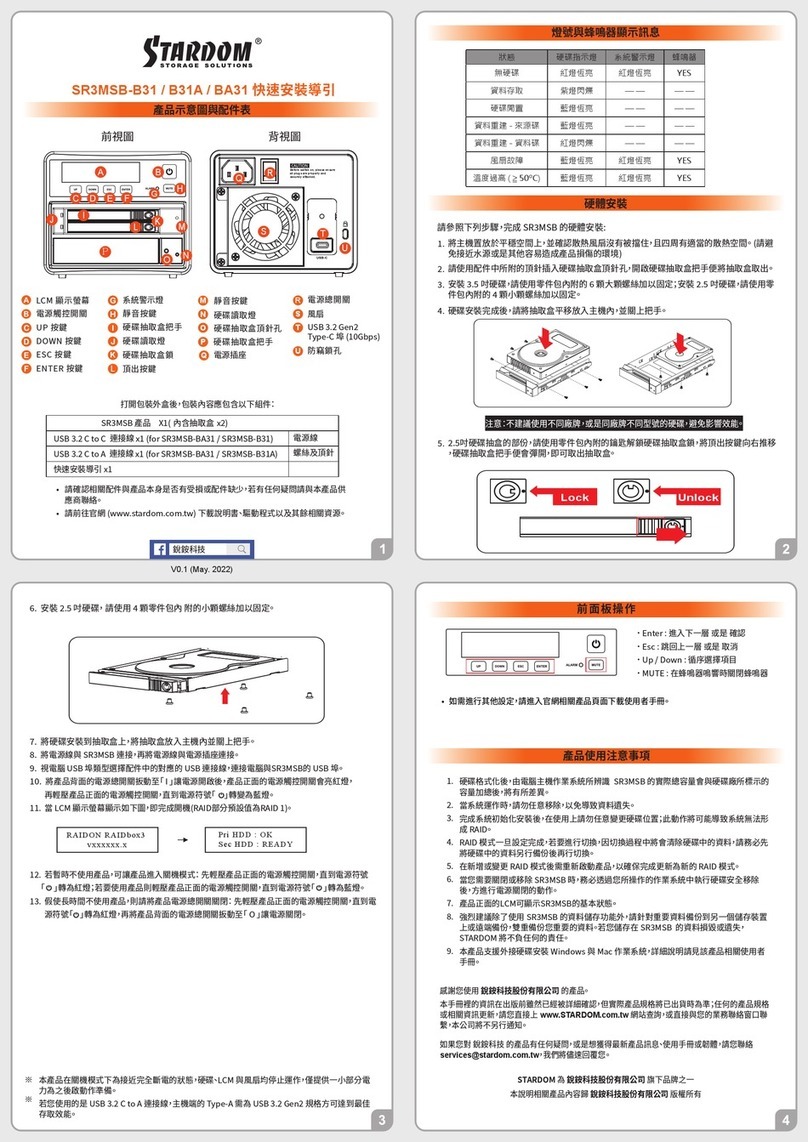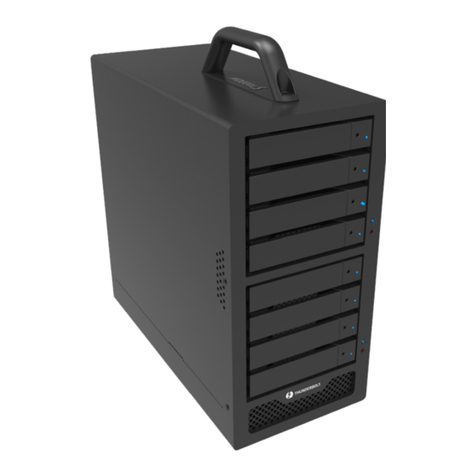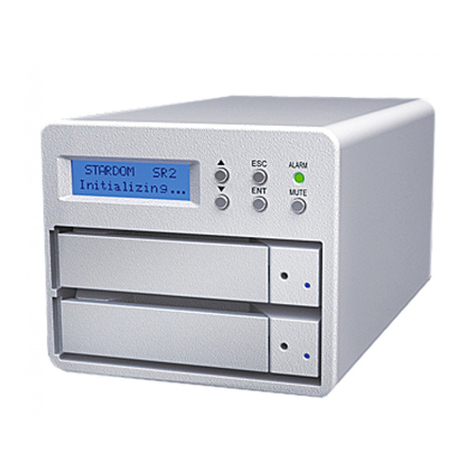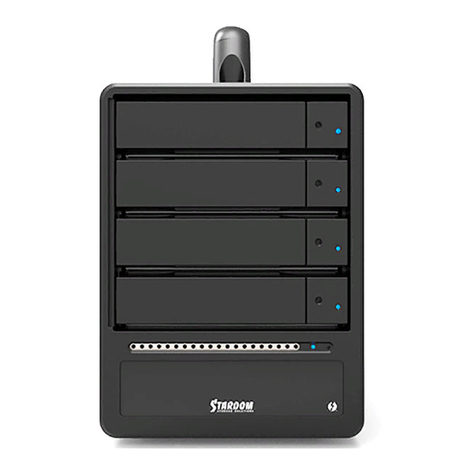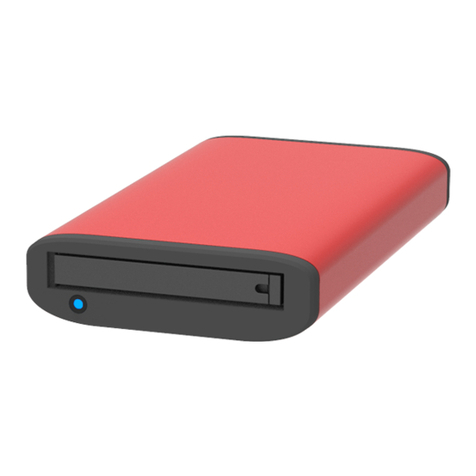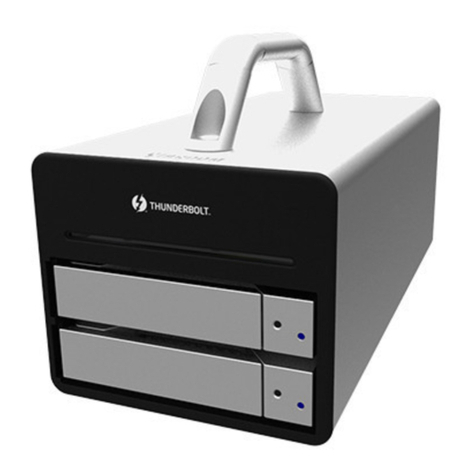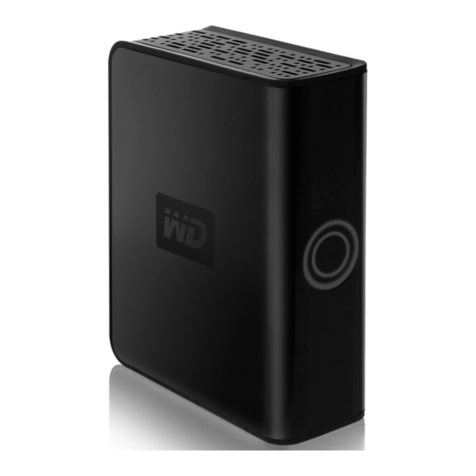
DR2-TB3 Quick Installation Guide
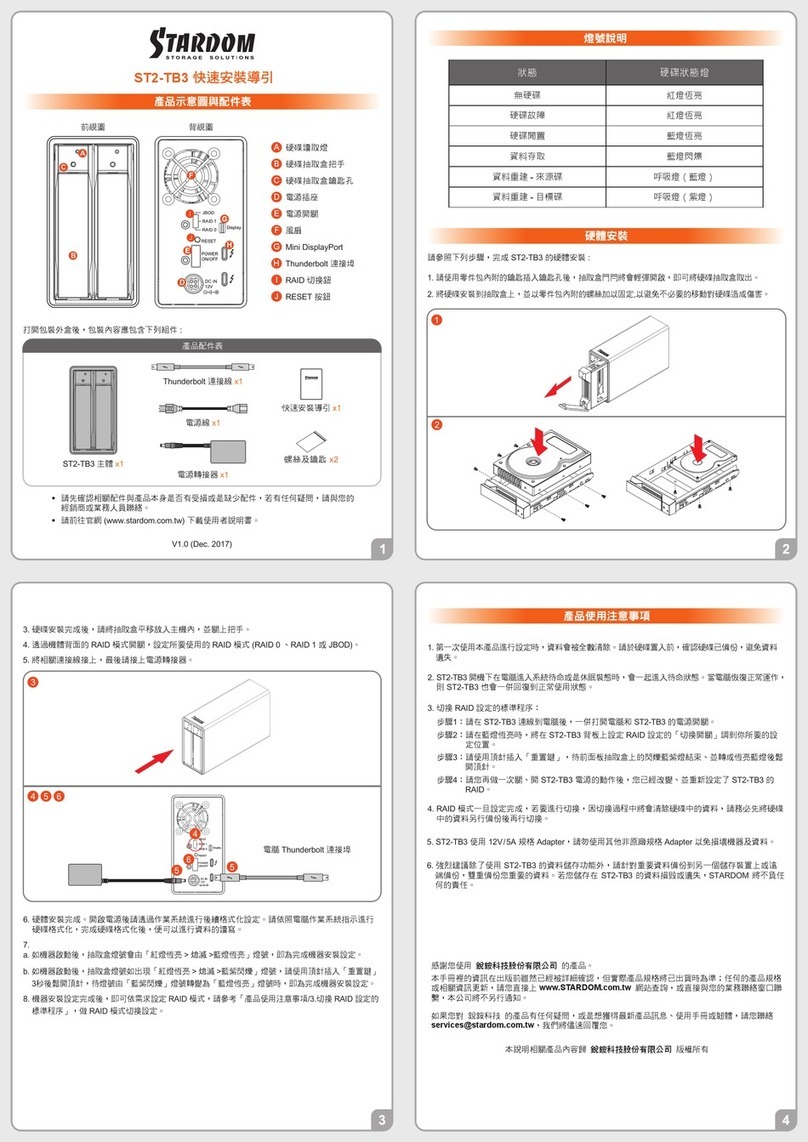
Front View Rear View
After you open the outside box, please make sure the following items/parts are contented in the box:
the Indication of HDD Status
HDD access IndicatorA
Removable drive trayB
HDD tray key lockC
Power socketD
Power switchE
FanF
Mini DisplayPortG
Thunderbolt
™
portH
Fan speed switch I
Port RAID Dip-switchJ
Reset ButtonK
Anti-theft lockL
Computer Thunderbolt
™
Port
Product Diagram & the Contents of Product package
LED Light Status
Solid Red Light
Solid Blue Light
Breathing Blue Light
Status
Power ON / No HDD
Power ON / Two HDDs
Rebuilding-Source
Rebuilding-Target Solid Purple Light
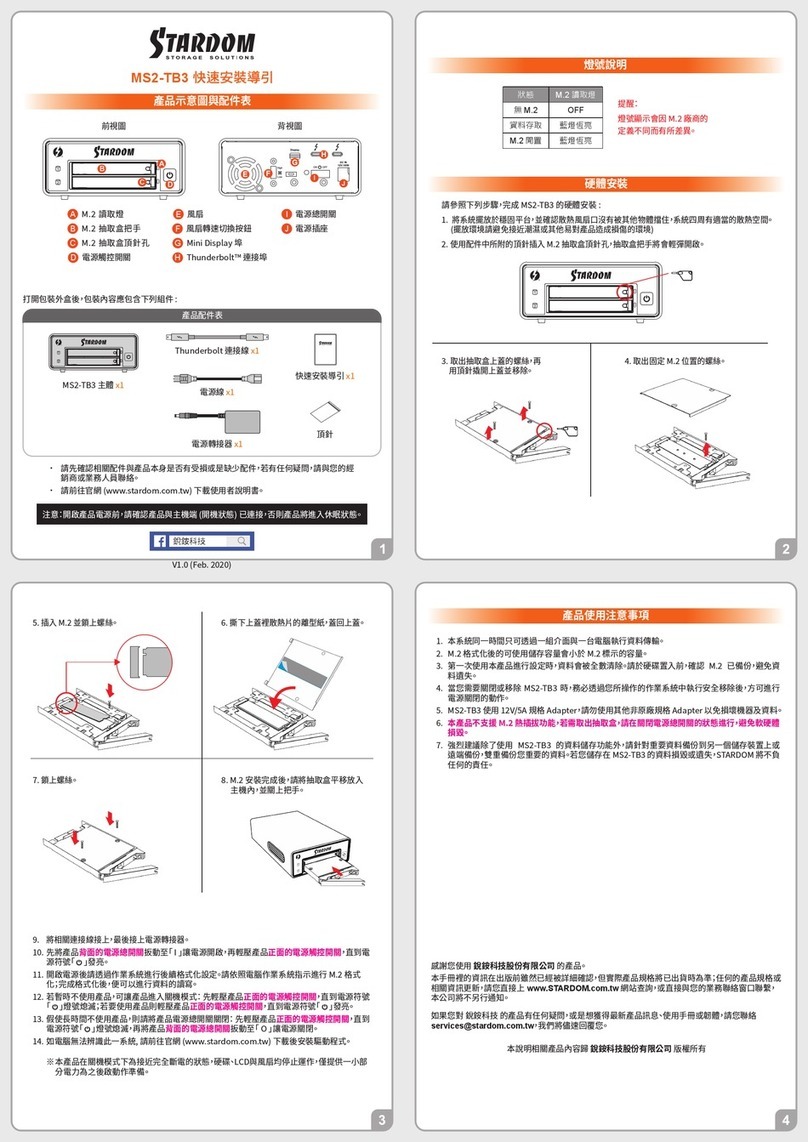
Please follow the following procedure to have your DR2-TB3 installed:
1. Use the provided key in the Accessories Kit and inserted it into the Key Access Opening to eject the
Removable Drive Tray Latch and extract the Removable Drive Tray.
2. Mount your hard drives onto the removable drive tray and secure it with the screws included in the
accessory kit to avoid any damage to the hard drive due to accidental movements.
Hardware Installation
3. After installing two HDDs into Trays, please insert them into DR2-TB3, and then latch the handle.
4. Please switch RAID Dip-switch to JBOD mode at back-plate.
5. Please connect the Thunderbolt Cable, connect the power cable to the DR2-TB3, and plug the
power plug into a grounded power outlet.
6. Please turn on power.
7.
a. After turning on power, the HDD/SSD Indicator will be changed with the following sequence,
Red > Off > Blue, and then, DR2-TB3 is ready for use.
b. In case if the HDD/SSD Indicator shows Red > Off > Blue Flashing, please use a pin to press the
RESET Button for 3 seconds, and wait until the HDD/SSD Indicator is changed to Blue from Blue
Flashing, your DR2-TB3 is then ready for use.
Important Notice
2. DR2-TB3 will be forced to get into SLEEP mode while your Mac Computer is in either IDLE or
SLEEP mode.
6. We strongly recommend you to keep an extra copy at your important personal data other than stored
in your DR2-TB3 product. Stardom will not be responsible of your data loss problem.
3. The Standard Procedure to Switch RAID Setting:
5. A WARNING to you if you plan to delete or switch your original RAID setting:If you plan to delete or switch
your original RAID setting, please always duplicate your personal data before deleting or changing it.
Step 1: Please first connect DR2-TB3 to your Mac.
Step 2: Please set RAID Dip Switch to the position you choose.
Step 3: Please use the Key to press the hidden RESET key at the back-plate, hold and wait for the
end of Blue-Purple LED blinking till a stable Blue light.
Step 4: Please turn off your DR2-TB3, and re-turn it on again. You now have reset DR2-TB3 with a
new RAID mode successfully.
Thank you for choosing product from RAIDON Technology lnc. This information in the manual has
been thoroughly checked before publication, but may not conform to the product catually delivered
which mean actual product specifications depend on the product shipped to you. Any update in the
specifications or product-related information shall not be subject to further notice but for the latest
information on the product, please visit the website as www.STARDOM.com.tw or contact us at
1. Since DR2-TB3 will delete all data files in your two HDDs/SSDs at its first-time use, please be
informed that you shall first save all your personal data files into a safe memory space before
starting setting your new DR2-TB3 to avoid any data loss during your start-up process.
Please check the included parts and the product itself for any damage or missing
parts. If you have any questions, please contact the retailer or sales representative.
Please visit the official website (www.stardom.com.tw) to download user manuals,
drivers and other related resources.
●
●
Quick Installation
Guide x1
Contents of Product Package
Thunderbolt
™
Cable x1
Power Cord x1
Handle x1
DR2-TB3 Device x1
Screws and key
Before switch on, please ensure
all plugs are properly and
securely attached.
J K
L
8. While your DR2-TB3 is ready for use, please follow the instruction of “3. The Standard Procedure
to Switch RAID Setting ”in the Important Notice and set the RAID mode to what you want. You
could then start using your DR2-TB3 now.
V1.2 (Dec. 2018)
4. The product needs to be restarted after adding or changing the RAID mode, and the update is guaranteed
to be the new RAID mode.


