Instruction Manual
2
Installation
WARNING! Computer parts can be severely damaged by static electricity. Be sure
that you are properly grounded before opening your computer case. StarTech.
com recommends that you wear an anti-static strap when installing any computer
component. If an anti-static strap is unavailable, discharge yourself of any static
electricity build-up by touching a large grounded metal surface (such as the computer
case) for several seconds.
Installation of a power supply requires some mechanical skill and requires that you
open your computer case to disconnect and reconnect wires. If you are unfamiliar
with this kind of work, consider bringing your computer and new StarTech.com power
supply to your local computer store for help.
Hardware Installation
1. Turn your computer o and any peripherals connected to the computer (i.e.
printers, external hard drives, etc.).
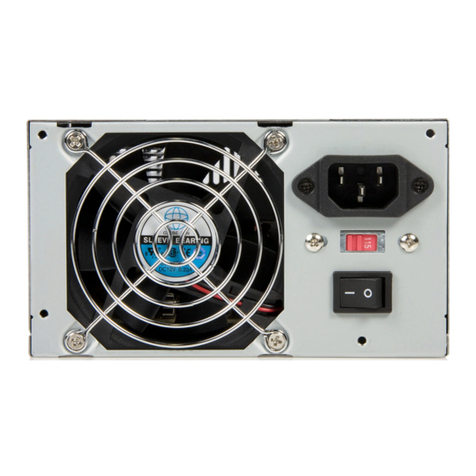
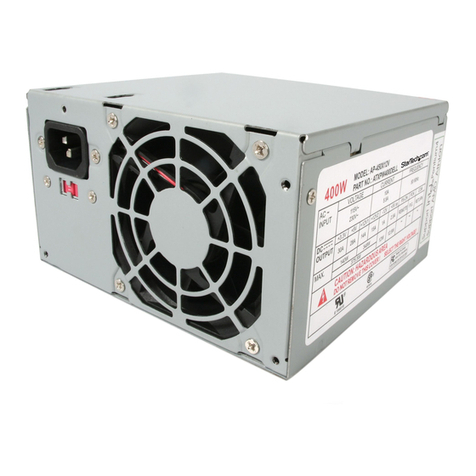
2. If the power supply has a power switch on it, set it to the “0” position. Unplug the
power cable from the rear of the power supply on the back of the computer and
disconnect all other peripheral cables.
3. Remove the cover from the computer case. Refer to documentation for your
computer system for details.
4. Disconnect all of the power connectors from the motherboard and peripheral
devices (i.e. hard drives, CD/DVD drives, etc). Make sure to take note of each
connector and where they were plugged in. Ensure there are no devices connected
to the existing power supply.
5. Remove the existing power supply from the computer case. This is typically done by
removing four (4) mounting screws on the outside face of the power supply. Refer to
documentation for your computer system/case for specics.
6. Install and mount the new power supply by reversing the steps used to remove the
old power supply.
7. Connect the power connectors from the power supply to the motherboard and
peripheral devices that were disconnected previously. Note that this power supply
uses a 20+4 pin ATX connector, so it can be used on motherboards with either a 20-
pin or 24-pin connector. Simply detach the extra 4-pin attachment for use on 20-pin
motherboards.
8. NOTE: the detached 4-pin connector cannot be used in place of the 4-pin ATX12V
(P4) connector.
9. Make sure any loose or unused cables from the power supply are away from fans
and other moving parts.
10. Place the cover back onto the computer case.9.
