manuals.online logo
Brands
  1. Home
  2. •
  3. Brands
  4. •
  5. StarTech.com
  6. •
  7. Switch
  8. •
  9. StarTech.com VS221HD4KA User manual

StarTech.com VS221HD4KA User manual

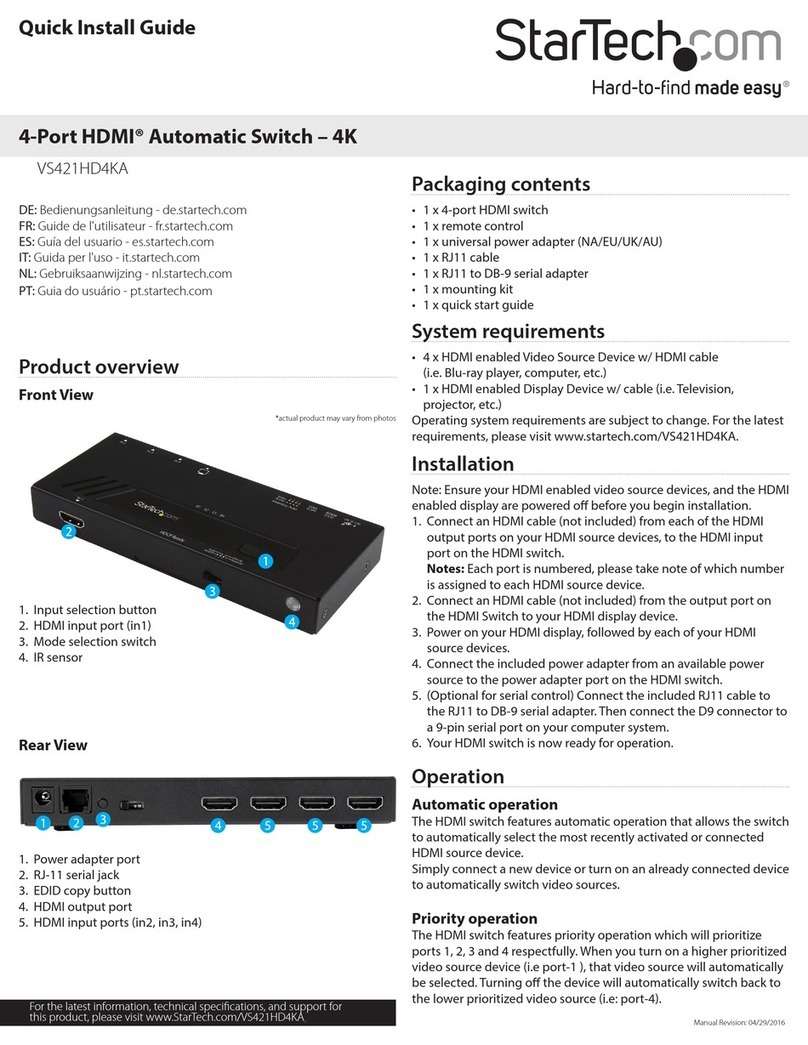
1. Input selection button
2. Mode selection switch
3. IR sensor
Quick Start Guide
DE: Bedienungsanleitung - de.startech.com
FR: Guide de l'utilisateur - fr.startech.com
ES: Guía del usuario - es.startech.com
IT: Guida per l'uso - it.startech.com
NL: Gebruiksaanwijzing - nl.startech.com
PT: Guia do usuário - pt.startech.com
Manual Revision: 06/27/2017
For the latest information, technical specications, and support for
this product, please visit www.StarTech.com/VS221HD4KA
Packaging contents
• 1 x 2-port HDMI switch
• 1 x remote control
• 1 x universal power adapter (NA/EU/UK/AU)
• 1 x RJ11 cable
• 1 x RJ11 to DB-9 serial adapter
• 1 x mounting kit
• 1 x quick start guide
System requirements
• 2 x HDMI enabled Video Source Device w/ HDMI cable
(i.e. Blu-ray player, computer, etc.)
• 1 x HDMI enabled Display Device w/ cable (i.e. Television,
projector, etc.)
Operating system requirements are subject to change. For the latest
requirements, please visit www.startech.com/VS221HD4KA.
VS221HD4KA
2-Port HDMI® Automatic Switch – 4K
*actual product may vary from photos
Installation
Note: Ensure your HDMI enabled video source devices, and the
HDMI enabled display are powered o before you begin installation.
1. Connect an HDMI cable (not included) from each of the HDMI
output ports on your HDMI source devices, to the HDMI input
port on the HDMI switch.
Notes: Each port is numbered, please take note of which number
is assigned to each HDMI source device.
2. Connect an HDMI cable (not included) from the output port on
the HDMI Switch to your HDMI display device.
3. Power on your HDMI display, followed by each of your HDMI
source devices.
4. Connect the included power adapter from an available power
source to the power adapter port on the HDMI switch.
5. (Optional for serial control) Connect the included RJ11 cable to
the RJ11 to DB-9 serial adapter. Then connect the D9 connector to
a 9-pin serial port on your computer system.
6. Your HDMI switch is now ready for operation.
Operation
Automatic operation
The HDMI switch features automatic operation that allows the switch
to automatically select the most recently activated or connected
HDMI source device.
Simply connect a new device or turn on an already connected device
to automatically switch video sources.
Priority operation
The HDMI switch features priority operation which will prioritize port
1 and port 2 respectfully. When you turn on the higher prioritized
video source device (port-1), that video source will automatically be
selected. Turning o the device will automatically switch back to the
lower prioritized video source (port-2).
Product overview
Front View
Rear View
1. Power adapter port
2. RJ-11 serial jack
3. EDID copy button
4. HDMI output port
5. HDMI input ports (in1 & in2)
6. EDID setting switch
6
Manual operation
Manual mode enables you to switch between video sources with
push button operation.
Manual operation with selection button
Press the input Selection button, on the front of the switch to toggle
between each video source device.
The active port LED indicator will light as video sources are switched,
indicating which port is selected.
Manual operation with remote control
Press 1 or 2 on the remote control to switch between HDMI ports in1
or in2 respectively.
Manual operation with serial control
1. Congure the settings on your serial port the below
configuration: Baud
Rate: 38400 bps Data
Bits: 8
Parity: None
Stop Bits: 1
Flow Control: None
2. Open your terminal software to communicate through the serial
port that the switch is connected to, and use the on-screen
commands displayed to operate and congure your switch.
FCC Compliance Statement
This equipment has been tested and found to comply with the limits for a Class A digital device, pursuant to part 15 of the FCC Rules. These limits are designed to provide reasonable protection against harmful
interference in a residential installation. This equipment generates, uses and can radiate radio frequency energy and, if not installed and used in accordance with the instructions, may cause harmful interference
to radio communications. However, there is no guarantee that interference will not occur in a particular installation. If this equipment does cause harmful interference to radio or television reception, which can be
determined by turning the equipment o and on, the user is encouraged to try to correct the interference by one or more of the following measures:
• Reorient or relocate the receiving antenna.
• Increase the separation between the equipment and receiver.
• Connect the equipment into an outlet on a circuit dierent from that to which the receiver is connected.
• Consult the dealer or an experienced radio/TV technician for help
This device complies with part 15 of the FCC Rules. Operation is subject to the following two conditions: (1) This device may not cause harmful interference, and (2) this device must accept any interference received,
including interference that may cause undesired operation. Changes or modications not expressly approved by StarTech.com could void the user’s authority to operate the equipment.
Industry Canada Statement
This Class A digital apparatus complies with Canadian ICES-003.
Cet appareil numérique de la classe [A] est conforme à la norme NMB-003 du Canada.
CAN ICES-3 (A)/NMB-3(A)
Use of Trademarks, Registered Trademarks, and other Protected Names and Symbols
This manual may make reference to trademarks, registered trademarks, and other protected names and/or symbols of third-party companies not related in any way to
StarTech.com. Where they occur these references are for illustrative purposes only and do not represent an endorsement of a product or service by StarTech.com, or an endorsement of the product(s) to which this
manual applies by the third-party company in question. Regardless of any direct acknowledgement elsewhere in the body of this document, StarTech.com hereby acknowledges that all trademarks, registered
trademarks, service marks, and other protected names and/or symbols contained in this manual and related documents are the property of their respective holders.
Technical Support
StarTech.com’s lifetime technical support is an integral part of our commitment to provide industry-leading solutions. If you ever need help with your product, visit www.startech.com/support and access our
comprehensive selection of online tools, documentation, and downloads.
For the latest drivers/software, please visit www.startech.com/downloads
Warranty Information
This product is backed by a two year warranty.
StarTech.com warrants its products against defects in materials and workmanship for the periods noted, following the initial date of purchase. During this period, the products may be returned for repair, or
replacement with equivalent products at our discretion. The warranty covers parts and labor costs only. StarTech.com does not warrant its products from defects or damages arising from misuse, abuse, alteration, or
normal wear and tear.
Limitation of Liability
In no event shall the liability of StarTech.com Ltd. and StarTech.com USA LLP (or their ocers, directors, employees or agents) for any damages (whether direct or indirect, special, punitive, incidental, consequential, or
otherwise), loss of prots, loss of business, or any pecuniary loss, arising out of or related to the use of the product exceed the actual price paid for the product. Some states do not allow the exclusion or limitation of
incidental or consequential damages. If such laws apply, the limitations or exclusions contained in this statement may not apply to you.
Other StarTech.com Switch manuals

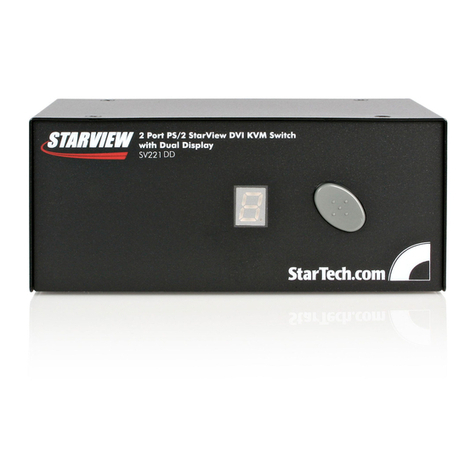
StarTech.com SV441HDIE User manual

StarTech.com

StarTech.com SV441HDIE User manual

StarTech.com SV211HDUA4K User manual

StarTech.com

StarTech.com SV211HDUA4K User manual

StarTech.com ENTERPRISE CLASS SV1653DXI User manual

StarTech.com

StarTech.com ENTERPRISE CLASS SV1653DXI User manual

StarTech.com ST7300USBM User manual

StarTech.com

StarTech.com ST7300USBM User manual

StarTech.com SV1115IPEXT User manual

StarTech.com

StarTech.com SV1115IPEXT User manual

StarTech.com SV231UADVI User manual

StarTech.com

StarTech.com SV231UADVI User manual

StarTech.com VS221HD2VGA User manual

StarTech.com

StarTech.com VS221HD2VGA User manual

StarTech.com KVM SWITCHBOX VGA DS15H954 User manual

StarTech.com

StarTech.com KVM SWITCHBOX VGA DS15H954 User manual

StarTech.com HB30A3A1CST User manual

StarTech.com

StarTech.com HB30A3A1CST User manual

StarTech.com VS221HDQ User manual

StarTech.com

StarTech.com VS221HDQ User manual

StarTech.com ST122VGA User manual

StarTech.com

StarTech.com ST122VGA User manual

StarTech.com StarView SV431H User manual

StarTech.com

StarTech.com StarView SV431H User manual

StarTech.com SV431HU34K6 User manual

StarTech.com

StarTech.com SV431HU34K6 User manual

StarTech.com IES81000POE User manual

StarTech.com

StarTech.com IES81000POE User manual

StarTech.com DisplayPort SV231QDPU34K User manual

StarTech.com

StarTech.com DisplayPort SV231QDPU34K User manual

StarTech.com SV1110IPEXT Manual

StarTech.com

StarTech.com SV1110IPEXT Manual

StarTech.com ST4300USB3 User manual

StarTech.com

StarTech.com ST4300USB3 User manual

StarTech.com CAB831HDU User manual

StarTech.com

StarTech.com CAB831HDU User manual

StarTech.com SV831DUSBAU User manual

StarTech.com

StarTech.com SV831DUSBAU User manual

StarTech.com IES101GP2SFW User manual

StarTech.com

StarTech.com IES101GP2SFW User manual

StarTech.com ICUSB2322I User manual

StarTech.com

StarTech.com ICUSB2322I User manual

StarTech.com ST122VGAU User manual

StarTech.com

StarTech.com ST122VGAU User manual

StarTech.com SV831DUSBA User manual

StarTech.com

StarTech.com SV831DUSBA User manual

StarTech.com HB31C3A1CDPPD3 User manual

StarTech.com

StarTech.com HB31C3A1CDPPD3 User manual

Popular Switch manuals by other brands

elco iNels RFSA-62B manual

elco

elco iNels RFSA-62B manual

Siemens 6GK60080AS200MU0 installation guide

Siemens

Siemens 6GK60080AS200MU0 installation guide

The GigRig G3 user manual

The GigRig

The GigRig G3 user manual

D-Link DGS-1224T - Web Smart Switch Quick installation guide

D-Link

D-Link DGS-1224T - Web Smart Switch Quick installation guide

AmazonBasics B07V6MXF3C manual

AmazonBasics

AmazonBasics B07V6MXF3C manual

Televes MULTRIX MS94NG manual

Televes

Televes MULTRIX MS94NG manual

Vaillant VR32 manual

Vaillant

Vaillant VR32 manual

NIVELCO NIPRESS DK-500 Installation and programming manual

NIVELCO

NIVELCO NIPRESS DK-500 Installation and programming manual

Siemens RUGGEDCOM RX1500 installation guide

Siemens

Siemens RUGGEDCOM RX1500 installation guide

GET GPA Guide

GET

GET GPA Guide

ORiNG TES-250-M12 Quick installation guide

ORiNG

ORiNG TES-250-M12 Quick installation guide

Planet FGSW-2022VHP user manual

Planet

Planet FGSW-2022VHP user manual

ZooZ ZEN15 800LR user manual

ZooZ

ZooZ ZEN15 800LR user manual

ATEN ALTUSEN SN0108 quick start guide

ATEN

ATEN ALTUSEN SN0108 quick start guide

Contemporary Controls CTRLink Skorpion Series installation guide

Contemporary Controls

Contemporary Controls CTRLink Skorpion Series installation guide

KVM Discovery AS-9104/08DA user manual

KVM Discovery

KVM Discovery AS-9104/08DA user manual

PTN WVG16A user manual

PTN

PTN WVG16A user manual

Sun Microsystems Sun Netra CP3240 installation guide

Sun Microsystems

Sun Microsystems Sun Netra CP3240 installation guide

manuals.online logo
manuals.online logoBrands
  • About & Mission
  • Contact us
  • Privacy Policy
  • Terms and Conditions

Copyright 2025 Manuals.Online. All Rights Reserved.