STE302P0512
6
The adjustment is thus completed and the thermostat
returns to normal operation.
It is possible to exit the degrees Celsius/Fahrenheit
adjustment mode at any time:
•Bypressingdownthe button.
•By not pressing down any buttons during 1
minute.
In any case, the adjustment is saved.
Manual mode ( )
From the Manual mode, you can manually adjust the
thermostat set point by pressing down the or
button to increase the value, or to decrease it. To
quickly scroll through the set point values, press and
hold down the button. The standard factory set point
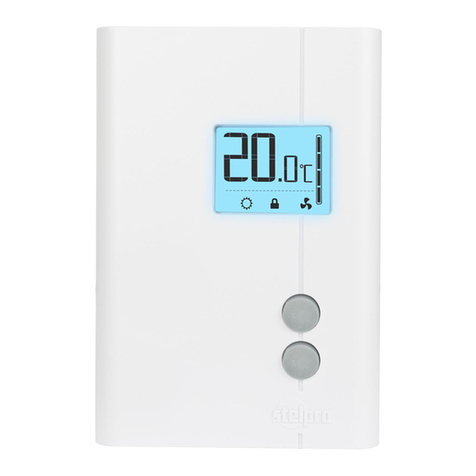
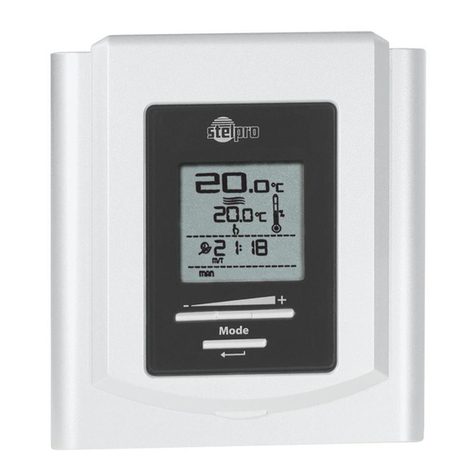
adjustment is 21°C. From this mode, the screen dis-
plays the temperature, the heating power used, the
hour and the day of the week.
Automatic mode ( )
From the Automatic mode, the thermostat adjusts the
set points according to the programmed periods. If
no data was entered, the thermostat acts the same
way as from the Manual mode and the standard fac-
tory set point adjustment is 21°C. It is always pos-
sible to manually adjust the set point using the
or button. The selected set point will be effective
until one period is programmed, which represents
an hour and a day of the week. Note that if the set
point is lowered to off (--.-), the programming will
not be effective. It is possible to program 4 periods a
day during the week and 4 periods a day during the
weekend, which means that the set point can change
automatically up to 4 times a day. The period order
is not important.
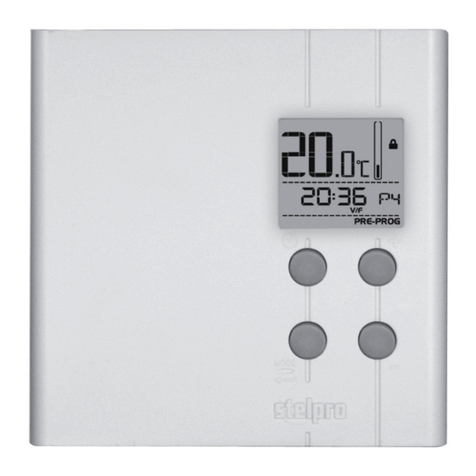
From this mode, the screen displays the temperature,
the heating power used, the hour, the day of the week
and the current programmed period number ( to
; displayed on the right-hand side of the hour).
Programming procedure of the Automatic
mode
Programming the Automatic mode can be done in the
Automatic mode or the Manual mode.
1. Out of any adjustment mode, press down the
button during 3 seconds and release it. It then
enters into the programming of period 1 of the 5
days of the week. The 5 days of the week (L/M,
M/T, M/W, J/T, V/F), the period 1 ( ) and the as-
sociated programming (hours and set point) are
displayed. Note that the time displays --:-- and the
set point displays --.-- if there is no programming
for the period.
Note: if no programming is required for the period,
simply press down the button. It then auto-
matically switches to the next adjustment period.
2. The two hour digits of the period flash and can then
be adjusted with the and buttons. Confirm
the adjustment using the button.
3. The two minute digits of the period flash. Use the
and buttons to adjust by intervals of 15 min-
utes. Confirm the adjustment by pressing down the
button.
4. The set point temperature of the period is flash-
ing. Adjust the set point using the and but-
tons. Confirm your selection by pressing down the
button.
5. The programming of this period is over. The pro-
gramming of the next period is displayed and you
return to step 2.
6. At the end of the programming of the 4 periods
of the week days, you enter into the programming
period 1 of the two days of the weekend. The two
days of the weekend (S/S, D/S), the period 1 and
the associated programming (hours and set point)
are displayed. The programming of the weekend
periods is made in the same manner as for the pe-
riods of the week days (steps 2 to 5).
At the end of the programming period 4 of the week-
end, the programming is completed and the thermo-
stat returns to normal operation.


