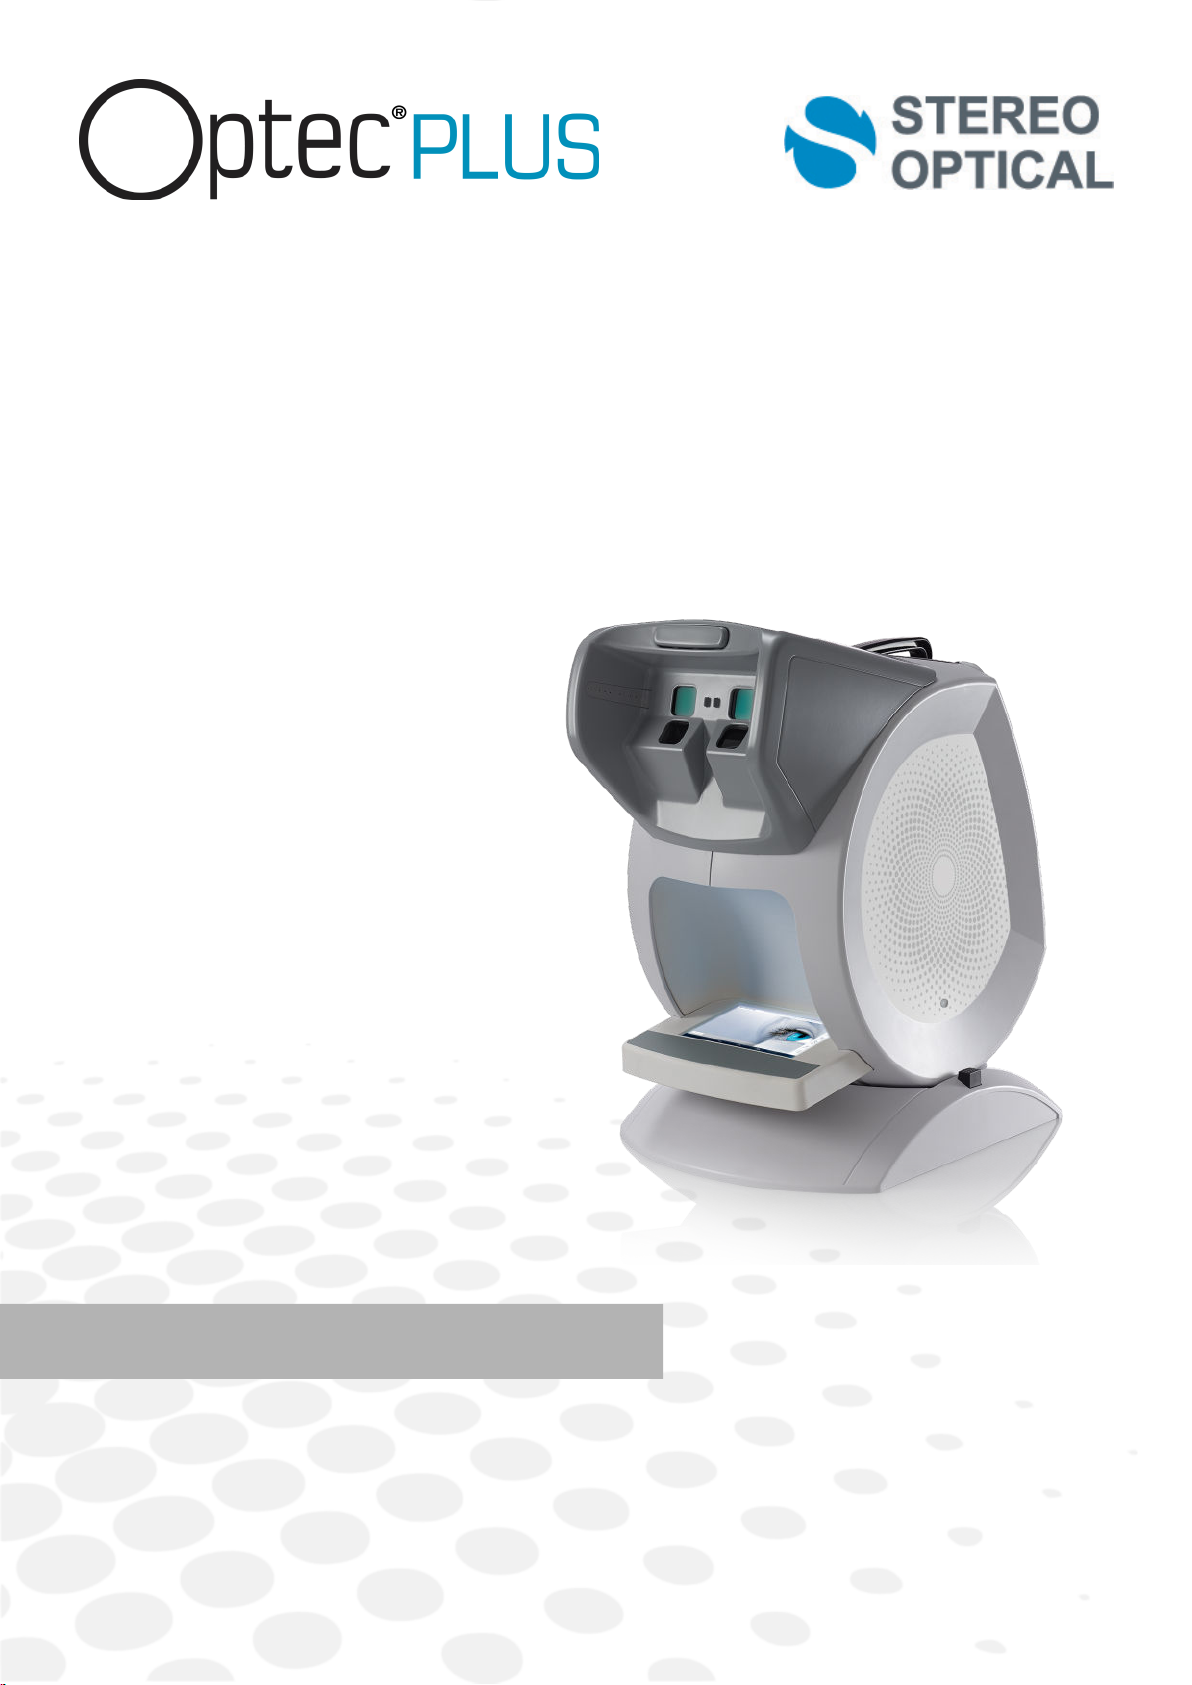
Stereo Optical OPTEC PLUS User manual

User Manual


USER MANUAL > CONTENTS
CONTENTS
I. INTRODUCTION 5
1. To install the Bluetooth dongle 8
2. Installing the software 8
II. TO START A PROTOCOL 11
III. TO INSERT AN ANCILLARY LENS 17
IV. TESTS 21
1. To start a test 23
2. Read the answers 25
a. Relaxation accommodation test 26
b. Allen Acuity test 26
c. Letters or figures and latent farsightedness acuity test 26
d. HOTV Acuity test 28
e. Landolt acuity test 29
f. Landolt 2 acuity test 29
g. “E” Snellen acuity test 30
h. Tumbling E acuity test 30
i. Tumbling E acuity test 31
j. Astigmatism test 32
k. Ametropia test 32
l. Color vision test: Ishihara 33
m. Color vision test: Discs 33
n. Color vision test: Tumbling E 34
o. Test for sensitivity to contrasts: Three levels 34
p. Fusion test 35
q. Fusion test: Boxes 35
r. Phoria test 35
s. Phoria test: Notes of music (side) 36
t. Phoria test: Notes of music (vertical) 36
u. Stereoscopic acuity test: Depth perception 37
v. Stereoscopic acuity test: Road signs 38
w. Peripheral field test 38
x. Test of the horizontal and vertical peripheral field (optional) 39
y. Glare recovery test (optional) 39
z. Ultra central field test (optional) 41
V. SETTINGS 43
1. To set up the monitoring software (tablet or PC) 46
a. To choose a language 47
b. To manage the user accounts 48
c. Creating or modifying a protocol 51
d. To create data exchange folders 56
e. To manage software updates 56
f. Setting up the tests 59
g. To set up the medical centre information 60
h. To delete data 61
2. To set up the device (viewer) 62
a. To connect the monitoring software to the device 63
b. To choose the language 64

USER MANUAL > CONTENTS
c. To set-up the screen 65
d. To manage the licenses 66
e. To select the voice synthesis 67
VI. STARTING WITH A PATIENT 69
1. Import existing patient 71
2. Creating a new profile 72
a. Identity of the Patient 72
b. Correction worn and the patient's work environment 73
3. To create an anonymous patient 74
VII. MAIN MENU 77
LIST OF ERRORS 81
TECHNICAL DATA 83
1. The device 84
2. Accessory list 84
3. Environment 84
GENERAL INFORMATION 85
1. Symbols 86
2. Modifications 87
3. Declaration of conformity 87
4. Materials and products 87
5. Safety instructions 87
GLOSSARY 91

I. INTRODUCTION

USER MANUAL > INTRODUCTION
6Optec Plus > V4 - 04.17

USER MANUAL > INTRODUCTION
Optec Plus > V4 - 04.17 7
1.
2.
3.
4.
5.
6.
7.
8.
9.
This device C86 (Optec Plus) makes it possible to carry out an easy, fast and precise vision screening through:
its easy to use interface,
its height adjustment system for customised use,
its integrated protocols which allow targeted screening.
Home screen
Files of tested patients
List of reports generated in pdf
Display of the Amsler grid (available depending on the offer)
Settings
Product information
Display size
Connected Device(s)
Recognition of the electronic board
Help

USER MANUAL > INTRODUCTION
8Optec Plus > V4 - 04.17
2
1
2
1
1.
2.
1. To install the Bluetooth dongle
In order to be able to use the device, you must synchronize it with your computer by using the Bluetooth dongle provided.
If you do not use medical software and you are equipped with an Elite tablet you do not need to install the Bluetooth key.
Insert the Bluetooth dongle into one of your computer’s USB ports.
According to your operating system version:
An installation window is displayed > Click on next
The installation is carried out automatically
> Once the installation is complete, the icon is displayed at the bottom of your screen.
If the Bluetooth key does not install automatically, insert the USB key provided with the device and install the
Bluetooth directory program.
Start the device software.
See .
Installing the software (p.8)
2. Installing the software
A USB stick is provided with the device. It contains the software. You must install it on your computer before being able to use it or
start tests.
Insert the Bluetooth key into one of your computer’s USB ports.
Open the file and double-click on the software.
The Bluetooth dongle is installed automatically.>
A new folder is displayed in the file explorer list.>

USER MANUAL > INTRODUCTION
Optec Plus > V4 - 04.17 9
3Follow the installation instructions.
The installation window opens.
>
The software has been installed on your computer.>

USER MANUAL > INTRODUCTION
10 Optec Plus > V4 - 04.17

II. TO START A PROTOCOL

USER MANUAL > TO START A PROTOCOL
12 Optec Plus > V4 - 04.17

USER MANUAL > TO START A PROTOCOL
Optec Plus > V4 - 04.17 13
1
1.
2.
3.
The Protocols menu lets you start a series of tests for targeted screening. The user can adjust the font size.
If you have the automatic mode option, you can choose to only display the automatic protocols by clicking on the Only
, in the top right hand side of the screen (according to your product version and model).display automatic protocols function
You can view all the tests within a protocol by clicking on .
The following screen will appear:
Select a protocol by clicking on (manual protocol).
Night vision (mesopic) activation
Peripheral glare allowing the glare sensitivity to be set
Display of acuities on black or white background
The first protocol test starts.>

USER MANUAL > TO START A PROTOCOL
14 Optec Plus > V4 - 04.17
3
2
For protocol tests, day vision is activated by default. However, there is also a night version available.
Night vision (mesopic) and the peripheral glare are available only if the options were bought and activated.
You can continue to visualize all the protocol tests in the side menu.
Click on to obtain a more detailed overview.
> The following screen is displayed.
Press again to go back to the initial display.
The test in progress and the tests that have already been carried out are indicated by a tick " ."
Click on:
to scroll through the tests.
You can also scroll through the tests on the side menu by selecting the test of your choice.
Input the results from the part.Answers

USER MANUAL > TO START A PROTOCOL
Optec Plus > V4 - 04.17 15
5
4
1.
2.
3.
Click on:
once the protocol is finished.
This page allows you:
to choose if the patient takes the test with or without glasses (doctor’s decision), this must be done before
starting the protocols and tests, it will appear on the results page,
to accessthe test list and be able to launch them one after the other; or to select a protocol from the list,
to modify information about the subject, to view an information summary or to finish with the patient.
Then, press on:
If you need to complete a test or to carry out a new one, you can press on:
if not click on
The results report for completed tests opens (unit protocols and/or tests as well as information about the patient).
You can export (XML file), send (PDF) or print these results.
You are redirected towards the main menu.>

USER MANUAL > TO START A PROTOCOL
16 Optec Plus > V4 - 04.17

III. TO INSERT AN ANCILLARY LENS

USER MANUAL > TO INSERT AN ANCILLARY LENS
18 Optec Plus > V4 - 04.17

USER MANUAL > TO INSERT AN ANCILLARY LENS
Optec Plus > V4 - 04.17 19
4
3
2
1
The use:
of two ancillary lens +1.75 and +2.25 is necessary for the screening test of latent farsightedness.
of two ancillary lens VI 31 inch and VI 26 inch is necessary for the screening test of mid-distance vision.
Insert the ancillary lens into the device then remove once the testhas been carried out.
Take off the rubber cover located at the top of the device.
Insert the ancillary lens into the slot.
Ensure that the ancillary lens has been inserted correctly by checking that the label is not visible to the patient.
Push the ancillary lens downwards until the edges meet the device.
A incorrectly inserted ancillary lens remains stuck. Do not exert excessive pressure on the ancillary lens so as not to
damage it.
Do not forget to remove the ancillary lens after use. Forgetting to remove it could distort the other test results.

USER MANUAL > TO INSERT AN ANCILLARY LENS
20 Optec Plus > V4 - 04.17
Other manuals for OPTEC PLUS
1
This manual suits for next models
4
Table of contents