9KW 85
english / USA
Use only identical STIHL replacement
parts for maintenance and repair. Use of
non-STIHL parts may cause serious or
fatal injury.
Follow the maintenance and repair
instructions in the appropriate section of
your owner's manual. Please refer to the
maintenance chart at the last pages of
this manual.
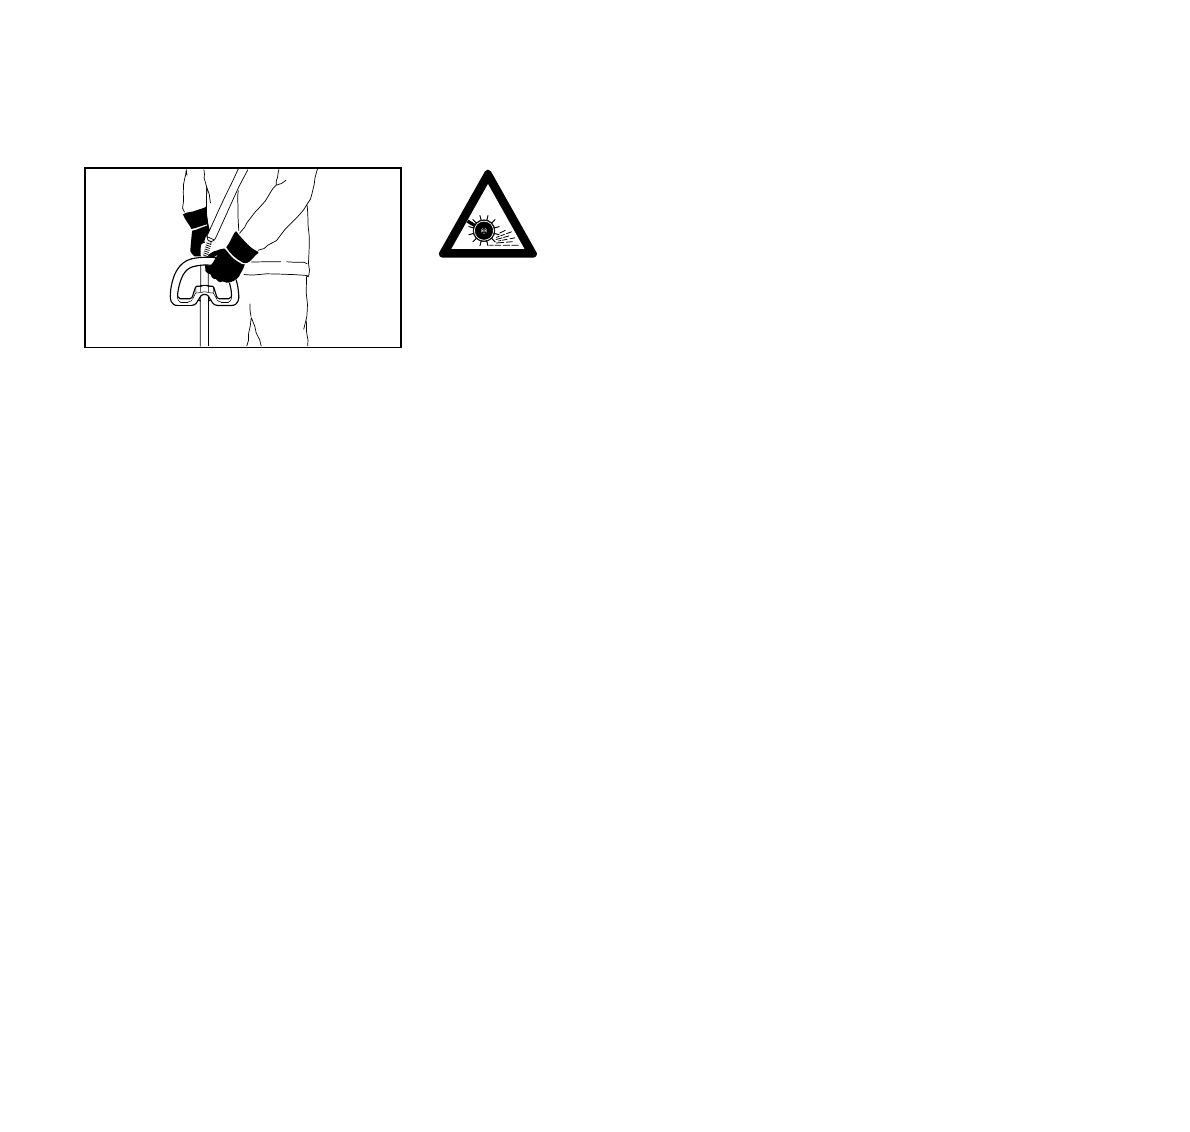
!Warning!
Always stop the engine and make sure
that the sweeper belts have stopped
before doing any maintenance or repair
work or cleaning the PowerSweep. Do
not attempt any maintenance or repair
work not described in your owner's
manual. Have such work performed at
your STIHL dealer shop only.
!Warning!
Check condition of sweeper belts at
regular intervals. Loose particles or
pieces of the belts could be thrown and
injure the operator or bystanders. To
reduce risk of injury from broken parts
replace damaged sweeper belts
immediately and always in pairs. Do not
reuse or attempt to repair damaged or
worn sweeper belts.
!Warning!
To reduce the risk of fire and burn
injuries, check fuel filler cap for leaks at
regular intervals. Use the specified
spark plug and make sure it and the
ignition lead are always in good
condition.
!Warning!
Never test the ignition system with
ignition wire boot removed from spark
plug or with unseated spark plug, since
uncontained sparking may cause a fire.
!Warning!
To reduce the risk of fire and burn injury,
use only spark plugs authorized by
STIHL. Always press spark plug boot
snugly onto spark plug boot of the
proper size. (Note: If boot has
detachable SAE adapter nut, it must be
attached.) A loose connection between
spark plug boot and ignition wire
connector in the boot may create arcing
that could ignite combustible fumes and
cause a fire. Keep spark plug clean, and
make sure ignition lead is in good
condition.
!Warning!
Do not operate your PowerSweep if the
muffler is damaged, missing or modified.
An improperly maintained muffler will
increase the risk of fire and hearing loss.
Never touch a hot muffler or burn will
result. If your muffler was equipped with
a spark-arresting screen to reduce the
risk of fire (e.g. in the USA, Canada and
Australia), never operate your
PowerSweep if the screen is missing or
damaged. Do not modify or remove any
part of the muffler or spark arresting
screen. Remember that the risk of forest
fires is greater in hot or dry weather.
Tighten all nuts, bolts and screws,
except the carburetor adjustment
screws, after each use.
Additionally, the daily maintenance
schedule for your PowerSweep set forth
in your STIHL Owner's Manual should
be strictly followed.
For any maintenance please refer to the
maintenance chart and to the warranty
statement near the end of this manual.
Store PowerSweep in a dry, high or
locked location out of reach of children.
Before storing for longer than a few
days, always empty the fuel tank.