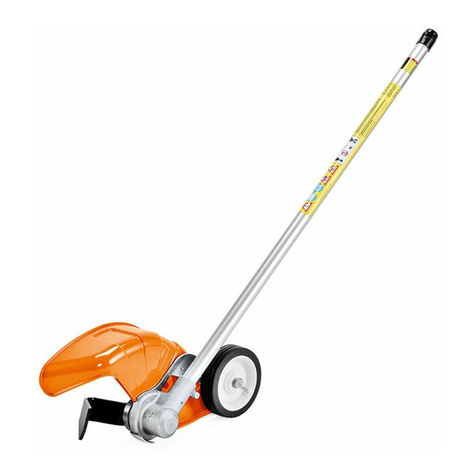
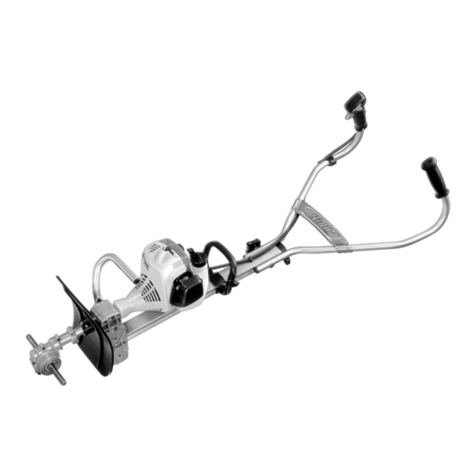
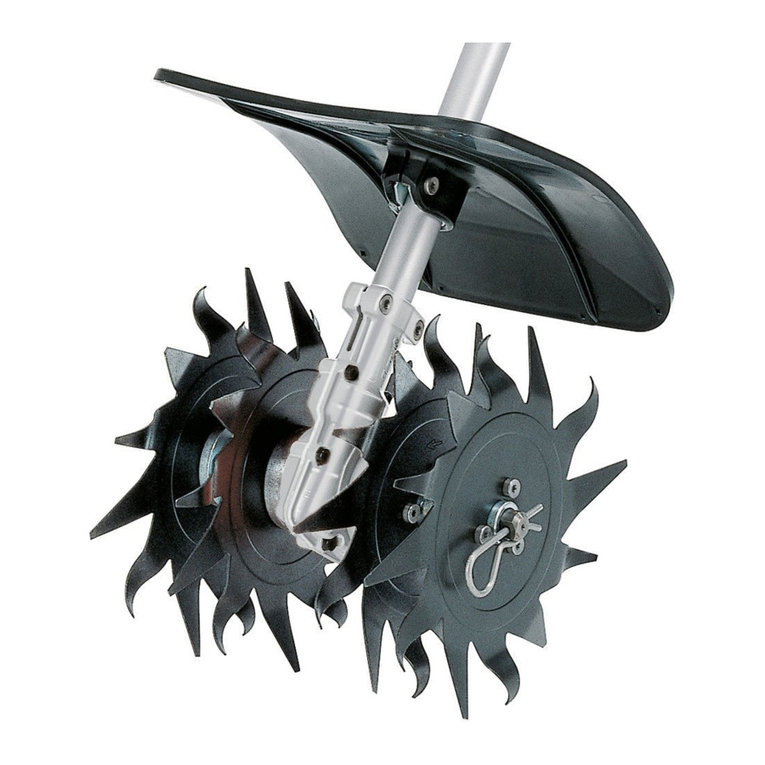
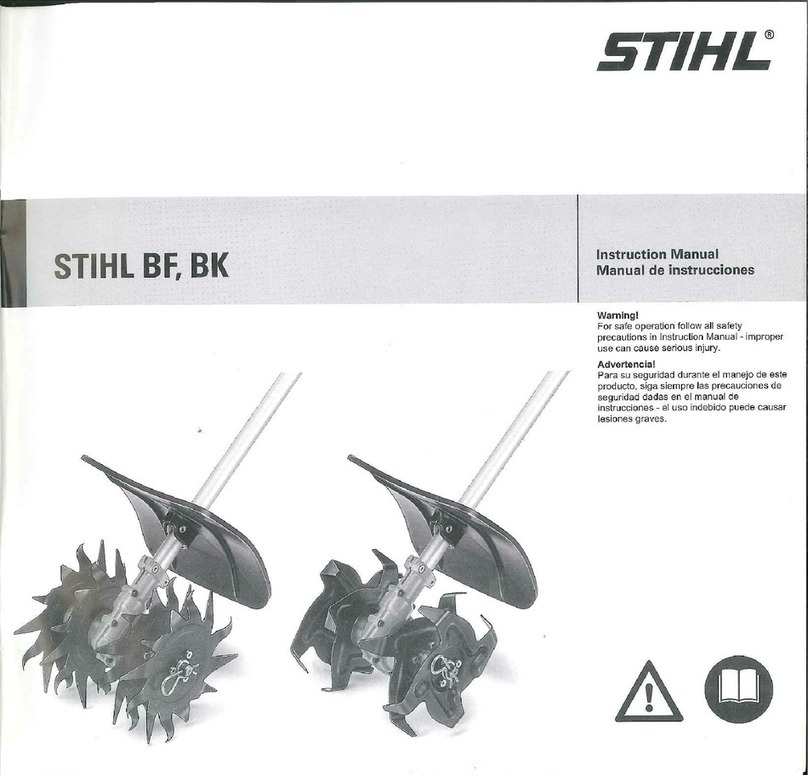
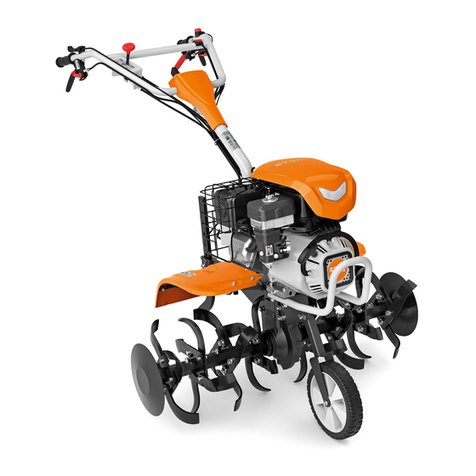
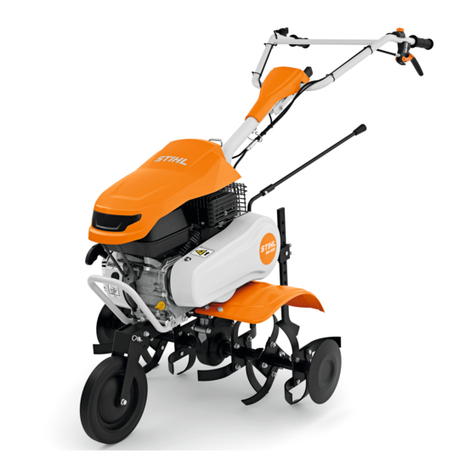
Stihl BF-KM User manual

Instruction Manual
Notice d’emploi
STIH)
STIHL BF-KM, BK-KM
BA_U1_82_01.fm Seite 0 Dienstag, 10. August 2004 12:02 12

1BF-KM, BK-KM
English
BA_SE_157_004_01_10.fmPrinted on chlorine-free paper.
Printing inks contain vegetable oils; paper can be recycled.
© ANDREAS STIHL AG & Co. KG, 2007
0458 478 8221 A. M0,55. K7. PM. Printed in USA
STIHl
Contents
KombiSystem ................................... 2
Guide to Using this Manual .............. 2
Safety instructions and
working techniques ........................... 3
Using the Cultivator ........................ 10
Approved KombiEngines ................ 12
Assembling the Unit ....................... 13
Mounting the KombiTool ................. 14
Fitting the Harness ......................... 15
Starting / Stopping
the Engine ...................................... 15
Storing the Machine ........................ 16
Maintenance and Care ................... 16
Main Parts ...................................... 17
Specifications ................................. 18
Special Accessories ....................... 19
Maintenance and Repairs ............... 19
Allow only persons who understand the
manuals of the KombiEngine and soil
cultivator KombiTool to operate this
power tool combination.
To receive maximum performance and
satisfaction from your STIHL KombiTool,
it is important that you read and
understand the maintenance and safety
precautions, starting on page 3, before
using your KombiTool.
Contact your STIHL dealer or the STIHL
distributor for your area if you do not
understand any of the instructions in this
Manual.
!Warning!
Because this power-tool has a relatively
fast turning cutting attachment some
special safety precautions must be
observed to reduce the risk of personal
injury. Careless or improper use may
cause serious or even fatal injury.
STIHL's philosophy is to continually
improve all of its products. As a result,
engineering changes and improve-
ments are made from time to time. If the
operating characteristics or the
appearance of your attachment differs
from those described in this Manual,
please contact your STIHL dealer for
information and assistance.

2
English
BF-KM, BK-KM
In the STIHL KombiSystem a number of
different KombiEngines and KombiTools
can be combined to produce a power
tool. In this instruction manual the
functional unit formed by the
KombiEngine and KombiTool is referred
to as the power tool.
The KombiEngine and KombiTool come
with separate instruction manuals.
Always read and make sure you
understand both instruction manuals
before starting and using your machine.
Keep the manuals in a safe place for
later reference.
Pictograms
All the pictograms attached to the
machine are shown and explained in
this manual.
The operating and handling instructions
are supported by illustrations.
Symbols in text
The individual steps or procedures
described in the manual may be marked
in different ways:
:A bullet marks a step or procedure
without direct reference to an
illustration.
A description of a step or procedure that
refers directly to an illustration may
contain item numbers that appear in the
illustration.
Example:
Loosen the screw (1)
Lever (2) ...
In addition to the operating instructions,
this manual may contain paragraphs
that require your special attention. Such
paragraphs are marked with the
symbols described below:
Warning where there is a risk of an
accident or personal injury or
serious damage to property.
Caution where there is a risk of
damaging the machine or its
individual components.
Note or hint which is not essential
for using the machine, but may
improve the operator’s under-
standing of the situation and result
in better use of the machine.
Note or hint on correct procedure in
order to avoid damage to the
environment.
KombiSystem
.
.
.
.
002BA159 KN
+
+
Guide to Using this Manual

3BF-KM, BK-KM
English
Equipment and features
This instruction manual may refer to
several models with different
features. Components that are not
installed on all models and related
applications are marked with an
asterisk (*). Such components may
be available as special accessories
from your STIHL dealer.
Engineering improvements
STIHL’s philosophy is to continually
improve all of its products. As a result,
engineering changes and improvements
are made from time to time. If the
operating characteristics or the
appearance of your machine differ from
those described in this manual, please
contact your STIHL dealer for
assistance.
Therefore some changes, modifications
and improvements may not be covered
in this manual.
Important!
Since the combination of
STIHL KombiEngine and
Soil Cultivator KombiTool
is a machine with high-
speed implement, a
number of special safety
precautions must be observed in order
to reduce the risk of injury.
These safety instructions
must be read through
attentively and observed.
Read through the owner's
manual and safety
instructions for the
KombiEngine and soil cultivator
KombiTool from time to time.
Negligence or incorrect use of the power
tool may lead to severe or even fatal
injuries.
Let your STIHL dealer show you to
operate the power tool safely. Note the
accident prevention regulations issued
by the employers' liability insurance
associations.
!Important!
Never lend or rent the power tool to
other people without its owner's manual.
The instructions contained in this
manual must be observed by every
operator of this power tool.
!Important!
Use of a power tool may be dangerous.
Contact with the rotating implement will
cause serious cuts. Solid objects such
as stones or pieces of metal may be
catapulted aside and injure the operator
or bystanders.
Such objects may also damage the
implement. Blades may shatter, splinter
or break.
STIHL does not recommend the use of
non-elastic blades when working on
stony ground. Catapulted objects or
damaged blades may cause serious or
even fatal injuries to the operator or
bystanders.
!Important!
Minors should never be allowed to use
this power tool. Bystanders, especially
children and animals should not be
allowed in the area where a power tool is
in use!
Never let the power tool run unattended.
Safety instructions and
working techniques

4
English
BF-KM, BK-KM
Most of these safety instructions apply
for all STIHL soil cultivators. The
components and controls may differ in
different models. The main components
and functions of this power tool model
are described in the appropriate chapter
of the manual.
Safe use of a power tool involves:
1. the operator,
2. the power tool,
3. use of the power tool.
THE OPERATOR!
Physical condition
You must be in good physical condition
and mental health and not under the
influence of any substance (drugs,
alcohol, etc.) which might impair vision,
dexterity or judgement. Do not operate
the power tool when you are fatigued.
Be alert - if you get tired while operating
your power tool, take a break. Tiredness
may result in loss of control. Working
with a power tool can be strenuous. If
you have any condition that might be
aggravated by strenuous work, check
with your doctor before operating a
power tool.
!Important!
Prolonged use of a power tool exposing
the operator to vibrations may produce
whitefinger disease (Raynaud's
phenomenon) or carpal tunnel
syndrome.
These conditions reduce the hand's
ability to feel and regulate temperature,
produce numbness and burning
sensations and may cause nerve and
circulation damage and tissue necrosis.
The factors contributing to whitefinger
disease are not yet fully known, but cold
weather, smoking and illnesses or
physical conditions influencing the blood
vessels and flow of blood in the body, as
well as long-term exposure to vibrations
are known to cause whitefinger disease.
The following points should be observed
in order to reduce the risk of suffering
whitefinger disease or carpal tunnel
syndrome:
– Most STIHL power tools are
available with an anti-vibration
("AV") system designed to reduce
the transmission of vibrations
created by the engine to the
operator's hands. An AV system is
recommended for those persons
using power tools on a regular or
sustained basis.
– Wear gloves and keep your hands
warm.
– Always keep a firm grip on the
machine, but do not constantly hold
the handles with great pressure.
Take a break frequently.
– Keep the AV system well
maintained. A cultivator with loose
components or with damaged or
worn AV buffers will tend to have
higher vibration levels.
– Maintain a firm grip at all times, but
do not squeeze the handles with
constant, excessive pressures, take
frequent breaks.
All the safety instructions given above
cannot guarantee that you will not suffer
whitefinger disease or carpal tunnel
syndrome. Therefore, continual and
regular users should closely monitor the
condition of their hands and fingers. If
any of the above symptoms appear,
seek medical advice immediately.
Proper clothing
!Important!
Always wear appropriate protective
equipment to reduce the risk of injury.

5BF-KM, BK-KM
English
!Important!
The deflector on the soil cultivator
cannot protect the operator from all
objects (stones, glass, wires, etc.)
catapulted by the rotating implement.
Thrown objects may also ricochet and
strike the operator.
!Important!
Never operate the power
tool without goggles or
properly fitted safety
glasses with adequate top
and side protection
complying with ANSI Z
87.1 or national applicable safety
standards. To reduce the risk of injury to
your face, STIHL recommends that you
also wear a face shield or face screen
over your goggles or safety glasses.
!Important!
The noise of a power tool
may damage your
hearing. Wear sound
barriers (ear plugs or ear
mufflers) to protect your
hearing. Continual and
regular users should have their hearing
checked regularly.
Protect your hands with
gloves when handling the
power tool and
implement. Heavy-duty,
non-slip gloves improve
your grip and protect your
hands.
Clothing must be sturdy
and snug-fitting, but also
allow complete freedom
of movement.
Avoid loose-fitting jackets,
scarves, neckties,
jewellery, flared or cuffed
trousers, long loose hair
or anything that could
become caught on
branches, brush or
moving parts of the unit.
Wear long trousers made of heavy
material to protect your legs. Do not
wear shorts or operate the power tool
when barefoot or wearing open sandals.
Tuck your hair up so that it is above
shoulder level.
Good footing is very
important. STIHL
recommends the use of
safety boots with non-slip
soles, preferably with
steel toe caps.
THE SOIL CULTIVATOR
KOMBITOOLS
Refer to the chapter "Main components"
for illustrations of the various parts of the
soil cultivator KombiTools.
!Important!
Never modify a soil cultivator in any way.
Only soil cultivators supplied by STIHL
or explicitly approved by STIHL for use
with the specific power tool models are
authorized. Although certain
unauthorized tools may be useable with
the STIHL power tool, their use may in
fact be extremely dangerous.
USE OF THE POWER TOOL
(KombiEngine with Cultivator
KombiTool pick tines or bolo
tines)
Transporting the power tool
!Important!
Always turn off the engine and make
sure the implement has stopped before
putting the power tool down. When
transporting the power tool in a vehicle,
ensure that it is properly secure so that it
cannot tip over, fuel cannot spill and the
power tool is not damaged.

6
English
BF-KM, BK-KM
Preparing to use the power tool
Adjust carrying harness and hand grip to
suit your size before starting work. The
machine should be properly balanced as
specified on your owner’s manual for
proper control and less fatigue in
operation.
Before starting, always check that your
power tool is in good condition,
especially the throttle trigger, throttle
trigger interlock, stop switch, implement,
deflector and harness.
Fueling
The power tool is operated with a
mixture of petrol and oil. For further
information, refer to the safety
instructions and the chapter "Fuel" in the
owner's manual for the KombiEngine.
!Important!
Petrol is an extremely
flammable fuel. If spilled
or ignited by a spark or
other ignition source, it
can cause fire and serious
burn injury or property
damage. Use extreme caution when
handling petrol or fuel mix.
Do not smoke and keep well away from
fire or flame.
Operating notes
The power tool may only be used for the
jobs described in the owner's manual.
!Important!
Your power tool is a one-person
machine. Once started, it may hurl
objects over a great distance.
To reduce the risk of eye and other
injury, ensure that bystanders are at
least 16 feet (5 m) away. They should
also wear goggles. Stop the engine
immediately if anyone approaches.
Start and operate the machine without
assistance.
Before Starting
Always check your power tool for proper
condition and operation before starting –
refer to appropriate sections in the
instruction manuals.
Check the owner´s manual for the
KombiTool to ensure you are using the
appropriate deflector for that KombiTool.
Starting the engine
Details on starting the engine can be
found in the appropriate chapter of the
owner’s manual for the KombiEngine.
Place the unit on firm ground in an open
area. The implements must be clear of
the ground and all other obstructions.
!Warning!
When starting, make sure you have a
firm footing. Always stand to one side of
the machine to avoid risk of injury from
contact with rotating tool.
5m (16ft)

7BF-KM, BK-KM
English
!Important!
To reduce the risk of injury
from loss of control, make
absolutely sure that the
implement can rotate
freely when started.
Shortly after the engine
starts in START position, its speed will
be fast enough for the clutch to engage
and turn the implement.
When the engine running only at idle,
attach the power tool to the spring hook
of your harness (see appropriate
chapter of this manual).
Working conditions
The power tool may only be operated
and started outdoors in a well ventilated
area.
It may only be operated in daylight and
good visibility. Work with care.
!Important!
The machine produces
toxic exhaust fumes as
soon as the engine is
running. These gases
(e.g. carbon monoxide)
may be colourless and
odourless. To reduce the risk of serious
or fatal injury from inhaling toxic fumes,
never run the power tool indoors or in
poorly ventilated locations.
!Important!
Use of this product may cause dust or
vapours containing chemical
substances which are known to cause
respiratory disease, cancer, congenital
defects or other reproductive disorders.
If you are unaware of the risks
associated with certain dust or vapours,
ask your employer or state authorities,
such as OSHA and NIOSH, or other
sources about hazardous substances.
California and various other States have
published lists of substances which are
known to cause cancer or reproductive
disorders, etc.
Dust and vapours should be avoided at
the point of origin. Follow the work
instructions and recommendations
issued by OSHA/NIOSH, employers'
liability insurance associations and trade
unions. If the inhalation of toxic dust and
vapours cannot be avoided, the operator
and all bystanders should always wear
respiratory protection approved by
NIOSH/MSHA for the substance
concerned.
Danger!
The power tool is not
insulated. Before starting
work, ensure that there
are no power cables near
the surface. Damaging such cables with
the tool can cause electric shocks with
serious or fatal consequences.
!Important!
Information on the routing of cables can
be obtained from public utilities and such
service providers as "Miss Utility" or
"One Call".

8
English
BF-KM, BK-KM
Holding and Controlling the
Power Tool
Always hold the power tool firmly with
both hands - as shown. Wrap your
fingers tightly around the handles,
keeping the handles cradled between
your thumb and forefinger. Keep your
hands in this position to have your power
tool under control at all times. Make sure
the handles and grips are in good
condition and free of moisture, pitch, oil
or grease.
!Important!
Never attempt to operate the power tool
with only one hand. This could lead to
loss of control resulting in serious or fatal
injury.
!Important!
Do not lean too far forwards when
working with the machine. Maintain a
good balance and firm footing. Special
care must be taken in slippery conditions
(rain, snow) and on difficult, overgrown
terrain. Look out for hidden obstacles,
such as tree stumps, roots or ditches.
Slopes and uneven ground are
particularly dangerous.
!Important!
Before starting work,
inspect and clear the area
of stones, glass, pieces of
metal, rubbish or other
solid objects. Such
objects could be hurled
aside by the tool and directly or indirectly
strike the operator or bystanders. Such
objects may also damage the tool.
Blades may shatter, splinter or break.
Flying objects or damaged blades may
cause serious or fatal injuries to the
operator and bystanders.
!Important!
Avoid cutting close to fences, the sides
of buildings, tree trunks, stones or
similar obstacles which could damage
the blade or lead to loss of control of the
machine. Beware of a higher risk of
ricochets in such conditions. Flying
objects or damaged blades may cause
serious or fatal injuries to the operator
and bystanders. Avoid the roots of
trees! Large roots may jam the blades
and damage the machine. The tree may
also be damaged if its roots are severed.
If the machine strikes a buried object
(such as a stone), stop the engine and
remove the obstacle. Examine the
machine for signs of damage before
continuing.
Never work with the throttle trigger
interlock engaged, as the engine speed
cannot be controlled properly in this
case. Correct operation of the slide
control is described in the corresponding
chapter of the owner's manual for the
power tool.
002BA055 KN
002BA054 KN

9BF-KM, BK-KM
English
If the implement or deflector is blocked
or covered, always switch off the engine
and ensure that the tool has come to a
standstill before starting to clean it.
Grass, weeds, etc. should be cleaned off
the tool at regular intervals.
!Important!
Check the tightness and condition of the
tool at regular intervals during cutting. If
the behaviour of the tool changes, stop
the engine immediately and examine the
tool. Cracked, bent, warped, damaged
or dull tools must be replaced
immediately. Such tools may shatter at
high speeds and cause injuries.
!Important!
Keep your hands and feet
well clear of the tool.
Never touch a rotating
tool. The tool continues to
run for a short time after
releasing the throttle
trigger (coasting effect).
Major settings
!Important!
To reduce the risk of injury due to loss of
control or contact with a moving tool,
never operate the machine with
incorrectly set idle speed. The tool
should not move if the idle speed has
been set correctly. Instructions for
adjusting the idle speed can be found in
the appropriate chapter of the owner's
manual for the power tool.
If the correct idle speed cannot be set,
have the machine checked and correctly
set or repaired by your STIHL service
dealer.
MAINTENANCE, REPAIR AND
STORING
STIHL may refuse to acknowledge a
warranty claim if the component has
not been handled or serviced
correctly or if unauthorized spare
parts have been used.
!Warning!
Use only identical STIHL replacement
parts for maintenance and repair. Use of
non-STIHL parts may cause serious or
fatal injury.
Follow the maintenance and repair
instructions in the appropriate section of
your owner's manual. Please refer to the
maintenance chart on the last pages of
this manual.
Additionally, the daily maintenance
schedule for your power tool set forth in
your STIHL Owner's Manual should be
strictly followed.

10
English
BF-KM, BK-KM
!Warning!
Always stop the engine and make sure
that the tool is stopped before doing any
maintenance or repair work or cleaning
the power tool. Do not attempt any
maintenance or repair work not
described in your owner's manual. Have
such work performed by your STIHL
servicing dealer only.
Wear gloves when handling or
performing maintenance on the tool.
!Warning!
Never repair damaged tools by welding,
straightening or modifying the shape.
This may cause parts of the tool to come
off and result in serious or fatal injuries.
Tighten all nuts, bolts and screws,
except the carburetor adjustment
screws, after each use.
Store the KombiTool in a dry and high or
locked location out of reach of children.
Before storing for longer than a few
days, always empty the fuel tank. See
chapter “Storing the machine” in the
KombiEngine manual.
General
:Put on the harness – see "Fitting the
Harness" – and then
:With the engine running, attach the
cultivator to the harness.
You can work with your cultivator in the
forward (1) and backward (2) directions,
from left to right or vice versa (3)or in a
circular motion.
Choose the best method to suit your
purposes, i.e. this depends on the shape
and size of the area and soil conditions.
Working in an alternating backwards
and forwards motion is particularly
suitable for loosening packed soil.
The rotor blades may only be operated
in one position. Arrows on the blades
show the required direction of rotation.
Using the Cultivator
381BA003 KN

11BF-KM, BK-KM
English
Pick tines
Pick tines are particularly suitable for
tilling and loosening hard or packed soil.
Bolo tines
Bolo tines not available in all markets.
Bolo tines are particularly suitable for
working cultivated, lighter soils.
Typical Applications
:Breaking up soil
A few preparations are necessary before
you begin to break up soil which has
been previously tilled (e.g. last year's
vegetable or flower garden). First clear
away surface weeds and remains of
other plants as well as hard objects like
rocks, stones, bottles, pieces of wood
etc.
Hold the cultivator firmly with both hands
and till only a small area at a time to the
required depth.
Finish tilling the area by guiding the
cultivator in such a way that you leave
no footprints. Use a rake to level off the
entire area.
:Loosening soil around plants
Only loosen the surface soil around
plants. Avoid going too deep as this
could damage the shallow roots of some
plants.
To avoid any damage to the cultivator or
trees, be wary not to catch the blades on
the large roots of trees.
469BA017 KN
469BA018 KN

12
English
BF-KM, BK-KM
:Working in soil improvers
The cultivator can be used for mulching
with loam, compost, leaves, other
organic material or fertilizers.
Prepare the area by removing all old
roots, the remains of large plants and
hard objects (stones etc.). Spread the
mulch evenly on the ground.
Work in the mulch with a circular or back
and forth motion.
Finish off by leveling the area with a
rake.
:Trenching or furrowing
Walk slowly backward and pull the
cultivator to create the furrow required.
Repeat as necessary to obtain deeper
furrows.
Cleaning the rotor blades
Parts of plants, e.g. roots, can become
tightly wrapped around or between the
rotor blades during operation.
To clean the rotor blades:
– Wear gloves.
– Pull the hitch pins out of the shaft.
– Pull the rotor blades off the shaft.
– Remove roots, plants and soil.
Use only KombiEngines supplied by
STIHL or expressly approved by STIHL
for use with your specific model.
The KombiTools may be operated in
combination with the following
KombiEngines:
STIHL KM 55, KM 85, KM 90, KM 100,
KM 110, KM 130
Loop-handled models must be
equipped with a barrier bar.
The KombiTool may also be mounted to
STIHL brushcutters with a split boom
(T models).
Operation of this KombiTool is therefore
also permitted on the following power
tool models:
STIHL FS 55 T, FS 85 T,
STIHL FR 85 T, FR 130 T
Refer to power tool instruction
manual for use of the barrier bar.
Approved KombiEngines

13BF-KM, BK-KM
English
Mounting the Deflector
Pull the protective caps off the ends of
the drive tube and keep them in a safe
place.
:Slide the deflector (1) onto the drive
tube (2) until distance "a" is
100 mm.
:Line up the deflector (1) so that it is
vertical and the fixing lug (arrow) on
the drive tube points up.
:Tighten down the clamp screw (3)
firmly.
Check that the deflector is secure –
it must not be possible to rotate it on
the drive tube.
Mounting the Gearbox
:Loosen the clamp screws (4).
:Push the gearbox (5) onto the drive
tube (2) – turn the gearbox back and
forth as necessary until the housing
is approximately in line with the
mark.
Aligning the Drive Tube
:Line up the gearbox on the drive
tube so that the deflector (1) and the
rotor blades (6) are vertical and the
fixing lug (arrow) on the drive tube
(2) points up.
:Tighten down the clamp screws
firmly.
Check that the gearbox is secure –
it must not be possible to rotate it on
the drive tube.
Assembling the Unit

14
English
BF-KM, BK-KM
Mounting the Rotor Blades
Take care not to lose the two
washers on the gearbox output
shaft.
:Arrange the blades in the order they
will be fitted on the shaft, noting the
following points:
Left-hand and right-hand blades are
different. The direction of rotation is
marked with arrows on the gearbox
and blades. Make sure the arrows
point in the same direction.
:Rotate the inner right-hand blade (7)
on the shaft until it can be pushed
into position – check the direction of
rotation again (arrows).
The hub of the inner blade is larger
than that of the outer blade.
:Rotate the outer right-hand blade
(8) on the shaft until it can be
pushed into position – check the
direction of rotation again (arrows).
:Insert and engage the hitch pin (9)
in the hole in the shaft – fold the
hitch pin flat against the blade.
:Use the same procedure to mount
the blades on the left-hand side.
Mounting
:Engage lug (1) on drive tube in
slot (2) in the coupling sleeve and
push home the drive tube as far as
stop.
:When correctly installed, the red
line (3) (arrow point) must be flush
with the end of the coupling sleeve.
:Tighten the wing screw (4) firmly.
Removing
:Reverse the above sequence to
remove the drive tube.
Mounting the KombiTool
002BA132 KN
1
2
4
3
002BA133 KN

15BF-KM, BK-KM
English
Shoulder Strap
The type and style of harness depend on
the market.
:Put on the shoulder strap (1).
:Adjust the length of the strap so that
the spring hook (2) is about a hand’s
width below your right hip.
Starting the Engine
:Place the unit on the ground: It must
rest securely on the engine support.
Check that the rotor blades are not
touching the ground or any other
obstacles.
:Rest the deflector end of the drive
tube on a raised support (e.g.
mound, log, brick).
:Make sure you have a firm footing.
:Hold the unit with your left hand and
press it down firmly – your thumb
should be under the housing.
Do not stand or kneel on the drive
tube!
If you start the engine in the START
positon, the blades may begin to
rotate as soon as the engine runs.
Do not run the engine for any longer
than necessary in the starting
throttle position.
The starting procedure is now as
described in the instruction manual for
the KombiEngine or basic power tool.
To shut down the engine:
:Move the slide control in direction of
arrow ( h) to STOP -Oor move the
stop switch to O
Fitting the Harness Starting / Stopping
the Engine
504BA015 KN

16
English
BF-KM, BK-KM
For periods of about 3 months or longer:
:Remove, clean and inspect the rotor
blades.
:If the KombiTool is stored
separately, fit the protective cap on
the drive tube to avoid dirt getting
into the coupling.
:Store the machine in a dry, high or
locked location – out of the reach of
children and other unauthorized
persons.
Note that the following points apply to
normal operating conditions. If your daily
working time is longer than normal or
conditions are difficult, shorten the
specified intervals accordingly.
Accessible Screws and Nuts
(not adjusting screws)
:Retighten as necessary
Working Tools and Deflectors
:Visual inspection, check tightness
before starting work and after every
refueling stop
:Replace if damaged
Safety Labels
:Replace illegible safety labels
Storing the Machine Maintenance and Care

17BF-KM, BK-KM
English
1Drive tube
2Deflector
3Outer right-hand rotor blade
4Inner right-hand rotor blade
5Inner left-hand rotor blade
6Outer left-hand rotor blade
7Hitch pin
Main Parts

18
English
BF-KM, BK-KM
Definitions
1. Drive tube
Encloses and protects drive shaft
between engine and gearbox.
2. Deflector
The deflector is designed to help
reduce the risk of injury from objects
thrown back towards the operator
by the blades and from contact with
the blades.
3. Outer right-hand rotor blade
Metal blade, star-shaped with
pointed or curved tines. Mounts to
the outer right-hand side.
4. Inner right-hand rotor blade
Metal blade, star-shaped with
pointed or curved tines. Mounts to
the inner right-hand side.
5. Inner left-hand rotor blade
Metal blade, star-shaped with
pointed or curved tines. Mounts to
the inner left-hand side.
6. Outer left-hand rotor blade
Metal blade, star-shaped with
pointed or curved tines. Mounts to
the outer left-hand side.
7. Hitch pin
Secures the rotor blade to the shaft
for easy removal and installation of
parts.
Engine
See instruction manual of the
KombiEngine you are using.
Gearbox
Rotor Blades
Weight
Type: Single-stage worm
gear
Reduction ratio: 44:1
Four rotor blades, double-edged,
rotate in same direction
Diameter: 230 mm
Working width: 220 mm
Attachment complete with deflector
and drive tube: 4.1 kg
Specifications

19BF-KM, BK-KM
English
Safety glasses
Full harness
Shoulder strap
Contact your STIHL dealer for the latest
information on these and other special
accessories.
Users of this unit should carry out only
the maintenance operations described
in this manual. Other repair work may be
performed only by authorized STIHL
service shops.
Warranty claims following repairs can be
accepted only if the repair has been
performed by an authorized STIHL
servicing dealer using original STIHL
replacement parts.
Original STlHL parts can be identified by
the STlHL part number, the
STIHl
logo and, in some cases, by the STlHL
parts symbol (. This symbol may
appear alone on small parts.
Special Accessories Maintenance and Repairs
Other manuals for BF-KM
4
This manual suits for next models
1
Table of contents
Languages:
Other Stihl Tiller manuals