INSTRUCTIONS
Please read the ENTIRE IMPORTANT SAFETY INFORMATION section at the beginning of this document including all
text under subheadings therein before set up or use of this product.
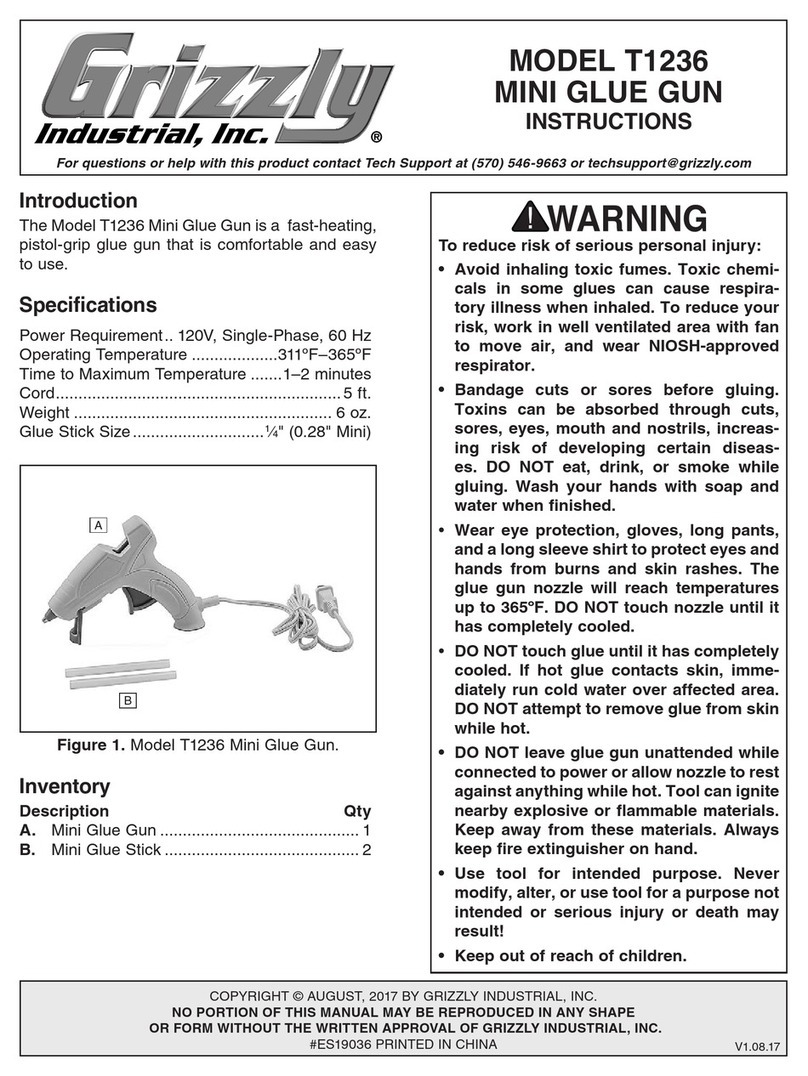
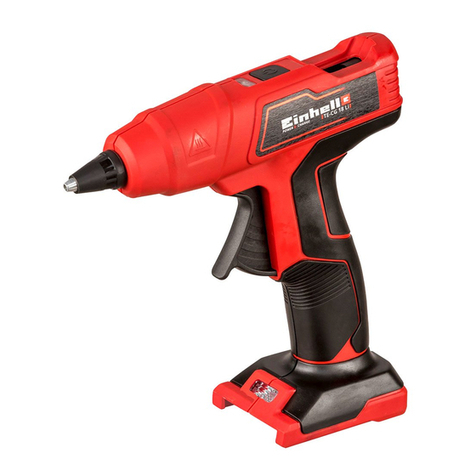
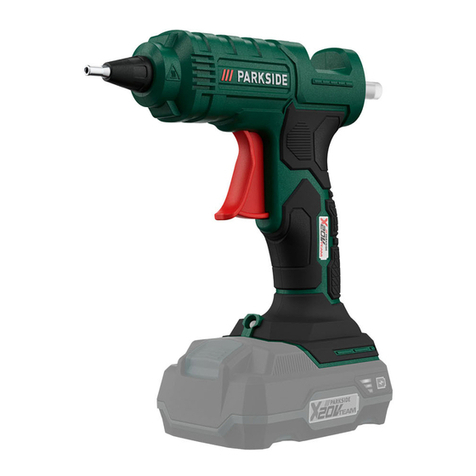
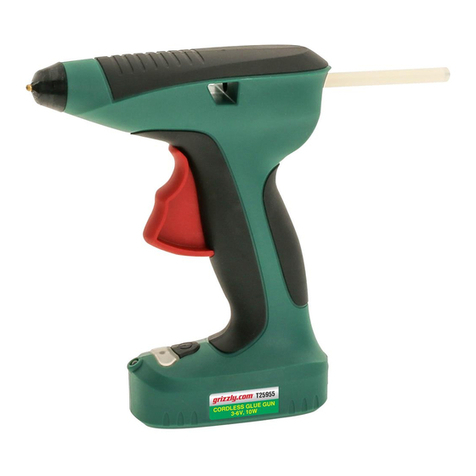
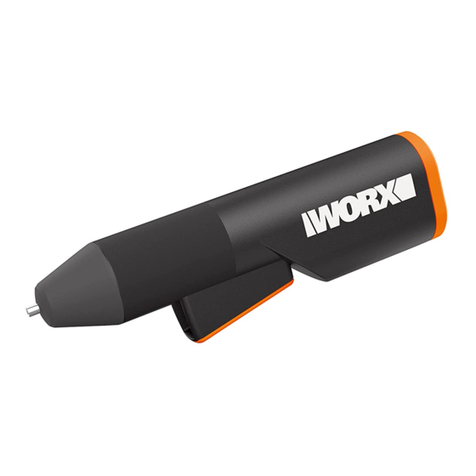
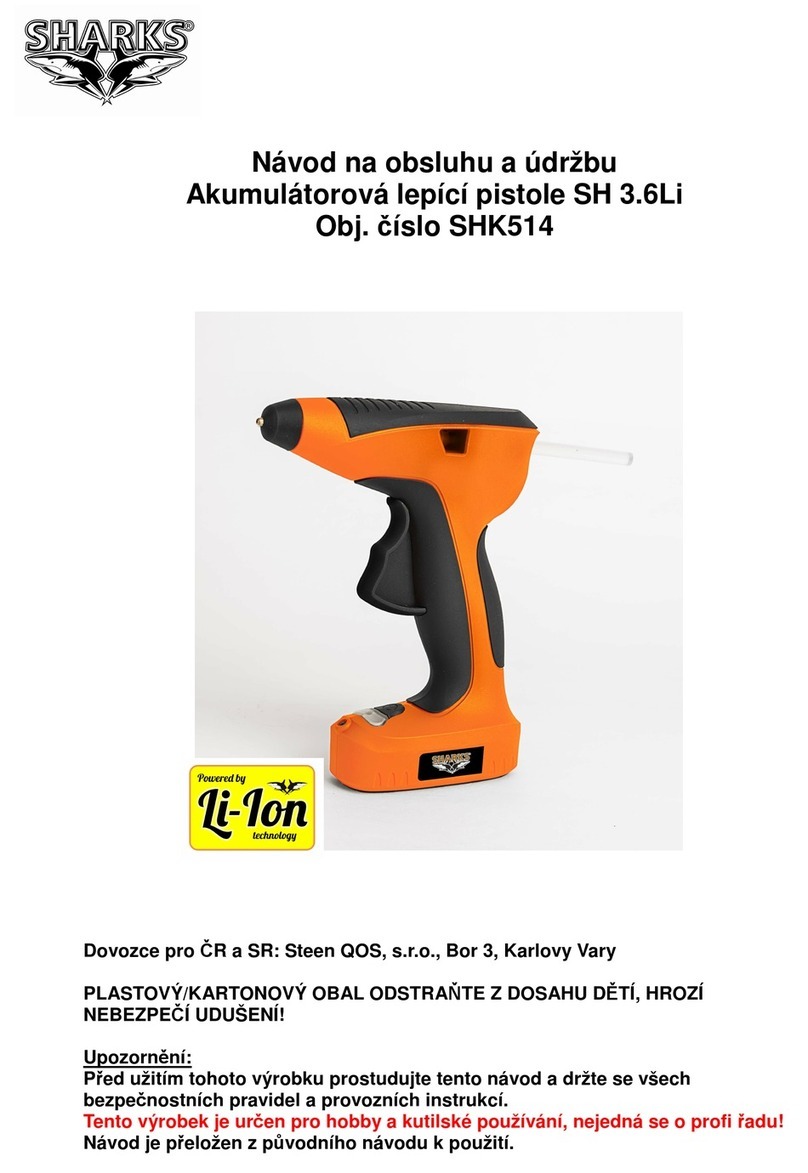
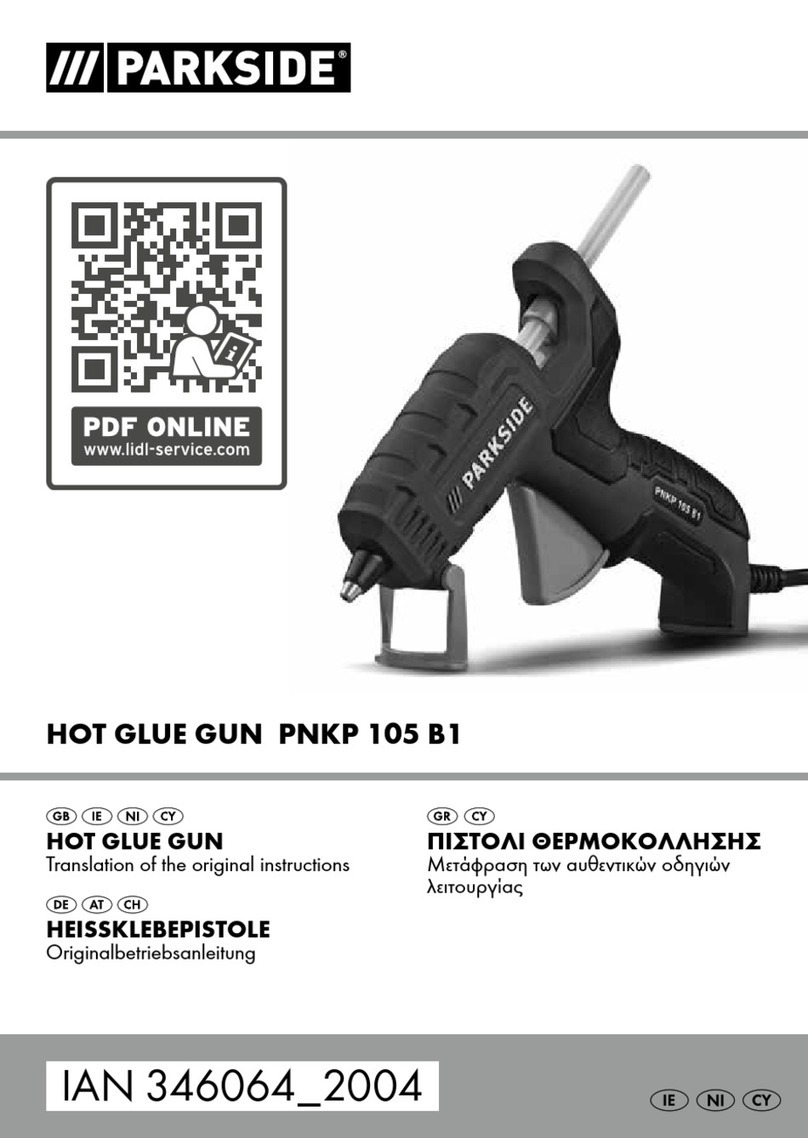
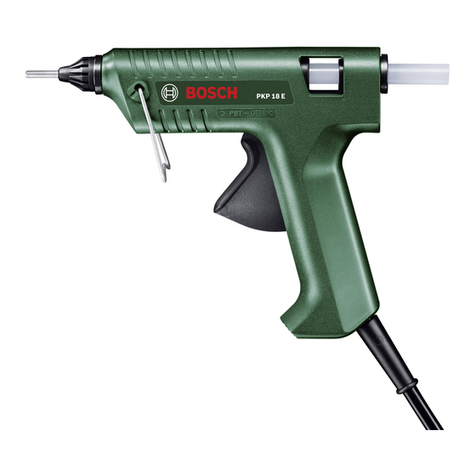
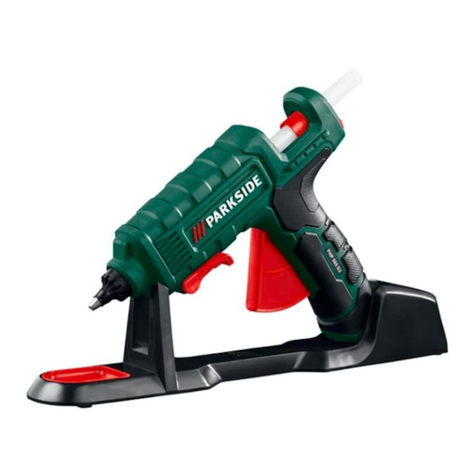
1. Insert Glue Stick (2) into Glue Gun (1). Plug in Glue Gun and allow to warm up for then to fifteen minutes before use.
2. Using clean cloth (not included), clean dent area with Release Agent (3.) Then apply heated glue from Glue Gun to end of
desired. Pull Tab (4).
3. Place Pull Tab on centre of dent and hold there for ten seconds. WARNING! Do NOT push Pull Tab against dent.
4. Place cross bar (5) over Pull Tab, setting Adjusters (9) to desired length. Thread Wing Nut (6) onto end of Pull Tab.
Continue to twist Wing Nut until dent is raised. Stop when dent returns to a normal surface level.
5. Unthread Wing Nut and remove Cross Bar and Pull Tab from surface. Apply two drops of Release Agent to spot of dried
glue. Use Scraper to peel off softened glue patch.
6. lf a high spot has been created, use a hammer (not included) and lightly tap Dowel (8) against raised spot until desired
smoothness is reached.
7. Note: The Dent Repair Kit will not repair ALL kinds of dents, regardless of size. The Dent Repair Kit will also not work on
bare raw aluminium panels or some painted surfaces.
PARTS
Parts Qty
1. Glue Gun 1
2. Glue Stick 3
3. Release Agent 1
4. Pull Tab 2
5. Cross Bar 1
6. Wing Nut 1
7. Scraper 1
8. Dowel 1
9. Adjuster 2
10. Glue Gun Stand
Please note: Parts are listed and shown for
illustration purposes only, and are not available
as replacement parts.
USING HAND TOOLS CAN BE DANGEROUS. ALWAYS USE EYE PROTECTION AND OTHER PROTECTIVE
SAFETY WEAR WHEN USING THIS PRODUCT. SELECT THE CORRECT TYPE AND SIZE OF TOOL FOR
WORK. KEEP AWAY FROM CHILDREN.
PLEASE READ THE FOLLOWING CAREFULLY
The manufacturer and/or distributor has provide the parts list and assembly diagram in this document as a
reference tool only. Neither the manufacturer or distributor makes any representation or warranty of any kind
to the buyer that he or she is qualified to make any repairs to the product or that he or she is qualified to
replace any parts of the product. In fact, the manufacturer and/or distributor expressly states that all repairs
and parts replacements should be undertaken by certified and licensed technicians, and not by the buyer. The
buyer assumes all risk and liability arising out of his or her repairs to the original product or replacement parts
thereto, or arising out of his or her installation or replacement parts thereto.
Dent Repair Kit
INSTRUCTIONS FOR USE
ONLY FOR USE ON 'OEM' PAINT FINISHES. OEM' IS DEFINED AS VEHICLES WITH ORIGINAL PAINT FROM VEHICLE
MANUFACTURER
TROUBLE SHOOTING:
Ideal operation conditions:
In the shade and with a temperature range from 10-26°C
The dent does not come out completely:
It may take up to 10 pulls to achieve the desired result and even then it may not be 100% equalised.
The dent has been pulled more than 10 times and there is still a very small dent left:
The dent is too sharp for the ‘Dent Repair Kit’.
Glue stays on the dent pulling tab instead of the car:
This is ok; the glue may stay on the car or the pulling tab
Dent Repair Kit
INSTRUCTIONS FOR USE
The glue sticks to many surfaces including wood, plastic, paper and cardboard
WARNING / CAUTION:
• Do not touch the nozzle or melted glue. Operating temperature of the gun is 150°C
• Always unplug the cord when the gun is not in use
• Keep out of reach of children and store in a safe place.
OPERATING INSTRUCTIONS
Step 1: Insert one of the glue sticks through the tunnel on the back of the gun.
Step 2: Plug cord into an electrical outlet and wait 5 minutes to heat up the gIue. Then apply the glue by continuously
pressing the trigger
Step 3: Release the trigger to stop the flow of glue. Apply pressure on the glued parts for approximately 60 seconds for
complete bonding.
1
3
38
5
4
2
6
10 9
