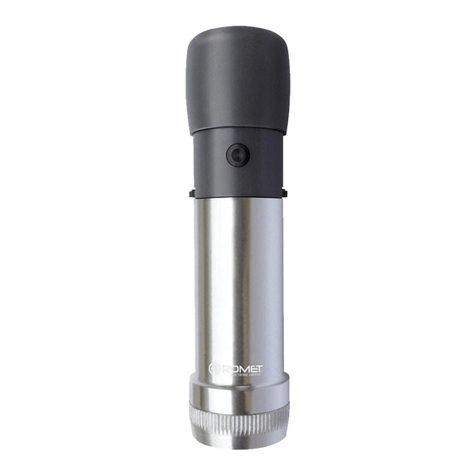
CONNECTING THE CAMERA HEAD
Figure 4
Unscrew (counter-clockwise) the soaking cap from the
camera cable. Holding the connector by the knobbed portion
only, plug the connector into the control unit by aligning the
red dot on the cable connector with the red dot on the
control unit CAMERA connector (7). Push in until it clicks
(Figure 4). A picture should now be visible on the video
monitor.
NOTE To unplug the camera from the control unit,
grasp the knobbed portion of the connector
only and pull straight out. This releases the
connector latching mechanism.
CAUTION To avoid camera head cable damage do not
severely bend, crush or cut the camera head
cable.
WHITE BALANCE
The WHITE BALANCE switch (2) is used to correct slight
color differences caused by using different light sources and
endoscopes. With the light source and scope attached, point
the scope at several stacked 4x4 white gauze pads, a white
laparoscopic sponge, or any clean white surface. Look at
the monitor and make sure that no glare is visible off of the
white surface.
Press and hold the WHITE BALANCE button until “WB”
begins flashing on the video monitor. Continue pointing the
scope at a clean, white surface until the video monitor
indicates that white balance is “OK.” The video picture will
change color. If the video monitor indicates that white
balance is “NOT GOOD,” repeat the process. If you cannot
achieve a White Balance that is “OK”, refer to the
Trouble-
shooting
section in this manual.
GAIN
The GAIN switch (3) increases the brightness of the video
picture. There are four levels of gain: OFF, LOW, MEDIUM,
and HIGH. Selecting a particular level establishes the GAIN
range. OFF is the setting you should normally use.
If the picture is too dark and the light source is at full
brightness, raise the light level by increasing the GAIN. The
picture will get brighter but may also be more grainy. Text
displayed on the screen indicates current gain level.
AUTO FOCUS
The Auto Focus button (4) turn the Auto Focus feature on or
off. This feature maintains picture clarity throughout a larger
depth of field than the coupler manual focusing ring alone.
Press the Auto Focus button to activate/deactivate the
feature. Text displayed on the screen indicates the current
state of the feature. After activating the feature, establish a
good baseline focus using the coupler manual focusing ring,
and then press a short pulse on the camera head ‘W’ button
to set the baseline.
NOTE When the Auto Focus feature is activated, the
enhance feature will be inoperative.
ENHANCE ( ↑/↓↑/↓
↑/↓↑/↓
↑/↓ BUTTONS)
The Enhance button (5) feature increase or decrease the
picture sharpness. There are 8 levels of enhancement. Text
displayed on the screen indicates current enhancement
level.
Level 1 = No Enhancement
Level 8 = Maximum Enhancement
SURGICAL SPECIALTY
The Surgical Specialty selector switch (6) is used to select
one of four surgical type settings:
Arthroscopy - Shutter programming optimized for small
scopes, bright conditions, high contrast and low color.
Cystology - Shutter programming, color and lighting
optimized for urology procedures.
Standard - Shutter programming optimized for large scopes
and high color differentiation.
Thoracoscopy - Shutter programming, color and lighting
optimized for Thoracic procedures.
Manufacturer presets will optimize the video performance for
the surgery type selected. A green light will highlight the
current selection (see front panel).
PRODUCT DESCRIPTION & USE
4
Hold here
