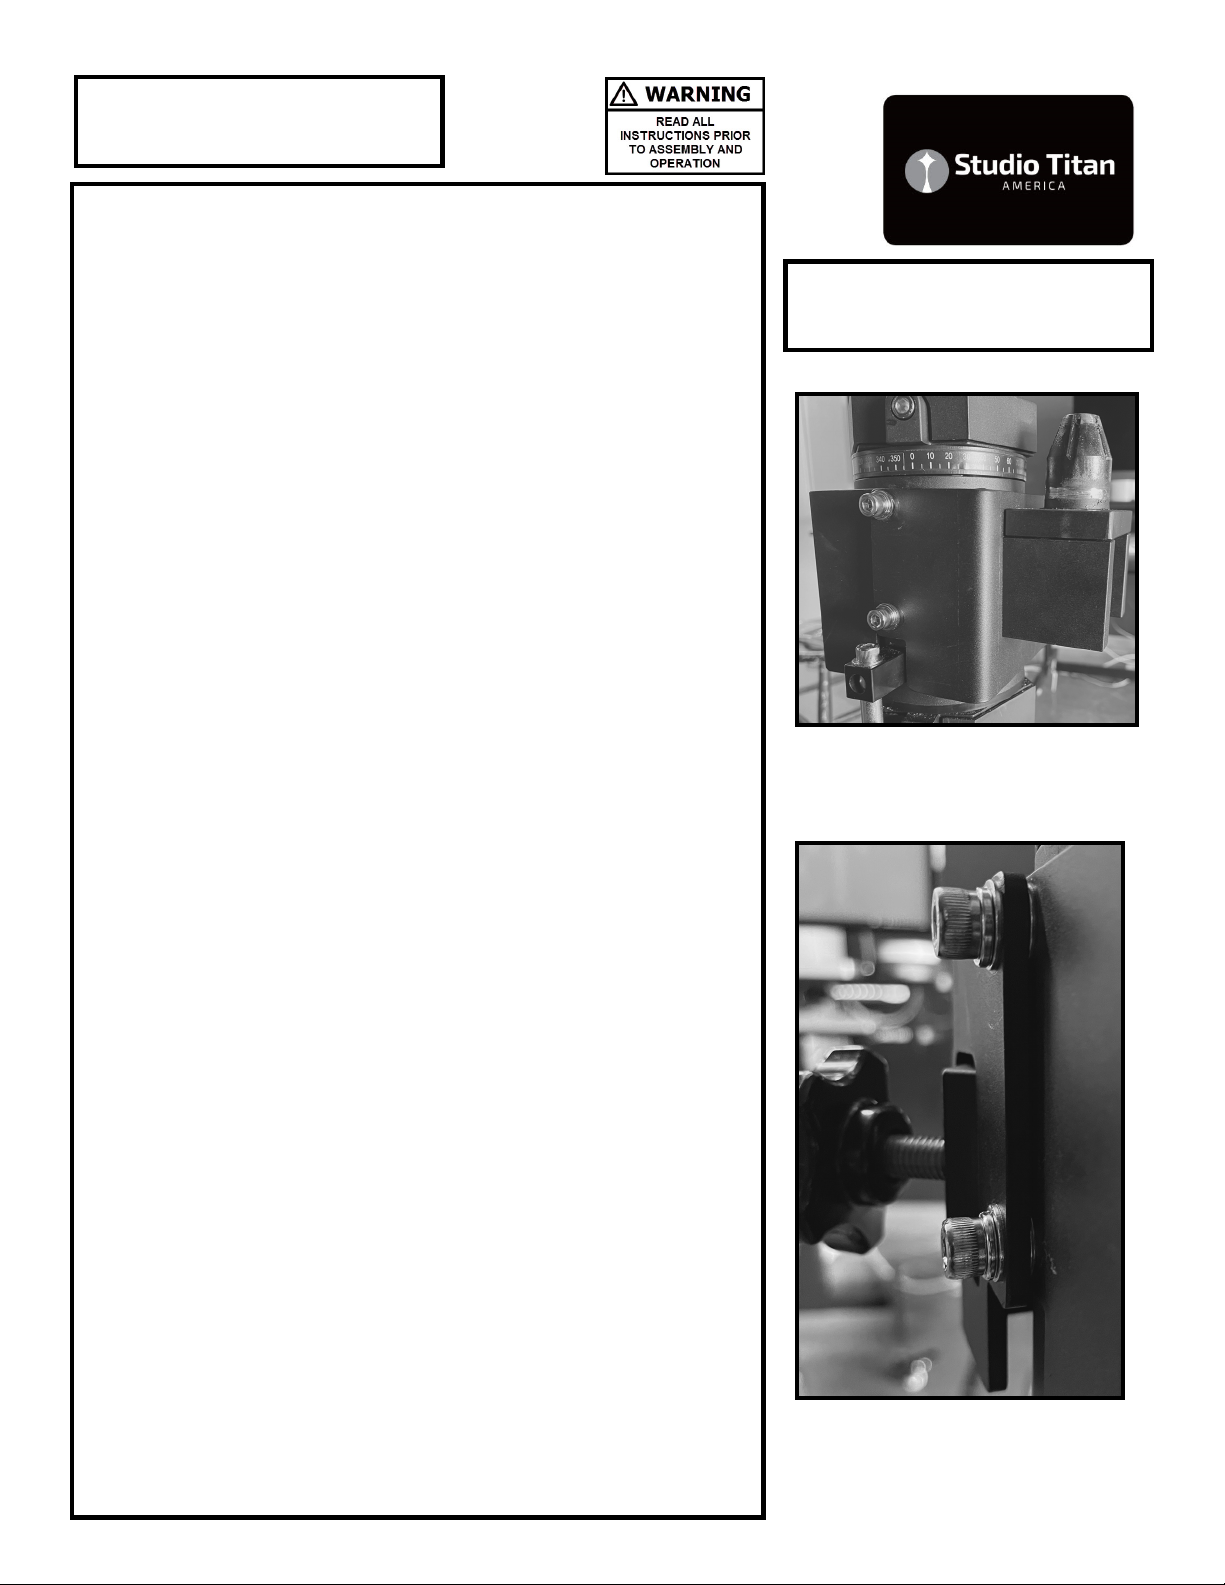
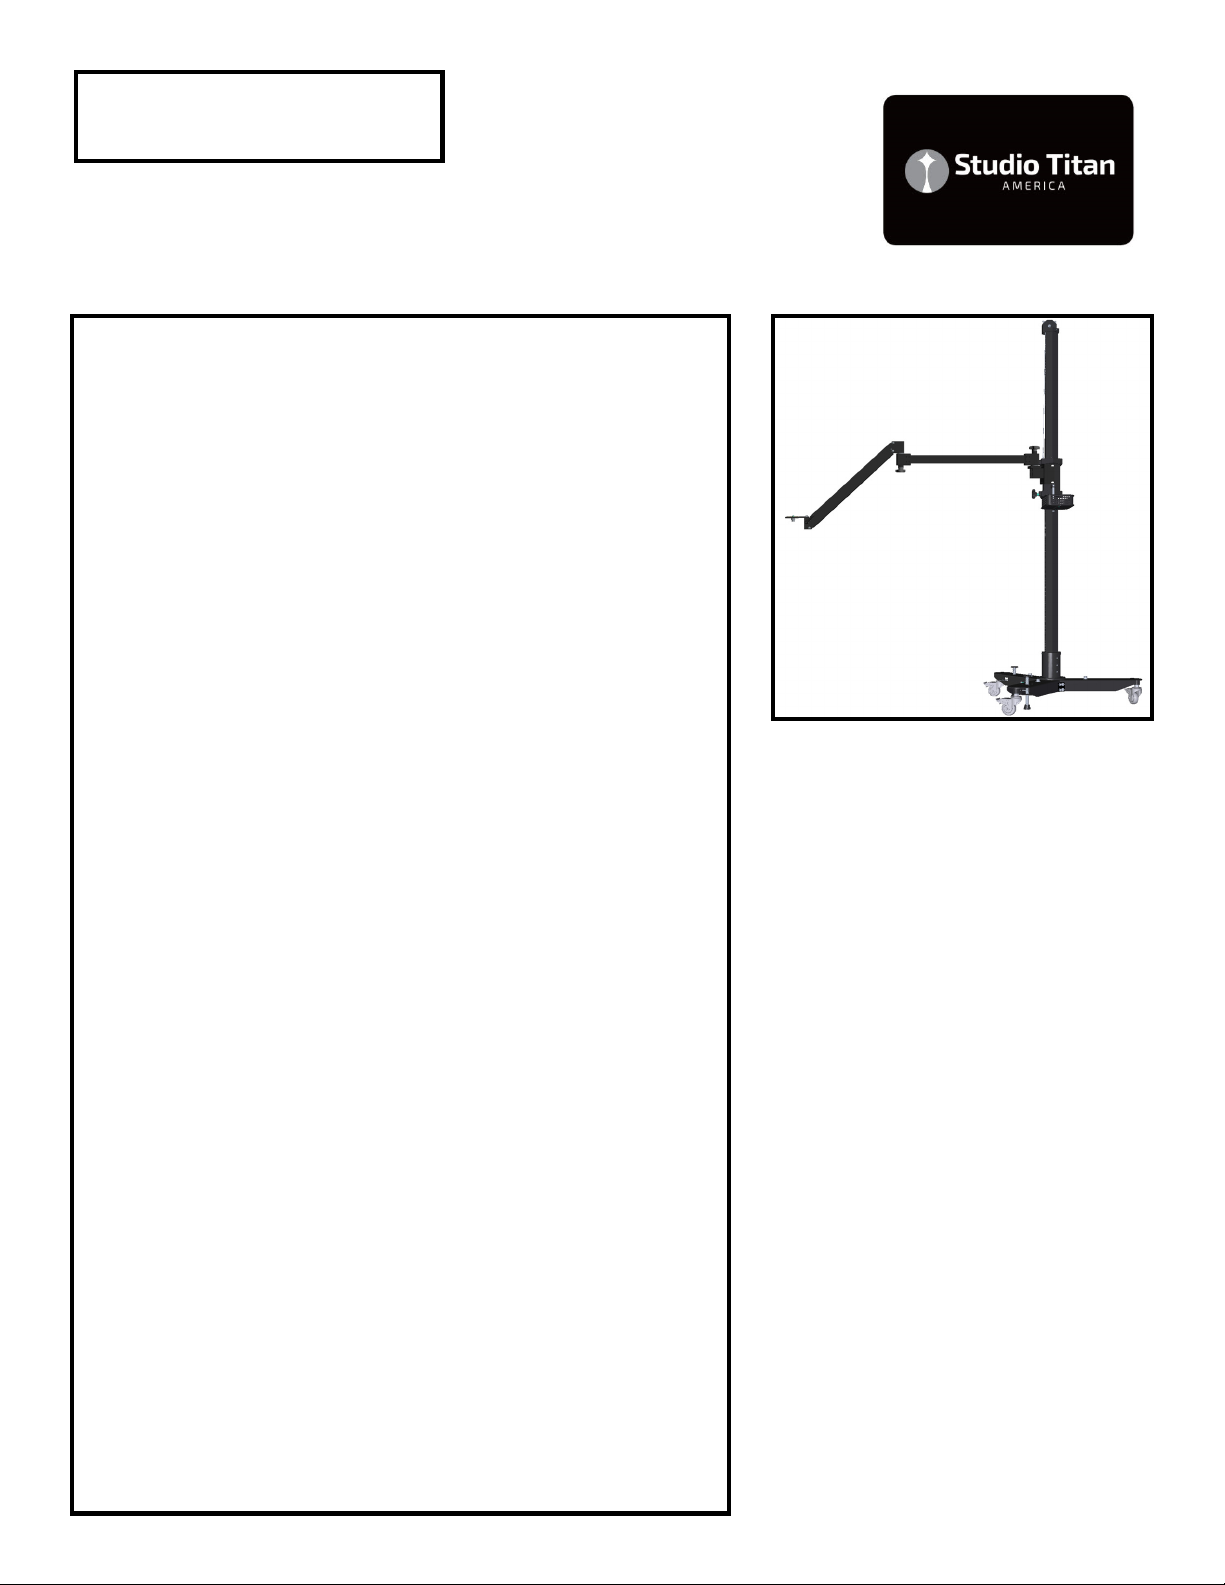
Studio Titan STA 06-105 User manual


This manual suits for next models
1
Other Studio Titan Camera Accessories manuals

Studio Titan
Studio Titan STA 01-360 User manual

Studio Titan
Studio Titan STA 01-350MK2 User manual

Studio Titan
Studio Titan STA 01-397 U User manual

Studio Titan
Studio Titan STA 01-360MK2 Series User manual

Studio Titan
Studio Titan STA 01-350R-MK2 User manual

Studio Titan
Studio Titan STA-C01-360 User manual

Studio Titan
Studio Titan STA-01-398 User manual

Studio Titan
Studio Titan STA 01-380 Series User manual
Popular Camera Accessories manuals by other brands


PROAIM
PROAIM Bazooka BZ-FLXN-01 Assembly manual

Nikon
Nikon AF Zoom-Nikkor 24-85mm f/2.8-4D IF user manual

Sanyo
Sanyo Twicell HR-4/5AAUC Specifications

Dragonfly Energy
Dragonfly Energy Battle Born BBGC2 installation guide

EnerSys
EnerSys PowerSafe SBS XC Series Operation guide

Stiga
Stiga BT 20 Li 2.0 S Operator's manual