SUBARU OF AMERICA PAGEDATEISSUEDESCRIPTION
INSTALLATION INSTRUCTIONS
PART NUMBER:
DESCRIPTION:
KIT CONTENTS:
TOOLS REQUIRED
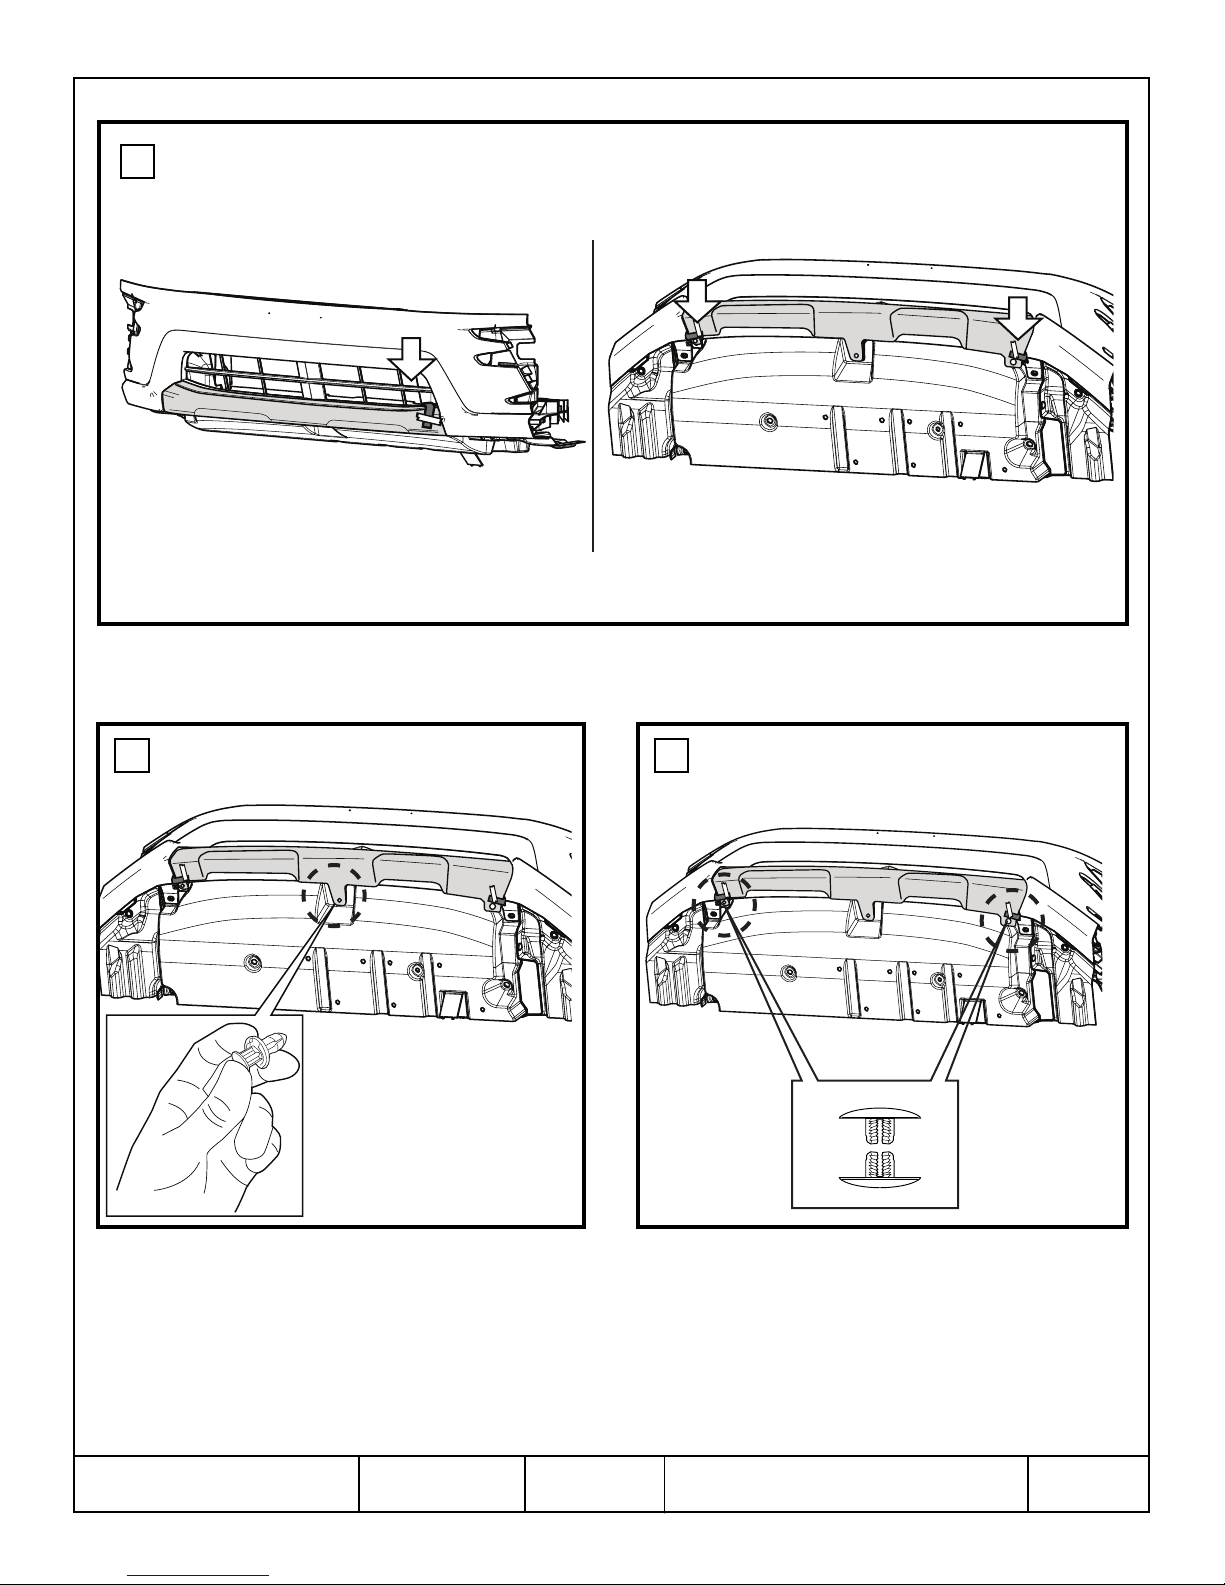
1. 2. 4.3.
01-08-2018
00
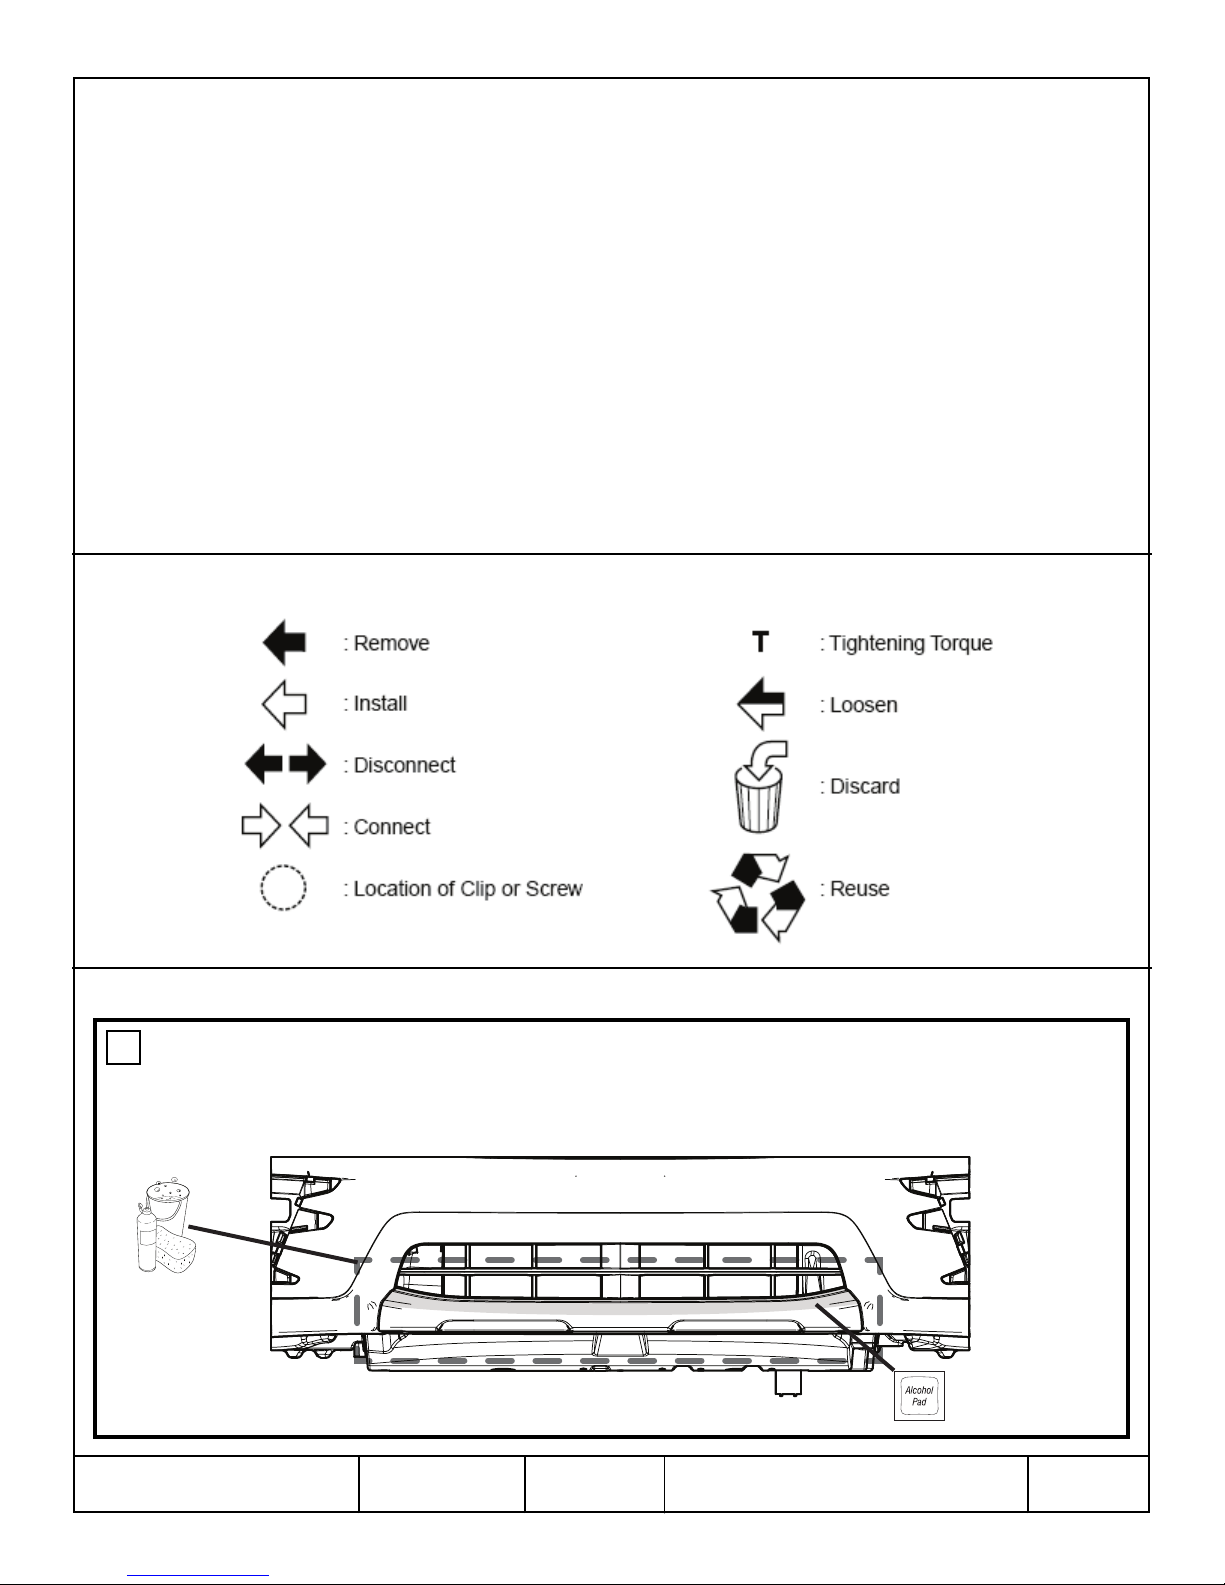
Note:
CAUTION
This section covers installation of the front bumper under guard.
- Before performing installation, be sure to read this Manual. Perform installation properly
in accordance with the instructions.
- Please refer to the precautions below before beginning work, in order to install this product
safely and accurately. Please also refer to the vehicle Service Manual.
- During installation, take care not to scratch the car body with tools, etc.
- Before starting installation, switch the engine OFF and ensure the parking brake is set.
- The double-sided tape will stick only if pressed. Also, the adhesiveness of the tape will
decrease markedly if it is removed and afxed again. To avoid having to reposition the tape,
afx it after determining its proper position.
- Once afxed, the double-sided tape gradually increases in adhesiveness.
- Avoid washing the car for 24 hours after installing the product.
- When the car must be washed or waxed on the same day that installation was performed,
wait for at least once hour before beginning, and use tape or other material to cover the
areas where double-sided tape is afxed, to prevent contact with water.
- Also take care to not place unreasonable force on installed parts.
- When performing air blowing after installing the product, keep the blower exhaust opening
to at least 300 mm away from the parts. Moving the blower too close may cause parts to
detach.
Front Bumper Under Guard x1 Push In Fastener
x1
Ratchet Fastener
x2
Alcohol Wipe x2
Shop Cloth Neutral detergent
(or cleaning agent)
Needle nose pliers
E551SXC000
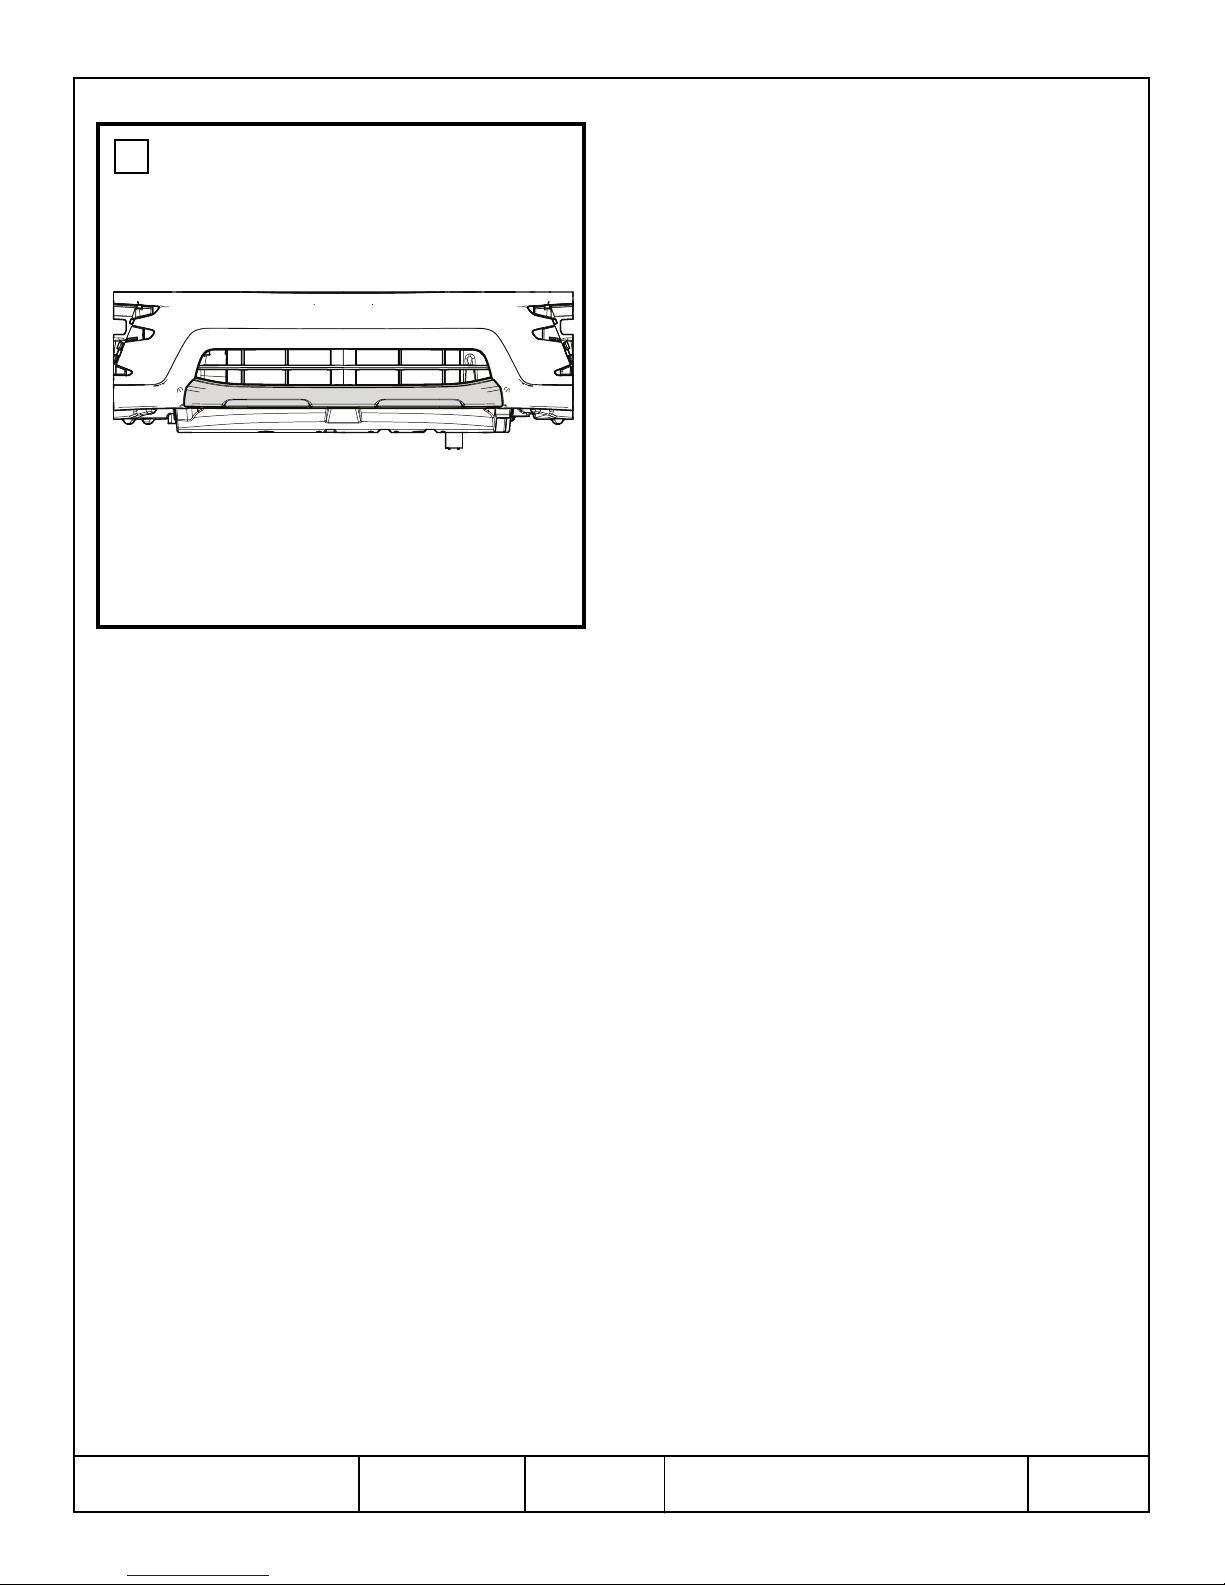
TR8 FRONT BUMPER UNDER GUARD
1/7