1. Main Applications
․de-slagging, de-sputtering of welds
․shot-peening after welding
․cleaning metal surfaces of rust and
scale
․stripping paint
․cleaning castings
․removing cores
․cleaning brick and stone-work
․cleaning ship plates, barges, buoys
2. Cautions for use
2-1 Air pressure
Maximum performance is displayed at
a gauge pressure of 6 kg/cm². Range-
-wise, this is an air pressure from 5 to 7
kg/cm² (70 to 100 psi)
2-2 Air line
Use a 3/8” air hose between the
compressor and the tool. Compressed air
is cooled and its water content separated,
as soon as the air leaves the compressor.
A portion of the water content, however, is
condensed in the piping, and can enter the
tool mechanism, and may cause trouble.
Always install an air filter and an oiler be-
tween the compressor and the tool. The
compressor used should have 1 or higher
horsepowers in the case of using each one
unit.
2-3 Air hose
Blow compressed air through the supply
hose before connecting the tool.
2-4 Lubrication
Before connecting the hose apply 4 or 5
drops of #60 spindle oil at the air inlet. (No
lubrication is required when oiler is used)
Use of a thicker oil can lead to reduced
performance or malfunction. If a thicker oil
is used by accident, wash it away
immediately. Also, every 3 or 4 hours of
operation oiling is necessary.
2-5 Idle running
Idle operation will shorten the life of the
tool and needles and should be avoided.
3. Cautions for operation
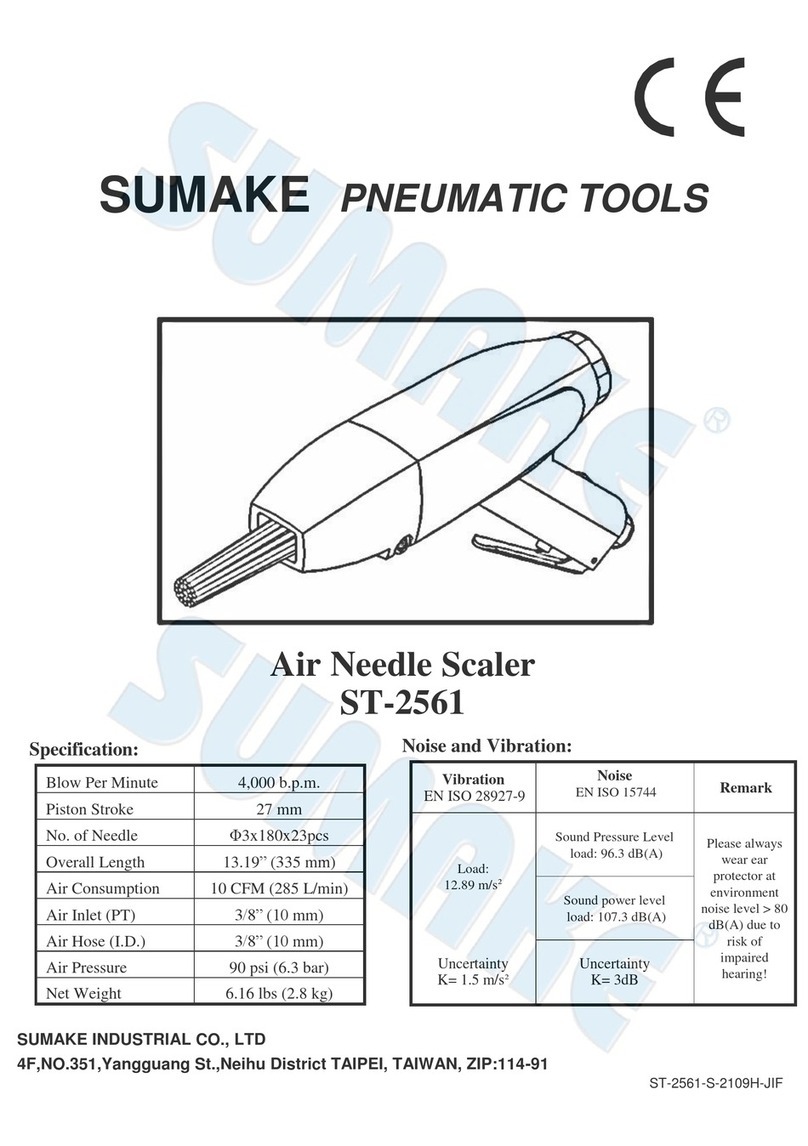
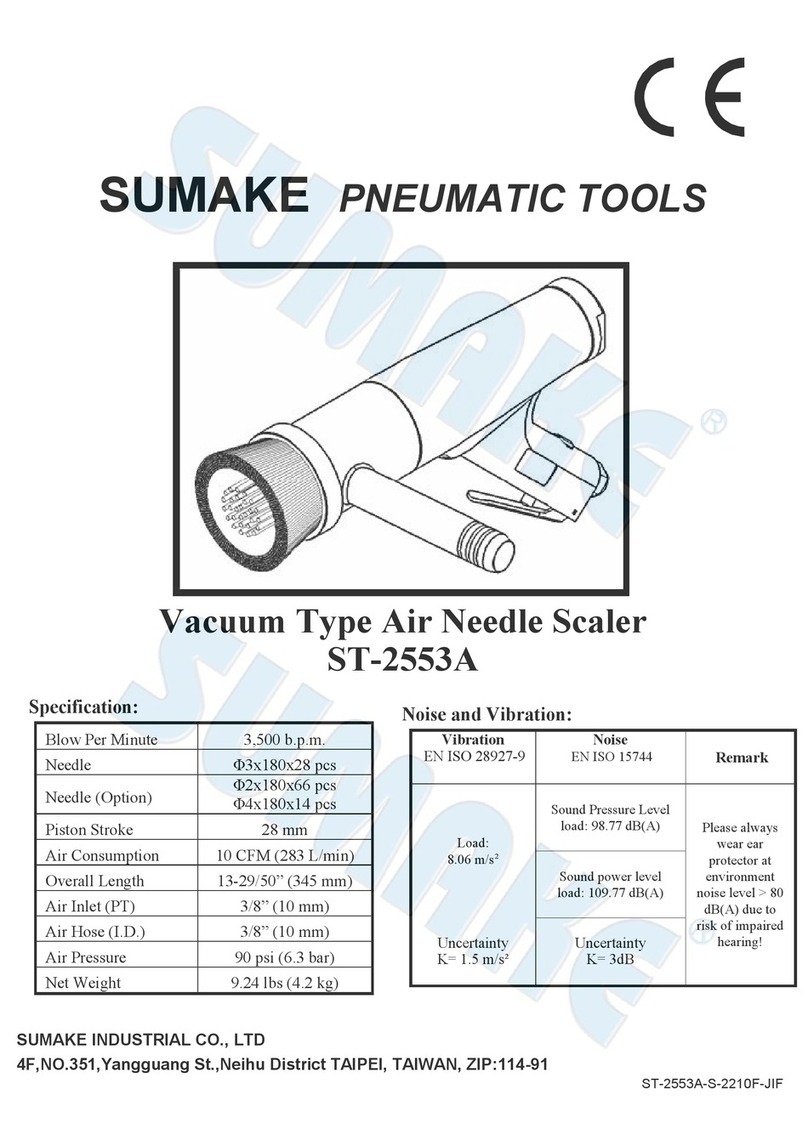
The quick-reciprocating needles of Jet
Chisel adjust automatically to a surface
contour during cleaning. Slight pressure of
the needles against the work surface is
sufficient for maximum performance. An
upright tool position is best. The tool will
efficiently clean uneven surfaces, get into
grooves, corners, and gaps, clean outside
and inside surfaces, and clean spaces
inaccessible and too confined for other
types of tools.
We can supply Φ3 needles for
ST-NS11A-R, ST-NS11A-H
Change needles according to your
work. Change the kind of needle guide
according to your work.
The broken heads of needles must be
removed from the cylinder, otherwise
continuous operation with them causes
malfunction and shortened the life of
needle supporter.
4. Changing Needles
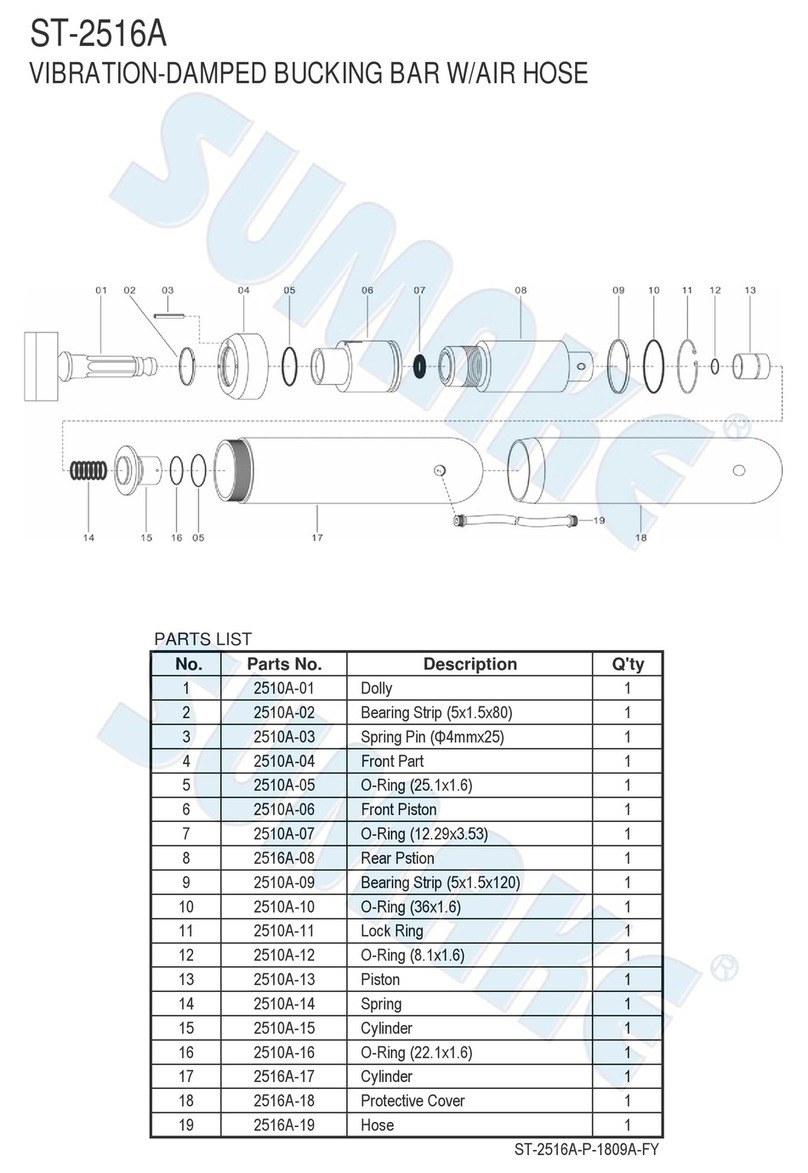
(1) Unfasten the hexagon socket head bolt
of the needle guide with the hexagon
wrench key and pull out the needle guide.
(2)Remove the safety band from the grip
groove.
(3)Loosen the stop ring and remove. Take
out the needle supporter by pulling out the
needles.
(4)Extract the needles. The needles must
be changed whenever damaged during
operation.
(5)After changing needles, assemble in the
reverse manner of disassembly.
5. Storage
Avoid storing the tool. in a location subject
to high humidity. If the tool is left as it is
used, residual moisture on the inside can
cause rusting. Before storing, and after
operation oil the tool at the air inlet with
spindle oil and run it for a short time.
6. Ordering Service Parts
★For further operational and handling
information or for replacement of parts and
components, contact the sale agent from
whom you purchased the tool or the ser-
vice division of our company.
★In ordering parts and components, give
parts number(s), name and part quantities.
ST-NS11A-I-1811A-JI
