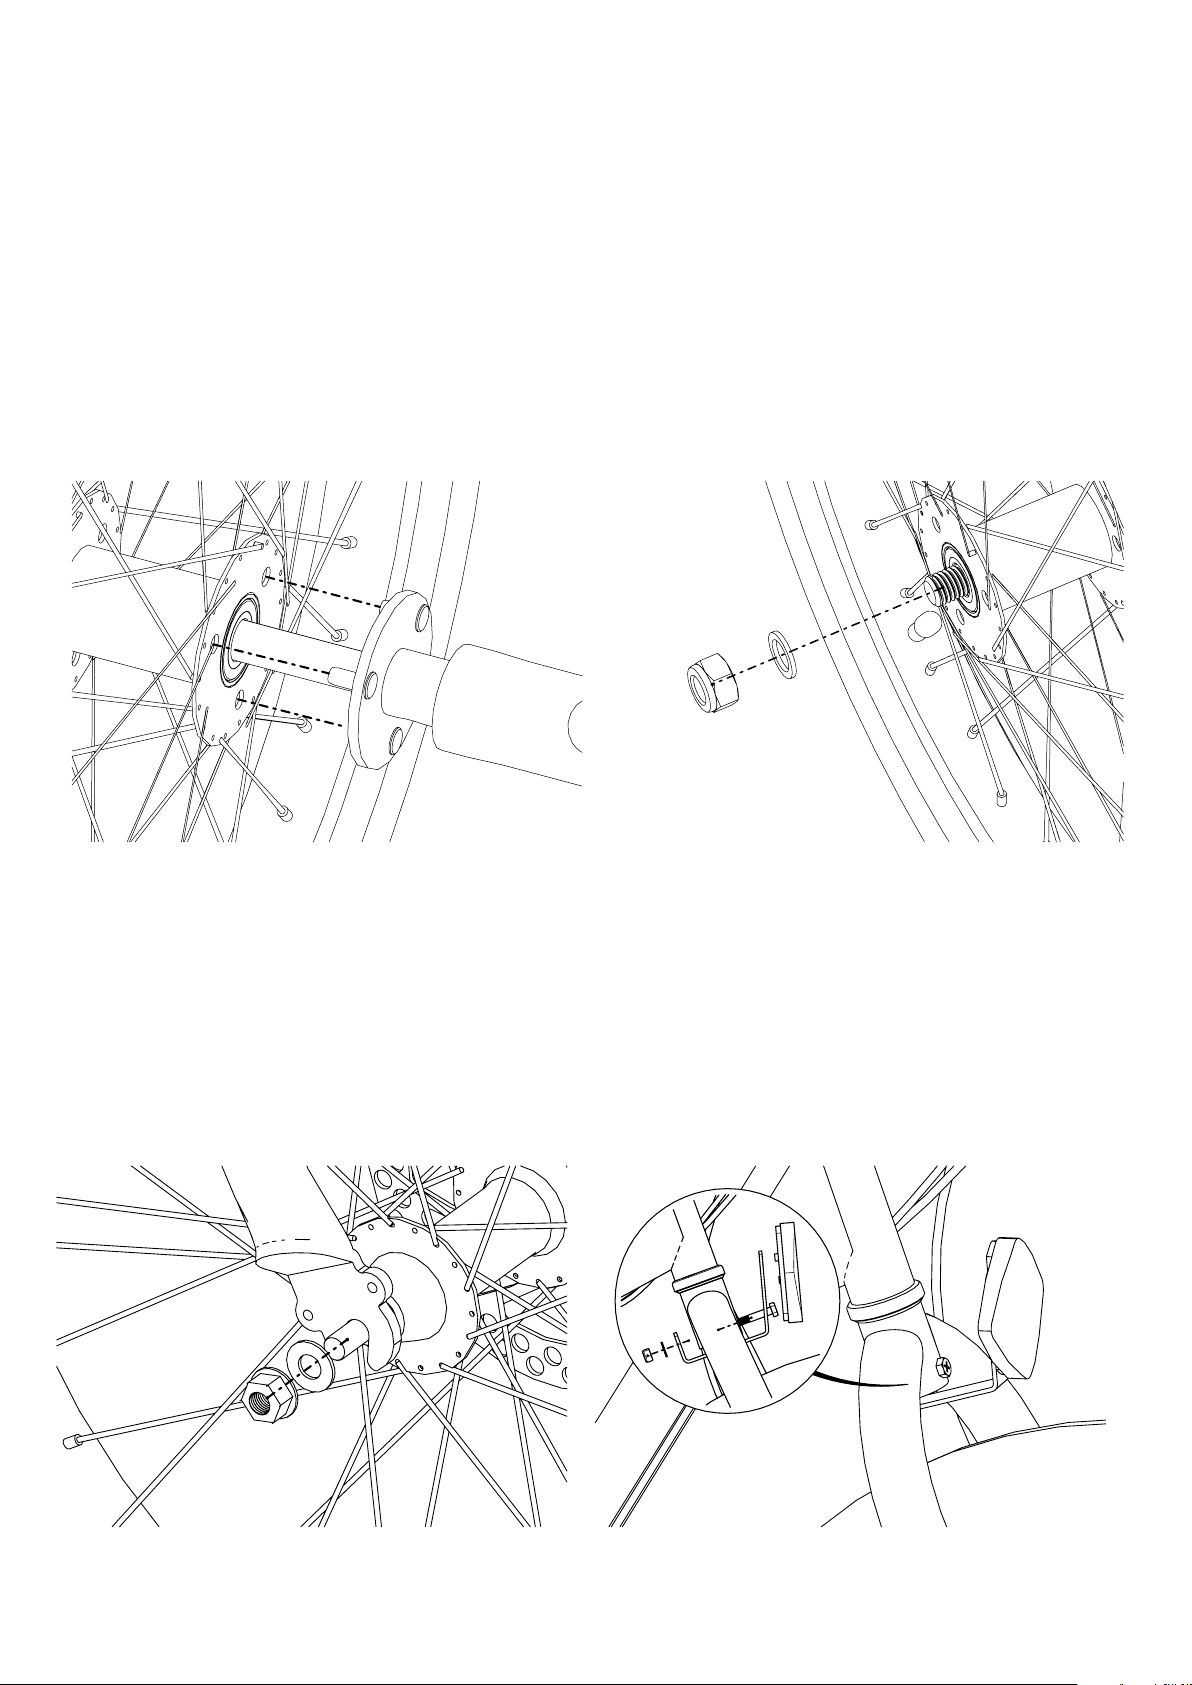
Sun Bicycles Baja User manual

Sun Baja Trike
Supplemental
Owner’s Manual
Find us online at Sun.Bike Revised 9-2017

CONGRATULATIONS!
Congratulations and welcome to the Sun Trike family! You have selected one of the best three-wheeled bicycles on the market. Please read this
manual before riding your Sun Trike. In this manual you will find that we cover the basics for setting up and understanding your new trike.
IMPORTANT:
This manual is only a supplement to the main Sun Bicycle/Tricycle Owner’s Manual.
Read it before you take the first ride on your new bicycle/tricycle, and keep it for reference.
NOTE:
This manual is not intended as a comprehensive use, service, repair or maintenance manual. Please see your dealer for all service, repairs
or maintenance. Your dealer may also be able to refer you to classes, clinics or books on bicycle use, service, repair or maintenance.
Sun Trike Specifications
Weight:
Weight Limit (Rider and Cargo Combined):
Overall Dimensions:
Standover Height:
1

PLEASE READ THIS BEFORE RIDING YOUR SUN TRIKE
This manual is intended to be read carefully so that you may enjoy your new
three-wheeler and be an informed rider aware of the benefits as well as the warnings
and safety issues in riding this trike.
A trike is not a bicycle and this manual contains specific information and warnings
that will let you enjoy your Sun Trike in comfort and safety.
Tricycling is a sport and a mode of transportation, with it comes the risk of an accident
that could result in injury and even death. By riding this trike you personally assume
that risk.
We want to give you as much information as possible to make you a safer rider. We
cannot cover all contingencies but we can make you more aware and informed. Be
aware that:
•
•
Always ride defensively and watch out for the unexpected. This means everything from
cars to kids, pets and rough or hazardous road surfaces. Be prepared to avoid danger
and ALWAYS WEAR A BICYCLE HELMET. We recommend buying your helmet from a
local dealer that can fit and instruct you on the correct way to wear this helmet. Pro-
tecting your head is your primary safety responsibility.
Always wear a CPSC, ANZI, ASTMS, or SNELL approved bicycle helmet. CPSC
approval is the new U.S. Federal Standard to which all helmets must comply.
Municipal bicycle regulations also apply to tricycles. Most states and
municipalities have bike regulations. It’s up to you to research those
regulations and become informed. Your local dealer will be able to help you
with this information. Since you will be sharing the road at times with other
vehicles, a good rule to follow is “If you can’t do it with a bicycle, don’t do it
with a trike.”
A trike’s widest point is behind you at the rear wheels. If the front goes by an
obstacle there is no guarantee that the rear wheels will also clear. When
riding, you must give clearance to the edge of the road or sidewalk. Give extra
room when passing near pedestrians and obstacles. Stay clear of potholes
and be aware that you can lose control if any wheels should drop into a hole or
catch an immobile object.
2

PRE-RIDE CHECKLIST
1. Check your tires for proper air pressure. Keep tire pressure between the minimum
and maximum air pressure rating printed on the tire sidewall. Do not inflate over the
maximum air pressure rating on the tire sidewall.
2. Test your front brake and make sure it stops the trike. If you have any doubts do
not ride and see your dealer. All trikes are equipped with a front brake as standard
equipment and primary stopping system. This also applies to a trike that may have
an optional rear brake. Under no circumstance should the front brake be removed.
3. Check that the handlebar is tight and that the ends are plugged. Check the saddle
for tightness.
4. Move the trike forward and back. If you hear or feel any resistance, do not ride.
If you feel that something is not right after performing your check. DO NOT RIDE.
Take your trike to your local dealer for inspection.
PRECAUTIONS
A trike does not handle like a bicycle. You cannot lean into a turn. Turns must be
made more carefully and at a lower speed than a bicycle.
All wheels must be on the ground at all times. Do not make sudden changes of
direction that could unbalance the trike and cause an accident.
When beginning to ride, stay at a slow speed. You must acclimate yourself to
handling and turning this three wheeler. If you feel insecure, slow down and proceed
at a slower pace. With practice, you will become comfortable riding and stopping.
We recommend that you not ride at night, or at times of reduced visibility.
If you must ride at night or during reduced visibility, you must outfit your trike with a
white front light and red rear light. Relying on reflectors is not adequate protection.
Most municipalities require lights for night riding. Your local bicycle dealer can help
you in selecting the correct lighting system for your needs.
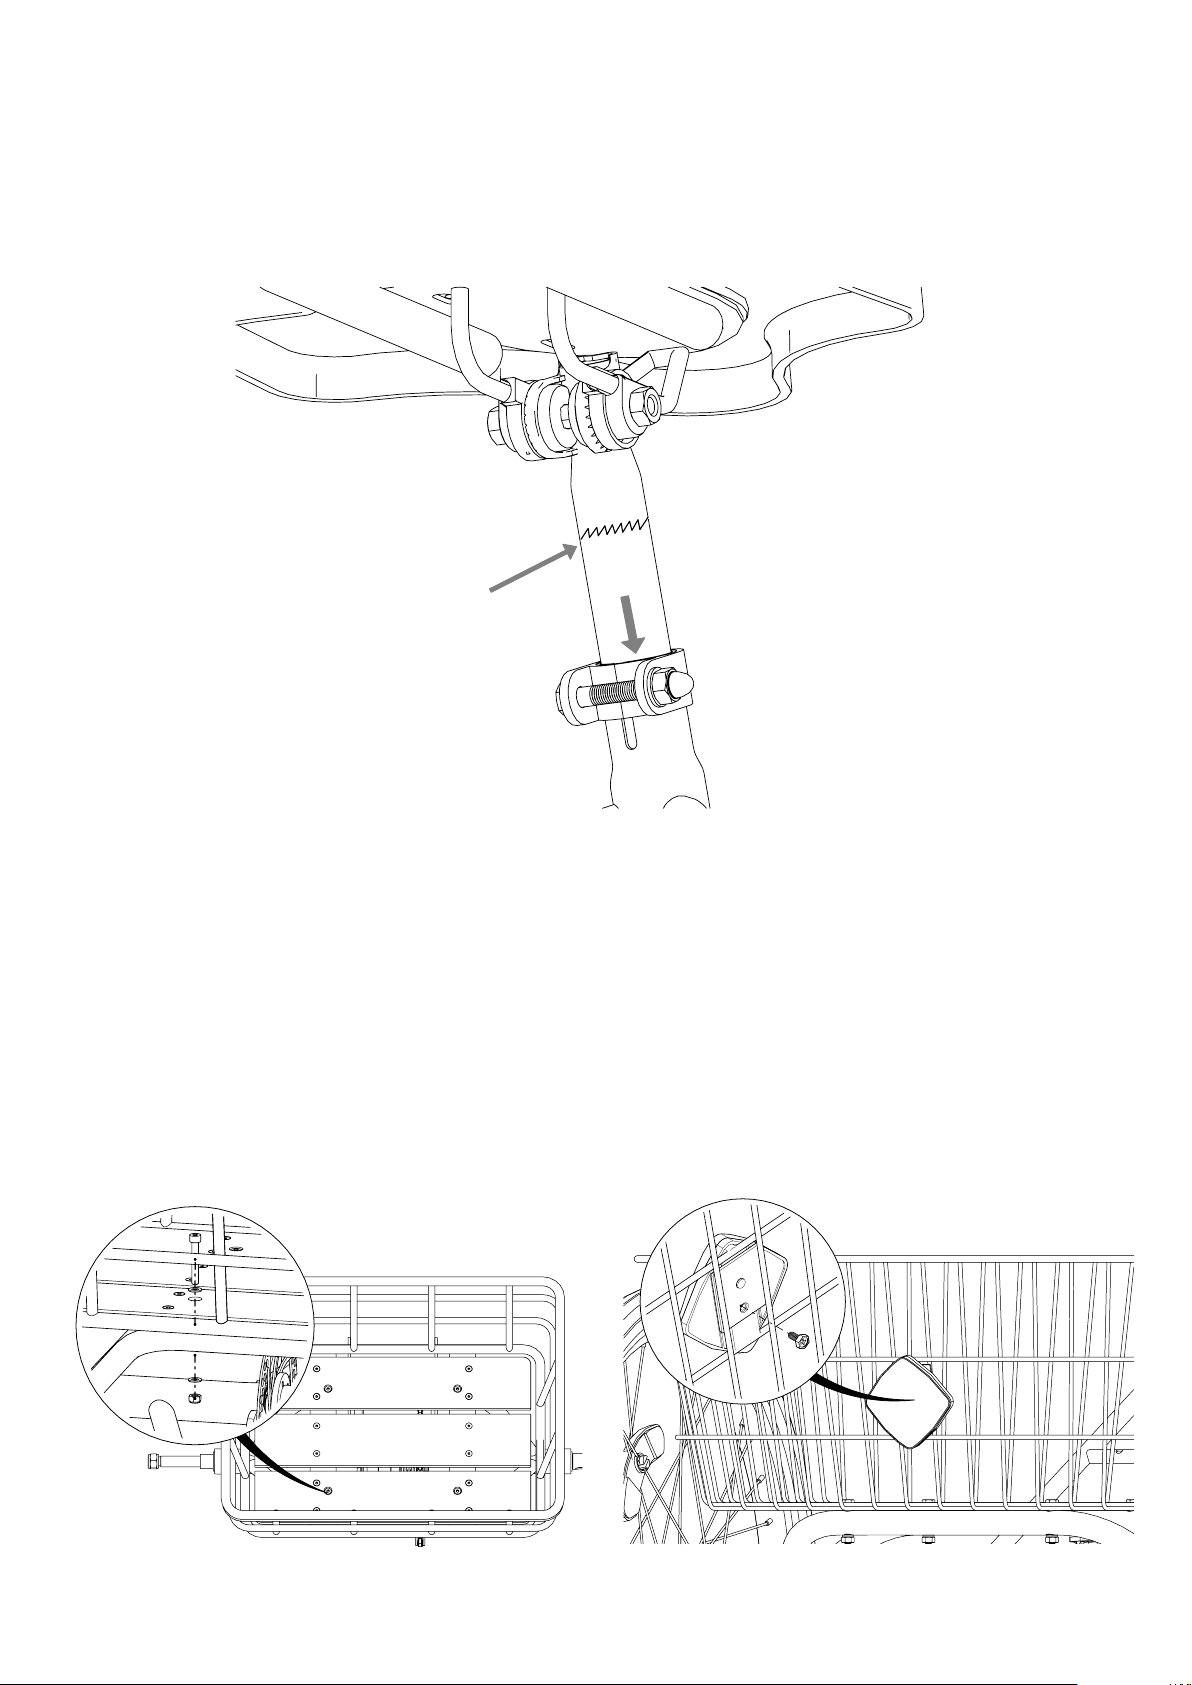
The rear basket is only intended for light storage. It is not intended to support or
protect a passenger. NEVER PUT A CHILD OR PET IN THE BASKET! The turning
wheels and/or other moving parts could lead to injury or death. There is also the risk
of the passenger falling out of the basket. The trike is made for one person only and
the basket is not built to hold a passenger.
DO NOT CARRY PASSENGERS.
WEIGHT CAPACITY IS 250 LBS. THIS TRIKE IS BUILT FOR MANUAL USE.
3

Sun Trike Reference Views
Side View
3/4 View
4

Sun Trike Assembly Reference
19
725
24
18
17
8
20
21
4
1
12
15
21
14
27 13
16
23
22
19
725
24
18
17
8
20
21
4
1
12
15
21
14
27 13
16
23
22
26
3
5
49
10
11
6
2
26
3
5
49
10
11
6
2
Sun Trike PARTS LIST
ITEM DESCRIPTION QTY
1 Main Frame Assembly 1
2 Rear Unit Assembly 1
3 Rear Unit Hardware Set (2x long carriage bolts, 2x short carriage bolts, nuts & washers) 1 set
4 Rear Unit Axle Assembly (17mm OD with 4mm keyway) 1
5 Rear Unit Bearings (35mm OD x 17mm ID for 17mm axle) 4
6 Freewheel (7S 13-34T) 1
7 Drive Chain (1/2” x 1/8”) 1
8 Chain guard 1
9 Rear Wheel Nyloc Retaining Nut (M14) 2
10 Rear Wheel Washer (M15x2mm) 2
11 Rear Wheel Spacer (Alloy 23mm) 1
12 Rear Wheel (Including tire, tube, and rim strip) 2
13 Front Wheel (Including tire, tube, and rim strip) 1
14 Stem 1
15 Handlebar 1
16 Front Brake Assembly with Locking Lever 1
17 Saddle 1
18 Seat Post 1
19 Trike Basket (with hardware) 1
20 Pedals (1/2”) 1 pair
21 Reflector Kit 1 set
22 Grips 1 set
23 Shift Lever 1
24 Bottom Bracket (B.B) 1
25 Chainring 1
26 Rear Derailleur 1
27 Fork 1
5

Assembly Guide
Rear Derailleur Installation
Install #26 Rear derailleur onto #2 Rear unit. See Figure A
Fig A
Rear Unit Installation
Install #2 Rear unit of dropout insert #1 Frame of dropout and Screws up with #3 Carriage bolts. See Figure B
Chain Installation
Install #7 Chain through #6 Freewheel and #26 Rear derailleur. See Figure B
Fig B
6

Final Tightening of Rear Unit
Tighten #2 Rear Unit Hardware to 18-20 Nm (160-175 in. lbs.)
Rear Wheel Installation
Assemble #12 Rear Wheel Assembly, # 10 Rear Wheel Washer and #9 Rear Wheel Nylock Retaining Nut onto right side (drive side) rear axle.
See Figure C
Assemble #11 Rear Wheel Spacer, #12 Rear Wheel Assembly, #10 Rear Wheel Washer and #9 Rear Wheel Nylock Retaining Nut onto left side
(non-drive side) rear axle. See Figure D
WARNING! OVER-TIGHTENING WILL DAMAGE THE BEARING
NOTE: DO NOT OVER TIGHTEN the #XX Rear Wheel Nylock Retaining Nut on the LEFT side (non-drive side). The nut should be tightened
then backed off ½ turn to leave approximately 1 to 2mm of side play.
Fig C Fig D
Front Wheel Installation
Install #13 Front wheel ,#27 Front fork and Screws up with bolts. See figure E
Install #21 Front white reflector under the Front fork. See figure F
Fig E Fig F
WARNIG :
Over Tightening of
Nuts Will Damage
Rear Unit Bearings !
7

Handlebar Installation
Take out Stem of four bolts, Put in Handlebar and adjust to appropriate angle and Screws up with the 4 bolts. See figure G.
Fig G
Handlebar Adjustment
#16 Brake Lever through #15 Handlebar, Right side install #23 Shift Lever then #22 Grip, Pipe plug and adjust to appropriate angle.See figure H.
Fig H 8

Saddle Installation
Lubricate seat tube with heavy grease, place #18 Seat Post into seat tube of trike and tighten. Place #17 Saddle, in a level position, onto seat post and
tighten seat post clamp.
Adjust saddle height, tighten seat post, saddle clamp and seat brace hardware securely. See Figure I
WARNING! THE SEAT POST MINIMUM INSERT MARK MUST BE BELOW THE SEAT TUBE.
Fig I
Trike Basket Installation
Install #19 Basket onto the #2 Rear unit , Rear unit and basket of hole aligned , Screws up with the bolts. See figure J.
Reflector Kit Installation
Install Rear red reflector in back of Basket. See figure K.
Fig J Fig K
MIN
INSERT
9

Pedal Installation
Apply grease to the threads of the #20 Pedals. This will protect both the threads of the pedal and the crank arm over time. Use pedal washers where
required.
Using your hands, thread the #20 Pedals (marked for L or R) into the respective left or right crank arms by turning them toward the front of the bike.
Once the threads catch, use your pedal wrench to finish tightening down the pedals. See Figure L M
Fig L Fig M
Variable speed adjustment
Shift to the minimum freewheel, adjustment the high screw(H),let the guide pulley align the minimum piece freewheel center. See Figure N
Shift to the maximum freewheel, adjustment the low screw(L),let the guide pulley align the maximum piece freewheel center. See Figure O
Fig N Fig O
(IT IS ADVISABLE THAT ALL NUTS & BOLTS ARE ONCE AGAIN CHECKED FOR TIGHTNESS & SECURITY)
LEFT SIDE
LEFT
L
RIGHT SIDE
RIGHT
R
12
H
1
Guide pulley
2
21
Guide pulley
12
L
10

Table of contents
Other Sun Bicycles Bicycle manuals